Monsters of the Movies
FRANKENSTEIN
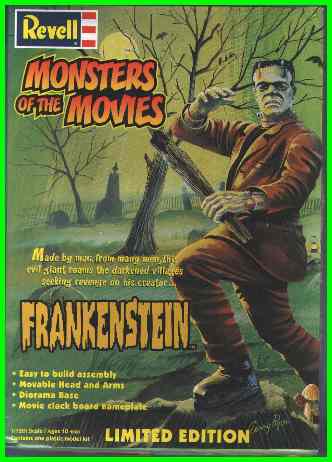
go together rather quickly. Boy was I wrong. I'm not sure if this is just my model or if the
whole production run is this way. after all these are some rather old mold.
When I started to assemble this model, I found that there is a lot of flash on all the parts.
Also some of the pieces do not line up very well. After gluing the arms, legs, and head, I ended
up with a whole pile of shavings on the floor from trimming the seams. The part that really turned
me off though is the head. The 2 halves do not line up well. The front part is considerably higher
than the back piece. After trimming it down flush, I can see I will have to putty up the gap then
re-carve the hair. Since then it has sat in the box untouched. Someday I will finish it, but for now
it is not very high on my to do list.
10/02/02 - I've started working on this one again. Will get some in progress pics up soon.
Jan 04 - finally got back to work on this kit. Having lots of fun with it.
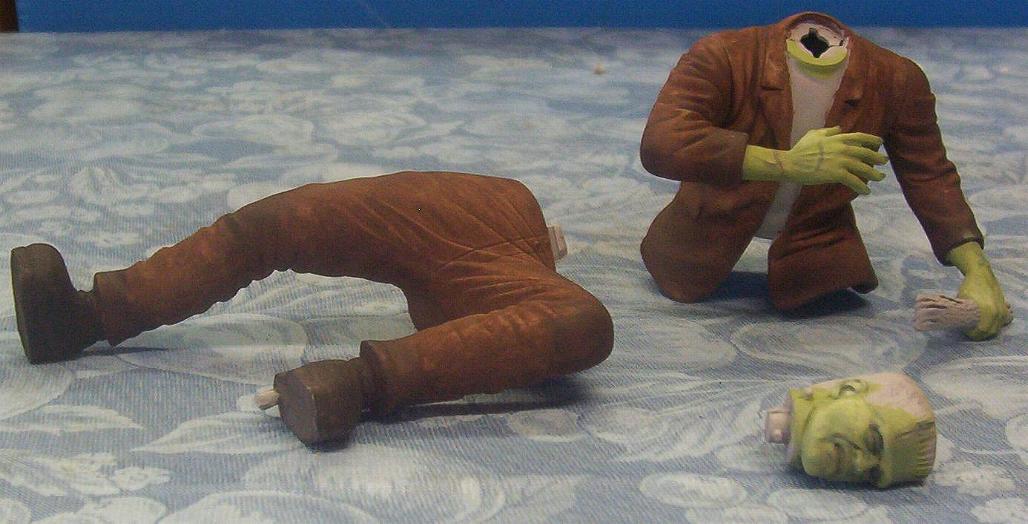
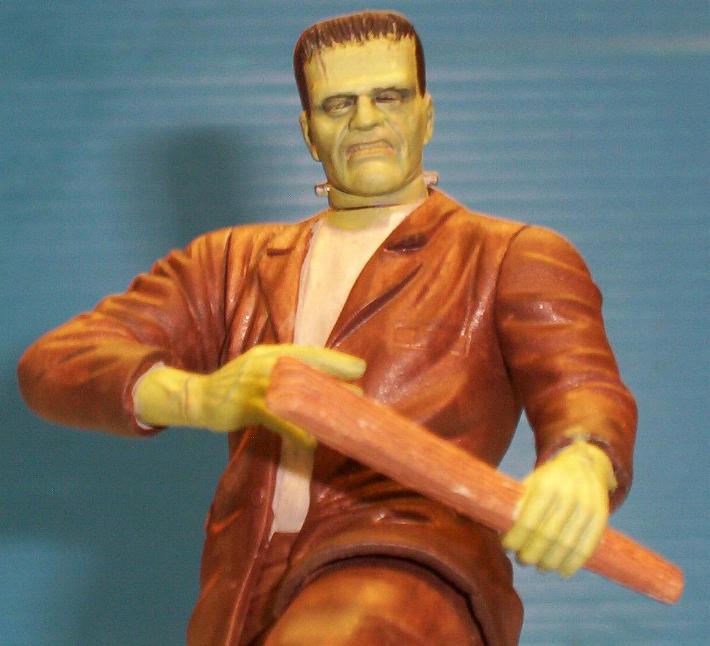
The brown for the jacket came out better than I had hoped. I just went over it with some thinned down brown over the gray primer. The way it went on was beautiful. What you see there is just one coat. But with it thinned down, I ended up getting several different textures to it. Then I mixed up 2 more darker shades of the same brown and went over the areas that would see more wear and dirt. Then I went even darker for the boots.
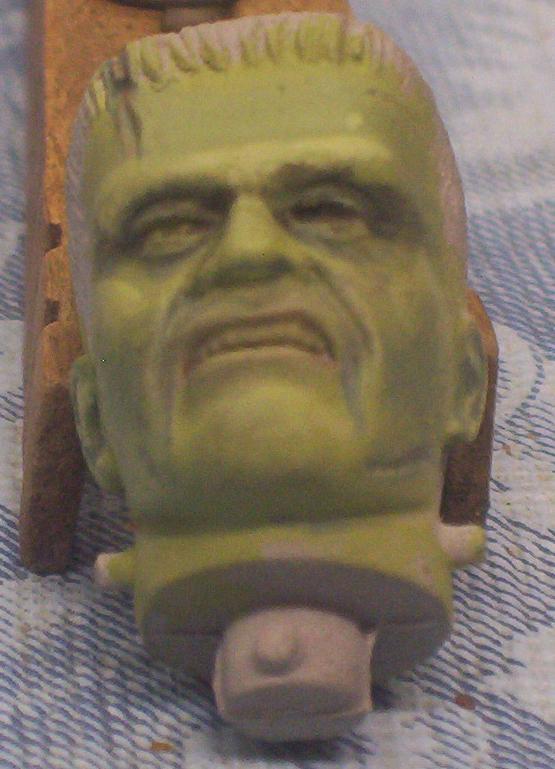
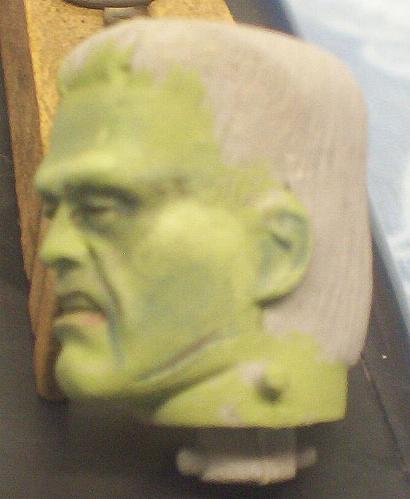
I really love the geen I mixed up. A little green, a lot of white, a touch of blue, and just a hint of grey. Then I mixed some lighter and darker shades of the same green for the shading and highlighting. After that, then it was a little greenish-red, and greenish-blue made with the same green with red & blue. Went in and did the veins, mouth, and other areas that needed them. After that, then I took some of the green and added a little to some blending gel to give me a clear geen. Went back over everything with that to pull it all together, and make the veins look like they are actually under the skin.


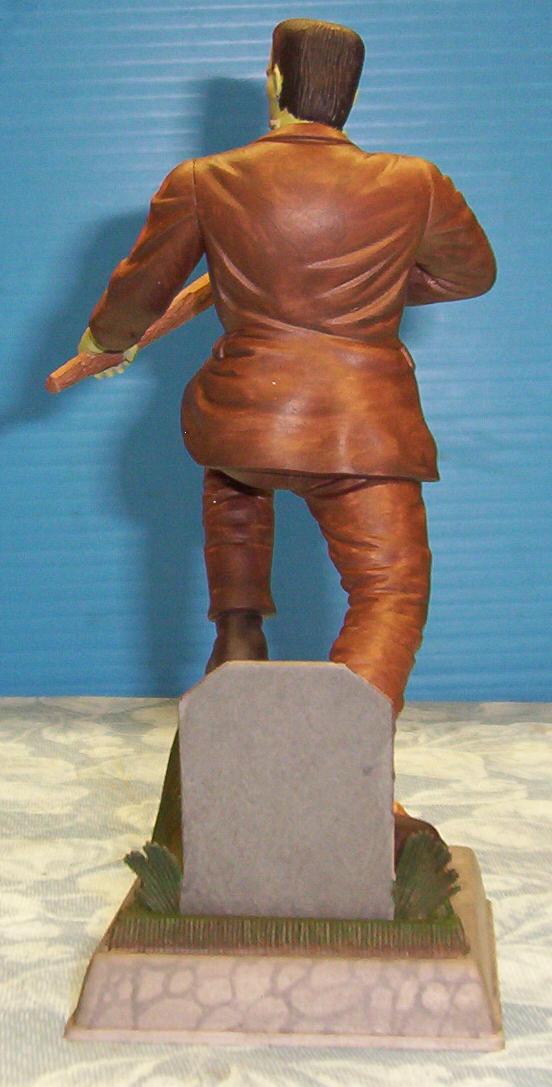

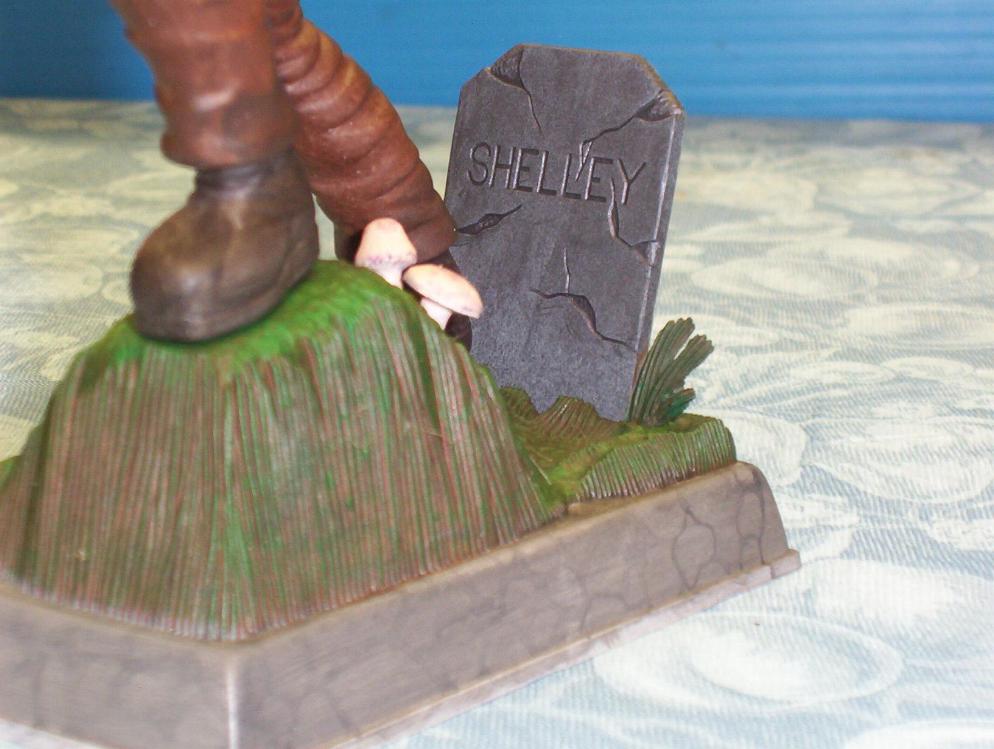
Then I went over the bottom section with a light grey. Drew in some details to look like stone with some watery black. Then I washed it all with a dark grey, then a blackish gel mixture.
The tombstone was done with grey primer. Then some dark grey misted over that.
Then I went over it with a couple darker washes that I kinda blotted while they were on there.
Over all, a nice little kit. Can't wait to see how it does at Wonderfest.