the Forgotten Prisoner

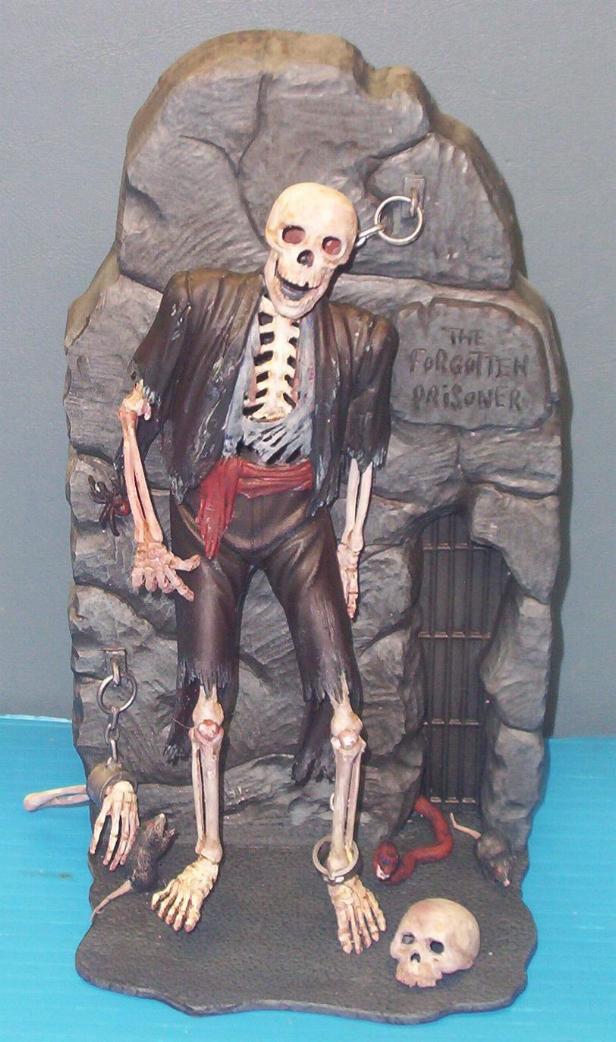


Started on it in the spring. Was working on this along with my WF contest entries. Was actually close to getting it done, but then summer hit, and I was too busy with outside stuff to get any modeling done. Finally sat back down and finished it up before the end of the year was up though.


The base was hit with a light coat of dark gray, then dusted with a light gray primer. After that I went in with some washes, added a few white highlights.to simulate lime build-up from water seapage.Some gunmetal on the chain anchors and bars. Then it was hit with some black antiquing gel.

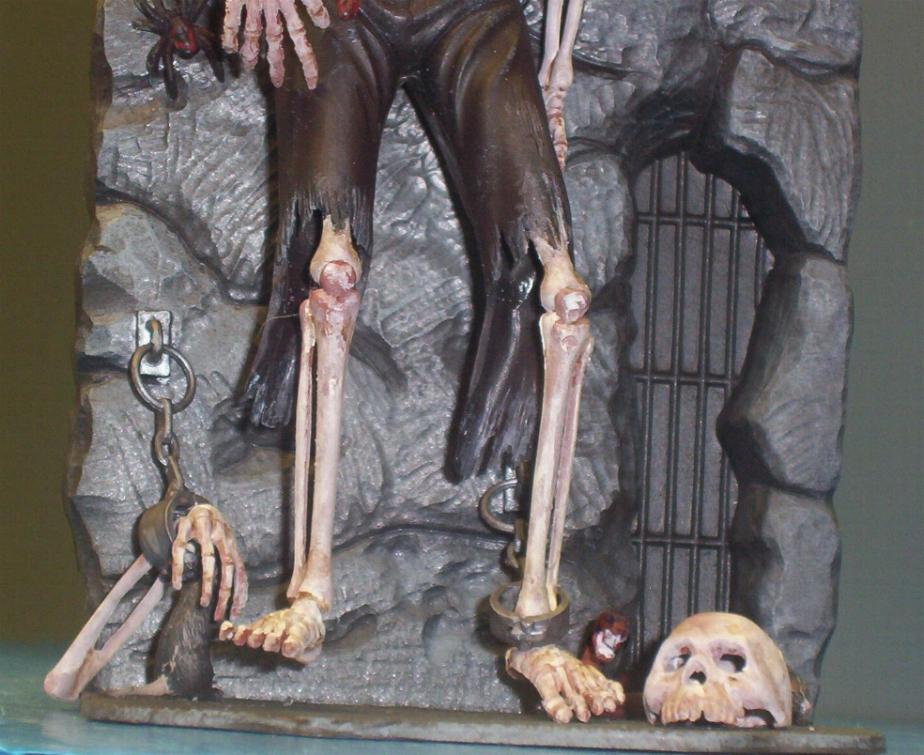

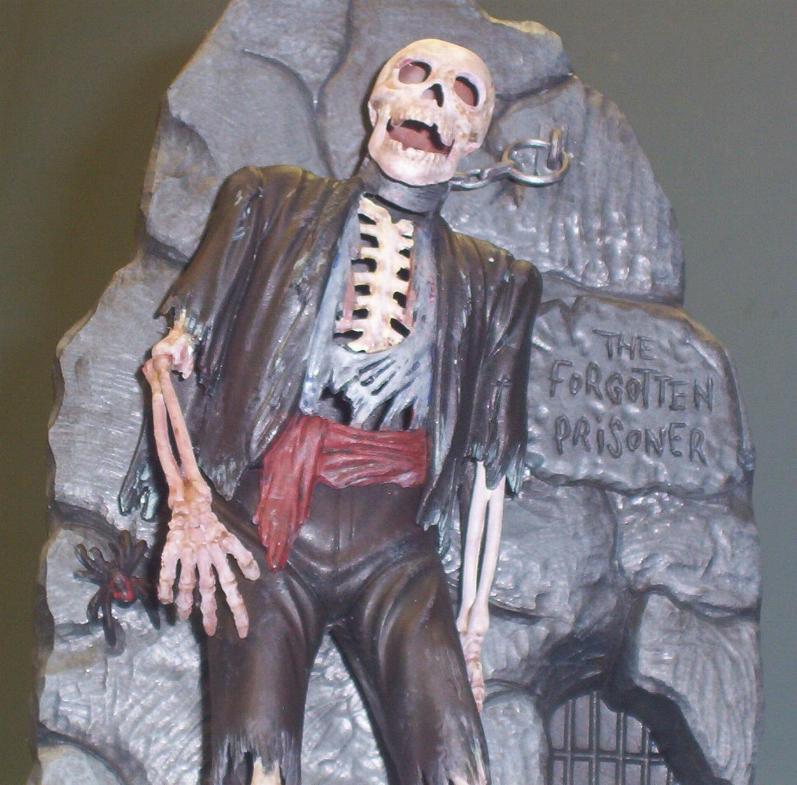
The tattered ends of the pants and jacket got some light green with white hightlights to simulate mildew. Plus I hit a few high spots that looked like they would suffer as well.
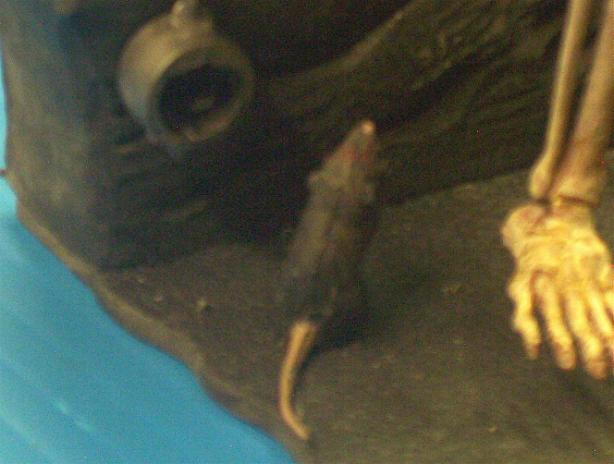
The rats got some off pink for the nose, red for the eyes, and some pink / brown for the tails and paws. then I drybrushed with some gray/brown so they wouldn't just blend into the base.
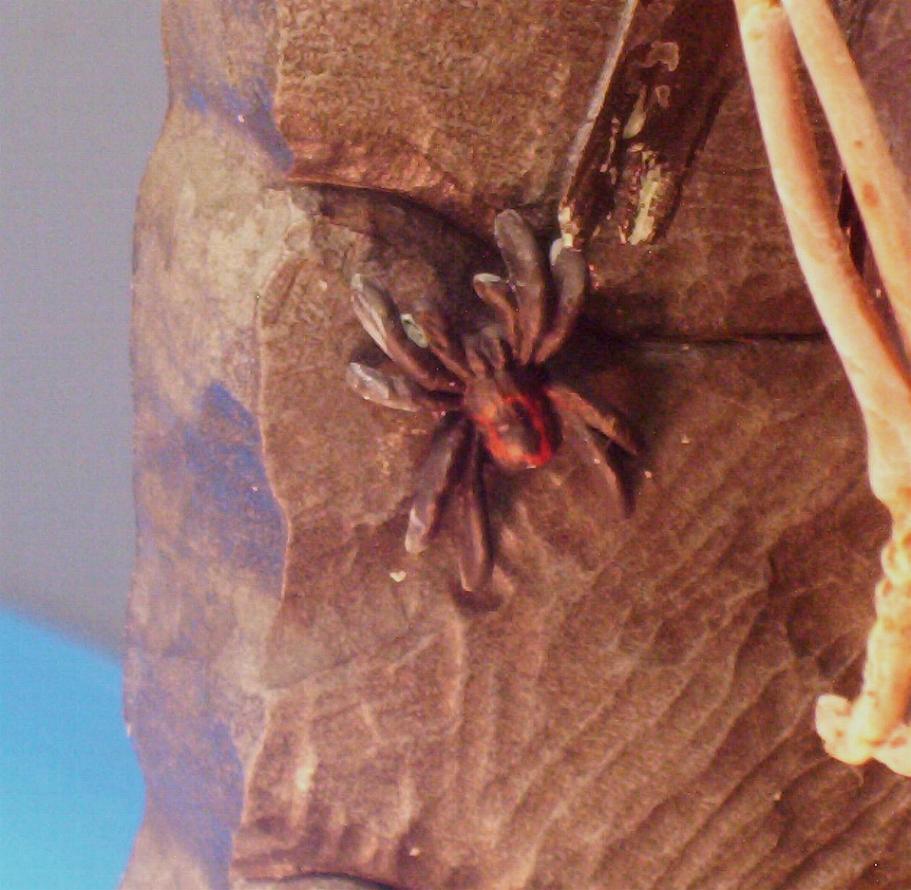
The spider got a little detail to the abdomen, and tips of the legs.
The snake got a little pattern work plus some mouth and eye detailing.


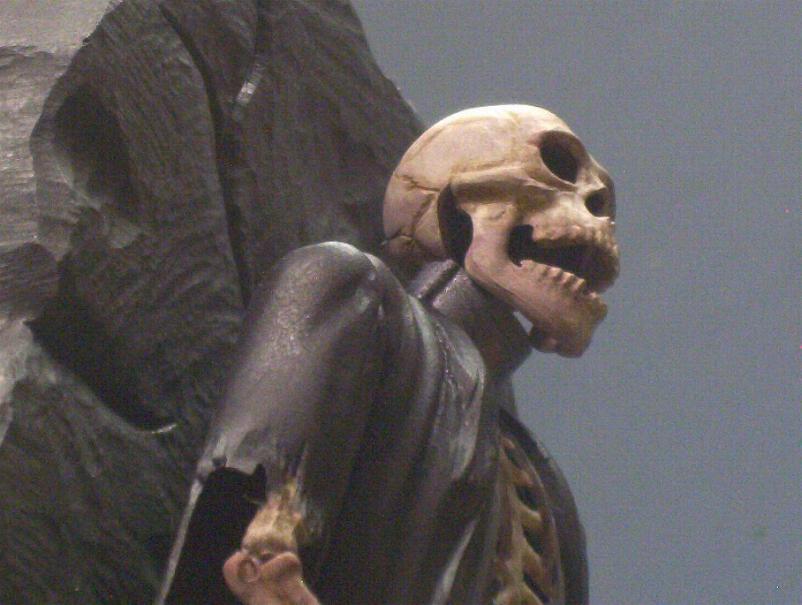
The body leg joint was not easy to line up. Wasn't a snug fit, and wiggled side to side, so getting it aligned properly was a pain. Not much of a junction point for the arm that goes into the sleeve, or the skull either. Had to hold those for a while before they had any stability at all. And getting those chains in place was pretty nerve wracking.
Over all, a nice fun kit, but a bit of a challenge (which I think kind of added to the fun)