UPDATED 05/22/10


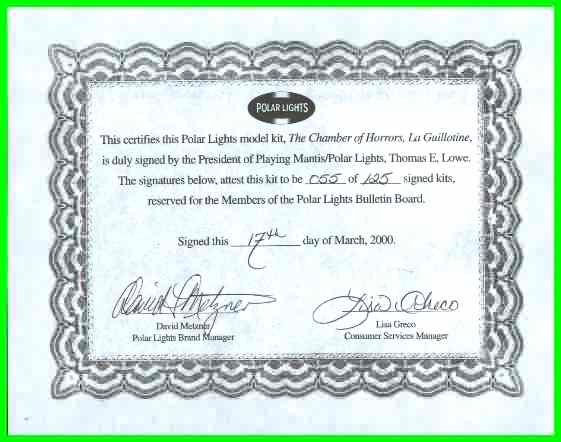
My signed guillotine certificate
Obviously I am not building my signed version though.
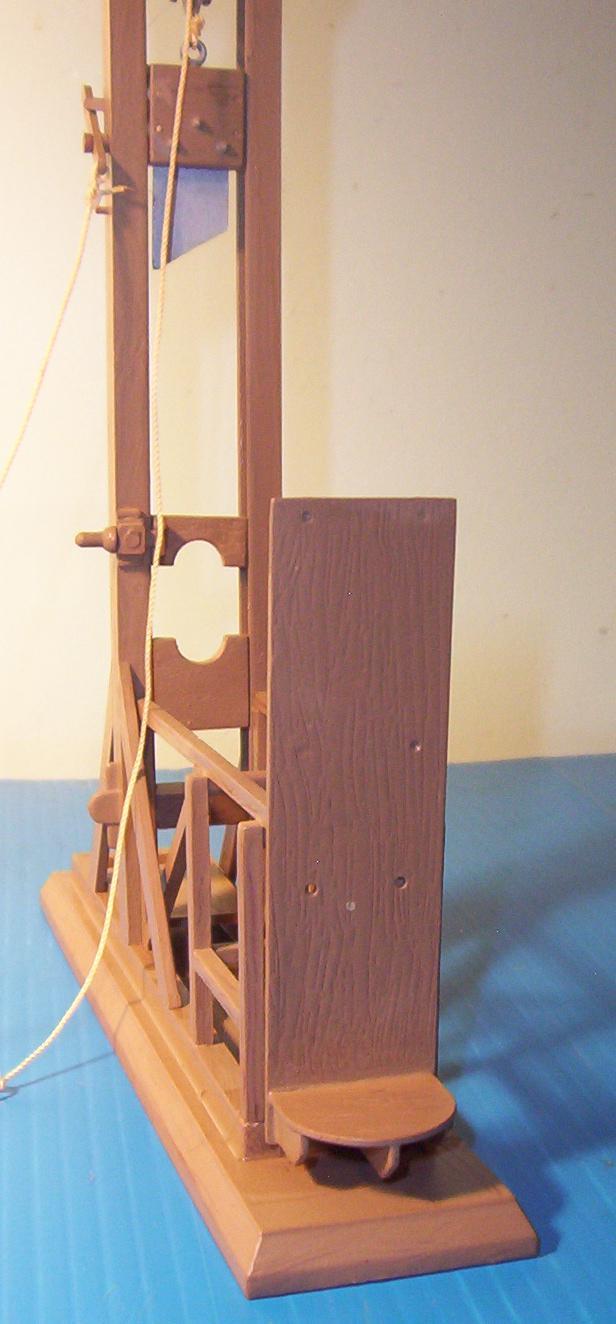
First I base coat with a brown primer. Then I spray with a lighter shade of brown. While the paint is still wet, I drag a ratty toothbrush through the paint, in the direction of the woodgrain. After it dries and cures I wash with a dark brown. By draggin the brush through the wet paint, it exposes some of the darker base coat. Also get the bonus effect of a wood texture in the paint, with grooves and such. Make sure the paint has cured before washing. I gave mine at least a week. If you don't wait until the paint is fully cured, you run the risk of removing the paint with the thinner in the "wash".
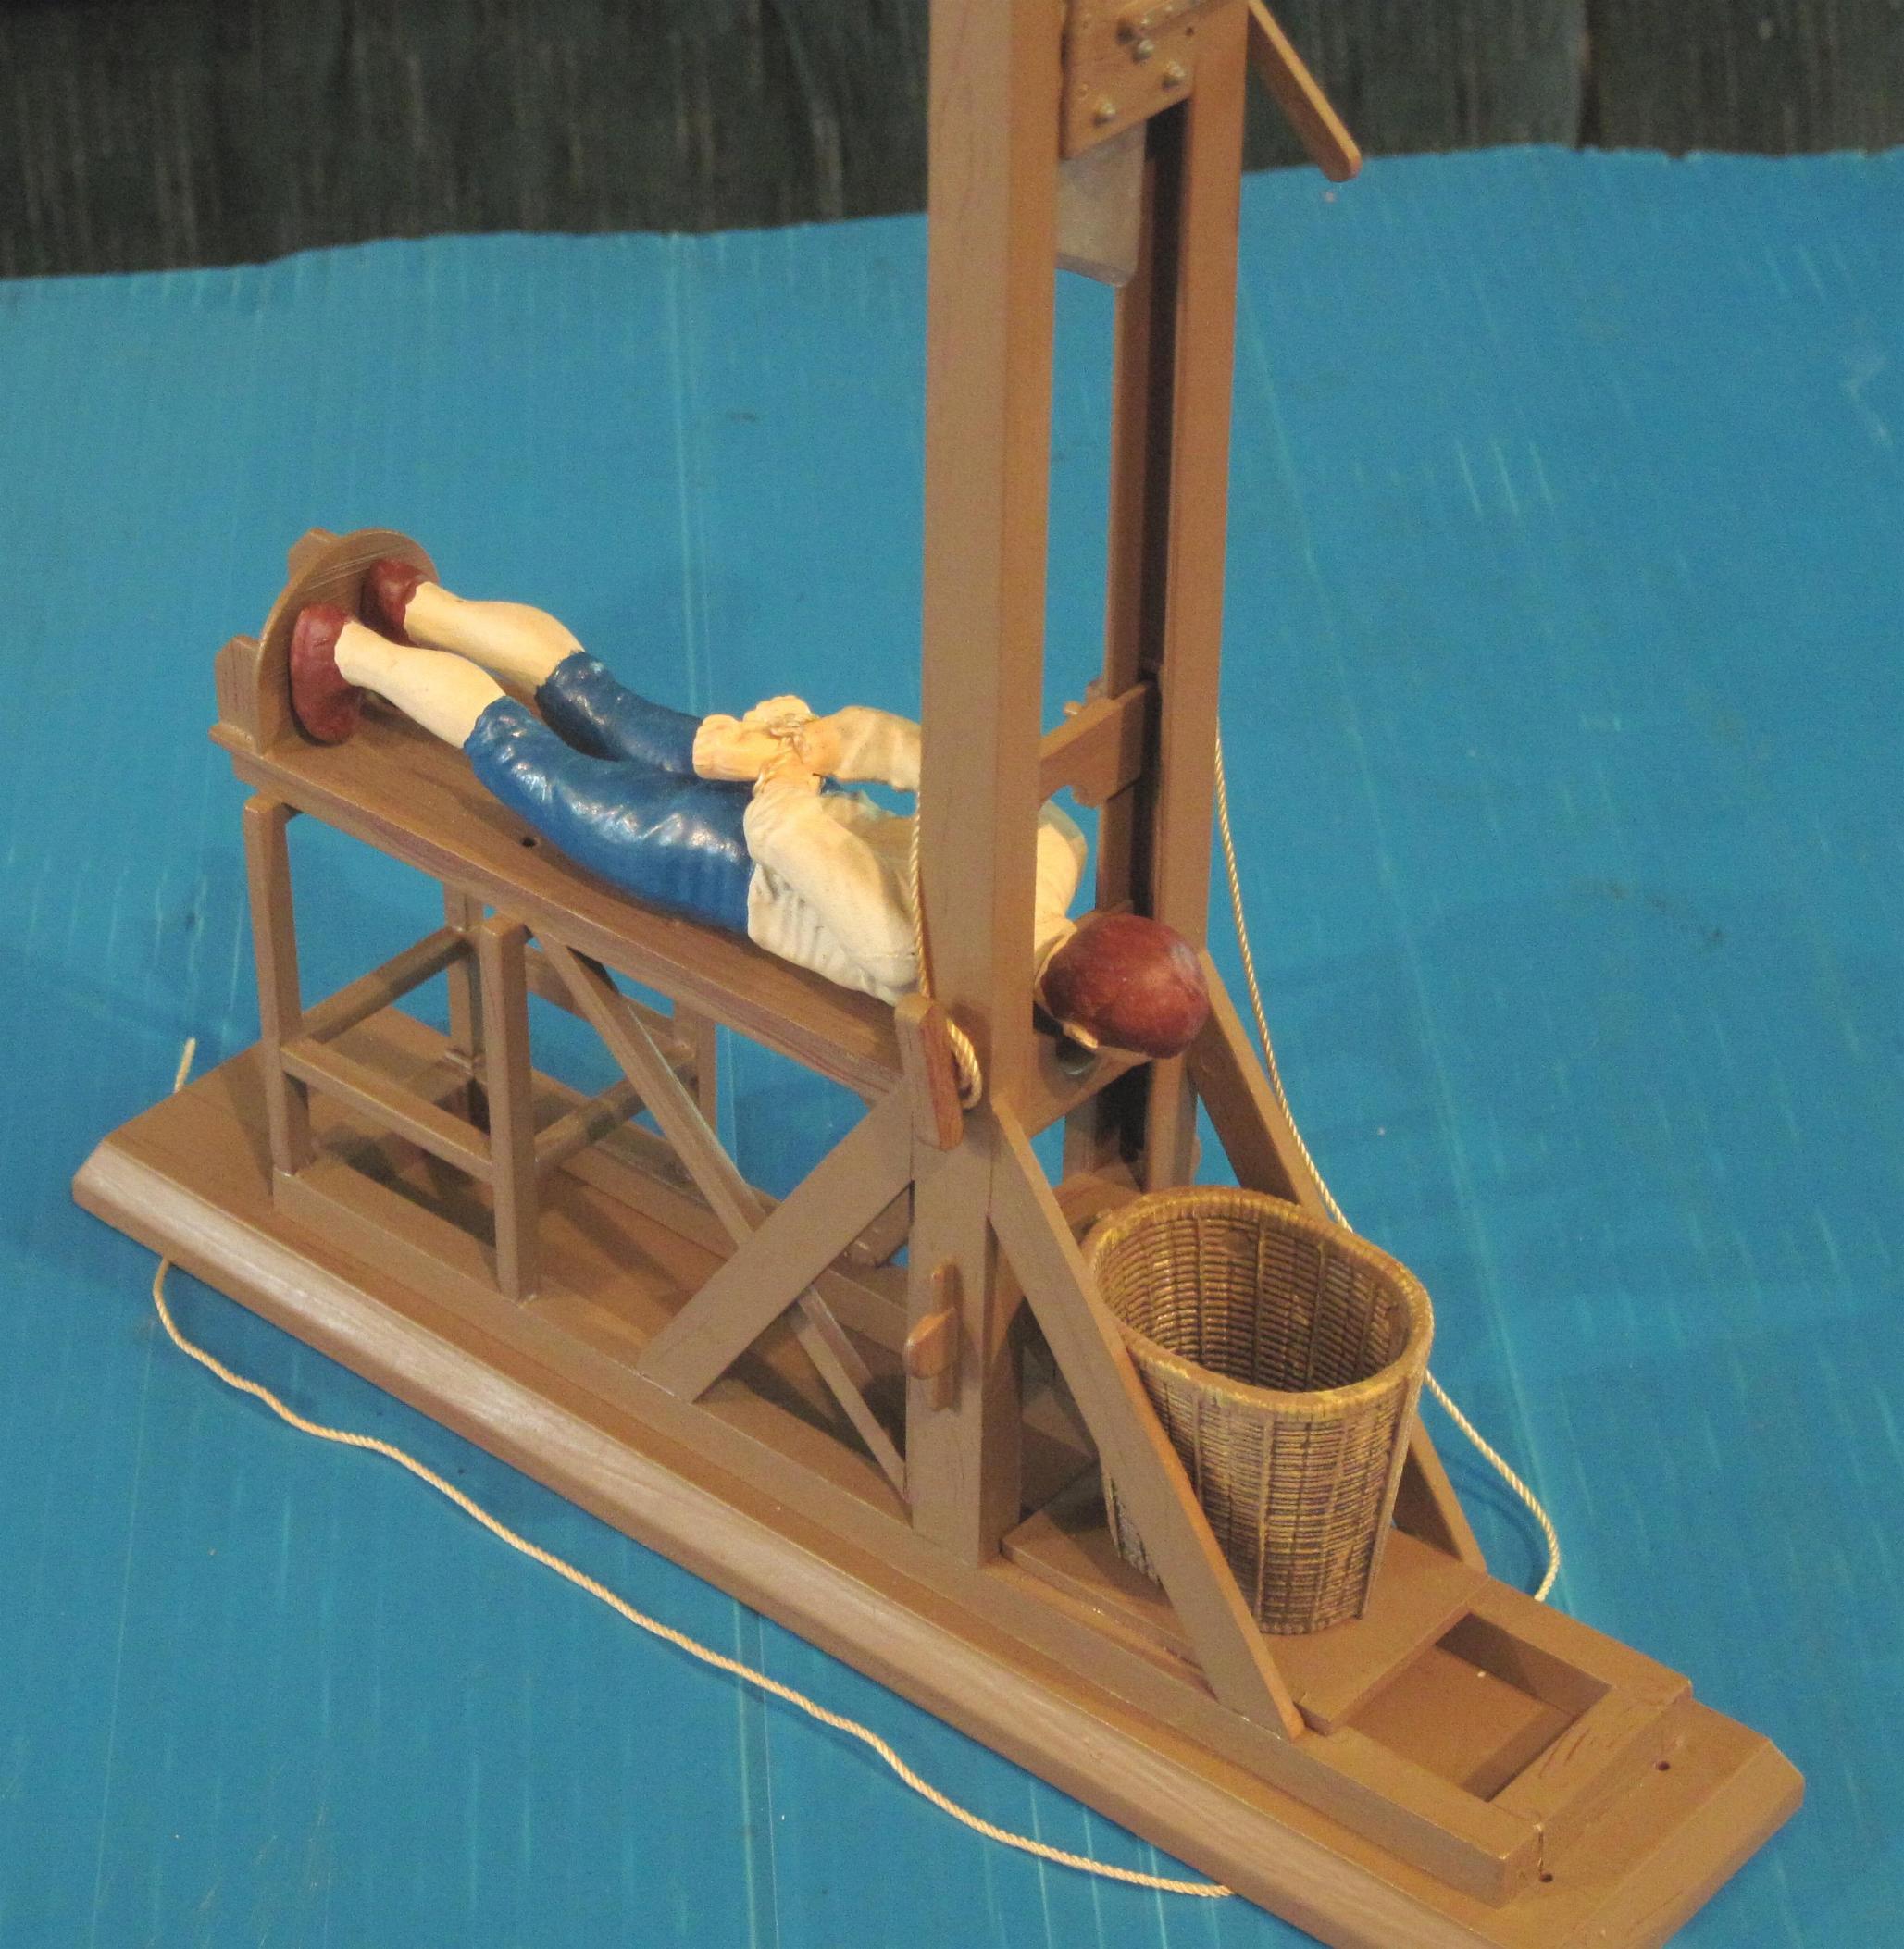
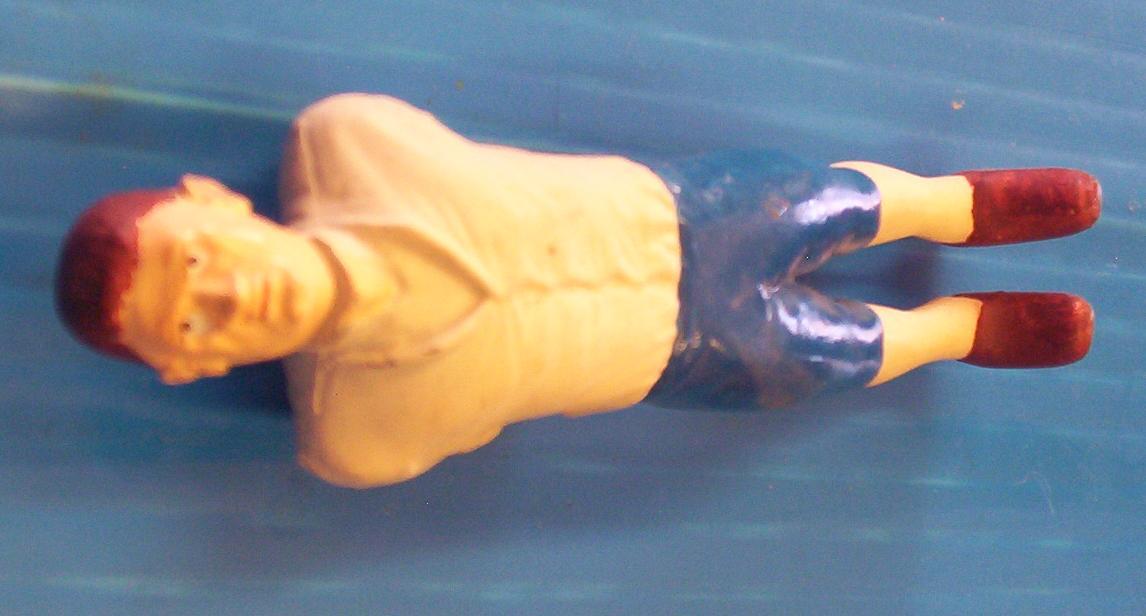
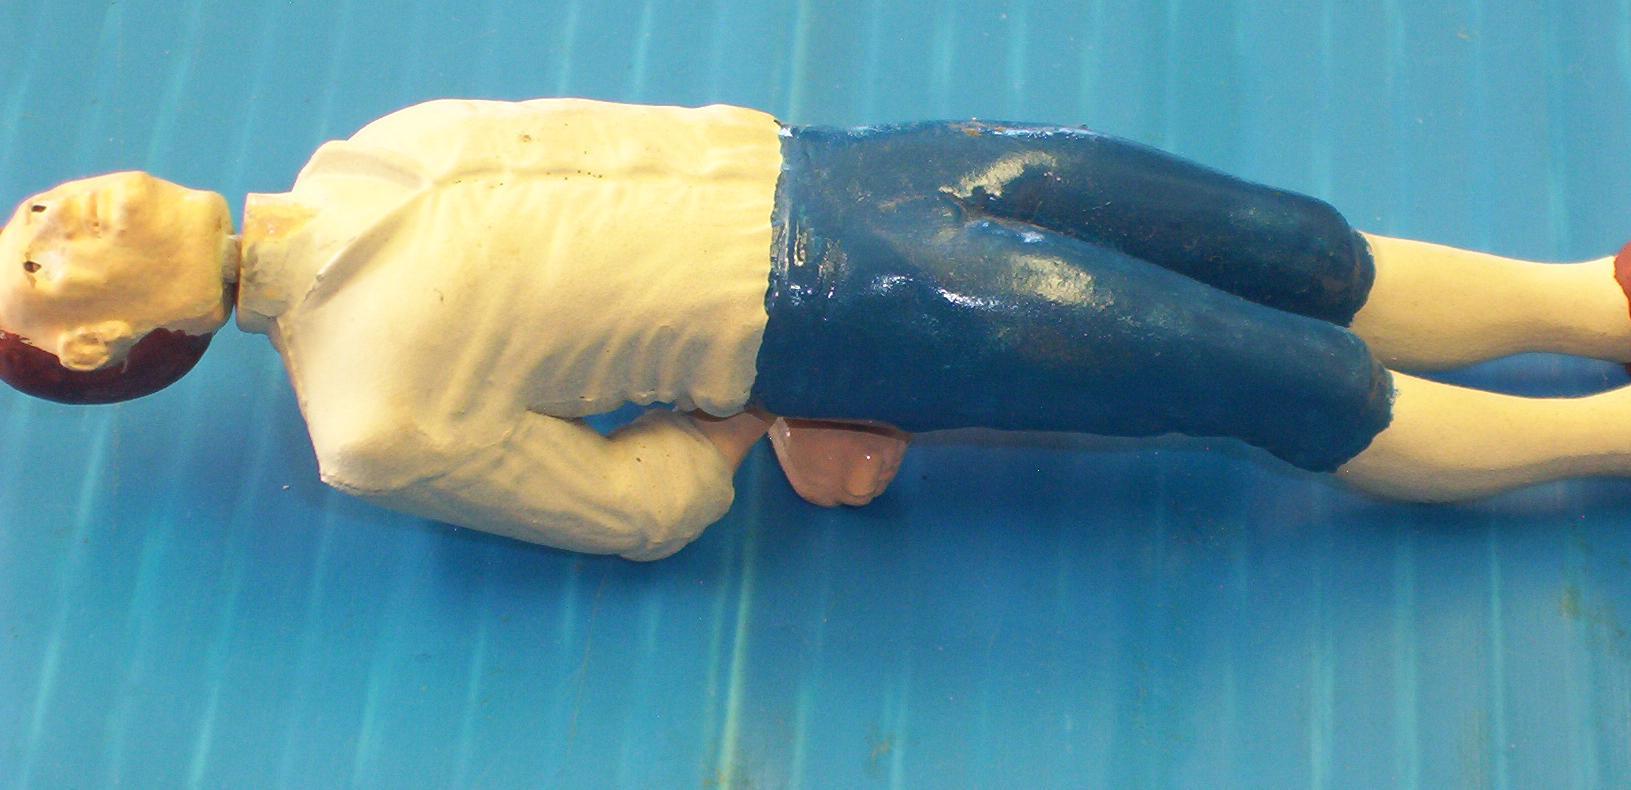
For easier painting, I am painting sub assemblies and larger parts (such as the base and side pieces)first, then assembling after. It makes adding the grain easier and more realistic but will make the final assembly more difficult. I will have to scrape the paint off anywhere that needs glued. I do have the victim assembled and primered.I haven't decided how I want to paint him yet. That will probably be the last thing I do on this model.I will post more as I get farther into this model
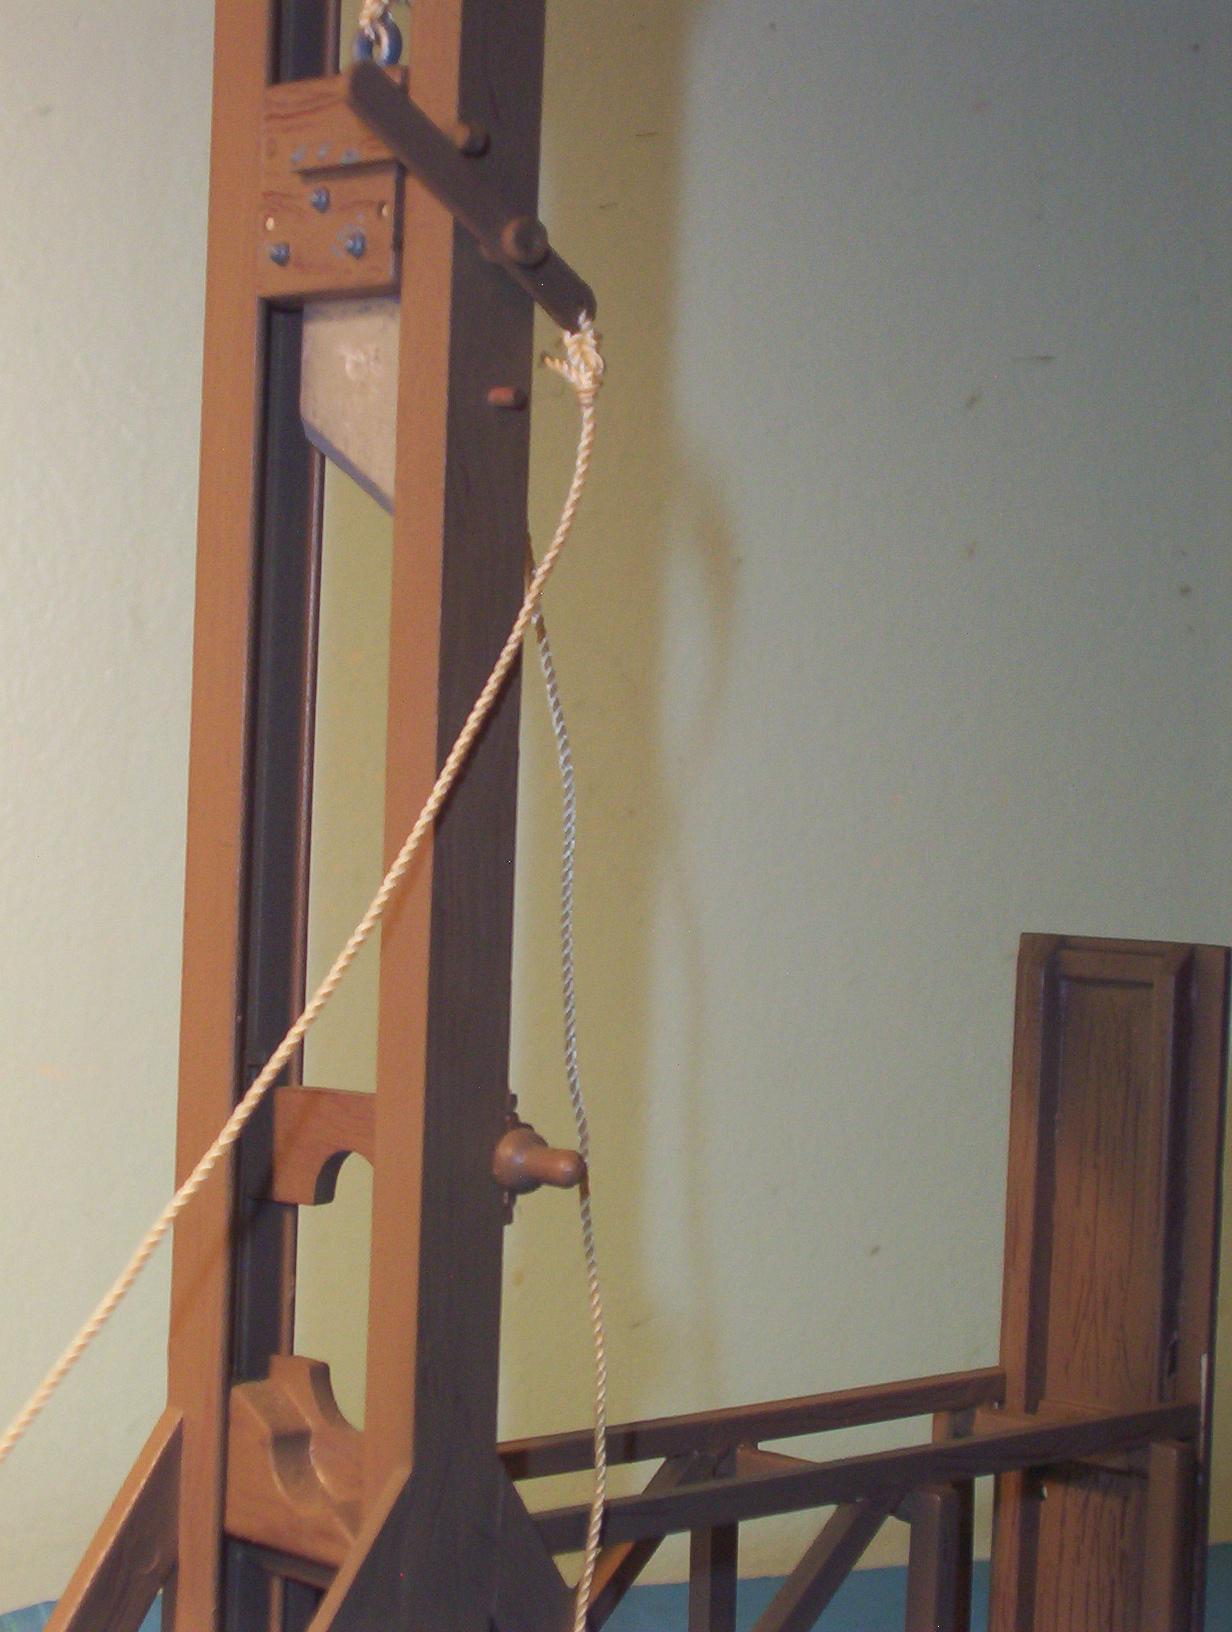
A couple of building tips. Add some weight to the blade. There is a little hole in the top of the blade assembly just for this purpose. I think it is easier to just add the weight when I built it. Also, I would not recomend painting the rollers for the blade assy. It would cause too much resistance and you want the blade to be able to slide smoothly up and especially down. I did not glue the top brace in place on mine. It has a very snug fit that will hold it in place. That coupled with the string and weight of the blade hold it together just fine. The reason I did it like that is for future maintenance. If I ever need to work on the rollers or other parts, I can easily disassemble it.
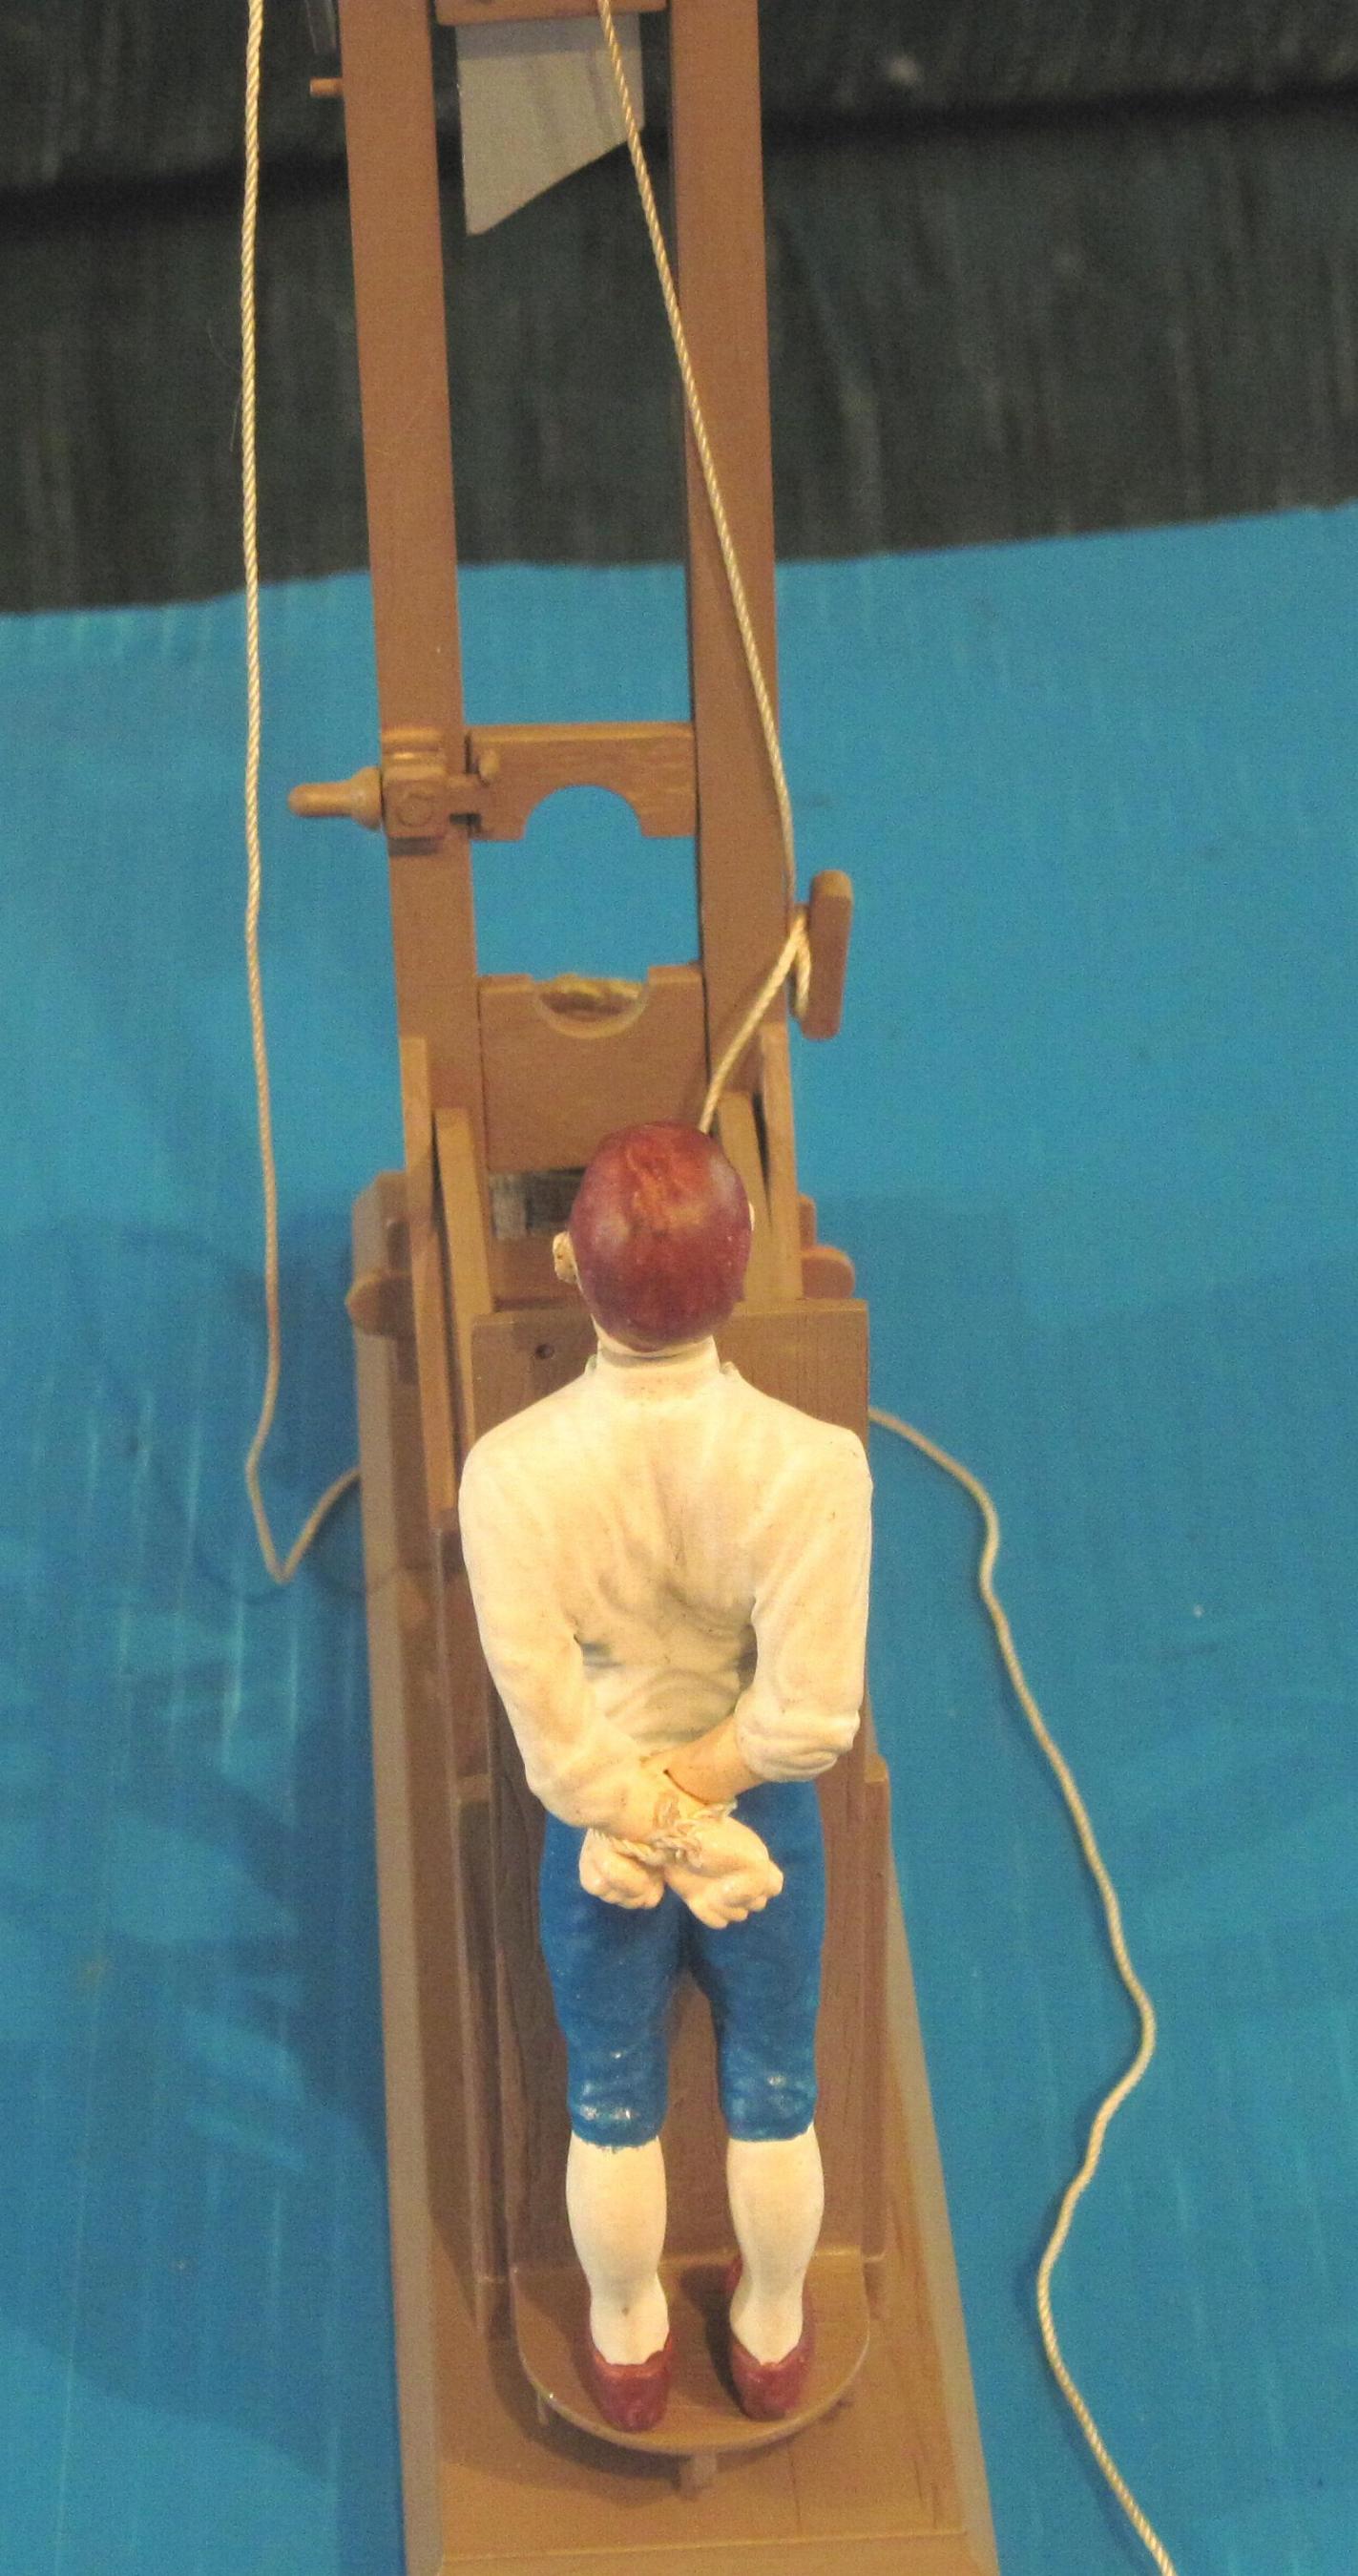
I just got around to snapping some pics of this model. I ended up not using a wash to highlight the woodgrain. It looks more natural without it. Still haven't finished the victim yet. The head is done. Shoes are almost done. Still working on the uniform. I figured I would at least put up a few shots of the G itself.
Enjoy. I swear I will get the rest finished by the end of 2001


Just dug this out to finally finish it up, and get some good pictures taken.
Got all the dust washed off and will first start with a couple repairs and a few paint touch-ups.


Yeah, I have my work cut out for me here.
I see lots of stuff I need to clean up form my old work.


Back when I first started building this kit,
I wasn't that concerned with details.
Now, that I am, I noticed the ejector pin mark in the blade.
Couldn't have that, so I puttied it and sanded it down.
Now I need to paint it again.

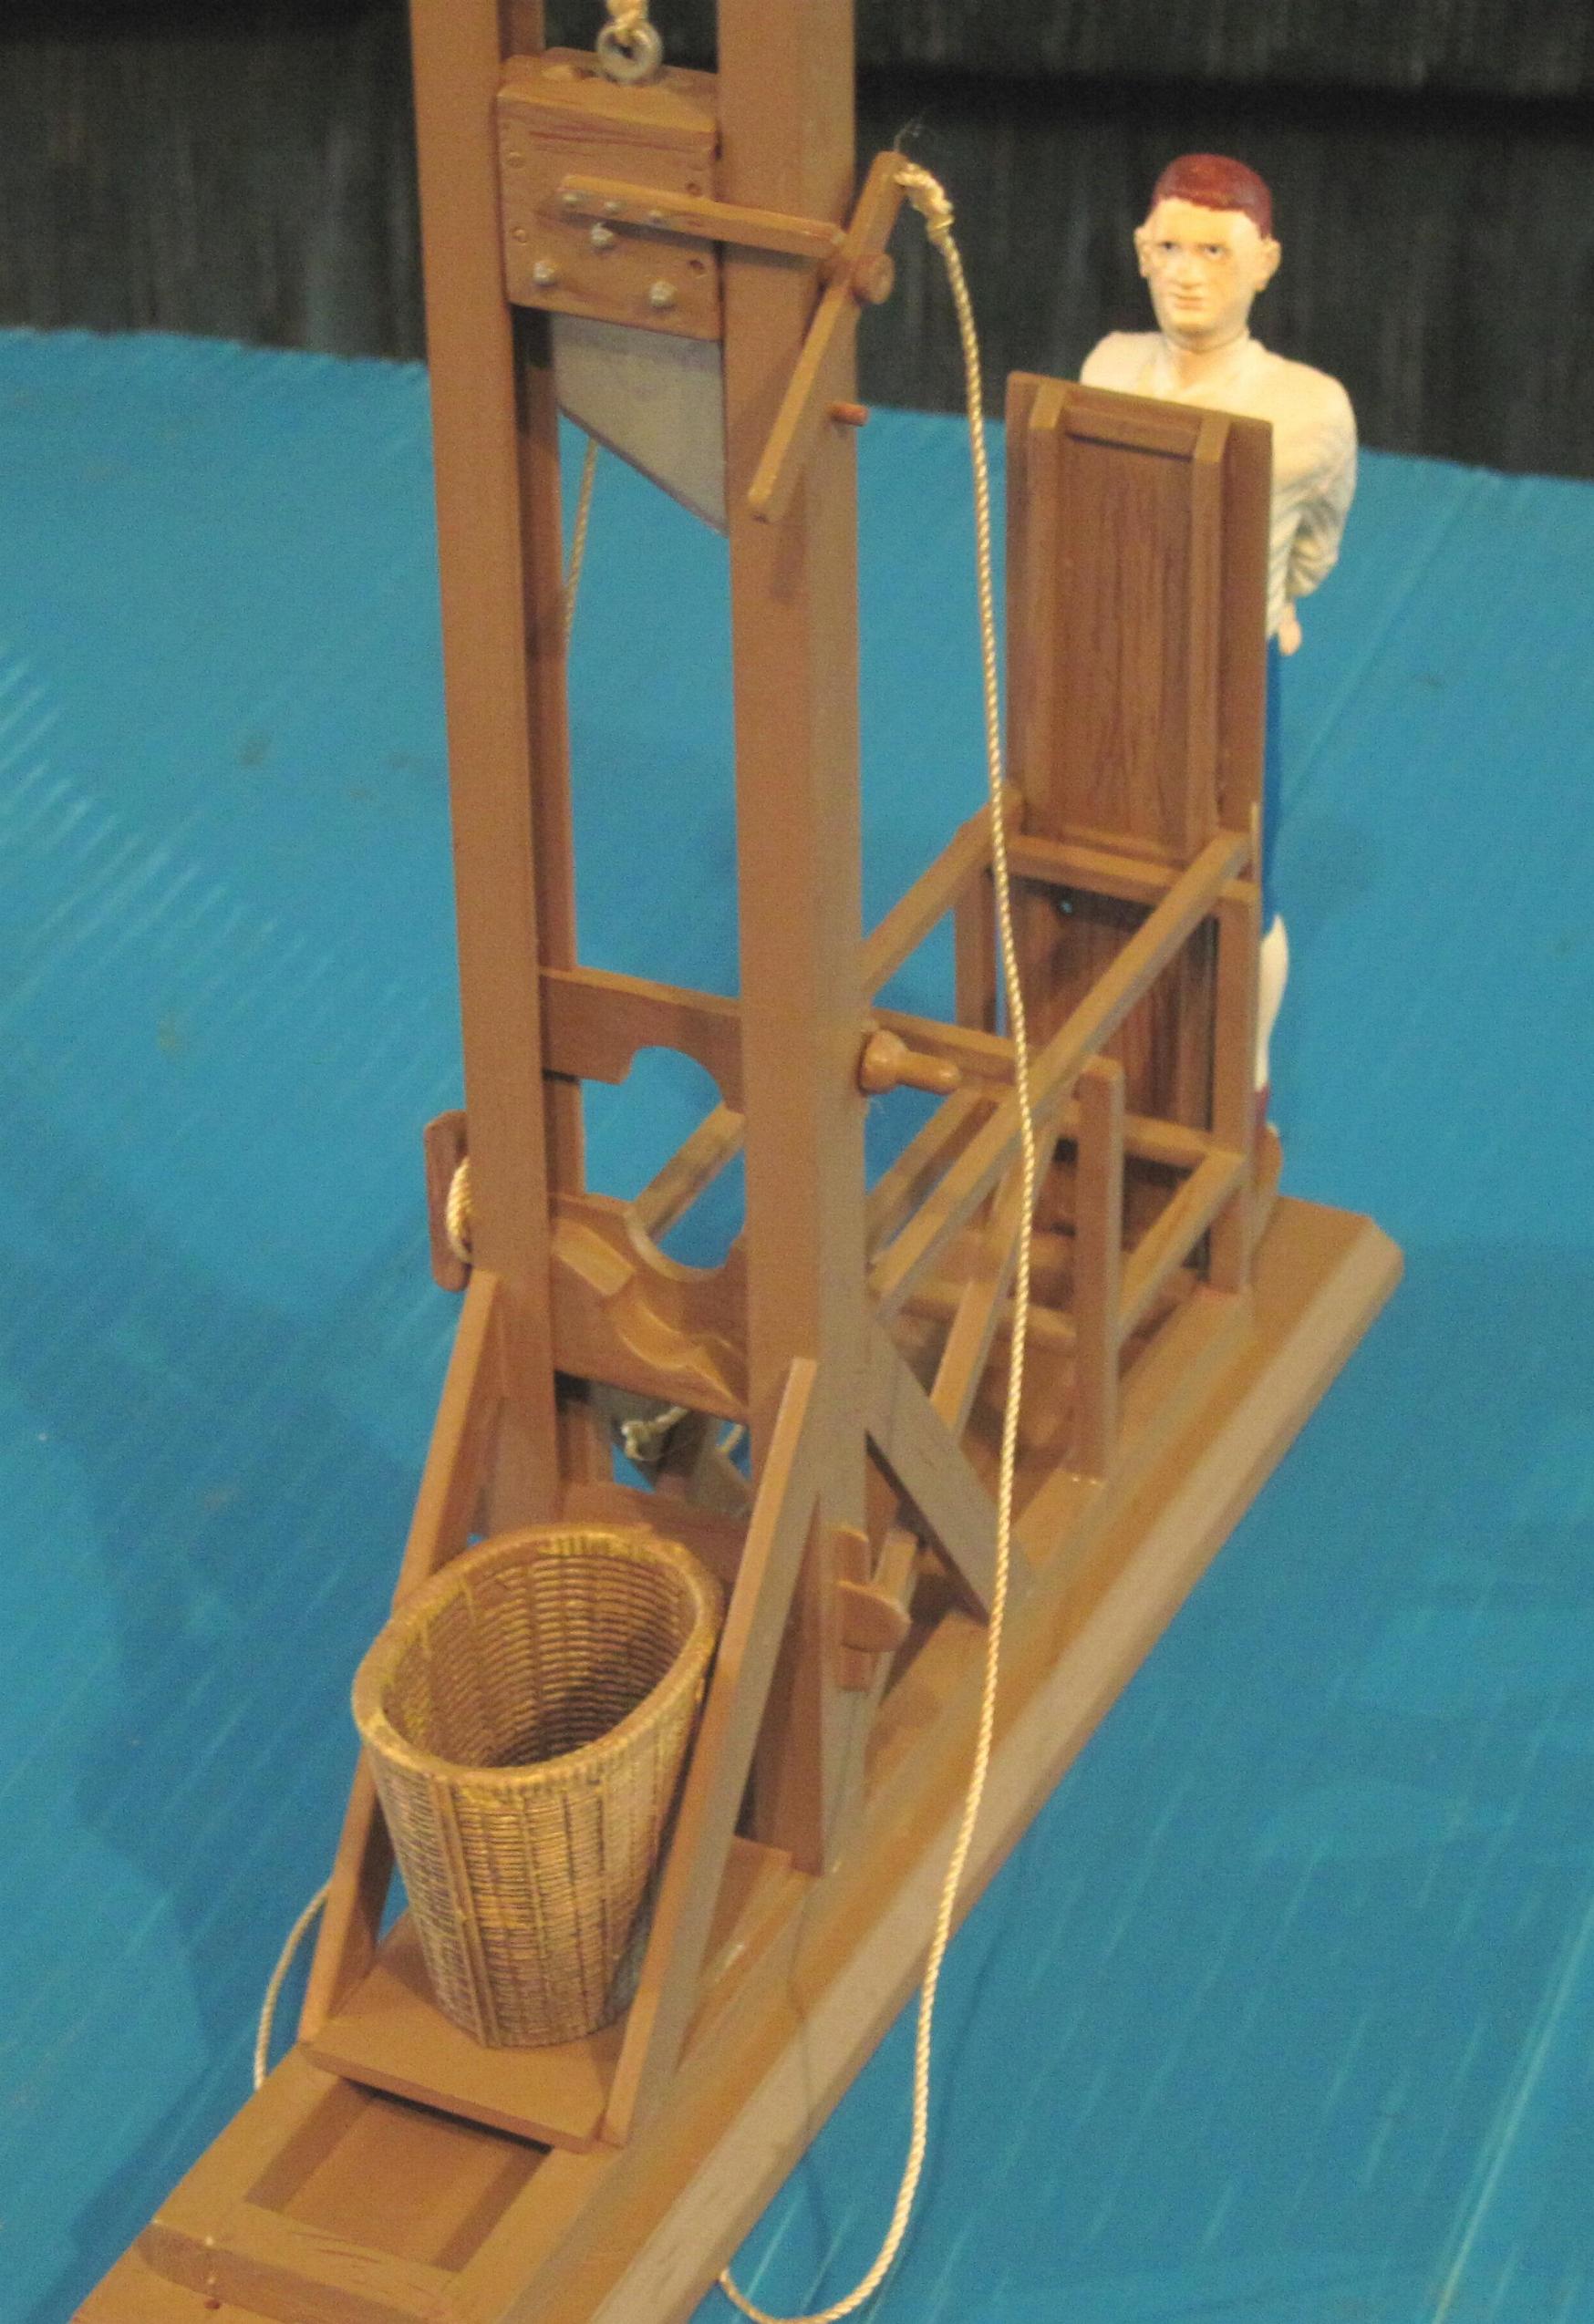
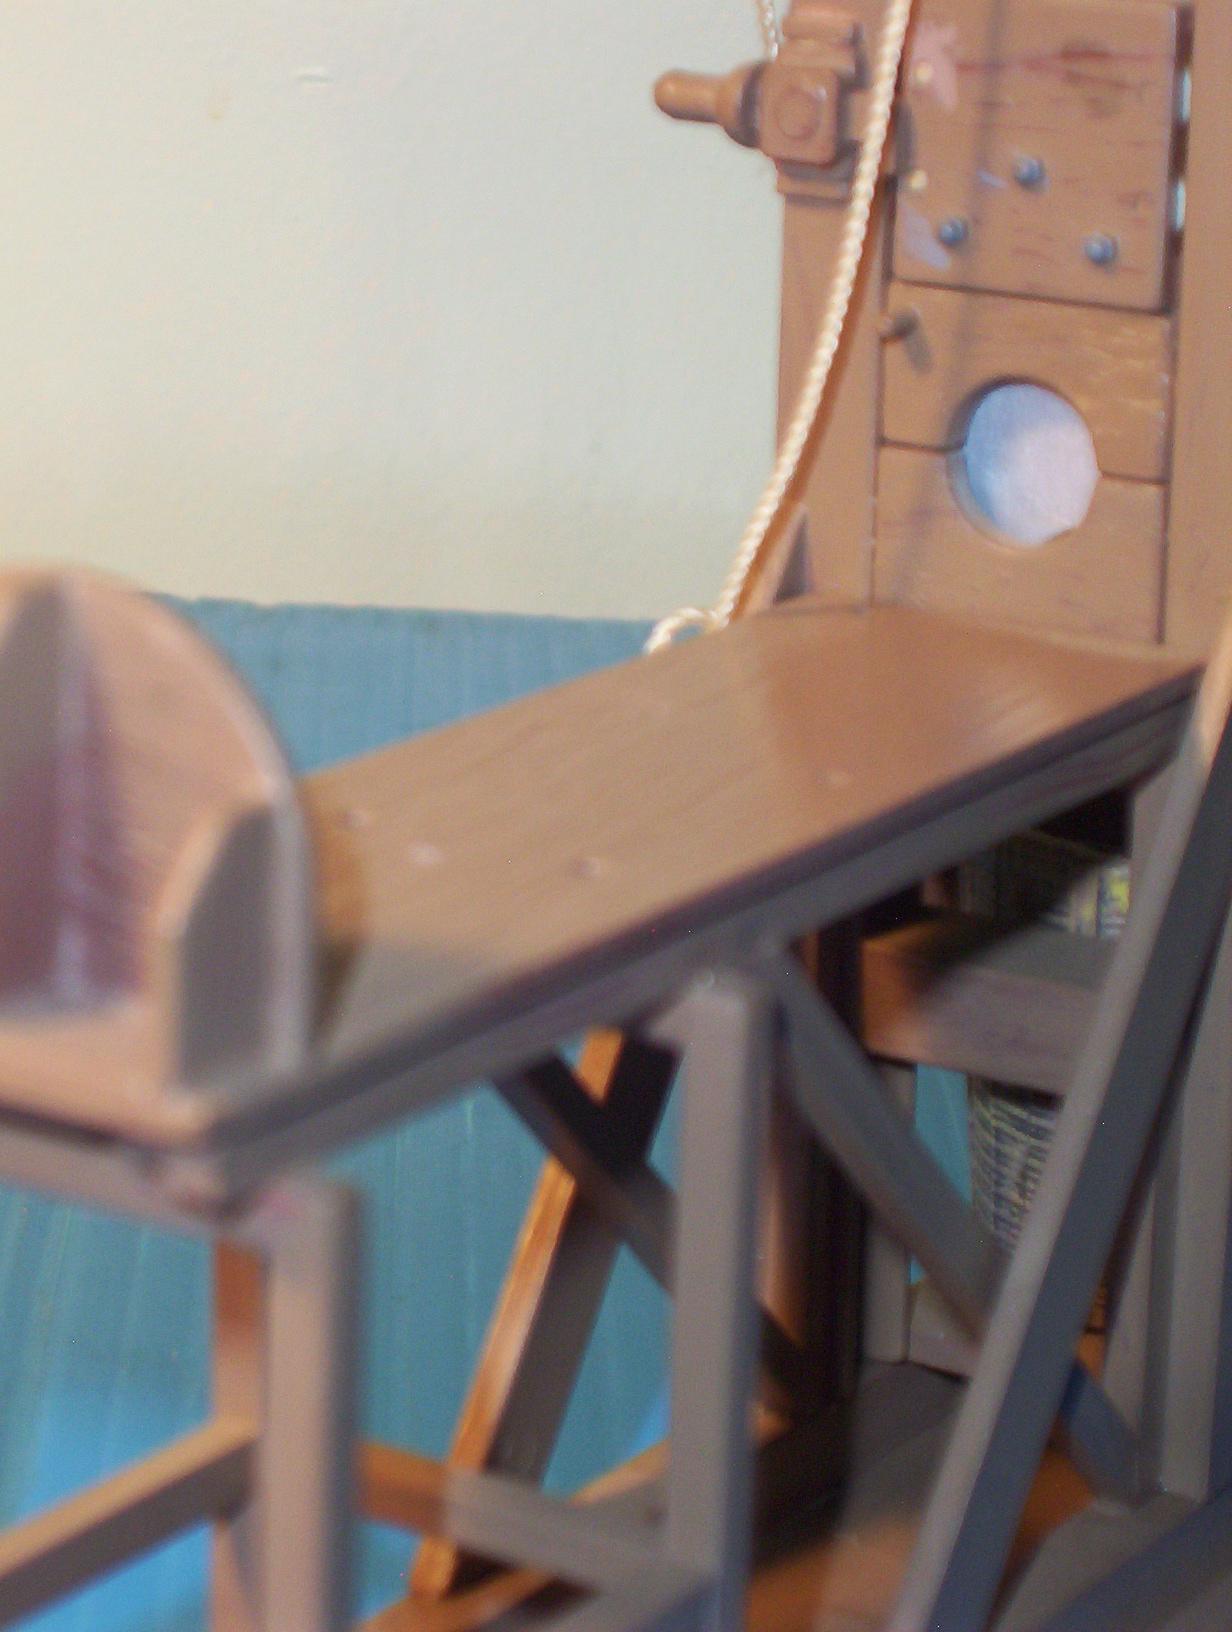
Just a pic of the basket,
as I realized I hadn't posted one yet.