Where I Keep and Work on My Kits

UPDATED 12/29/19

Paint Cart

My workshop
Here is how I made my Paint Cart

This might be a bit too indepth for some as I am going to talk about some of my thought processes and some of the techniques I used.

My workshop My workshop My workshop
First, the problem.
I have all this stuff on my bench, taking up space and leaving me little actual work area.

My workshop
And I still have all this paint to stick somewhere.

I was sitting at my bench one night, and an idea hit me. A way to store all my craft paint.
This picture was my test pieces.
My workshop
Firstly, a proof of concept, that the idea could work.
As well as a way to test and see which dimensions would work the best.

From that, I then had to figure out how big I needed to make it.
Figuring how many bottles I had, did I want it taller, or wider, or what exactly I really needed.

One I worked out the finished dimensions I thought were ideal, I then had to determine how big my raw
material needed to be, and the best way to go about fabricating it.
That was actually fairly simple as I do sheet metal fabrication for a living. And I have been called upon
to help sort out and/or design or reverse-engineer new pieces.

My workshop
All that leads me to this piece.
Might not look like much, or make much sense, until you see it like this

My workshop My workshop
Yes, it is 8 shelves to hold craft paint bottles in a way that makes each one easily accessable, and identifiable.
Each shelf should hold about 22 bottles for a total of almost 180 bottles.


My workshop
Next I kind of mounted it to the side of my workbench so I could nail down the dimensions (height and depth).
The rest of the cart is being designed and built around this piece.

My workshop

My workshop
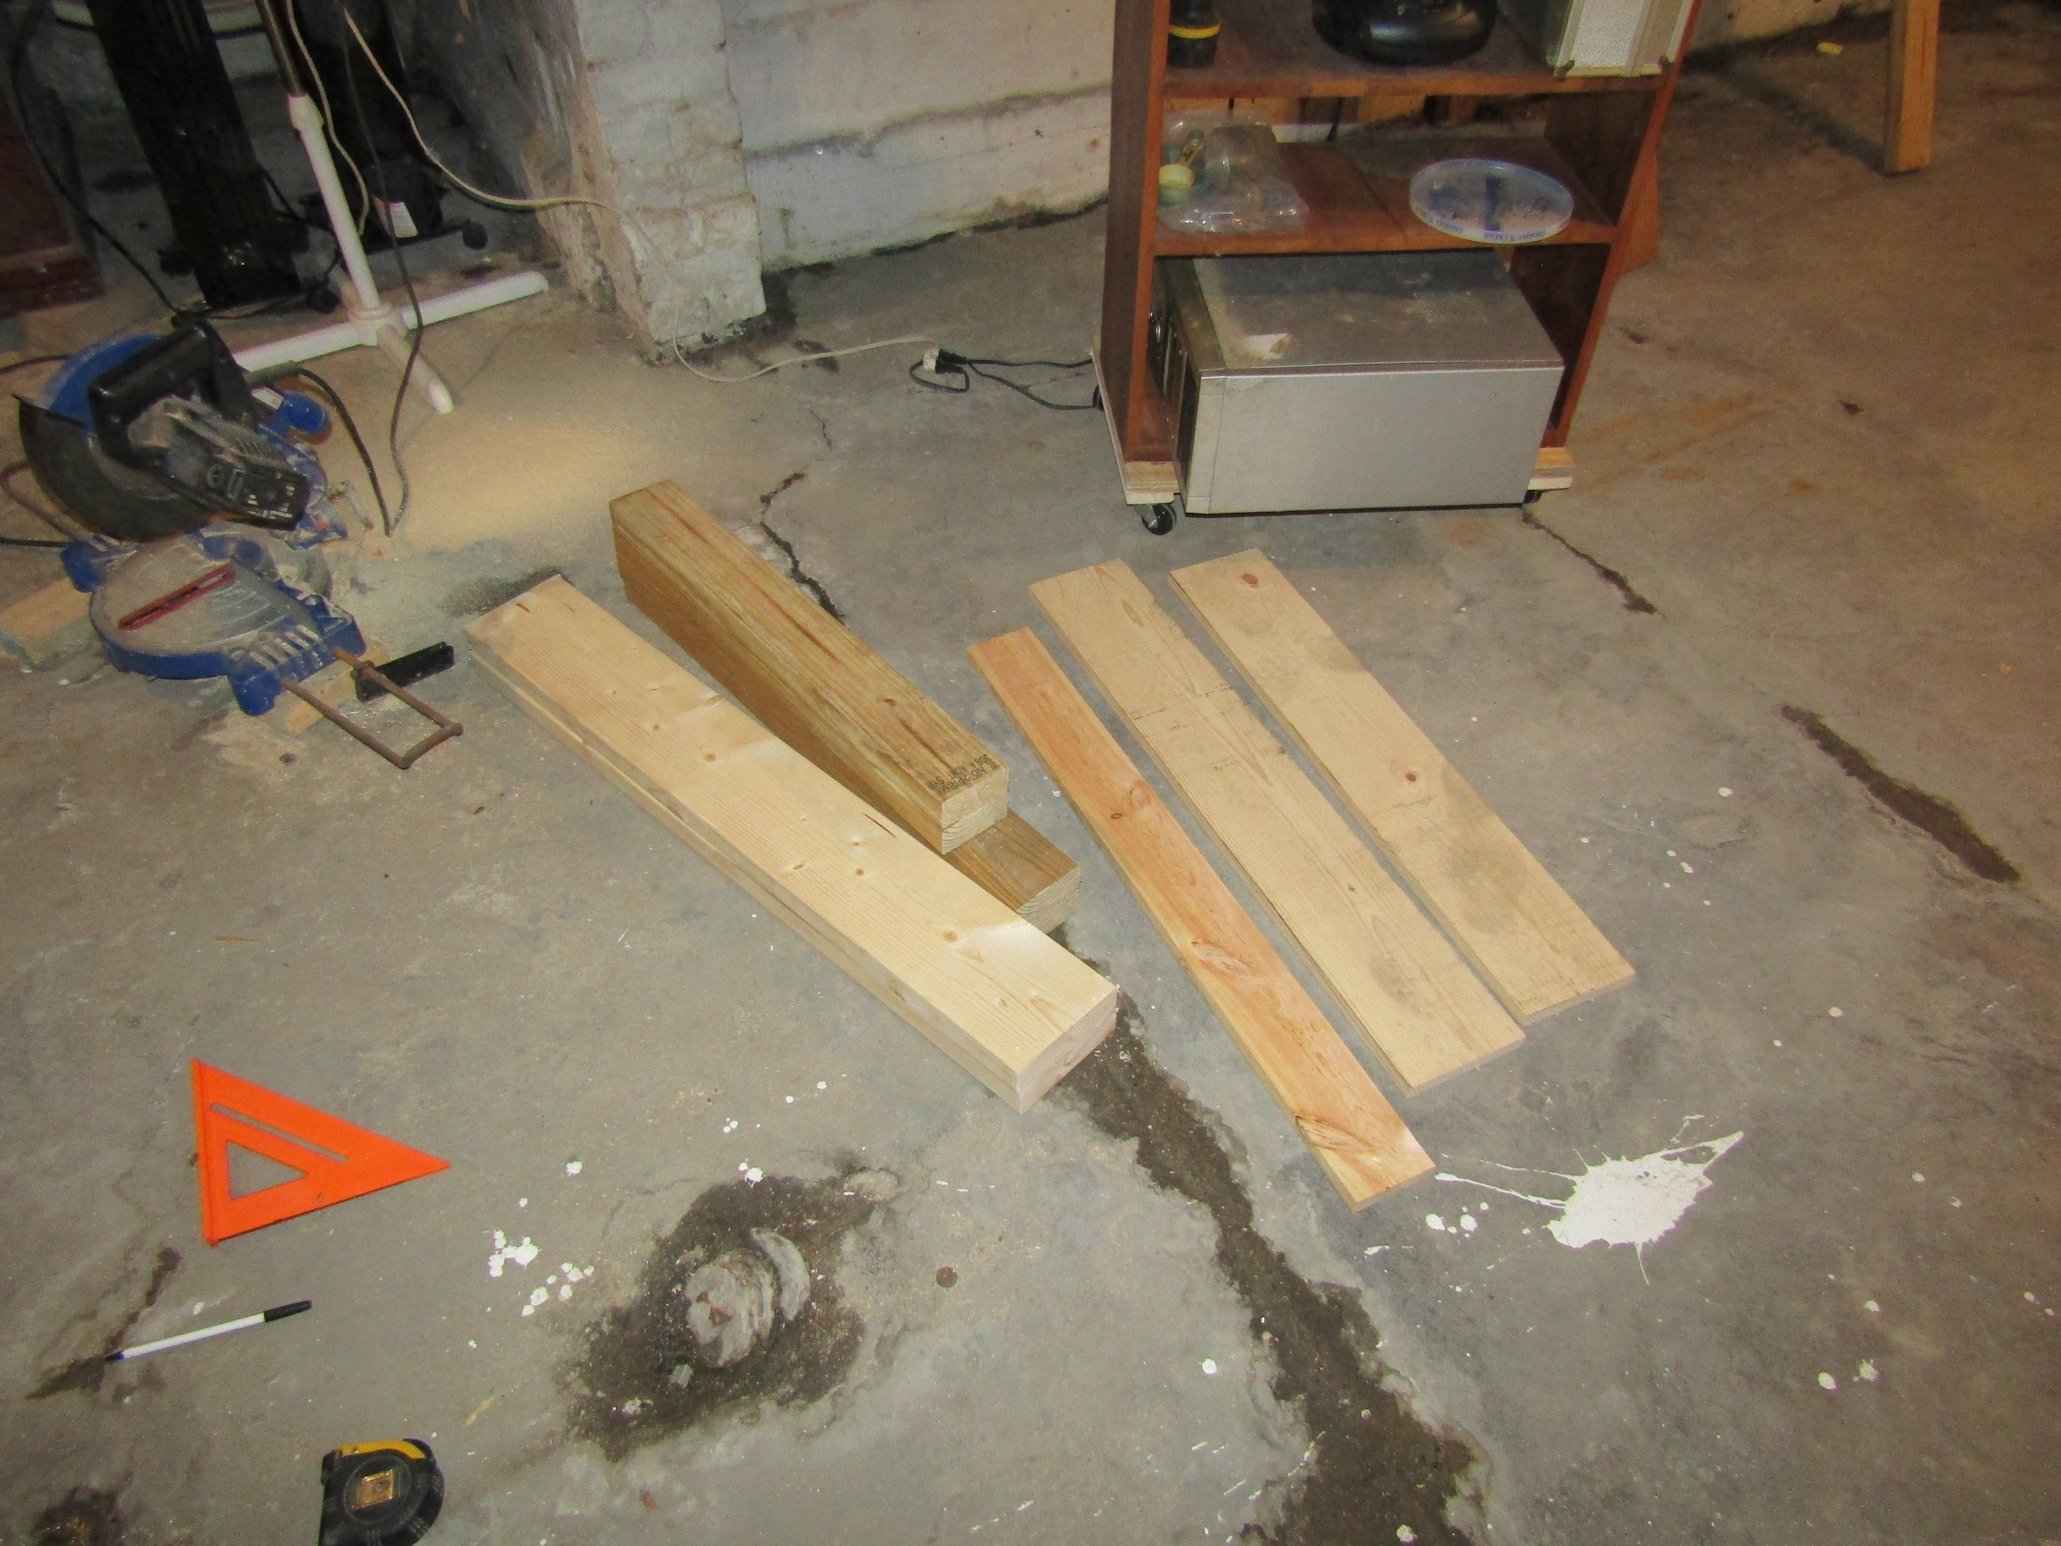
First batch of lumber cut to size

My workshopoMy workshop
First sub-assembly in progress.
Using 2x6 for the center uprights. While the craft paints don't weigh a lot individually, as a collective,
there is going to be a lot of weight on this cart
Using 1-by for the box on top. Had to make up a panel for the bottom. Using Gorilla glue and pocket screws to put 2 pieces together.

My workshop
And here is the center upright and top box.
The bottom panel is both glued and screwed into place. The glue seals it up, so no little pieces can fall through.

Always pre-drill and cut your countersinks when working close to the edges of 1x material.
Otherwise it will split and tear-out.
Thankfully I have 3 drills to work with, so I don't have to switch back and forth.
Corded drill with drill bit to drill the holes.
Cordless drill with countersink bit.
and my cordless impact to drive the screws.

My workshop
Here it is attached to the bottom frame.
The frame is made with treated 2x4s.
A little extra protection since this is in a basement.
My workshop
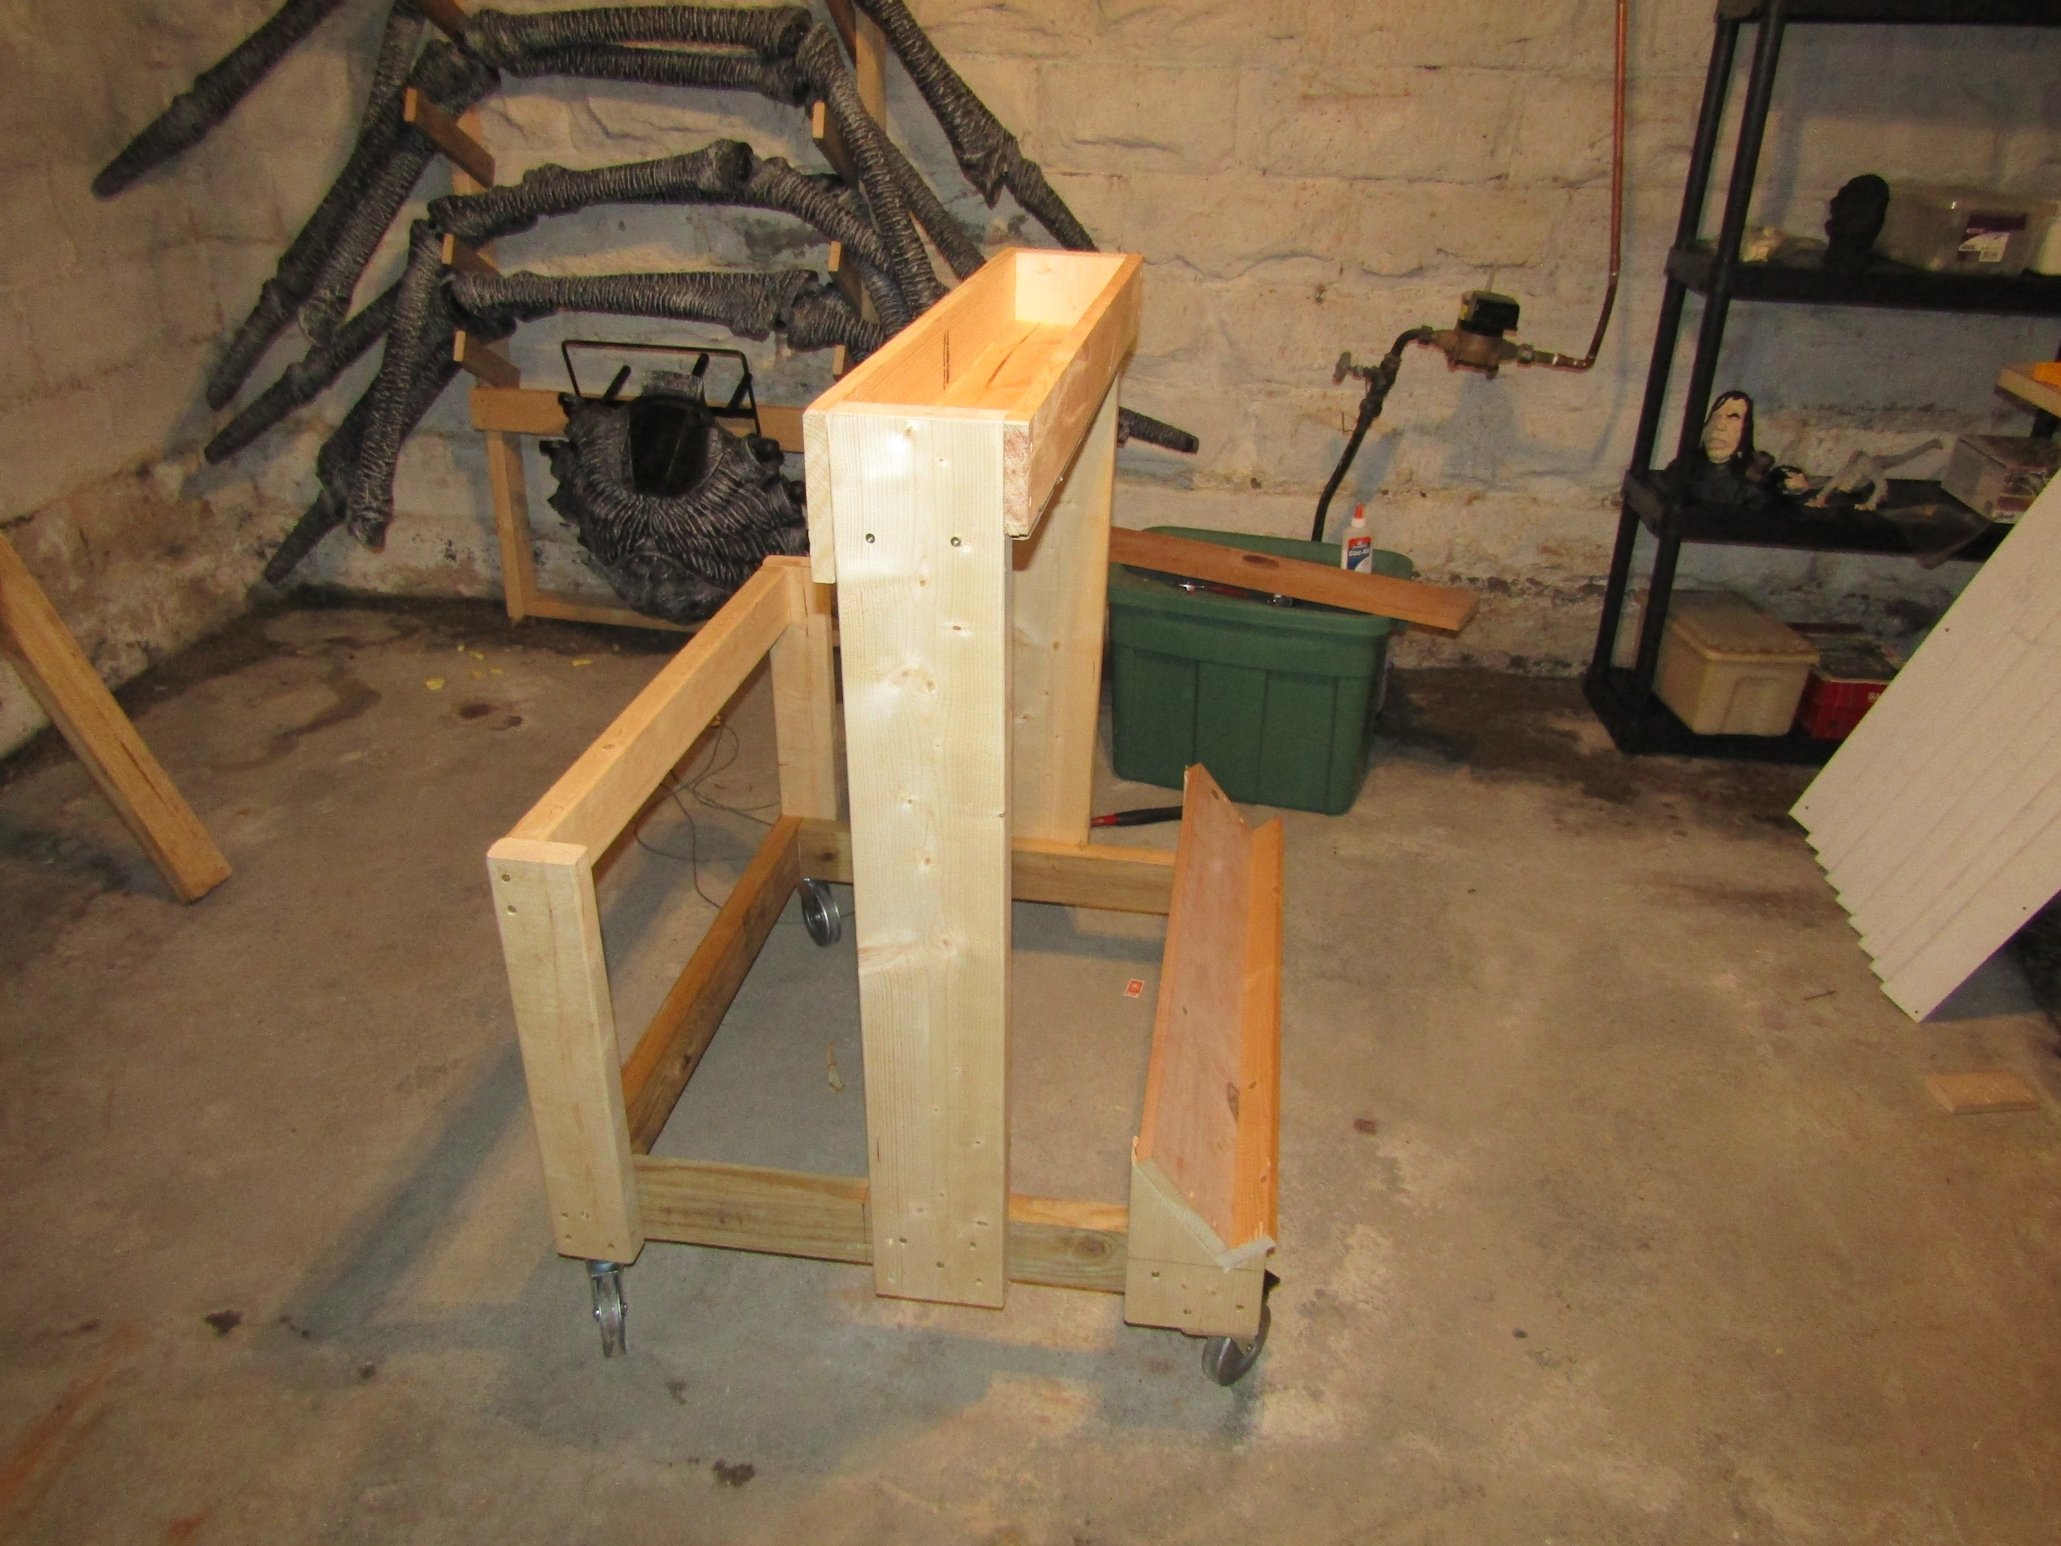
The left side is where the bottom of the steel shelves will connect.
Just a couple 2x4 uprights with a 2x4 cross-piece.
The right side is a slanted shelf.
Made with a couple notched 2x6s and a piece of 1x6 with a
firring strip screwed to the bottom.

My workshop My workshop
Here it is with the shelf attached, and the casters on the bottom.
I went with nice 4" casters so it will roll smoothly on the rough floor.

My workshop
Trimmed out the sides of the shelf. Both to make it look nicer, and to keep paint from falling off the side.
My workshop
Here is the function of that slanted shelf on the bottom.

 
My workshop
Added some wood to the bottom to make a shelf
My workshop
Built the middle shelf for this side.
It took a little work as it has 3 levels.
My workshop
The shelves are to hold these things which will in turn
hold small bottles of paint.
My workshop
And here it is with the last shelf added.
My workshop
Success!

BACK