Godzilla 2005 |
UPDATED 06/26/09 |
Check THIS PAGE to see my building process for this kit. |
| This page will be for the painting of this beast |
 I also started painting the interior mouth pieces. I need to get these done so I can put the lower jaw in place and get that putty done before I can actually start painting the kit. I am starting with a base-coat of pink. Which I will then wash with a red/brown mix to highlight the details. Then I plan on misting it with just a touch of white to tone it down. Then I will paint the teeth. |
  Moving right along with these. Just need to give it a bit of a wash, then highlight the tips of the teeth. Then should be ready to clear coat them and attatch to the kit. |
 Ok, the mouth is done (more or less) and now installed. Just have to mask it off, primer again, to check the joint where the jaw connects, then I can start painting! |
  Here is the kit with the mouth masked off with some silly putty. Didn't have any actual black primer that would cure on this vynil kit, so I used some duplicolor gloss black that I had. I needed something that contrasted so I could make sure I had every nook primered. Plus I needed the contrast for painting. |
    This is with a light dusting of gray primer, with just a hint of green to it. I do this by spraying a can of green into the stream of gray as I spray paint. It is a fast and easy way to mix colors with spray paint. While I know that Godzilla is not technically green, I like to keep the hint of it in my build-up as it just 'looks right' to me. |
    Man, this thing is a drybrushing dream! A little medium gray to get things going, and highlight what I am working with. Though I am leaving the back fins alone for now as I want them a little darker than the body color anyway. |
    The gray was looking a little too light so I toned it down with some gunmetal then gave it a shot of clear coat. |
     Finally some color! A dark green with some dark blue highlights. Now you can really see the details start to pop. What a drybrushing dream.
|
    Hit it with another wash, as a lot of the scales lacked detail when looking closely at them. This kind of darkened the whole thing again though, so I am going to have to hit it with one more wave of drybrushing to bring the color back to where I want it. This will also sink the wash in a little more and not make it look so stark. Then it will be on to claws, eyes, and the back fins. |
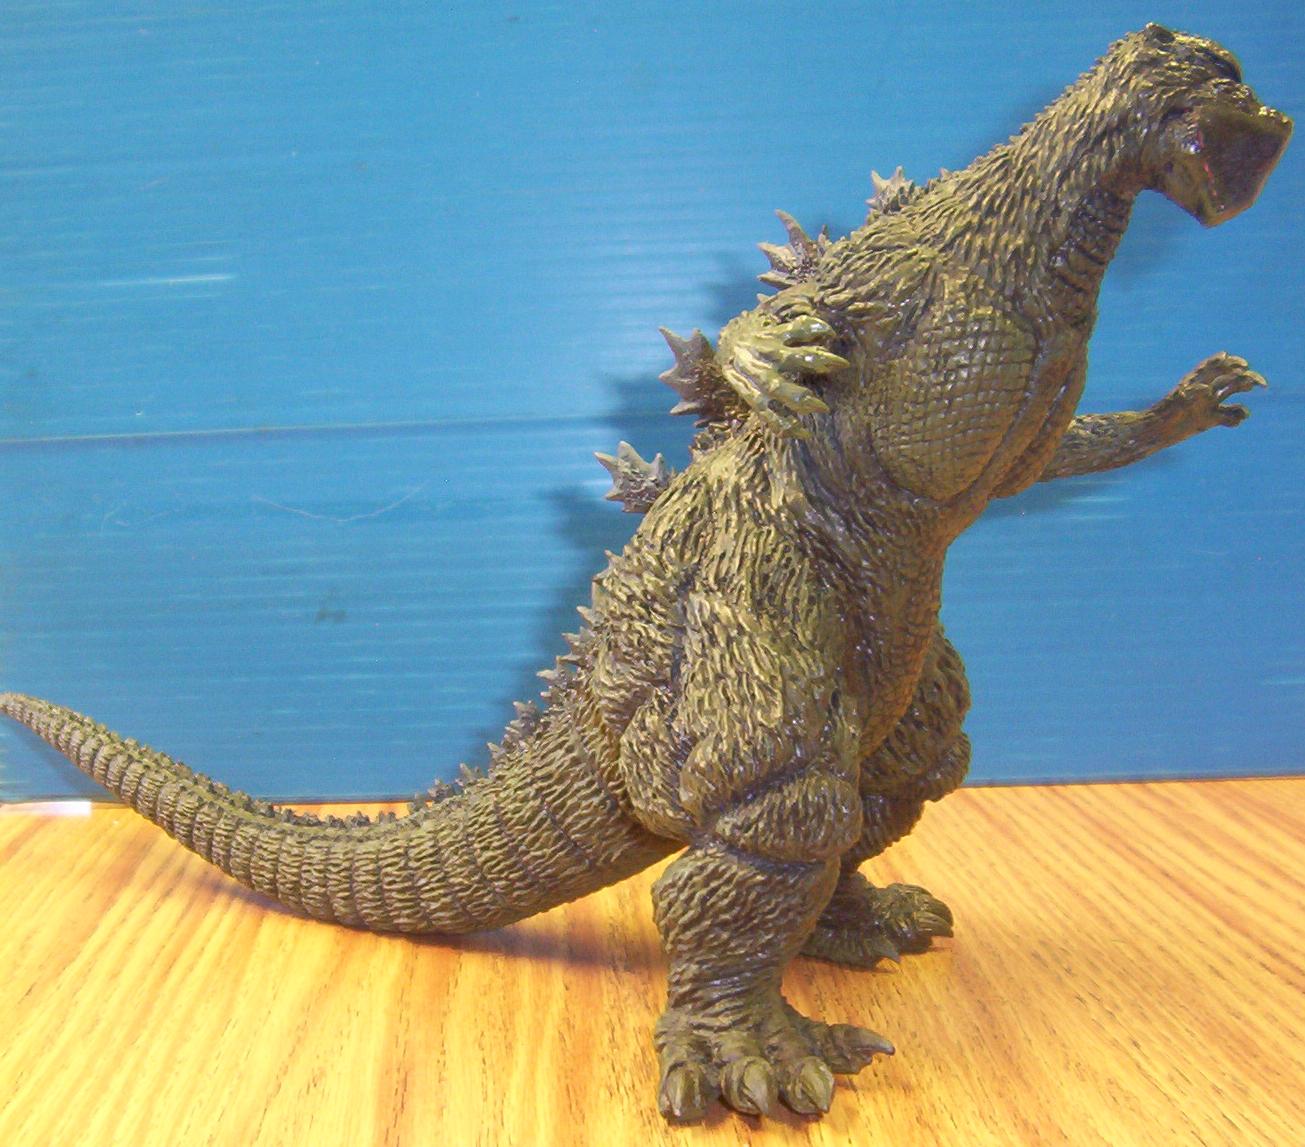
  Ok. Here he is, with the masking finally romoved from his mouth. And a little off-white brushed onto his claws .  
|


