|
| Heres
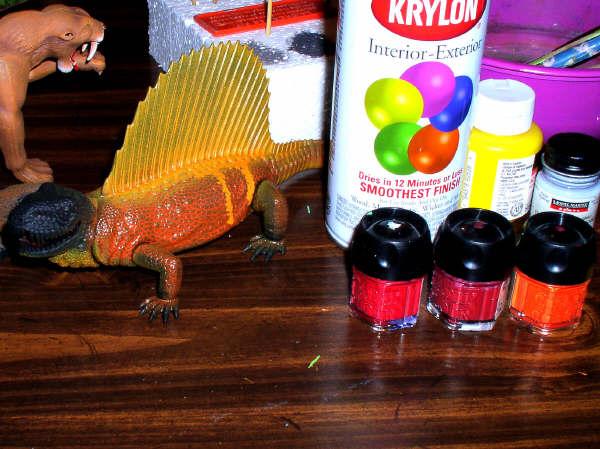
a re-issue Sailback that I've been working on.
The Airbrushed body was a complete failure, but
hey, it was only a test. We will concentrate on
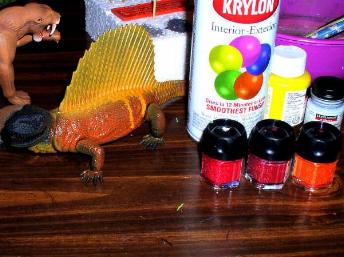
the face for our examples. The body was first
primed with Krylon Ultra Flat black. The joke is,
it's not really a primer, but just flat very
black paint. I've found that the old Citadel
brand paints work best for me for drybrushing.
The thicker the paint is, the better it seems to
work. |
|
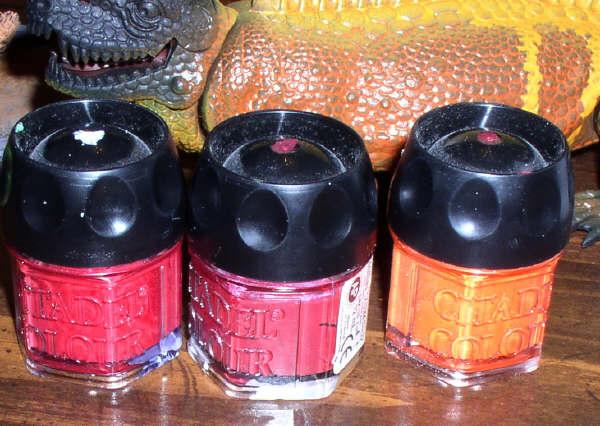
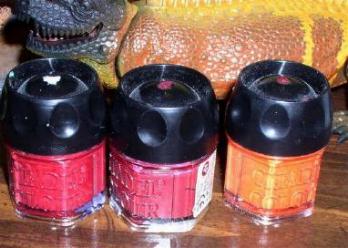
| This
Sailback will end up being orange. I start out by
painting a base coat of the Darkest color, in
this case, the darker red. |
|
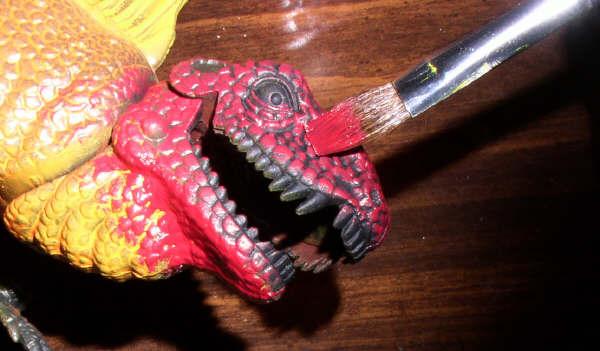
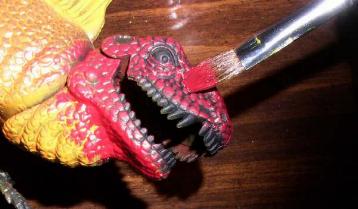
| The
first coat can be the sloppiest. I don't feel
that every nook and cranny should be black, so a
little red in those spaces is ok. If you load
your brush up and then try to get as much off of
it as you can on the edge of your paint bottle.
The remainder, use a paper towel and brush your
brush on it until there's just a little paint
left. Thats drybrushing! The flatter angle you
use on your model (painting parallel to the
surface) the easier it is to get good results. |
|
| This
is what our first coat should look like. Did I
mention that I like water based paints because
there are way less fumes....Hic.... |
|
| I
have done 2 reds and am starting an orange layer
in this picture. I don't allow any drying time
between layers and I use the same brush without
cleaning it. This actually helps the colors blend
more nicely. |
|
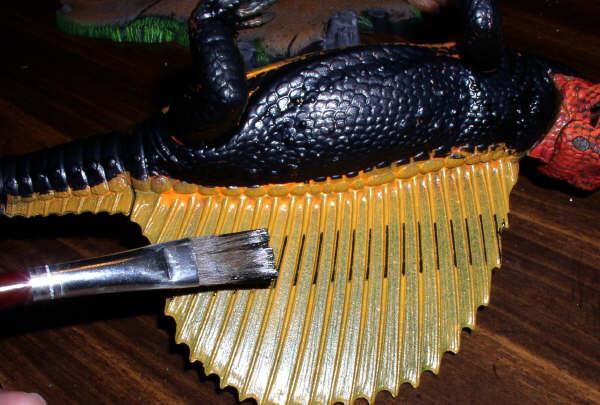
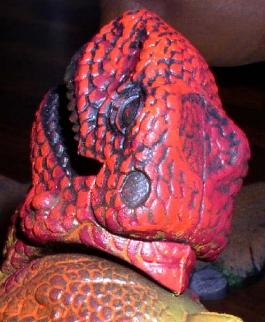
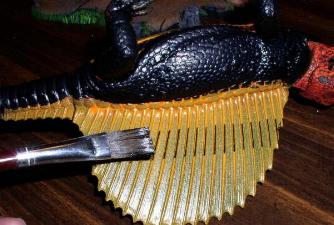
| I
hand painted the rest of the body black. This
picture shows the effect of the technique on the
raised parts of the Sail. On surface detail that
is supposed to be really dark, I try and mix
brown in with my back. I think in modelling
terms, that there are no true black colors and no
true whites. Less chance of a jarring contrast. |
|
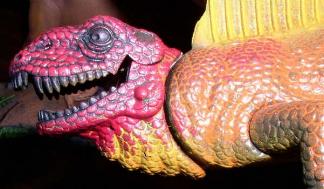
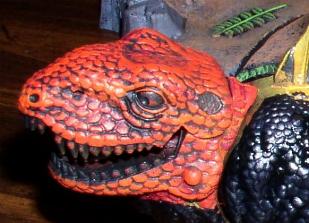
| Getting
closer with the skin color now. The last step I
will do is highlight some areas with yellow, to
give it that finished look. |
|
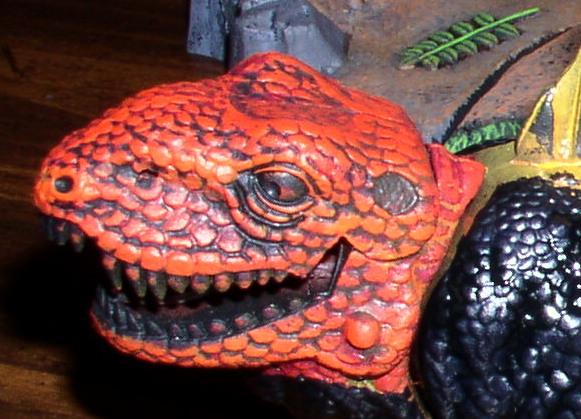
| I
hit the teeth with pallid flesh. The little
breathing hole?(behind the eye) is pink. The
detail in there is tough to get to so I will use
a red wash to bring those details out later. A
wah is a color of paint that is thinned down so
it flows into surface recesses and doesn't cover
the upper surface too much. You know, like panel
lines on a Tank or something |

|
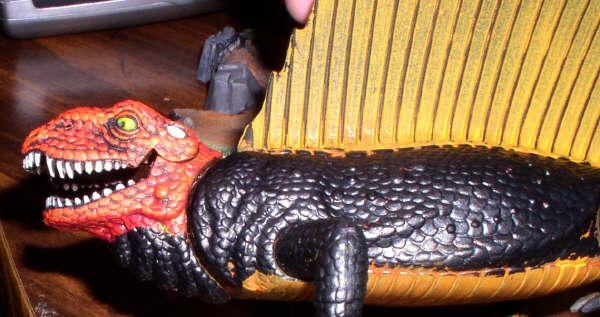
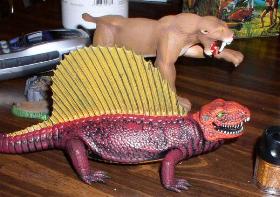
| The
body is in the first step. The eyes will need a
couple more coats of yellow. The Smilodon in the
back ground was airbrused a couple of colors and
then drybrushed a lighter color. Thats a
variation of the black as basecoat technique. It
gives a softer look. |
|
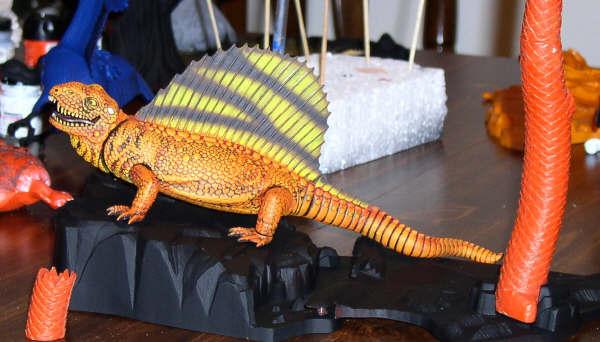
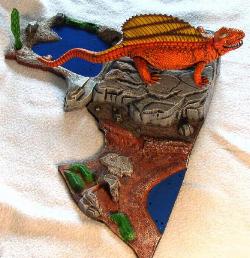
| Basically, More of the same applied
techniques. The sail was airbrushed 2 tones of
brown with a black stripe in the middle of the
brown.The teeth, nails and the spines of the sail
need to be finished too. |

|
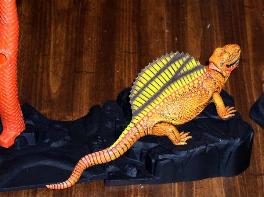
| Bases represent a different challenge. I
try for a big contrast between the base color and
the next tone. Once 3 different shades of a
color, say gray, are laid down, a light
drybrushing of a tan or brown gives it a
dusty-dirty look. Even light green to give river
rocks a mossy look. Maybe one more picture
left-when I finish the little guy. |
|
| The
finished kit! |
|
| I
would like to take a moment to publicly thank
Rich for putting this together, and for letting
me copy it from his site onto mine. |