My
Prehistoric Scenes |
||
| Protoceratops | ||
| Go BACK to the finished kit page | ||
 |
||
| Well,
I couldn't wait. Even though I already have a bunch of kits in the works already, I had to get started on this one too.. |
||
 |
 |
|
 |
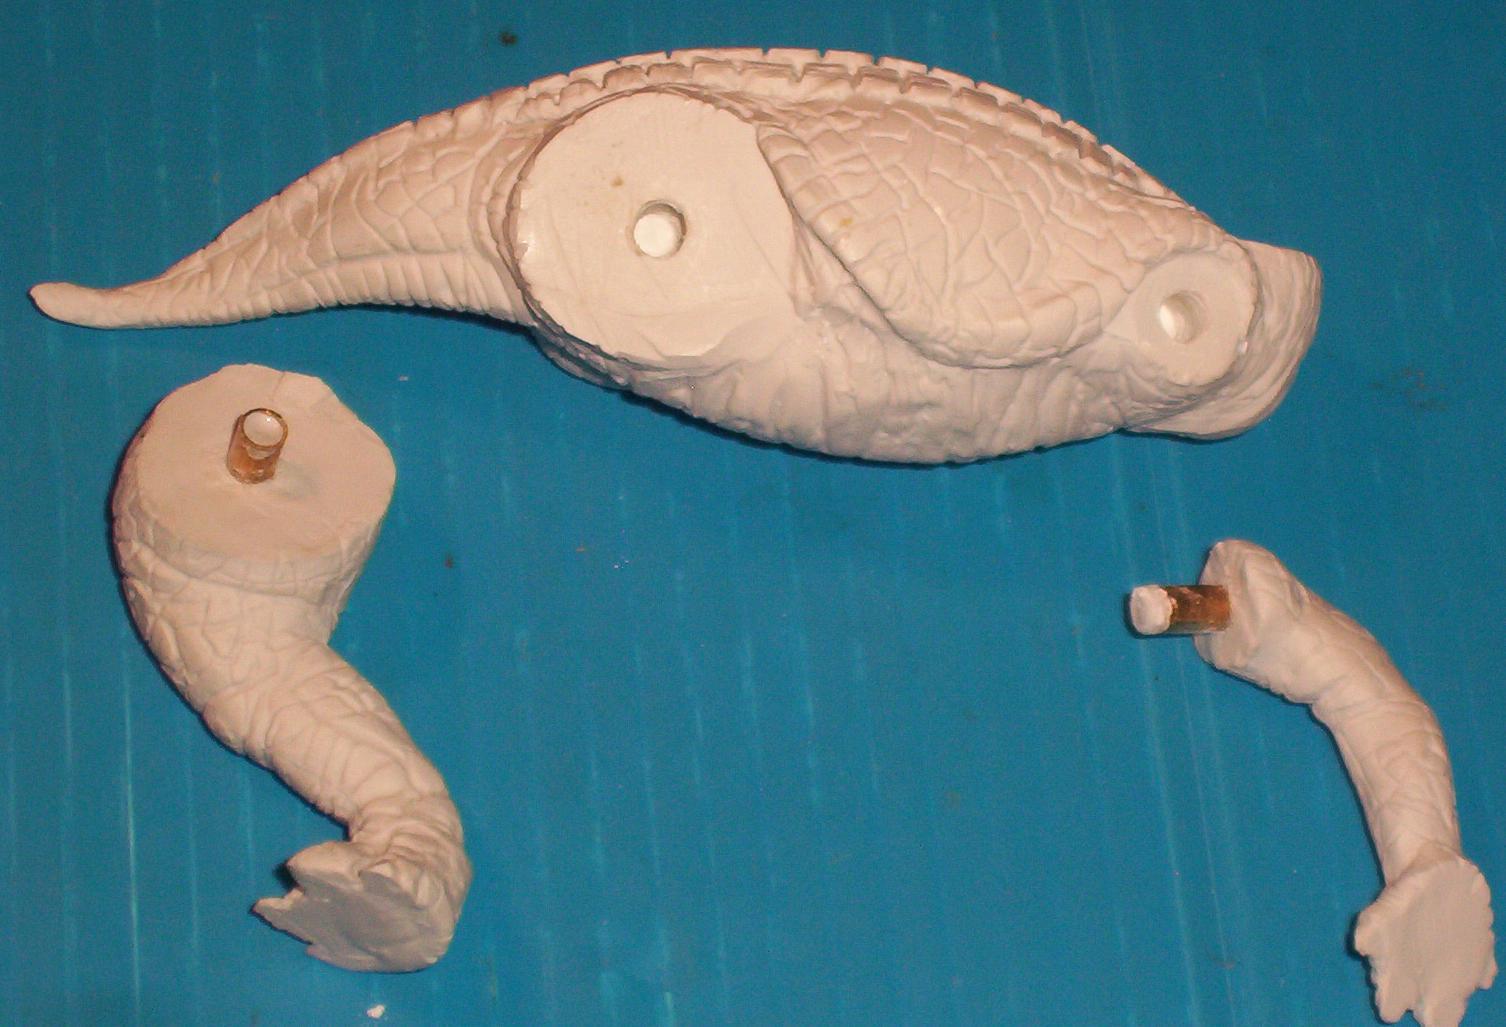
Well, I got the holes drilled
for the legs. One of them ended up too big, so I had to fill a ltitle with some putty then re-drill but so far. so good. |
|
 |
 |
|
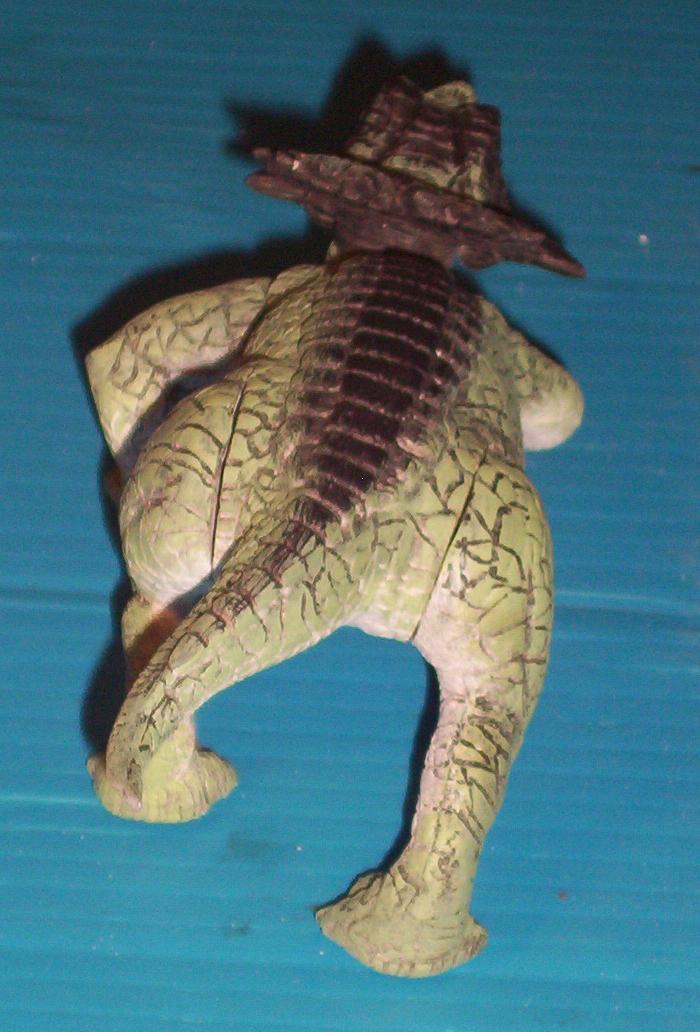
| Got the base
coat on. Base of course is brown primer, while the dino
itself is a little different. I left the off white resin as is, and just dusted the back and legs with a little silver spray paint. I'm going for a kind of fishy look for this one. Something really different, and kind of out there for me. |
||
 |
||
| Well, I already
changed my mind and am switching directions on my paint
scheme. I originally was going to go with a light rainbow type pallet. Now I want to go with a 2 toned green with some interesting highlights. |
||
 |
  |
|
 |
 |
|
 |
 |
|
| Ok. I am
finally slinging some paint on this beastie. In keep with this being a fun kit, I am doing something different with the paint work. This is the first time I am trying the method of just drybrushing the color and letting the darker undercoat work in place of a wash. You can see my main body color. The lighter green. With a white underbelly. The scales down the middle of the back, as well as in the transitional area between the two are going to be a darker blue-green. That should probably happen tonight. The last 2 pics show something rather daring for me. A splash of some bright color. If you look at my other build-ups, you will see I don't really do that sort of thing. I have wanted to, and have even tried it a couple times. But by the time I am done, I end up muting them, or going over them so much they get washed out. Sorry the pictures are so blurry. I snapped a few quick shots before I took it downstairs to seal it. Want to get a clear coat on it before I do the second color. Just in case I screw it up. |
||
 |
 |
|
 |
Well, I got my
second body color on the kit. I don't like it. It looked good when I mixed it up, but I just don't think it works well with the other color. Plan on repainting with another color. Maybe more of a blue-grey. |
|
 |
 |
|
 |
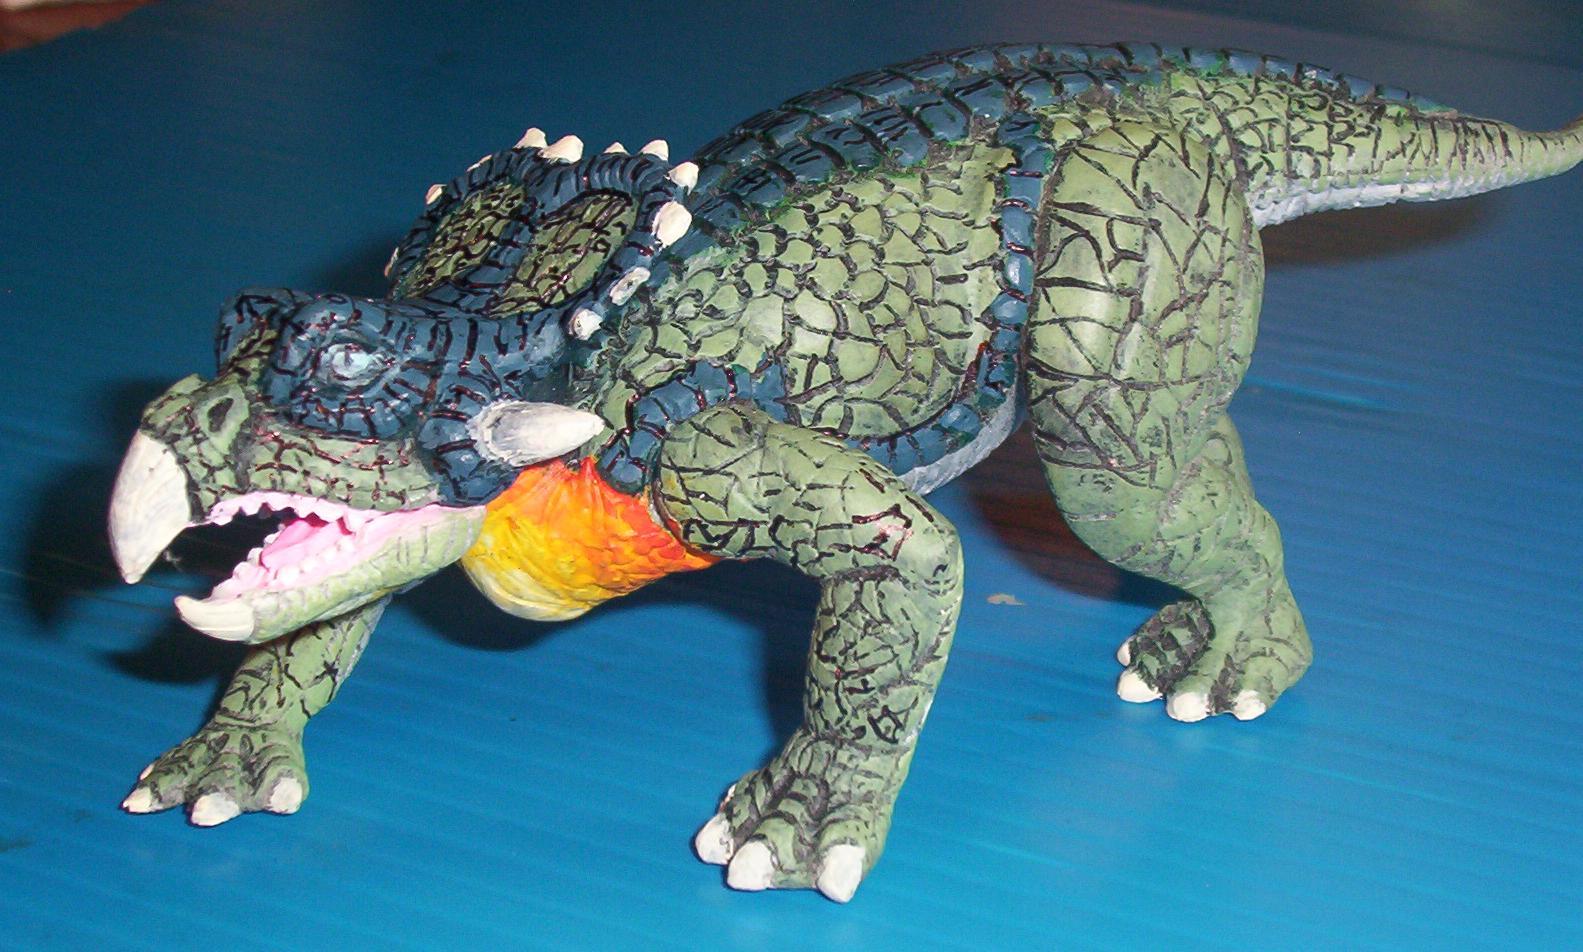
Now that is
more like it. Found the color I was looking for. After the sealer coat dries I will start working on the inside of the mouth. Once I get that done, I can attach the jaw. Then it is on to detailing the eyes, claws, beak and horns. |
|
 |
  |
|
 |
 |
|
 |
 |
|
 |
 |
|
| Getting close
to done now. Still have some more detail work to do yet.
The eyes need attention, and so does the mouth. A little
more work on the horns on the head as well. But
otherwise, the model is close to done. Just need to get started on the base now. |
||
 |
 |
|
 |
 |
|
| Ok. On to the
base. Got a pretty good start now. The 4 pictures above show the various stages so far.
As you can see, the pre-shading I did before actual painting is very subtle once the next color coat goes over it. But it does give some nice added depth to the piece and really helps break up the monotony of larger flat area. |
||
 |
 |
|
 |
 |
|
| A little more
detail work on the rocks, then some washes on the dirt
and the stone wall on the edge. Looking good. Still have some drybrushing to do. Mainly the grass, and the higher points of the nest. |
||
 |
||
| All this work
on the base, doesn't mean that I have forgotten the dino
itself. Been doing a little tweeking here and there. This pic is a little fuzzy, but I think you can see where I cleaned up around the spikes on the crest, and around the eyes a little.. |
||