Where I Display My Kits |
|
| Display Room I am
lucky enough to have an entire bedroom upstairs to use
for whatever I want.
|
|
   Here are some before and after shots. If you don't want to scroll down and read about all the steps as they happened, you can check this page to see a visual progression of the project. |
|
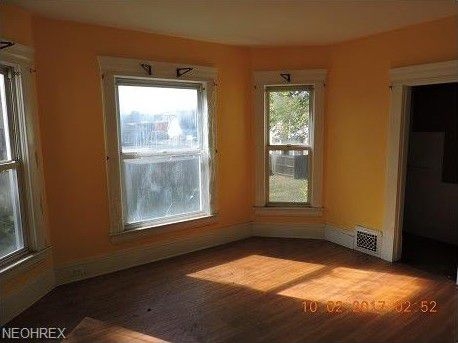
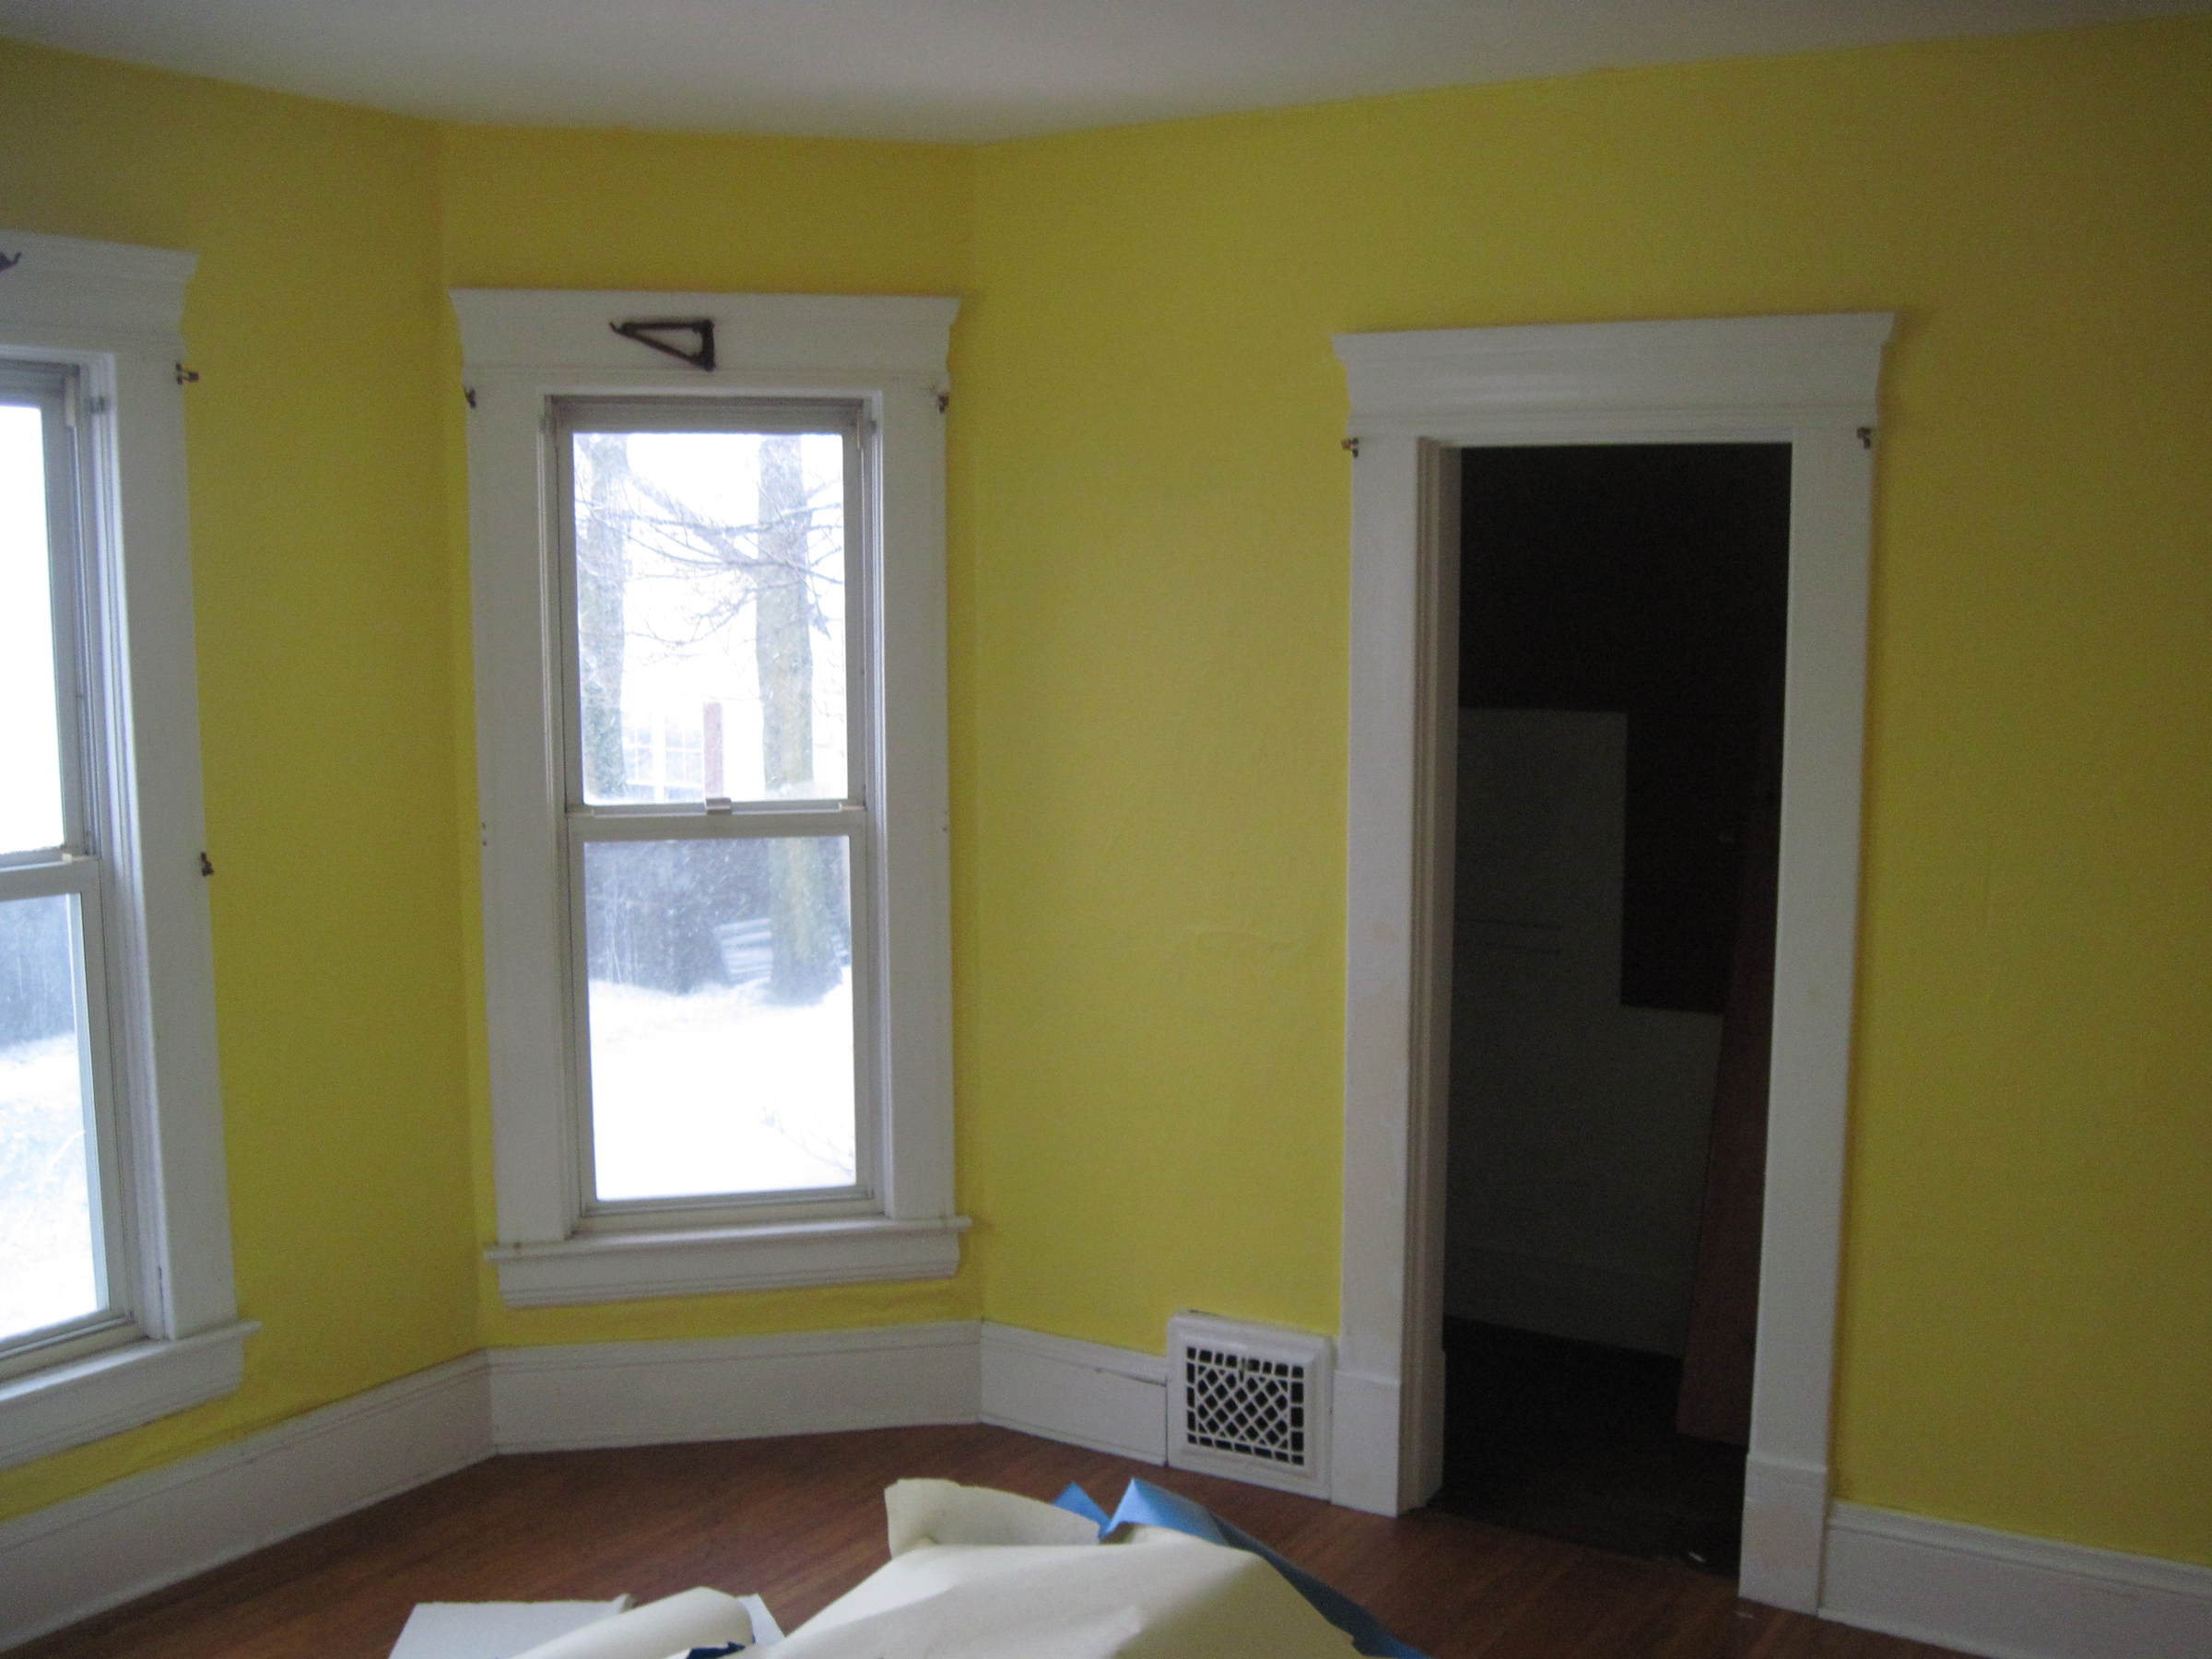
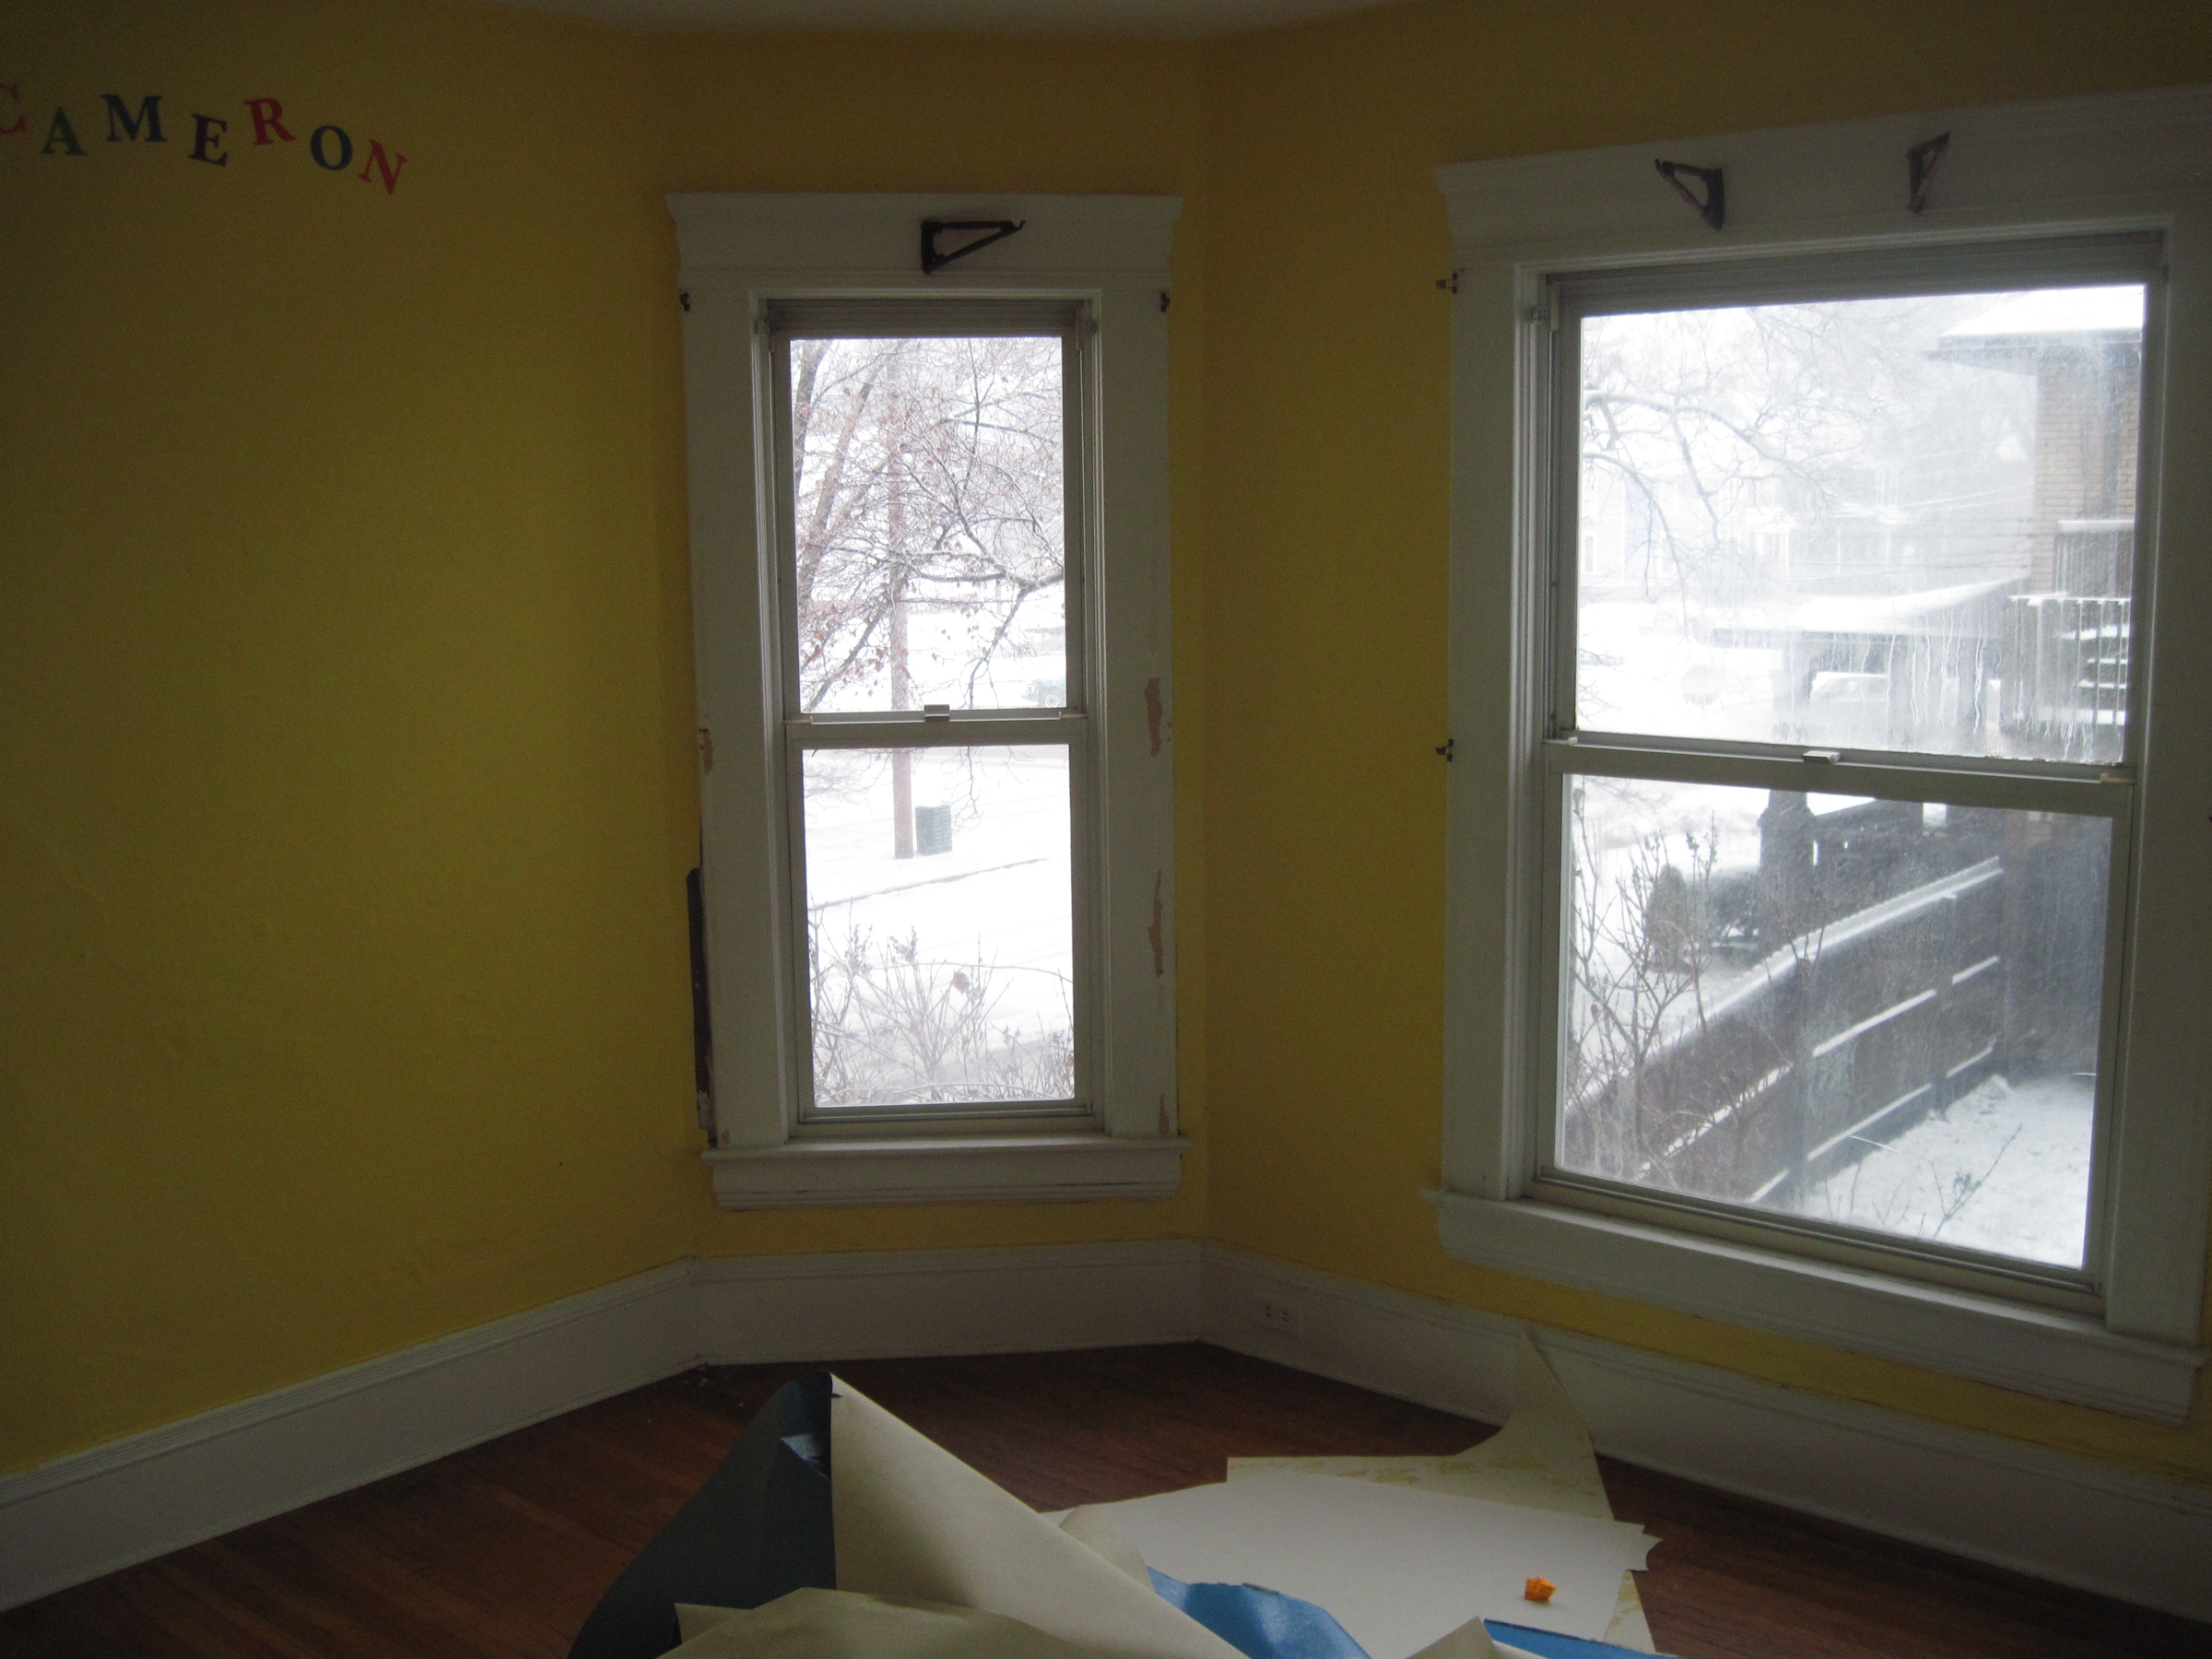
And this is what it looks like after we pulled all the wallpaper off the walls, and piled all my boxes of crap in the room. |
|
 As you can see, under the wallpaper the walls are not in the best of shape. I am going to have to skim-coat most of the one wall before painting. |
 This is the mountain of built and unbuilt kits before I started getting some on the shelves in the basement. |
| Nov 28 2019 | |
 This was the easiest wall to get to, so it is where I am starting. I was just going to patch and skim until I discovered a lot of the plaster is loose. |
 So, I decided to cover the wall instead. I screwed luan to the wall to give me a nice clean surface to work with. It will also help to keep the plaster from loosening any more than it already has. |
| March 1 2020 | |
 Got the walls scraped down and prepped. |
 Started the first scratch coat of mud. |
April
19 2020 Finally finished the first coat of mud. |
January 2021  Finally finished the first coat of mud. |
| February 21 2021 | |
     The walls are finally primed! |
|
May 16 2021  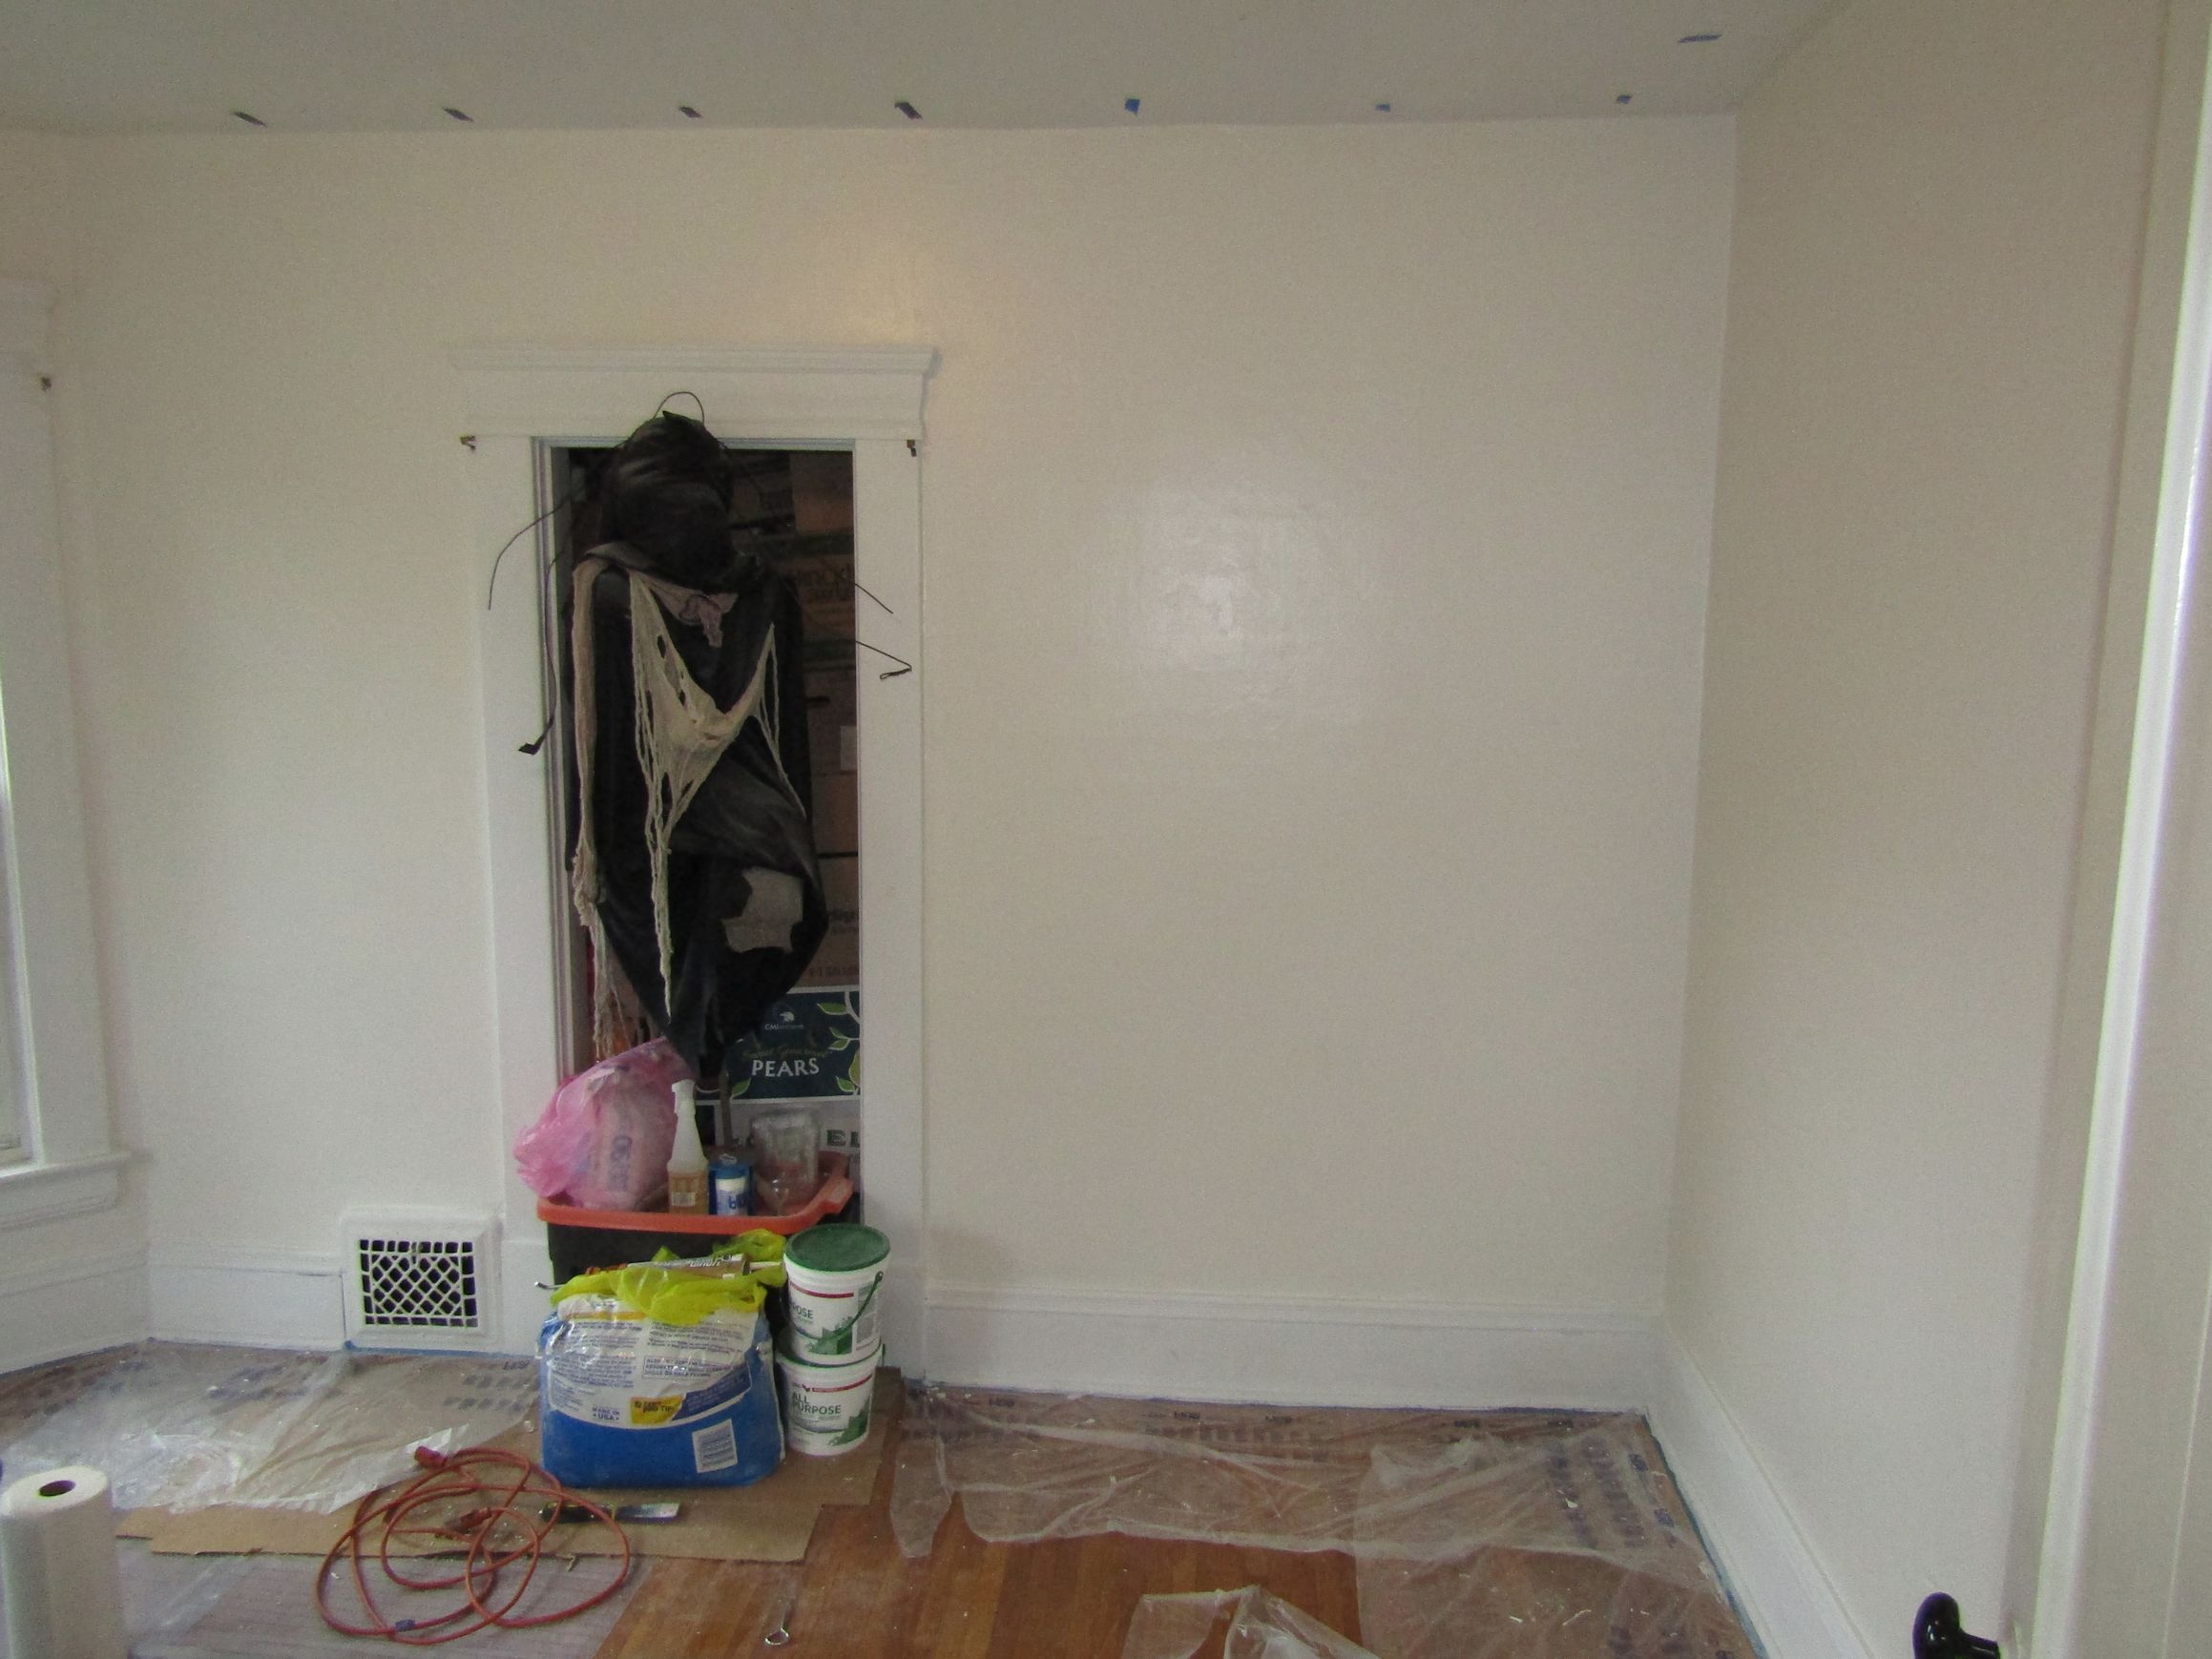 The walls are finally painted! |
|
| new May 16 2021  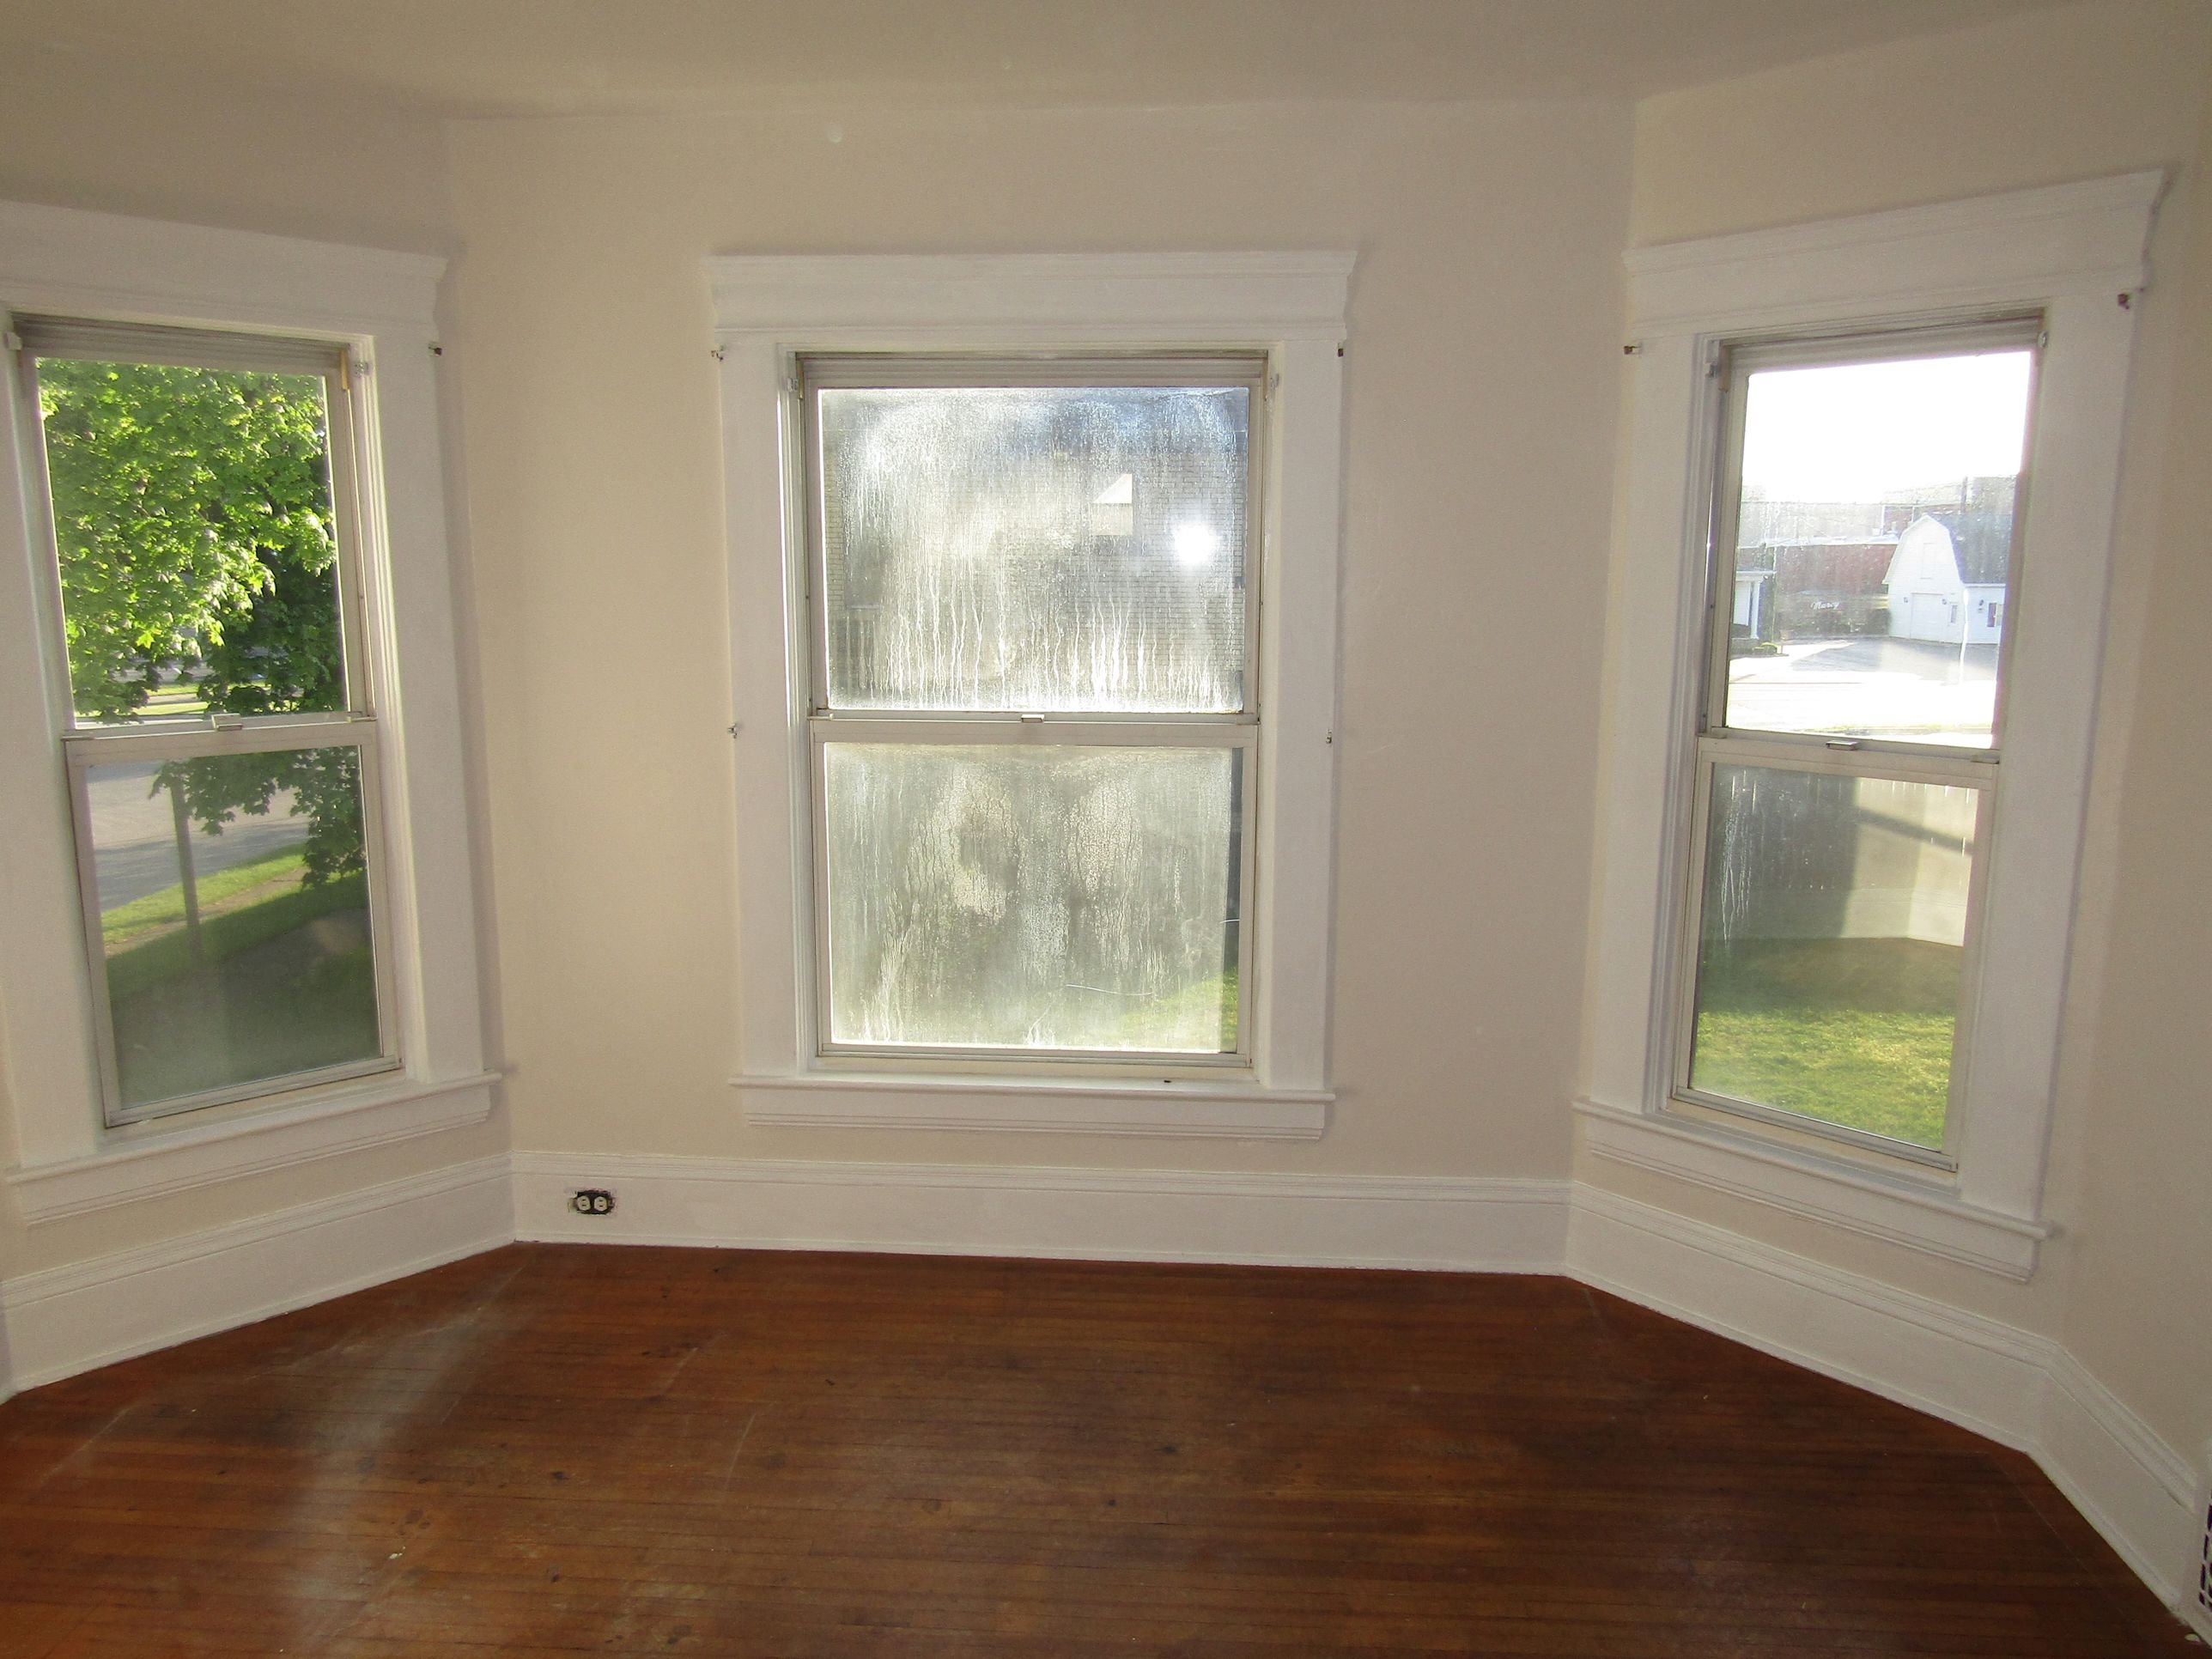 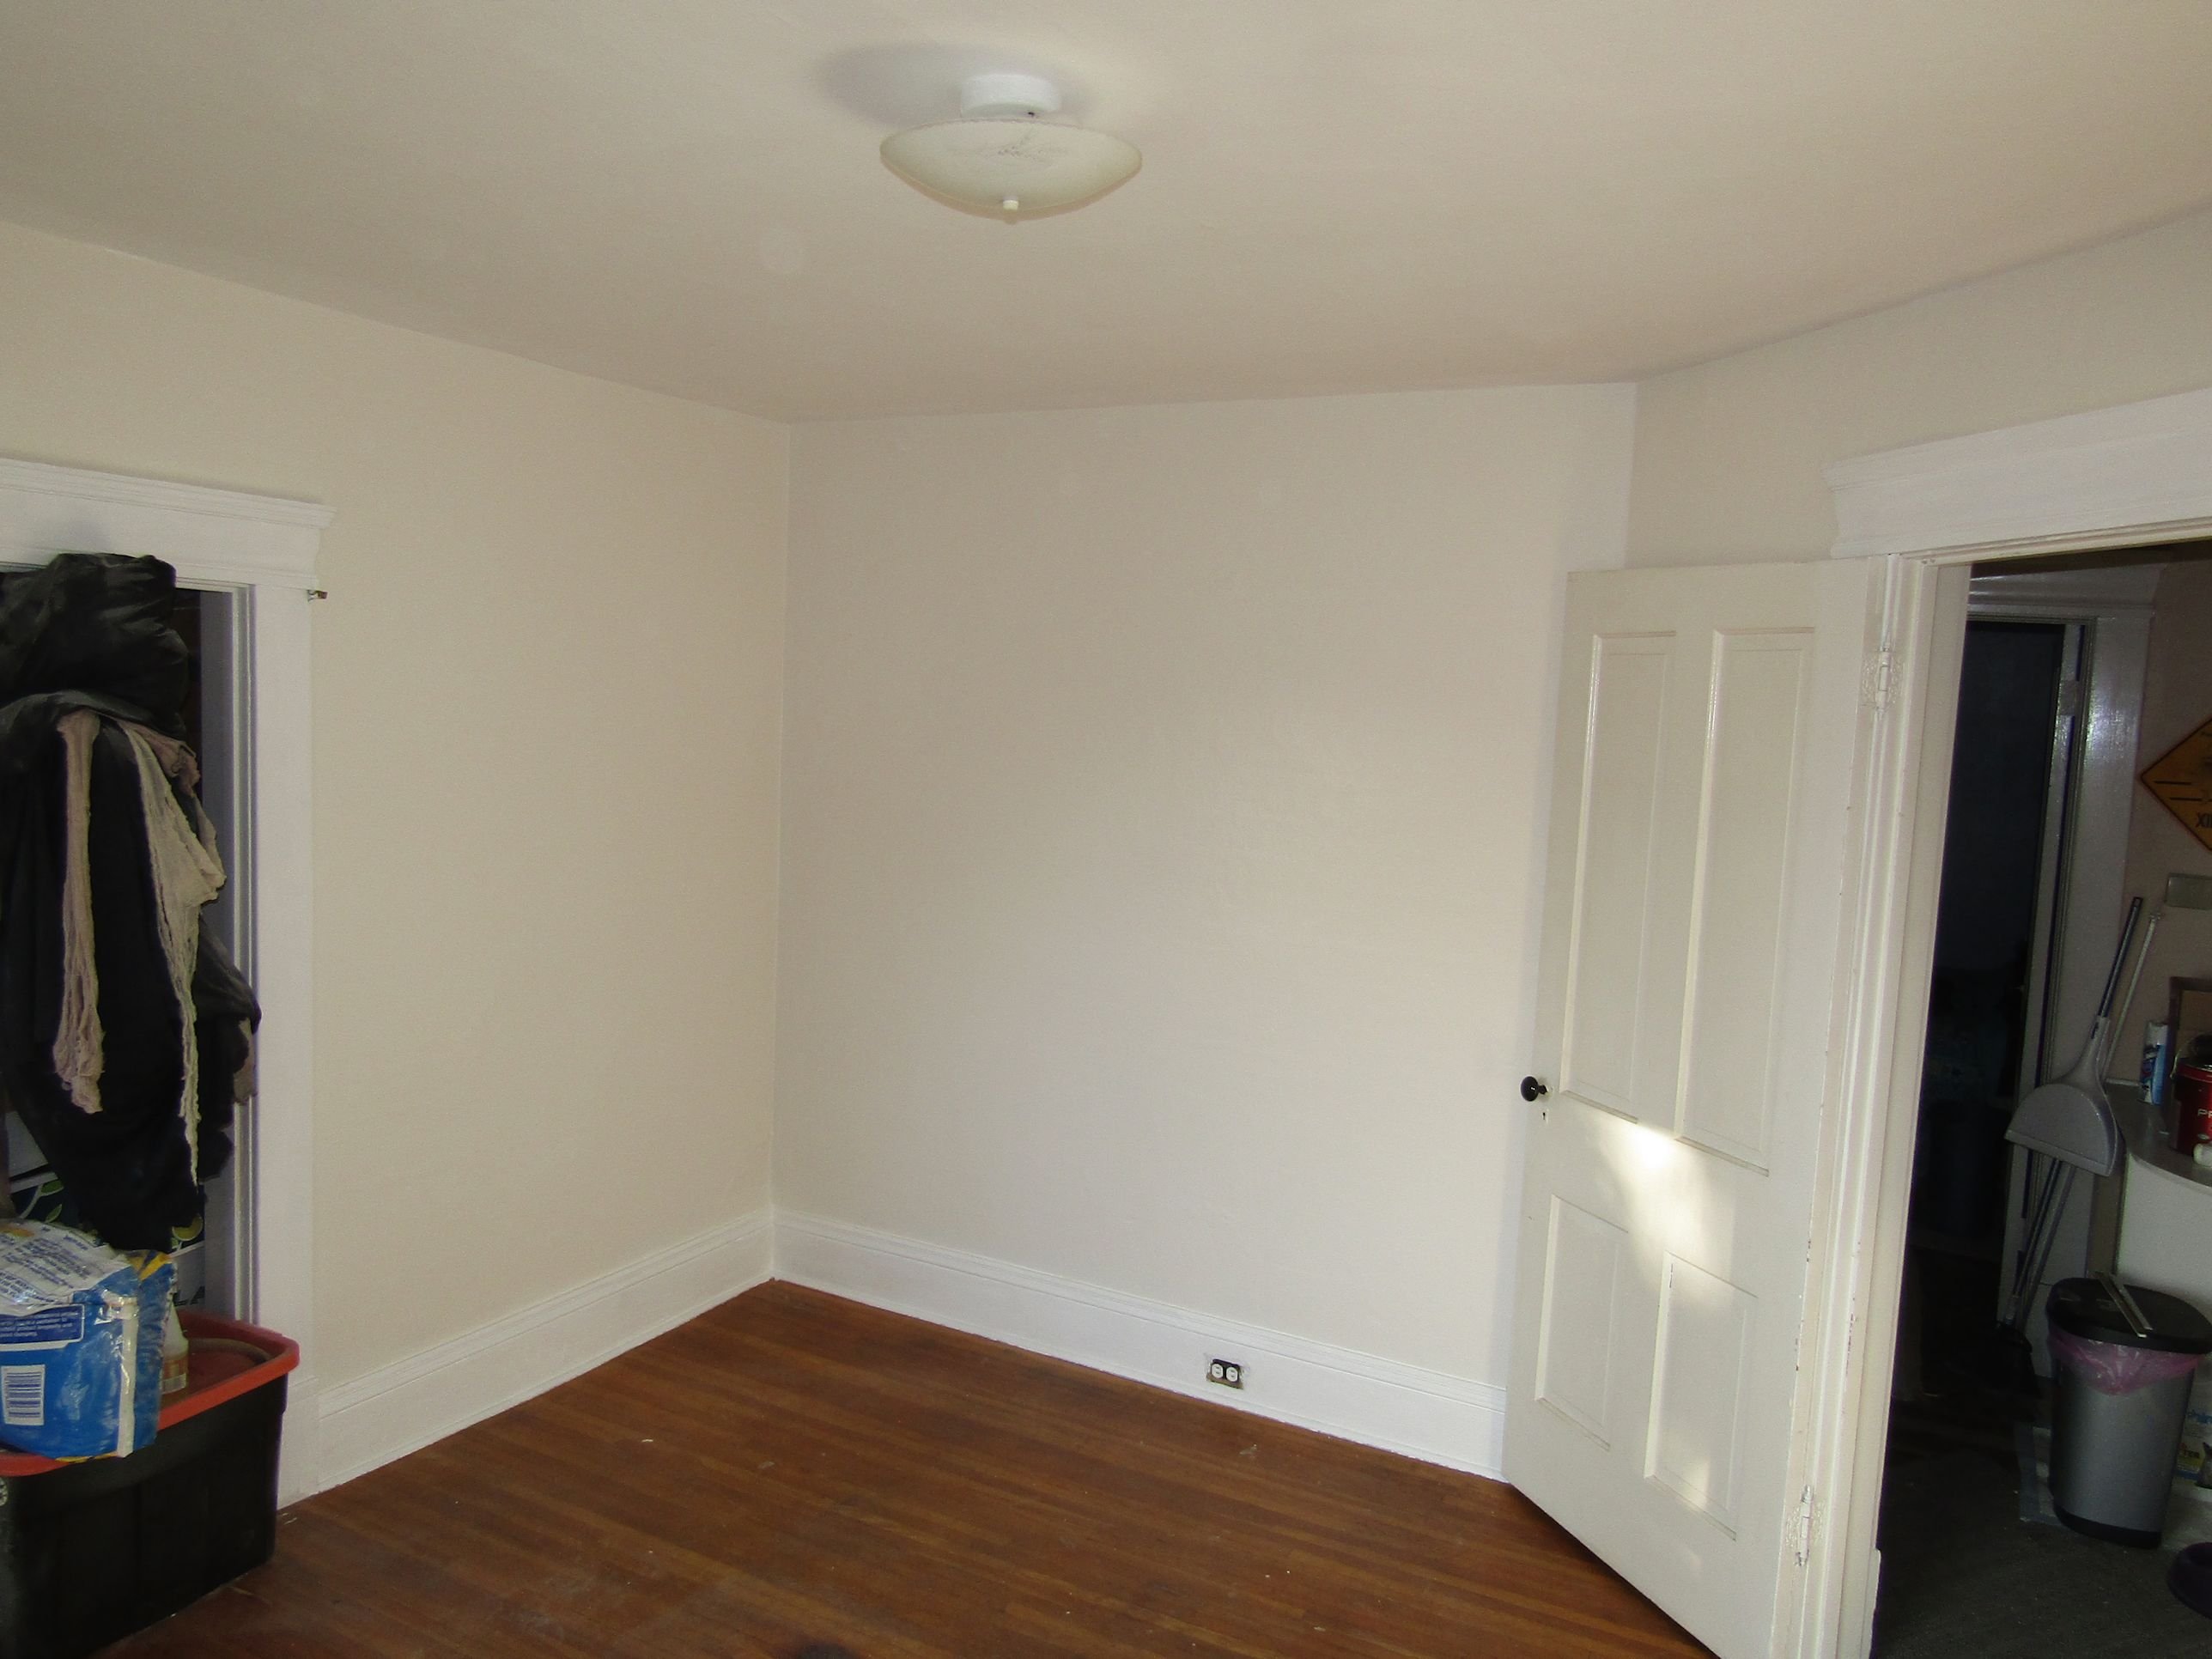 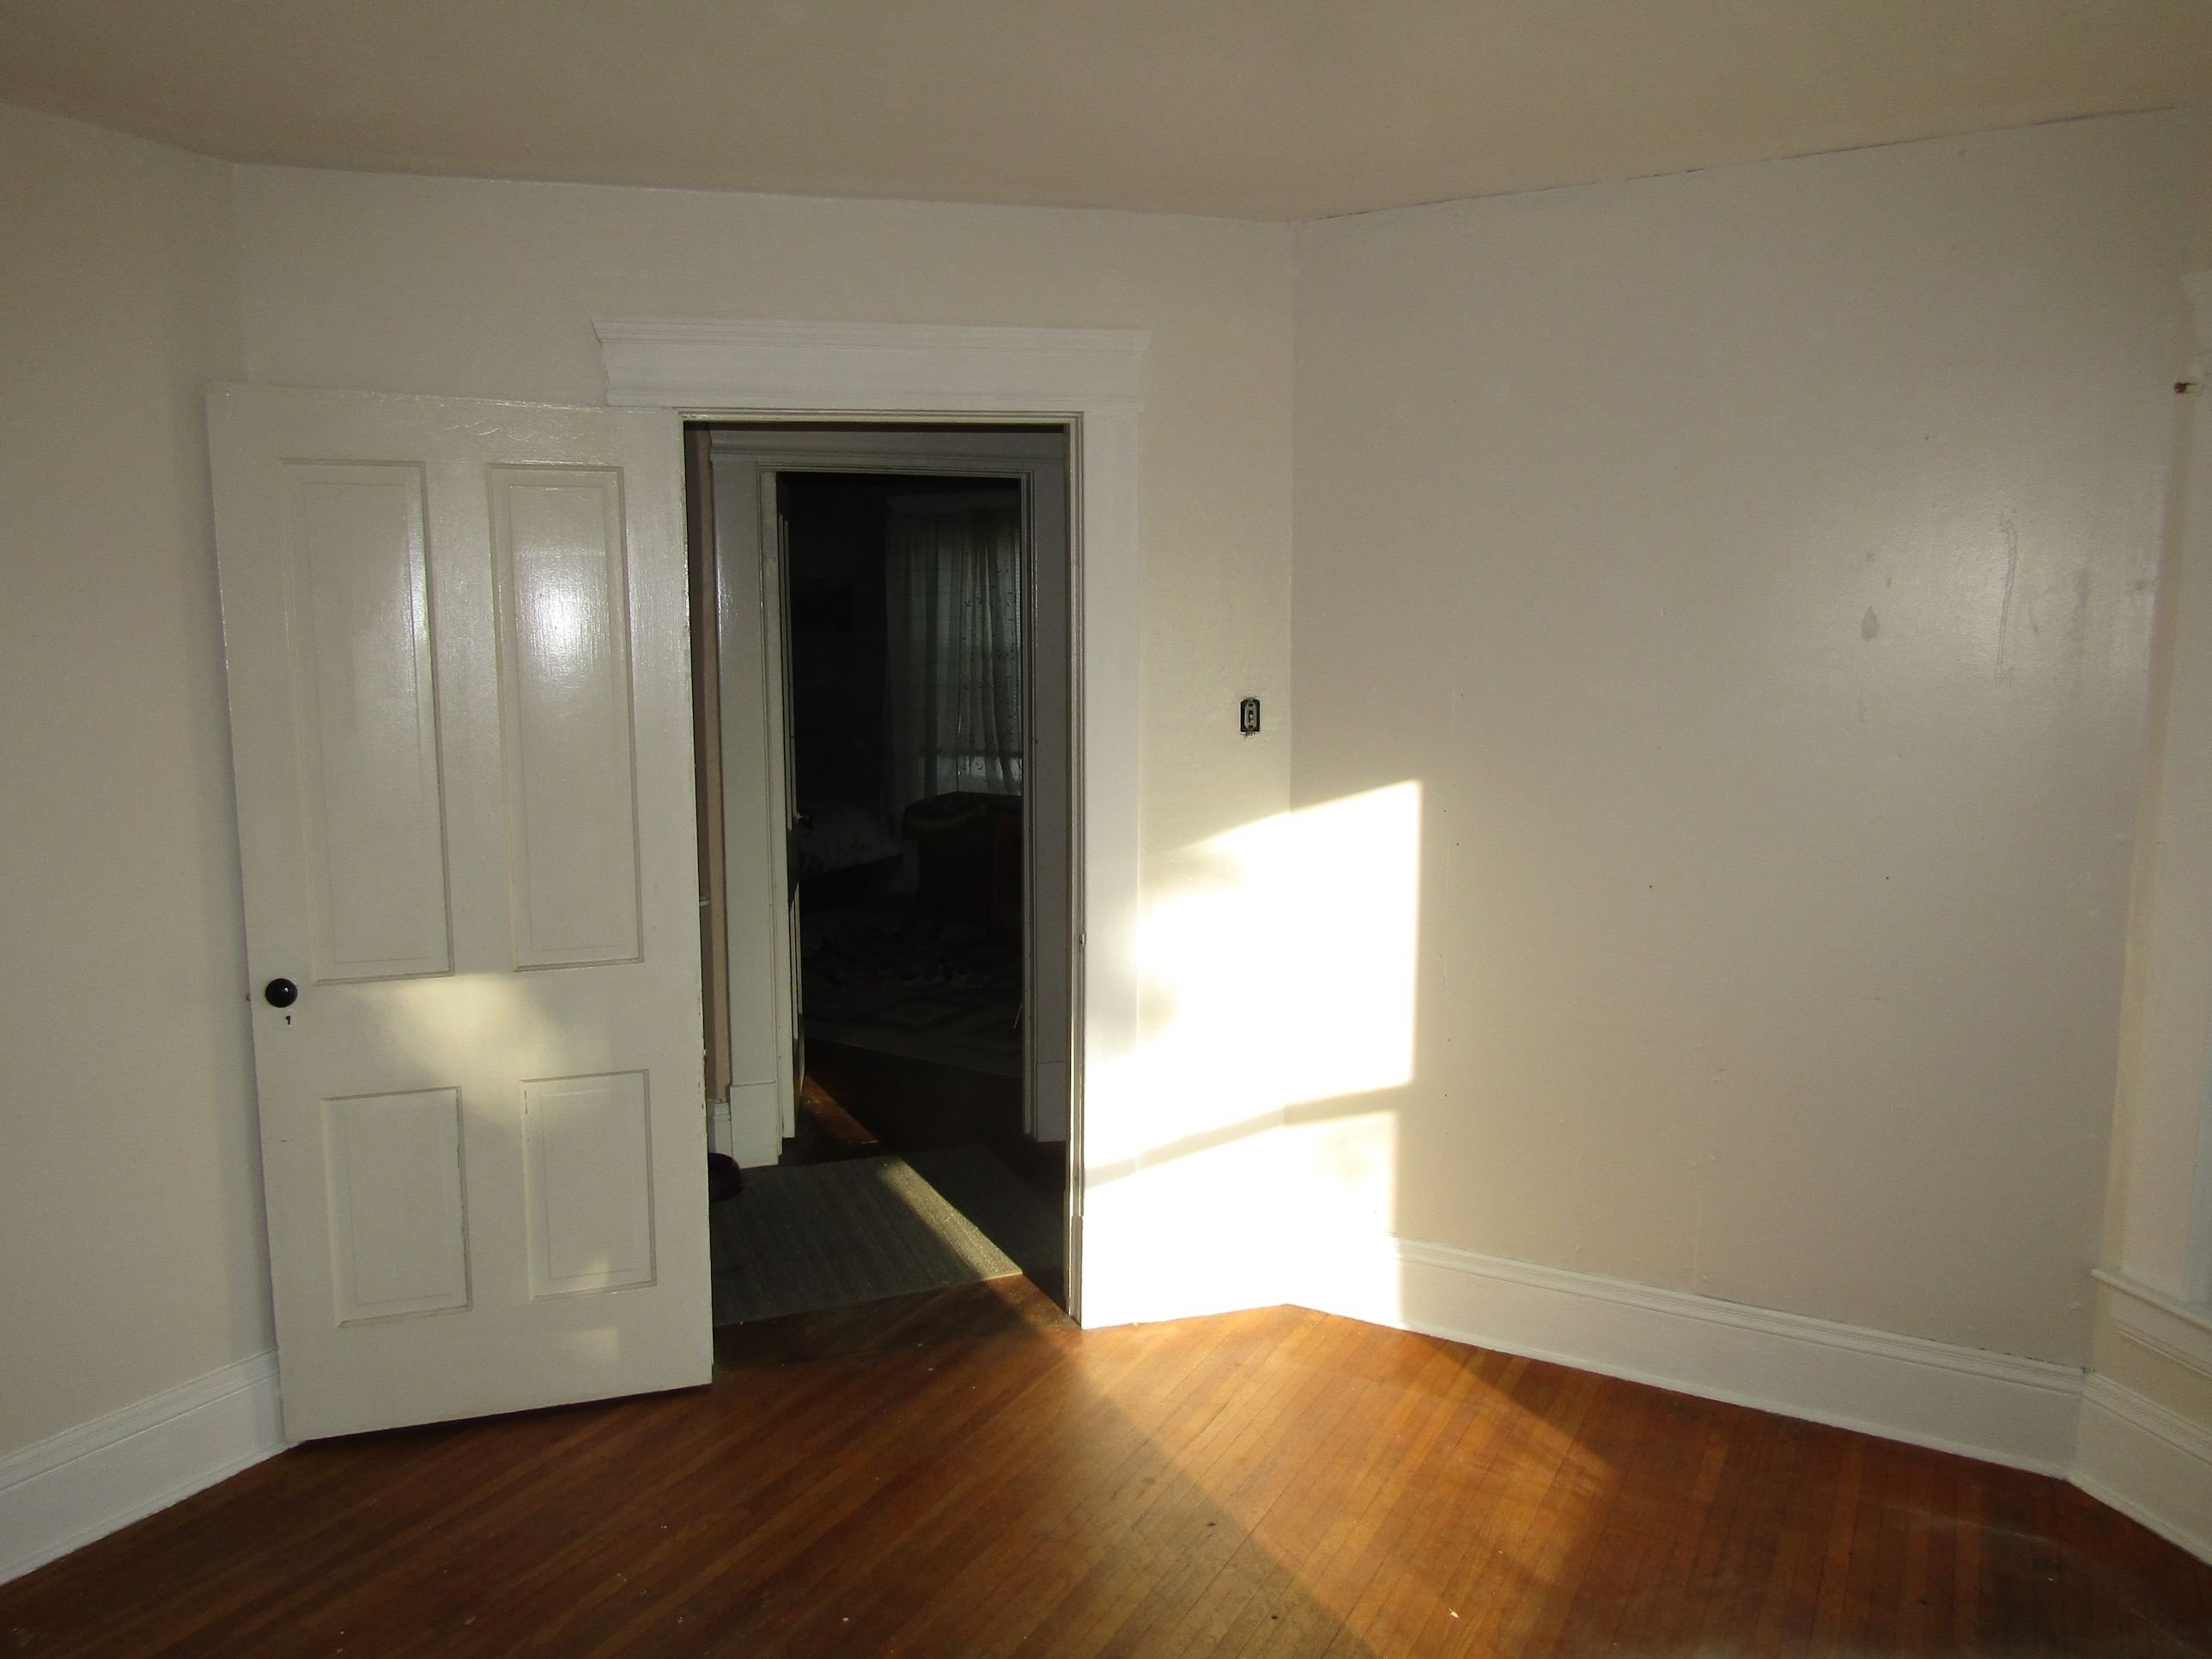 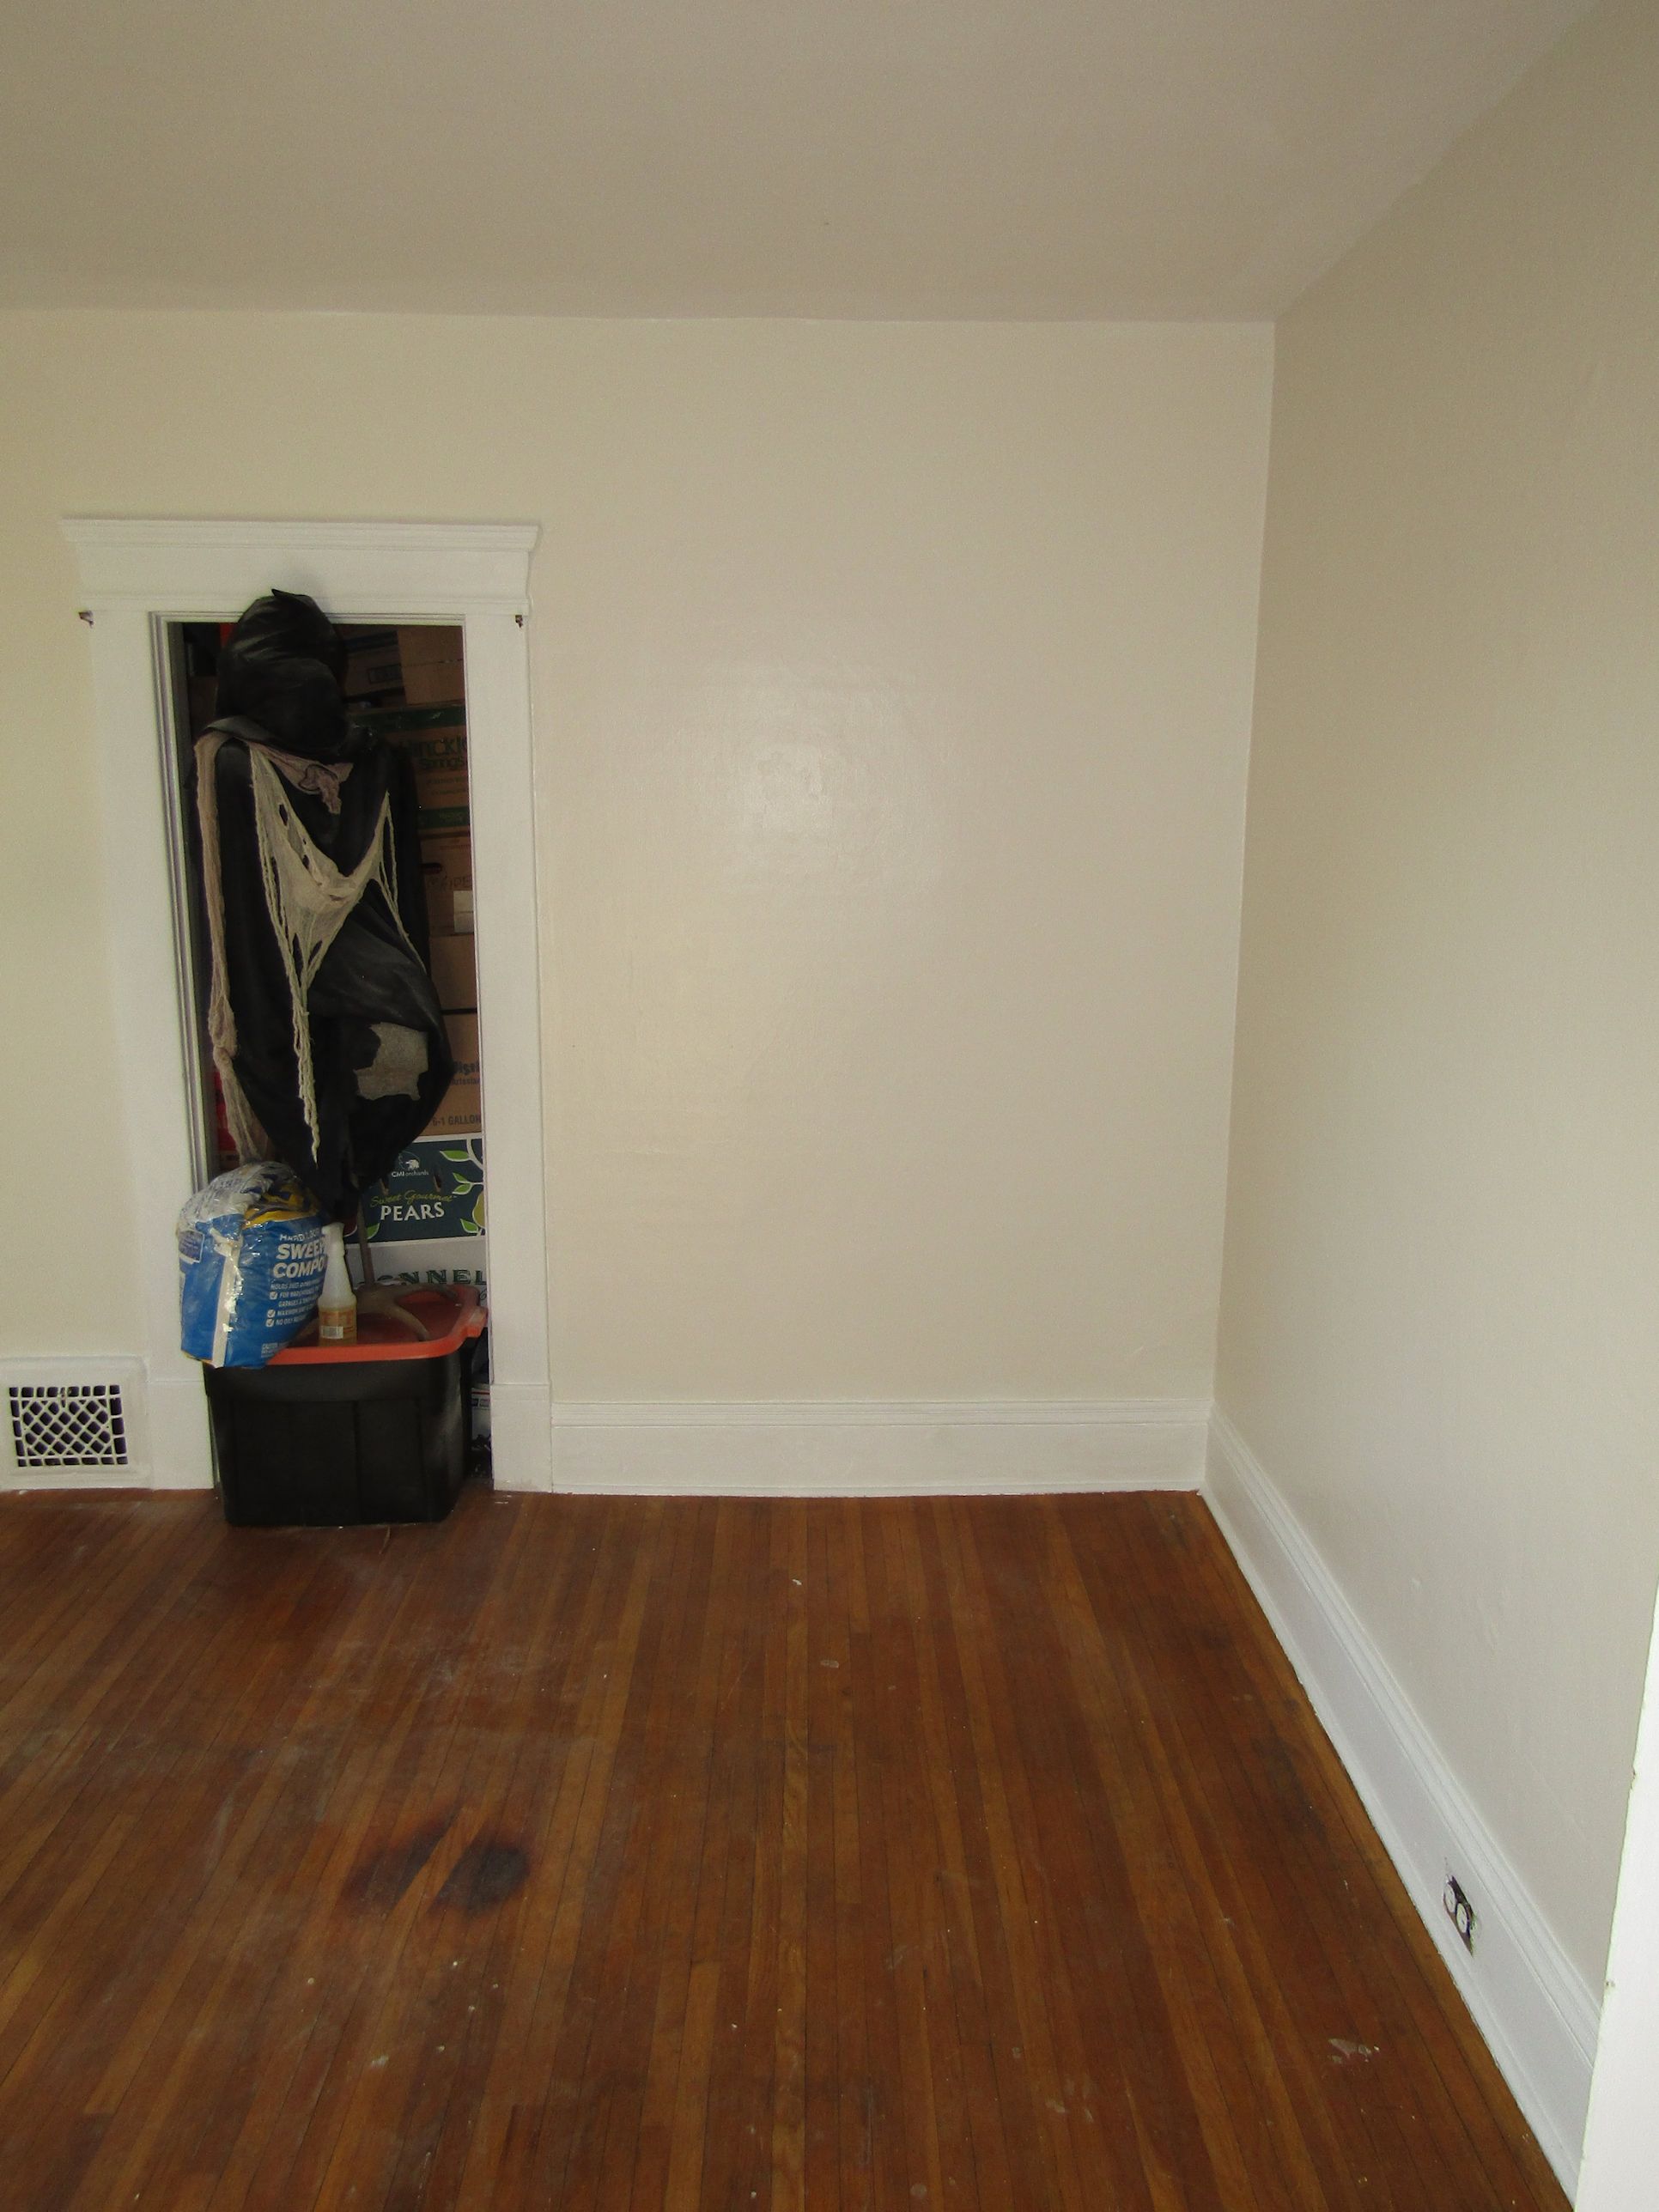 The walls are finally done! |
|