|
Teradrox |
||
|
Produced by Headhunter Studios.
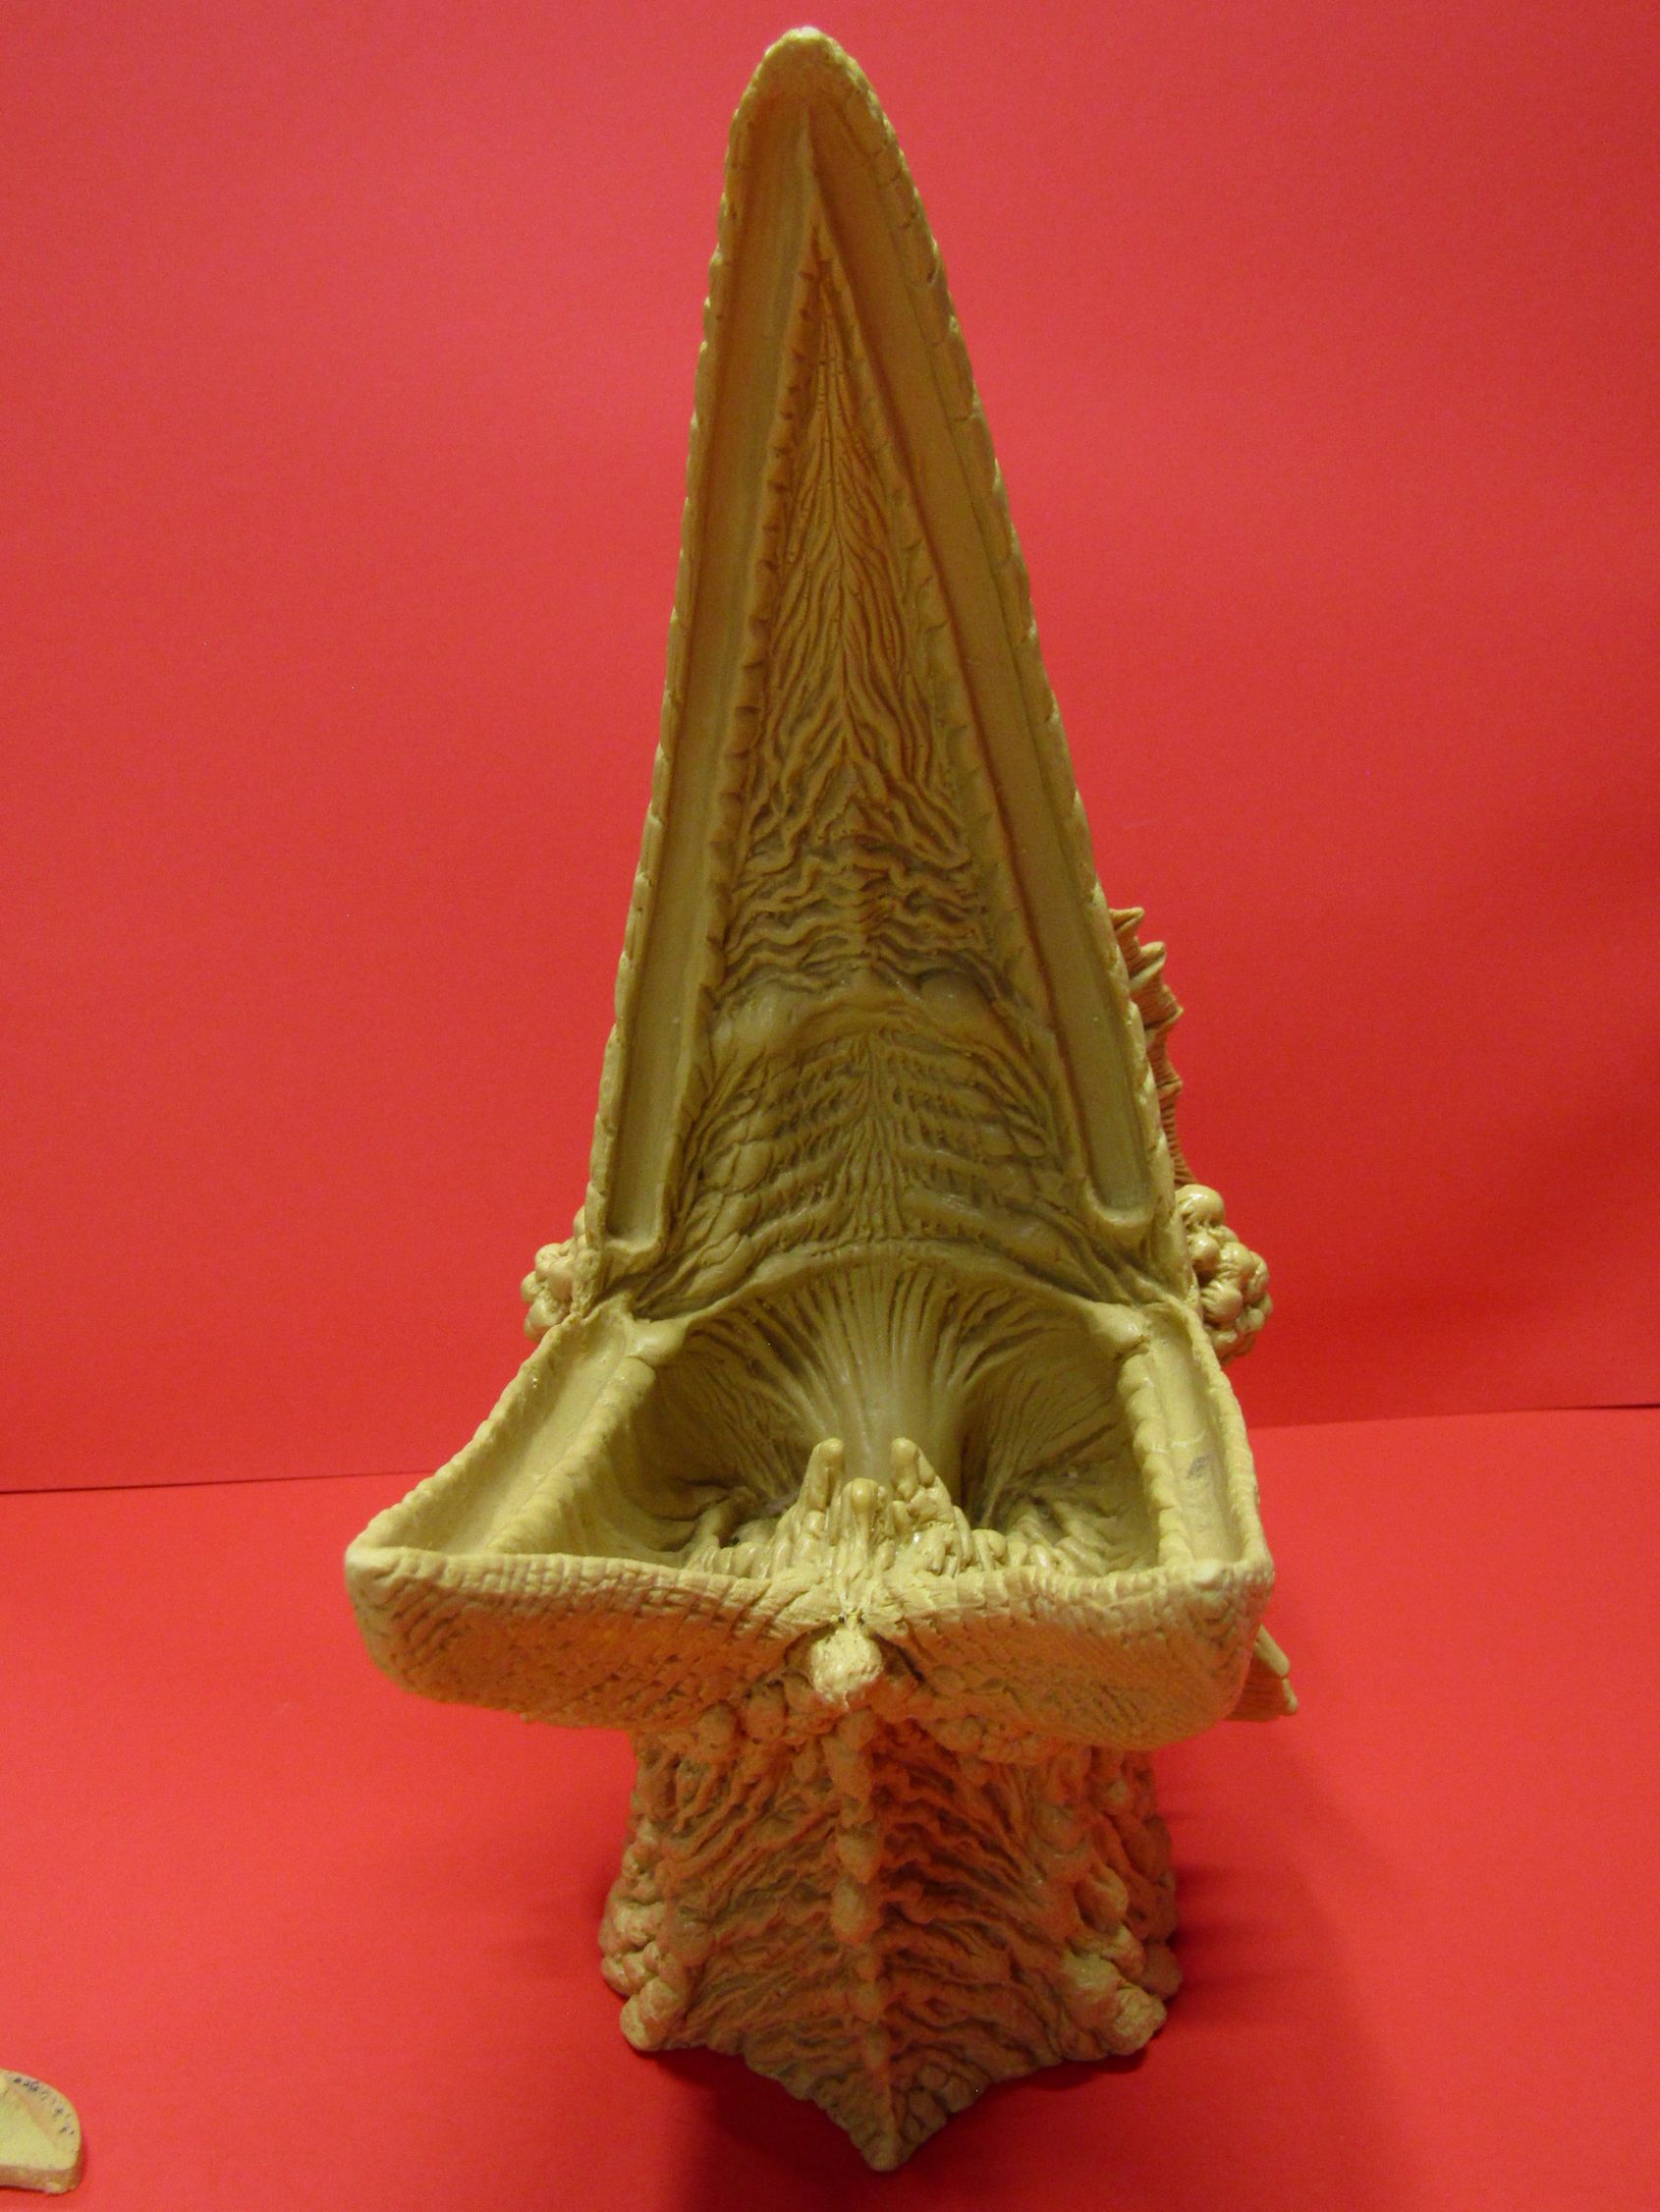
Look at all that great detail. I cannot wait to start drybrushing this thing. |
||

|
On the left, got the teeth installed, except the two sets in the middle bottom. Left those out to make painting easier. On the right, got the whole thing primed. Took most of a whole can of primer to do it too. So many nooks and crannies to get into. |
 |
   First pic was after a highlight coat of gray primer, and then a coat of white primer. Just a dusting to highlight the high points but leave the black for definition. Other two pics are after going over with white ink through my airbrush. To really bring out the details. This going to be so much fun to paint. I just need to decide on colors. But I am excited by all the detail to highlight. |
||
   I decided I needed to putty the seams where the teeth get glued into the mouth. Still working on it. |
||
  Finally found some colors. Hot pink on the inside of the mouth, and I can't remember which yellow I used for the beak. 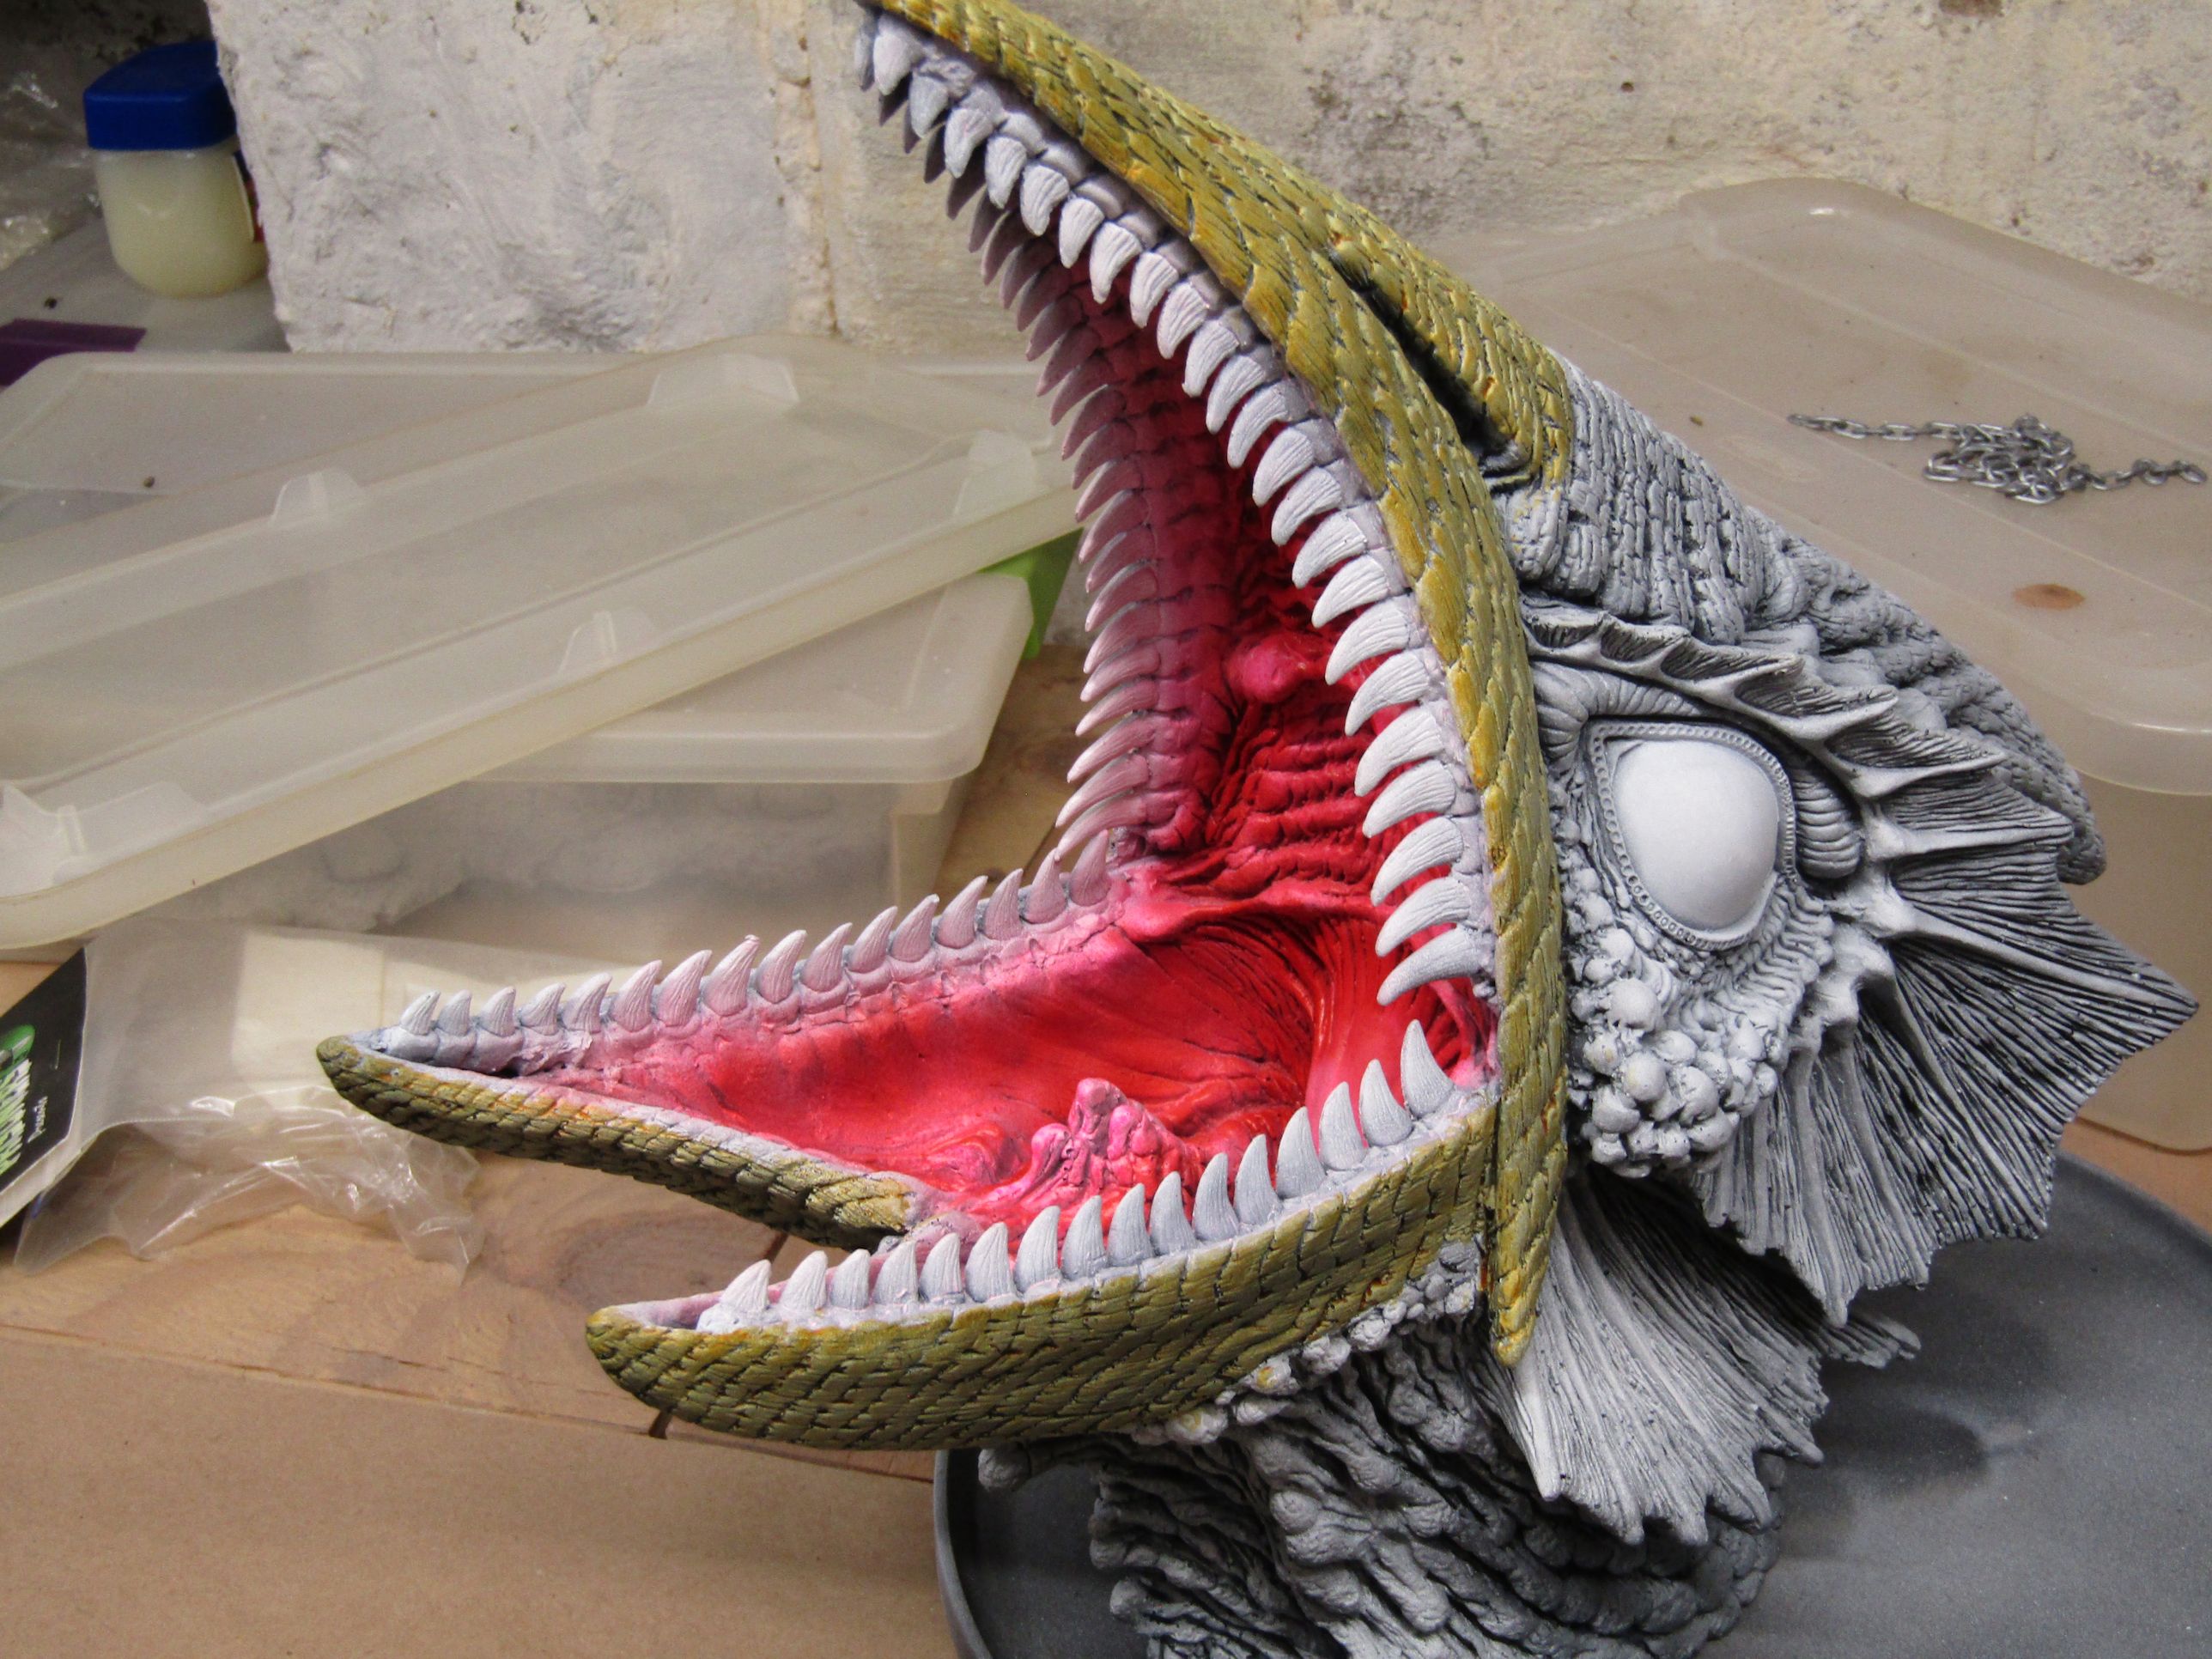 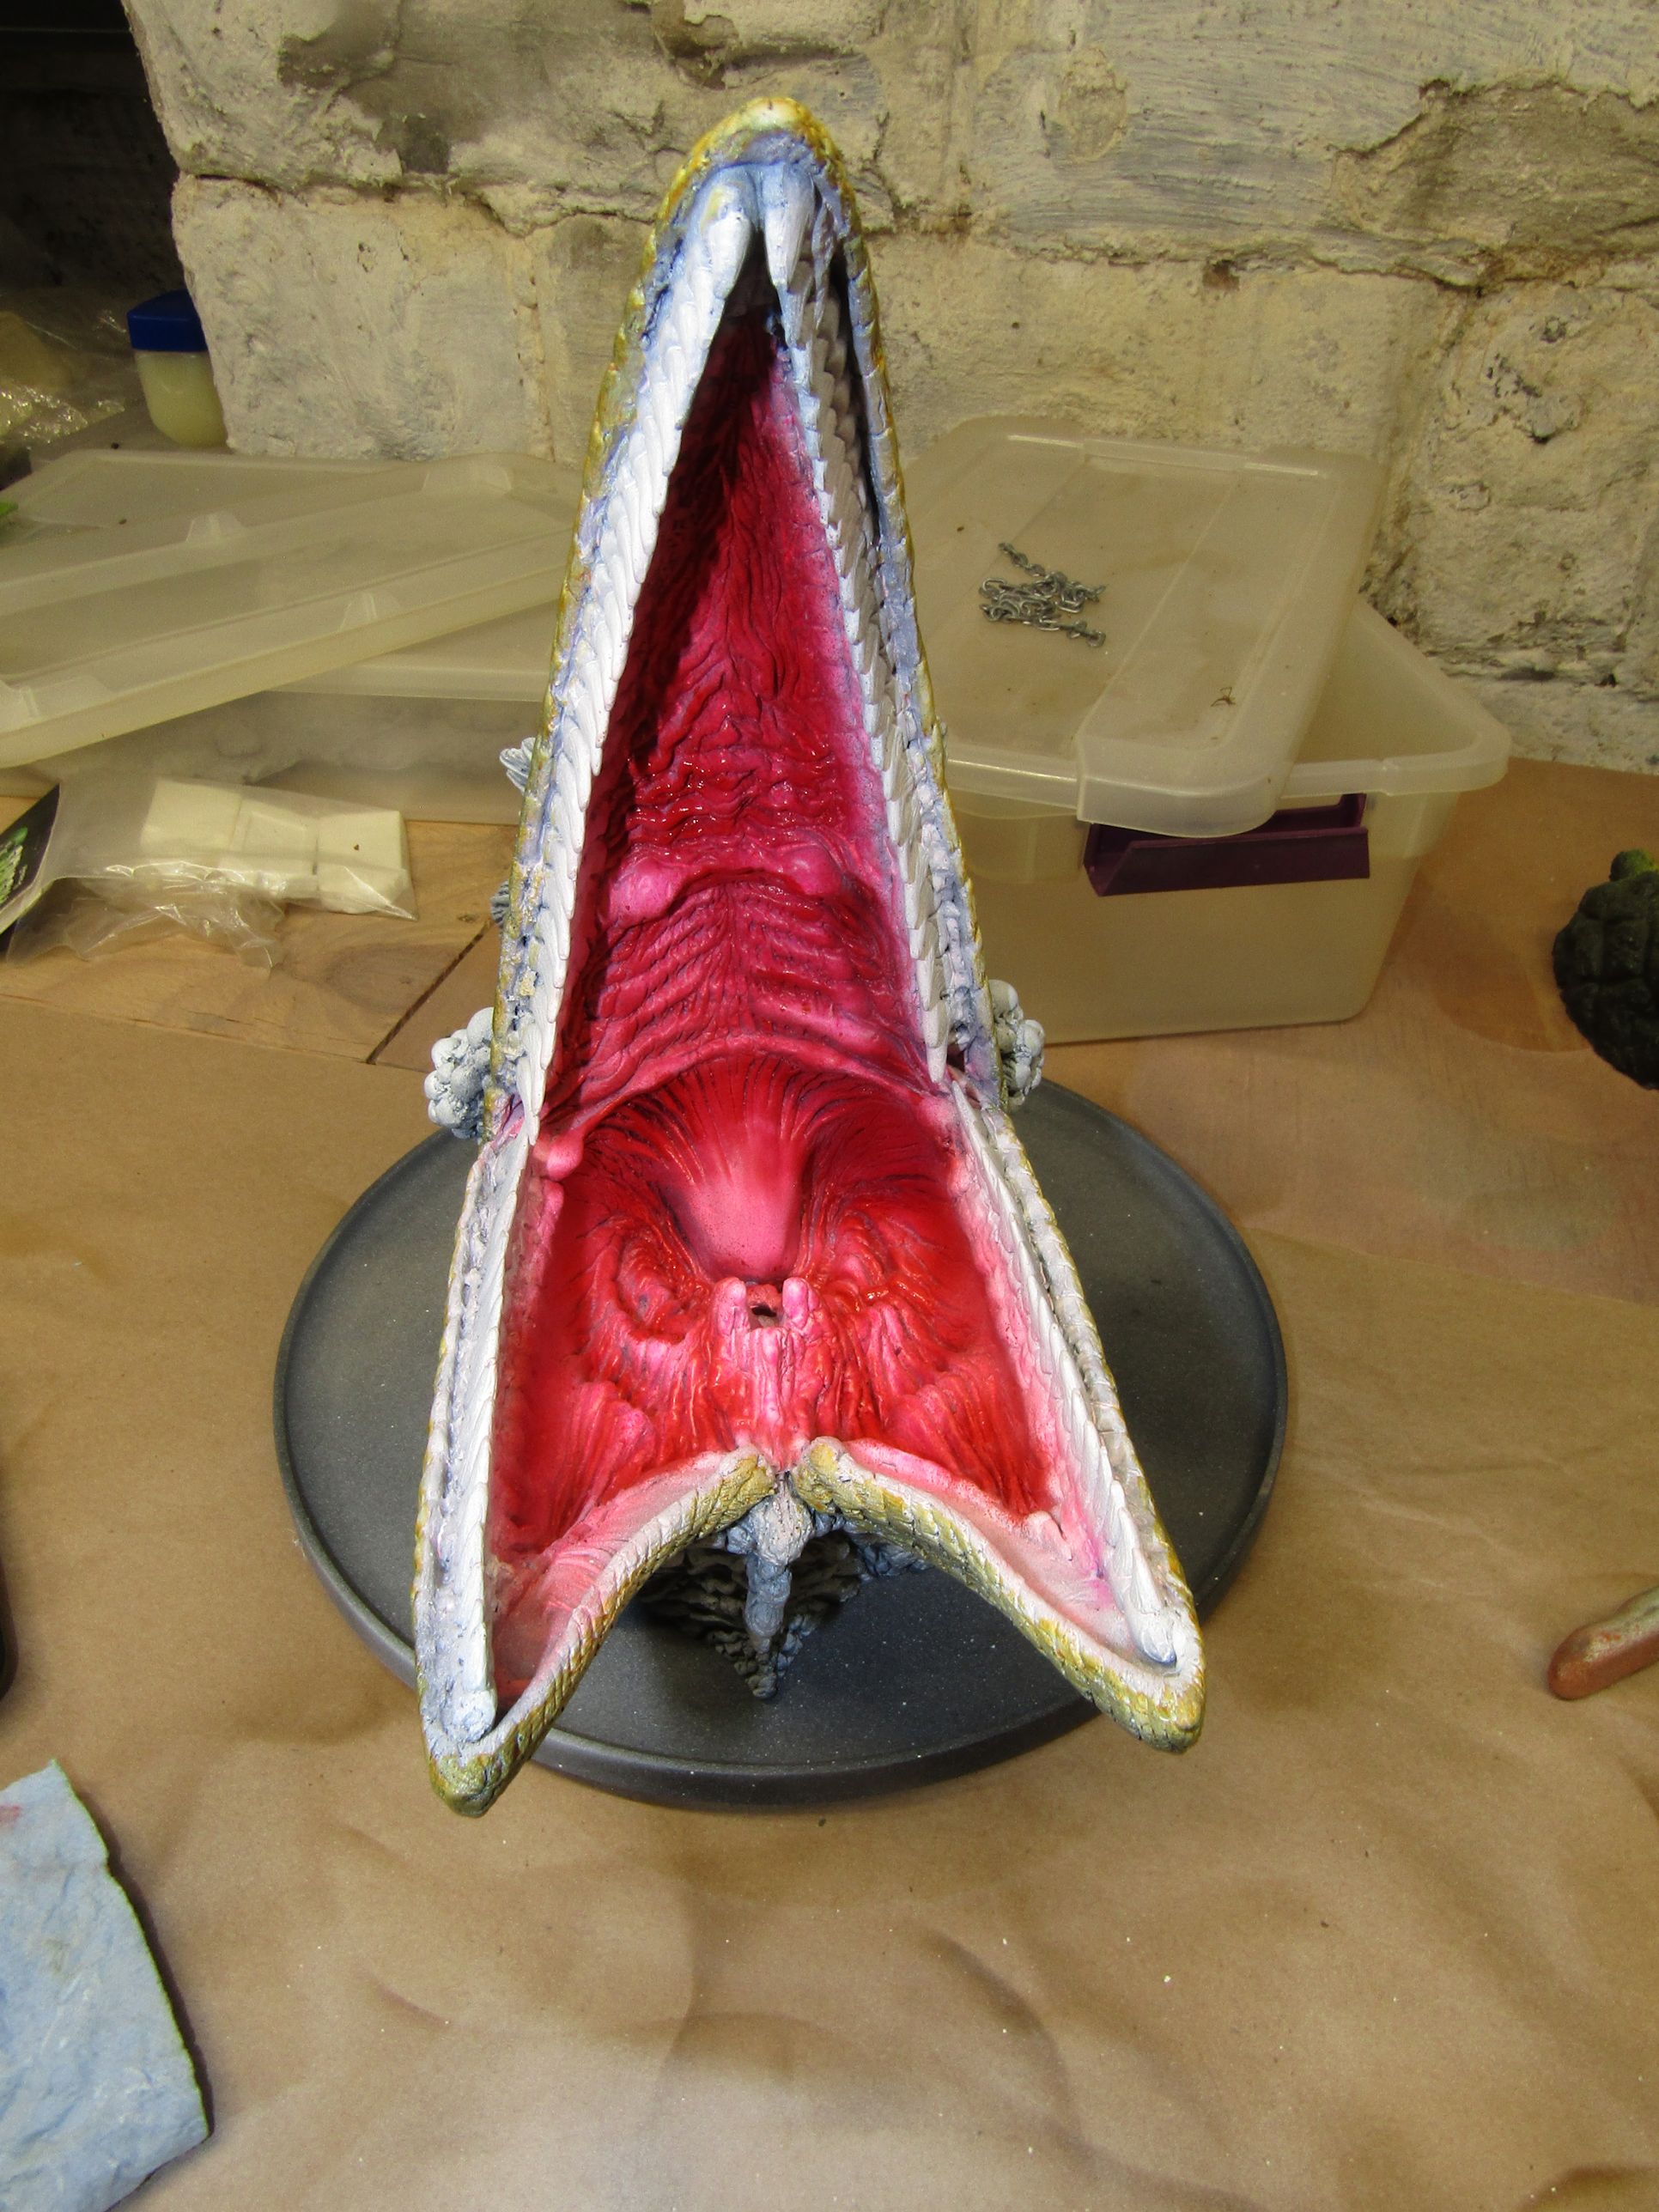  Then I went and worked the inside of the mouth more. Some red speedpaint with the airbrush. Then I went in with a brush and used some contrast paint on the gums and such. Then I had to go back and touch up the teeth from overspray and a bit of sloppiness with the paintbrush.  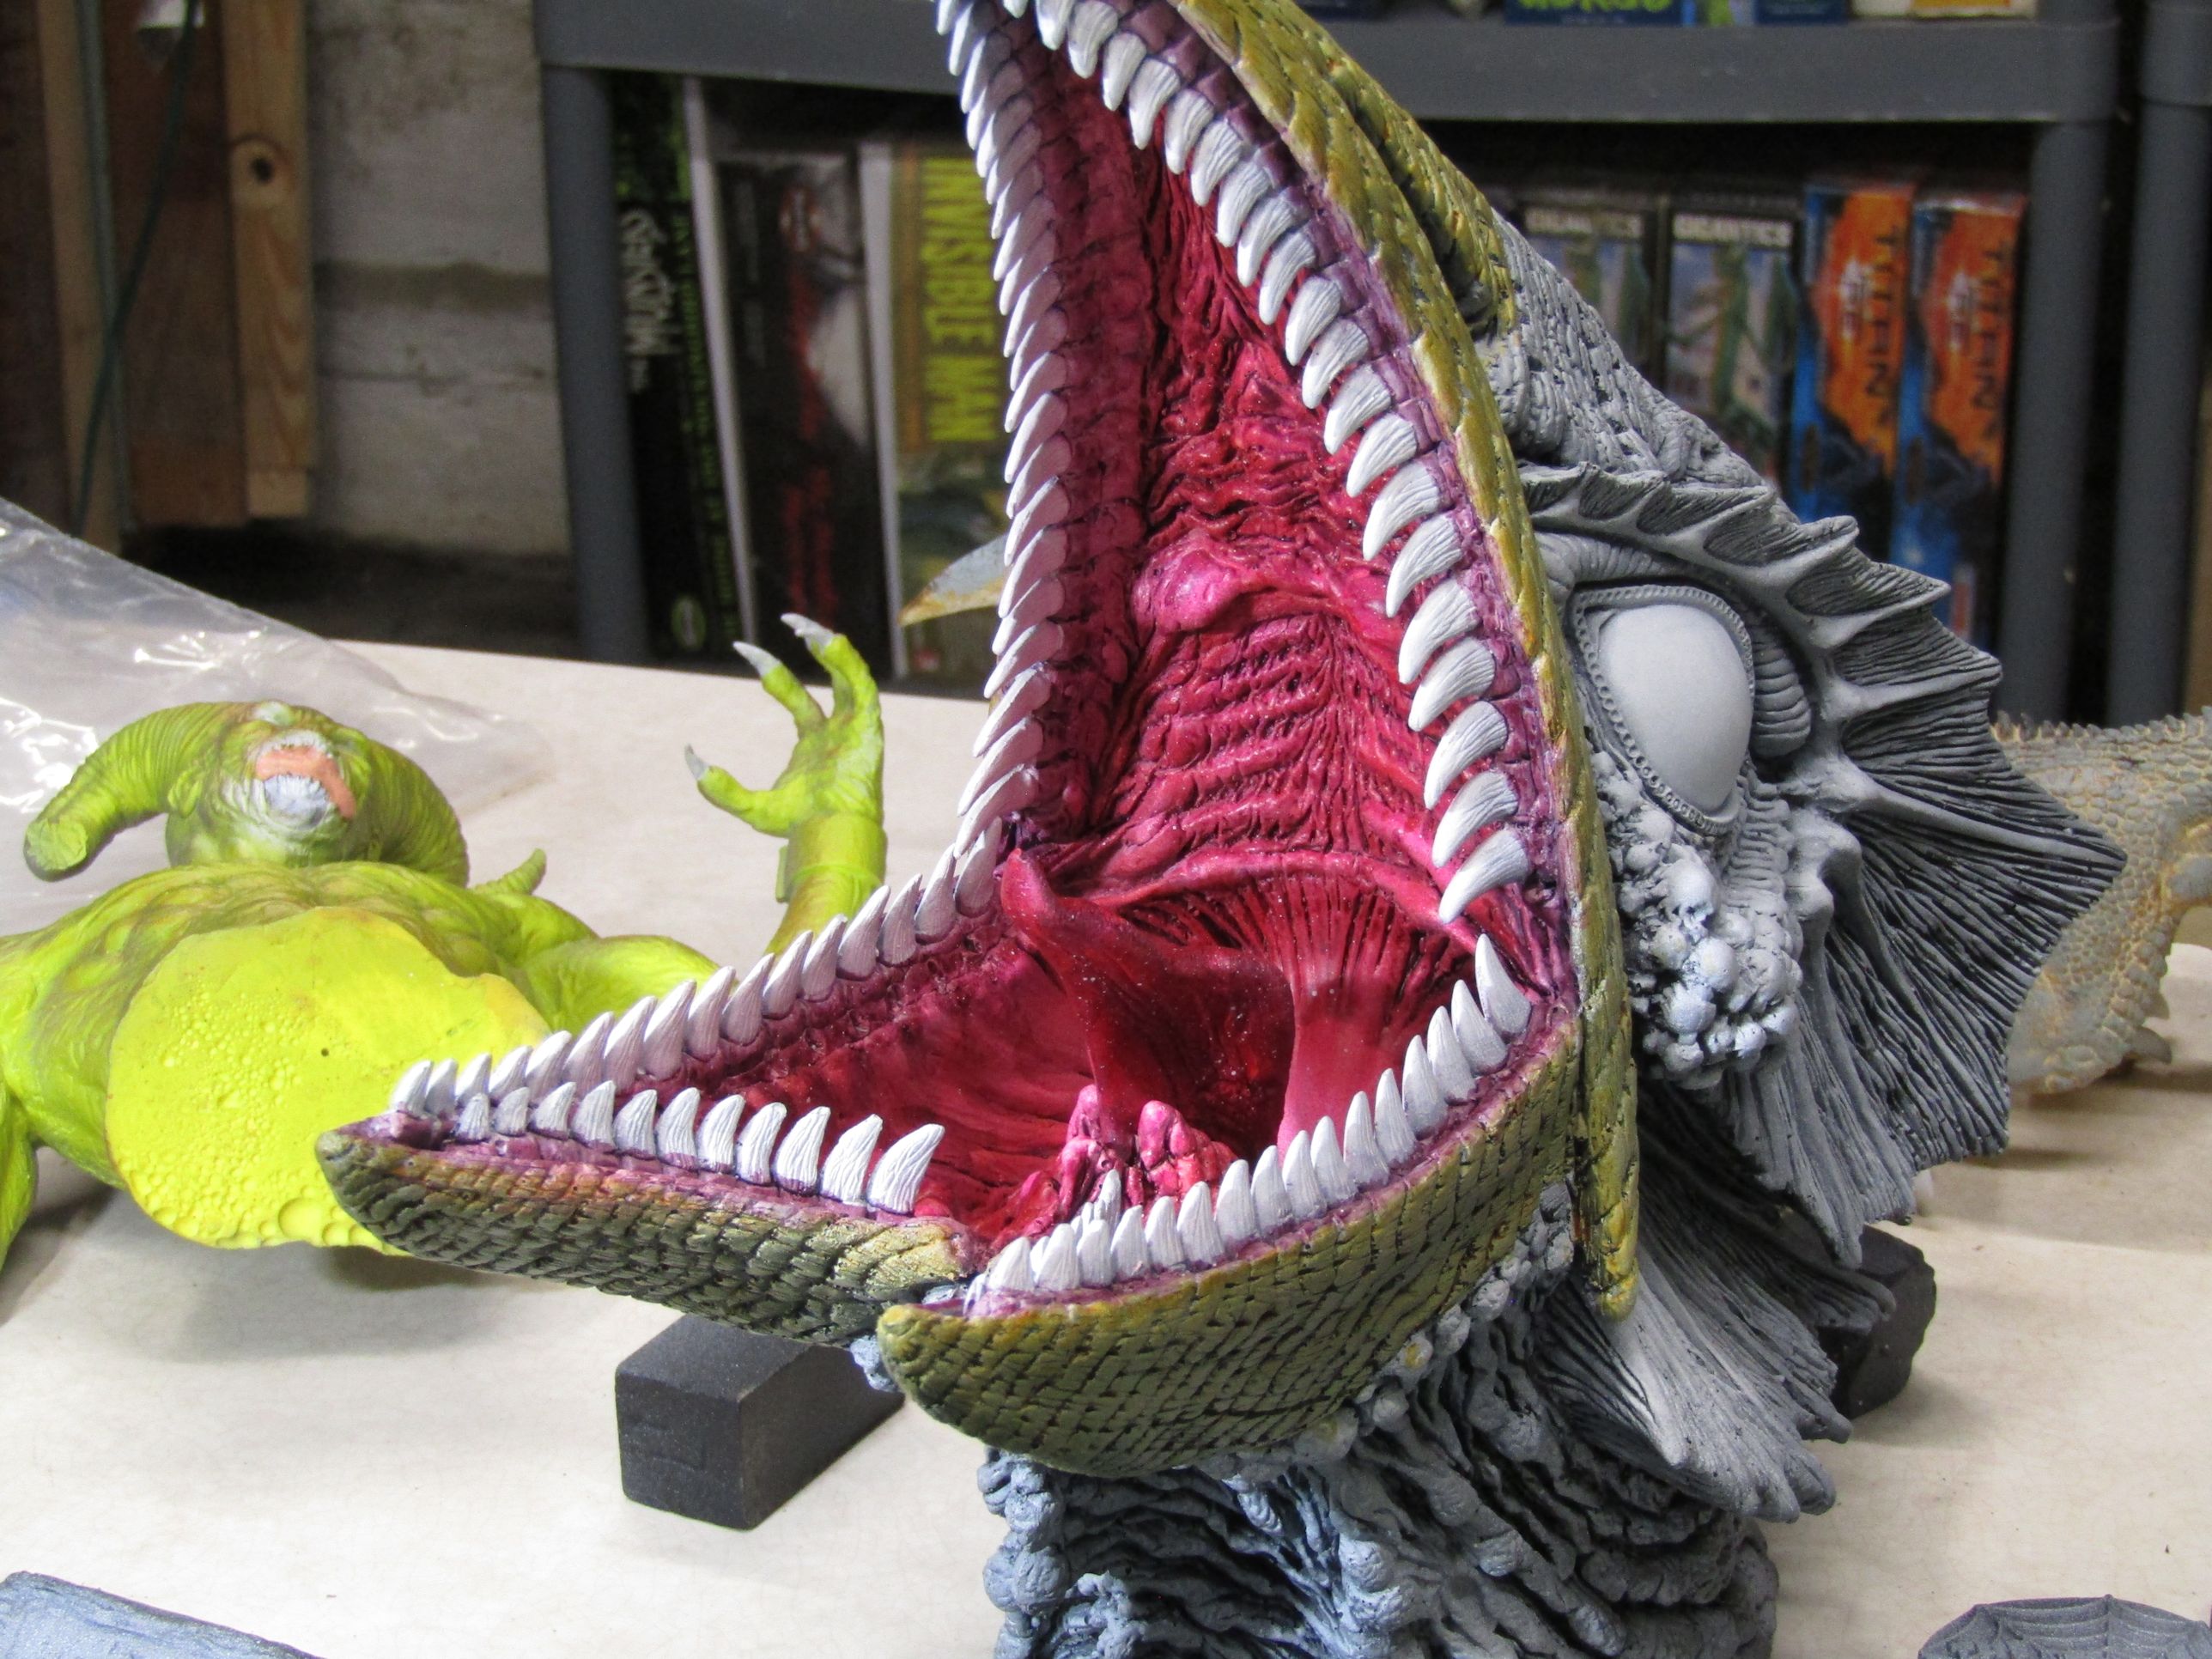  |
||
  Next was weathering the teeth. Hit along the gum line with a dark speedpaint. 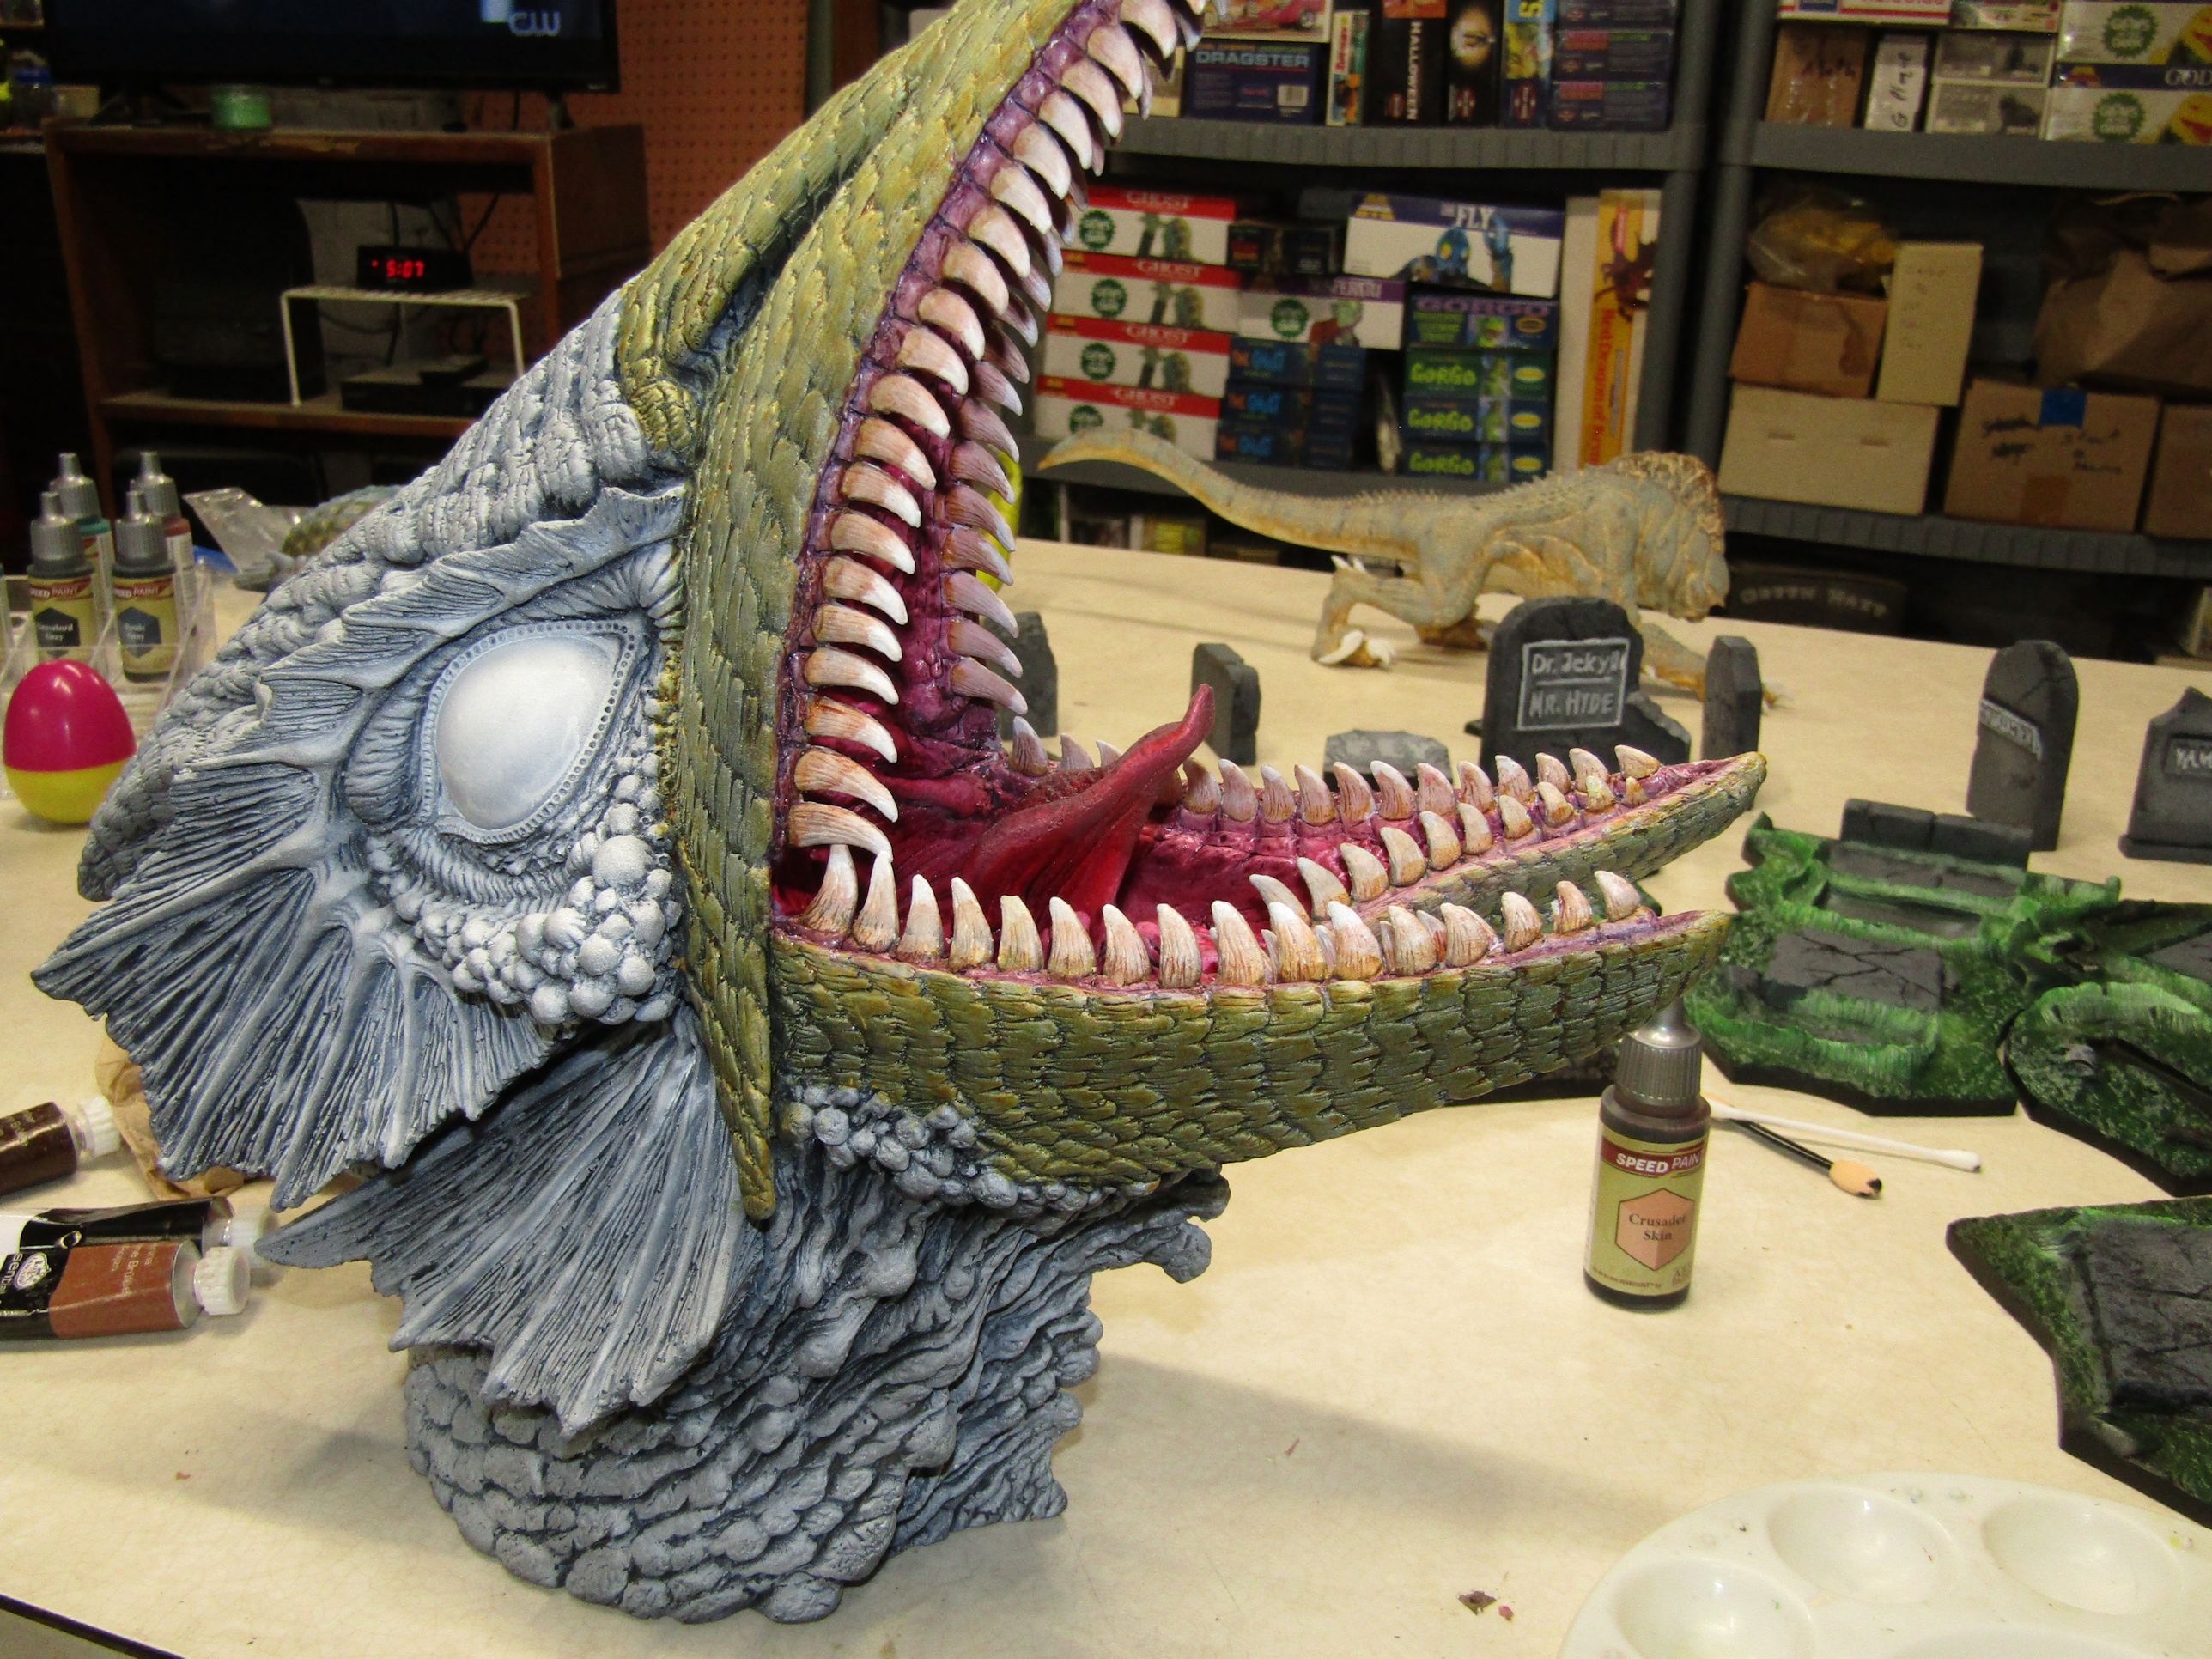  The next day I went higher up with a lighter speedpaint.  Then I cleaned it all up with some white. |
||
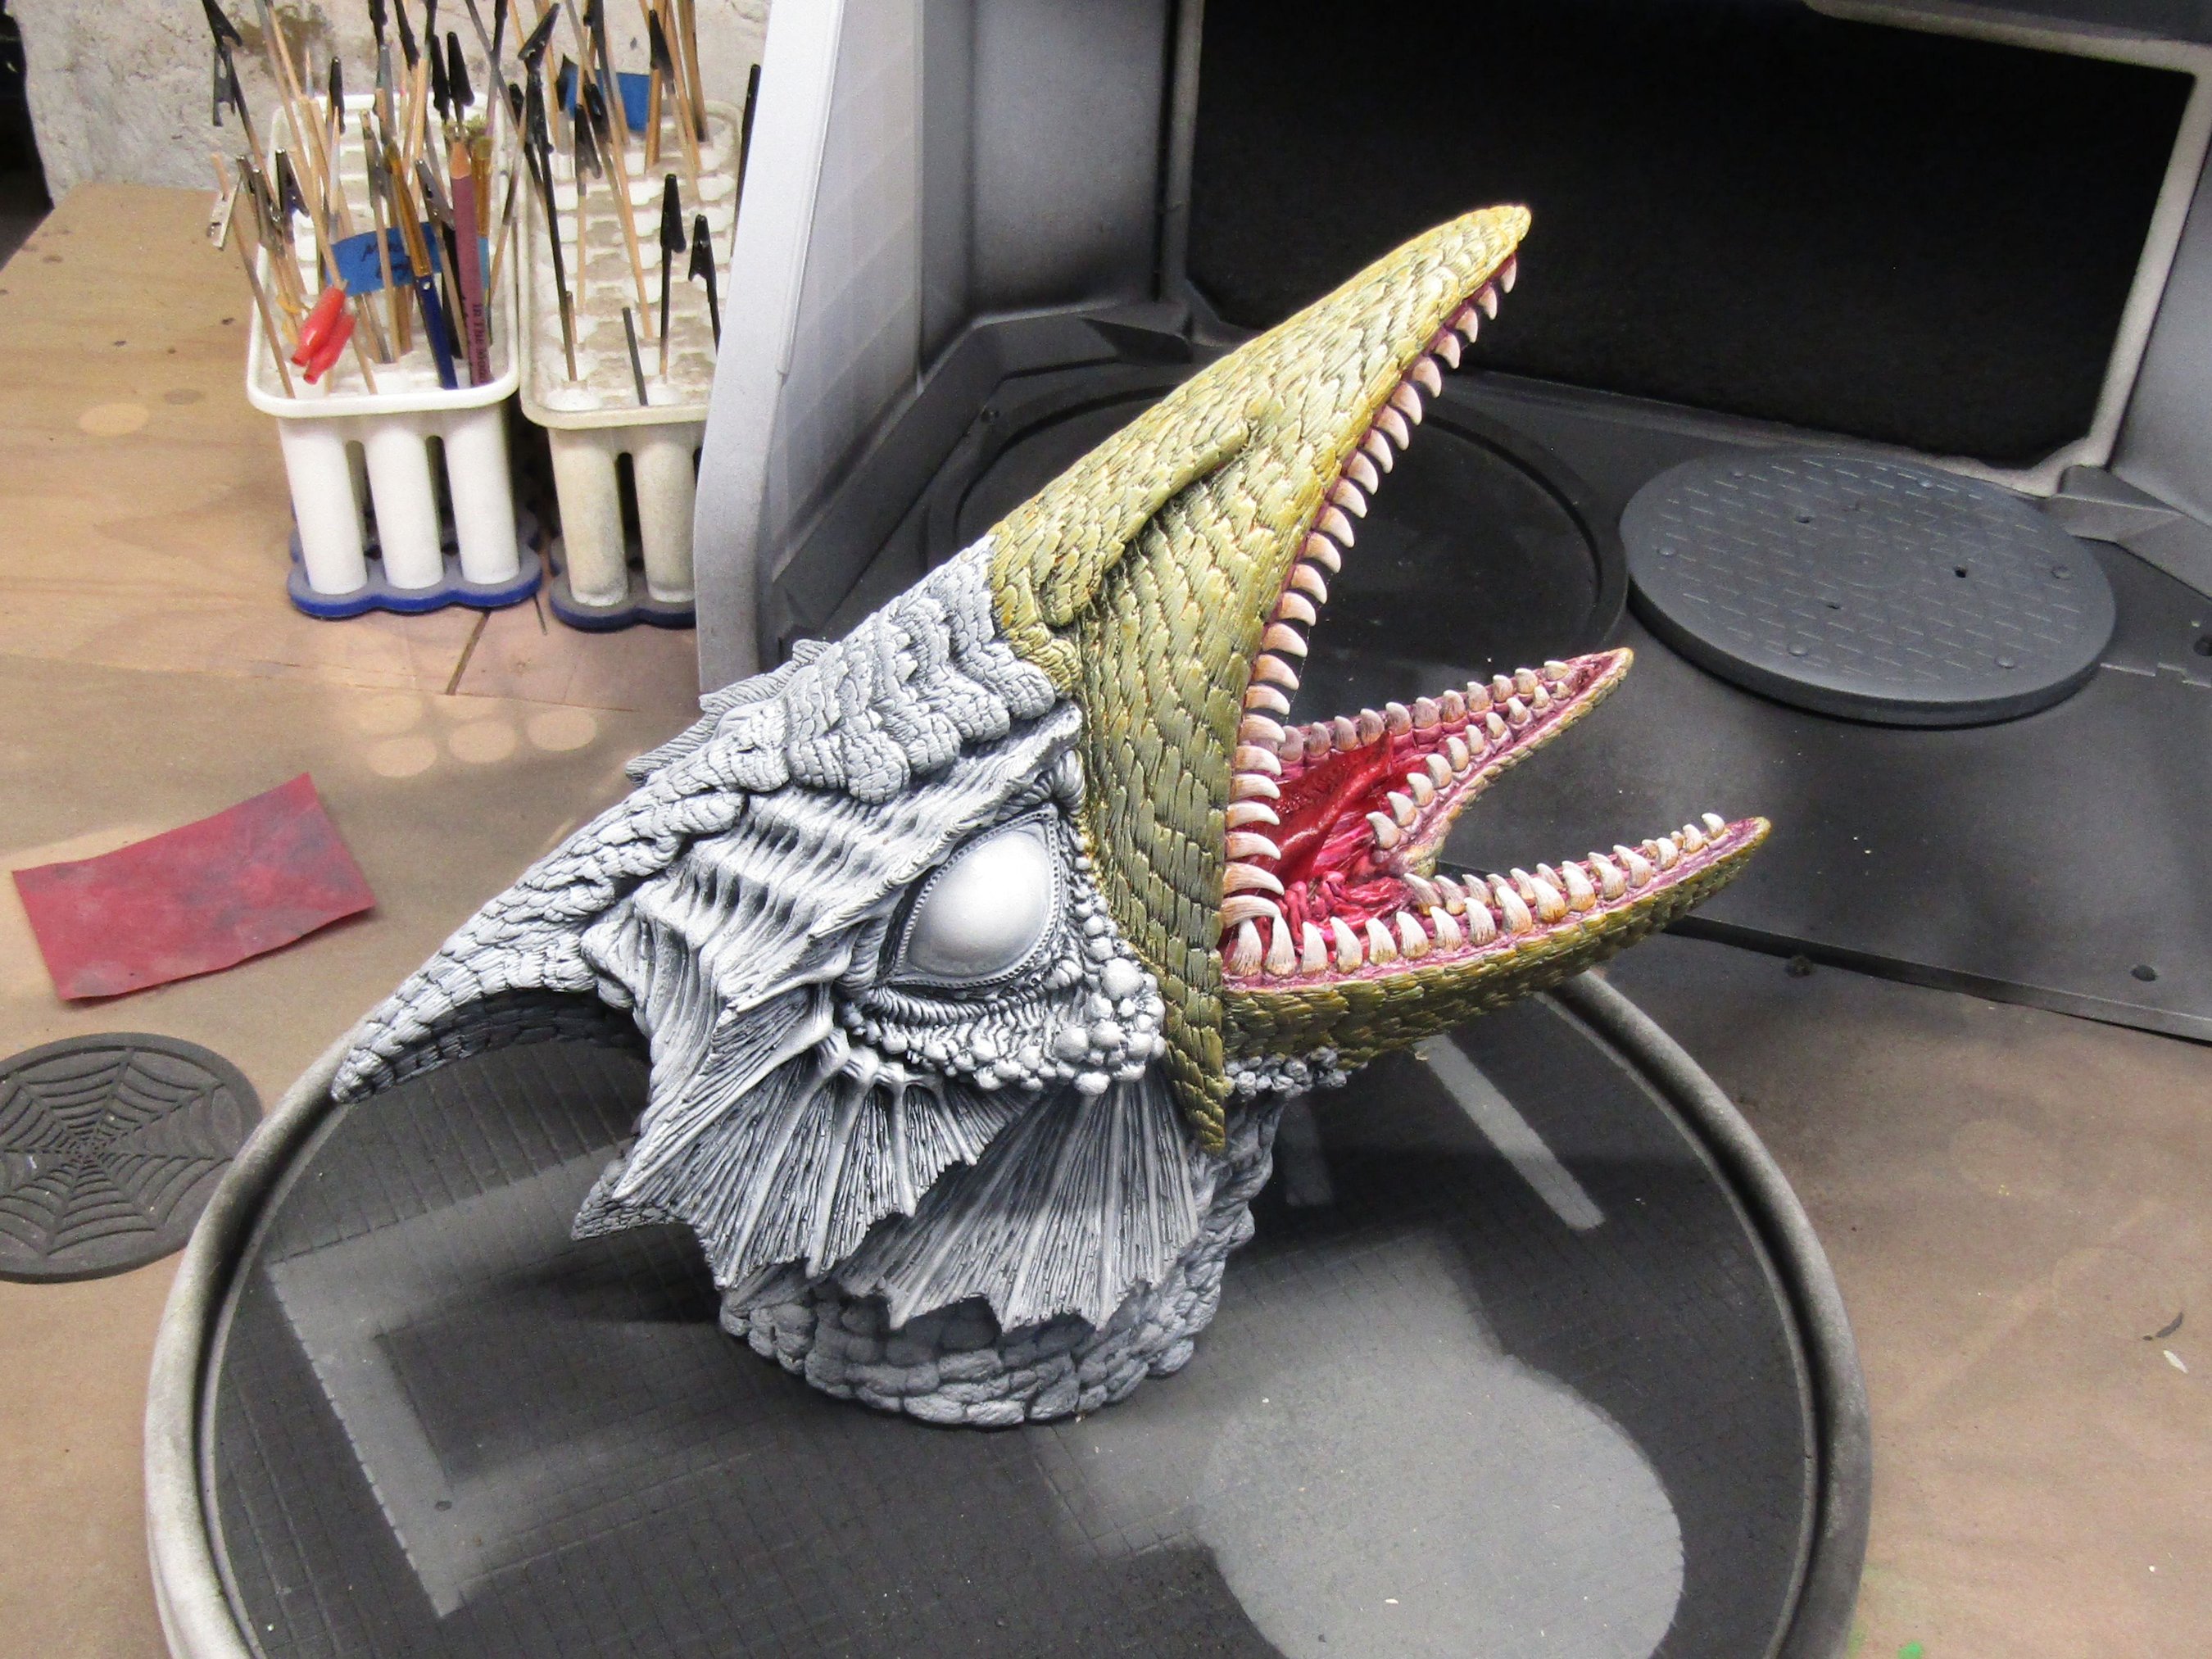 Ok. This page was last updated November 2023. It took until May of 2026 to get the inspiration to get back at this. The photo above is where I left off back then. 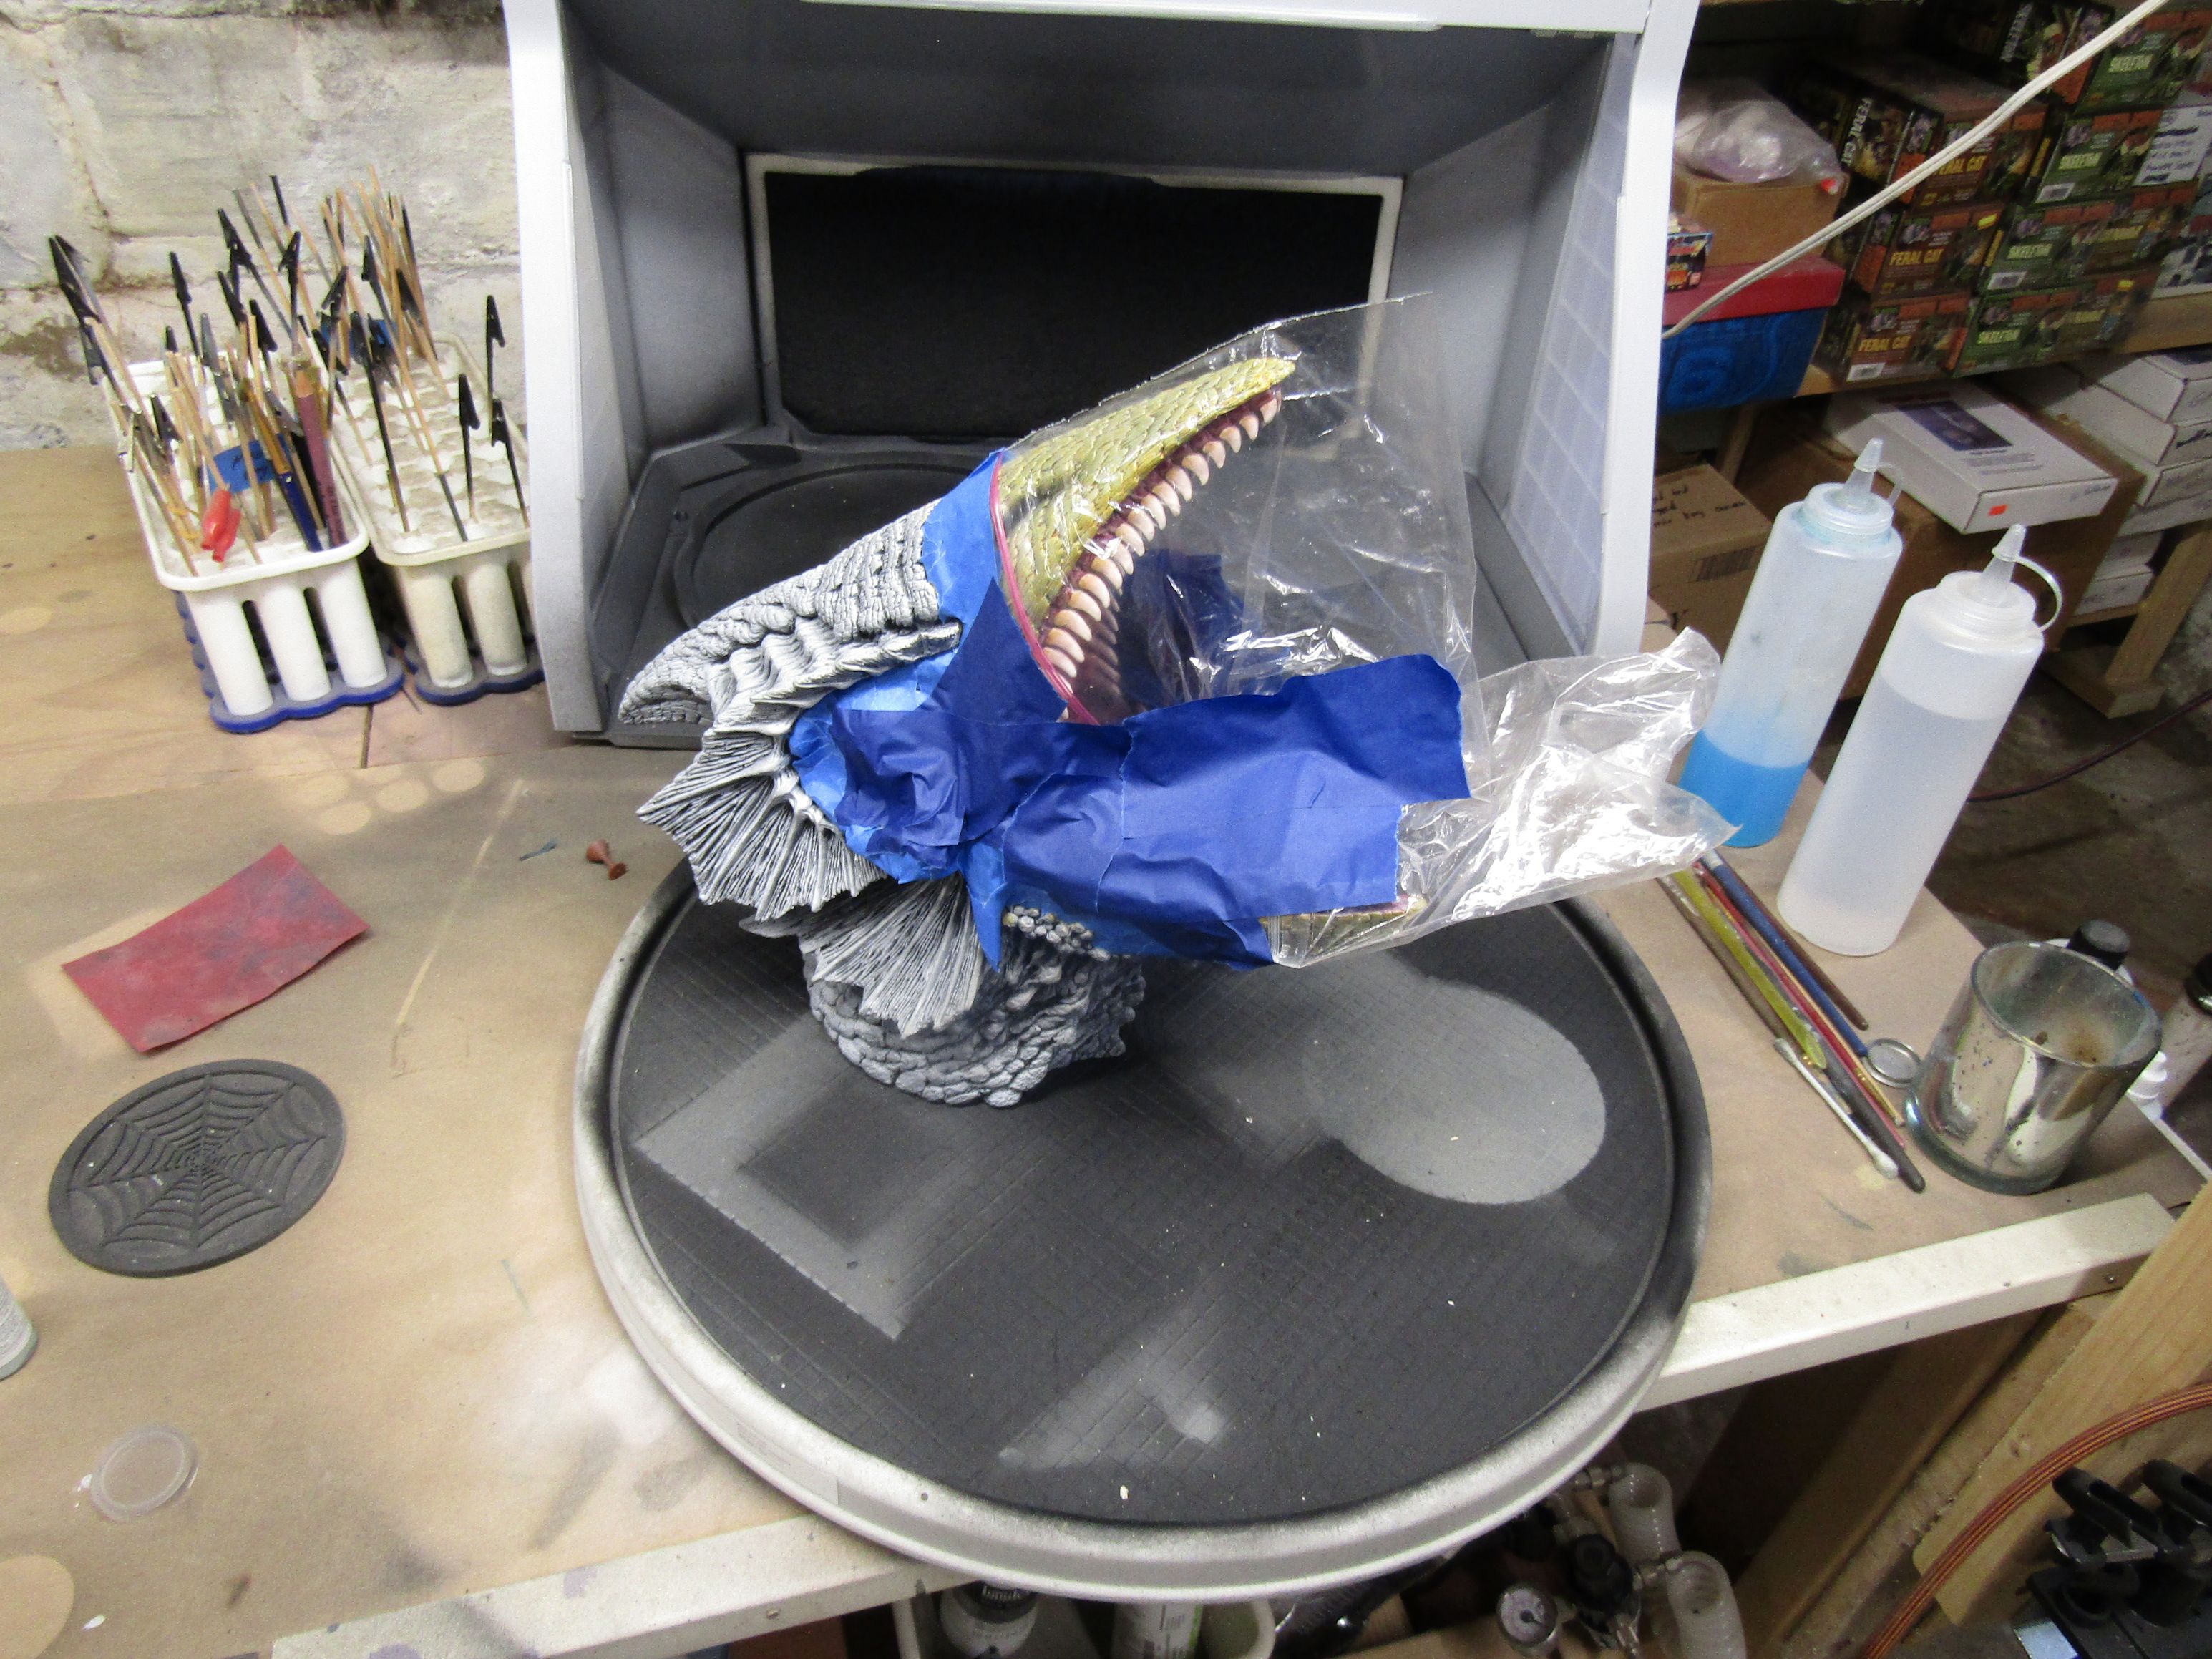 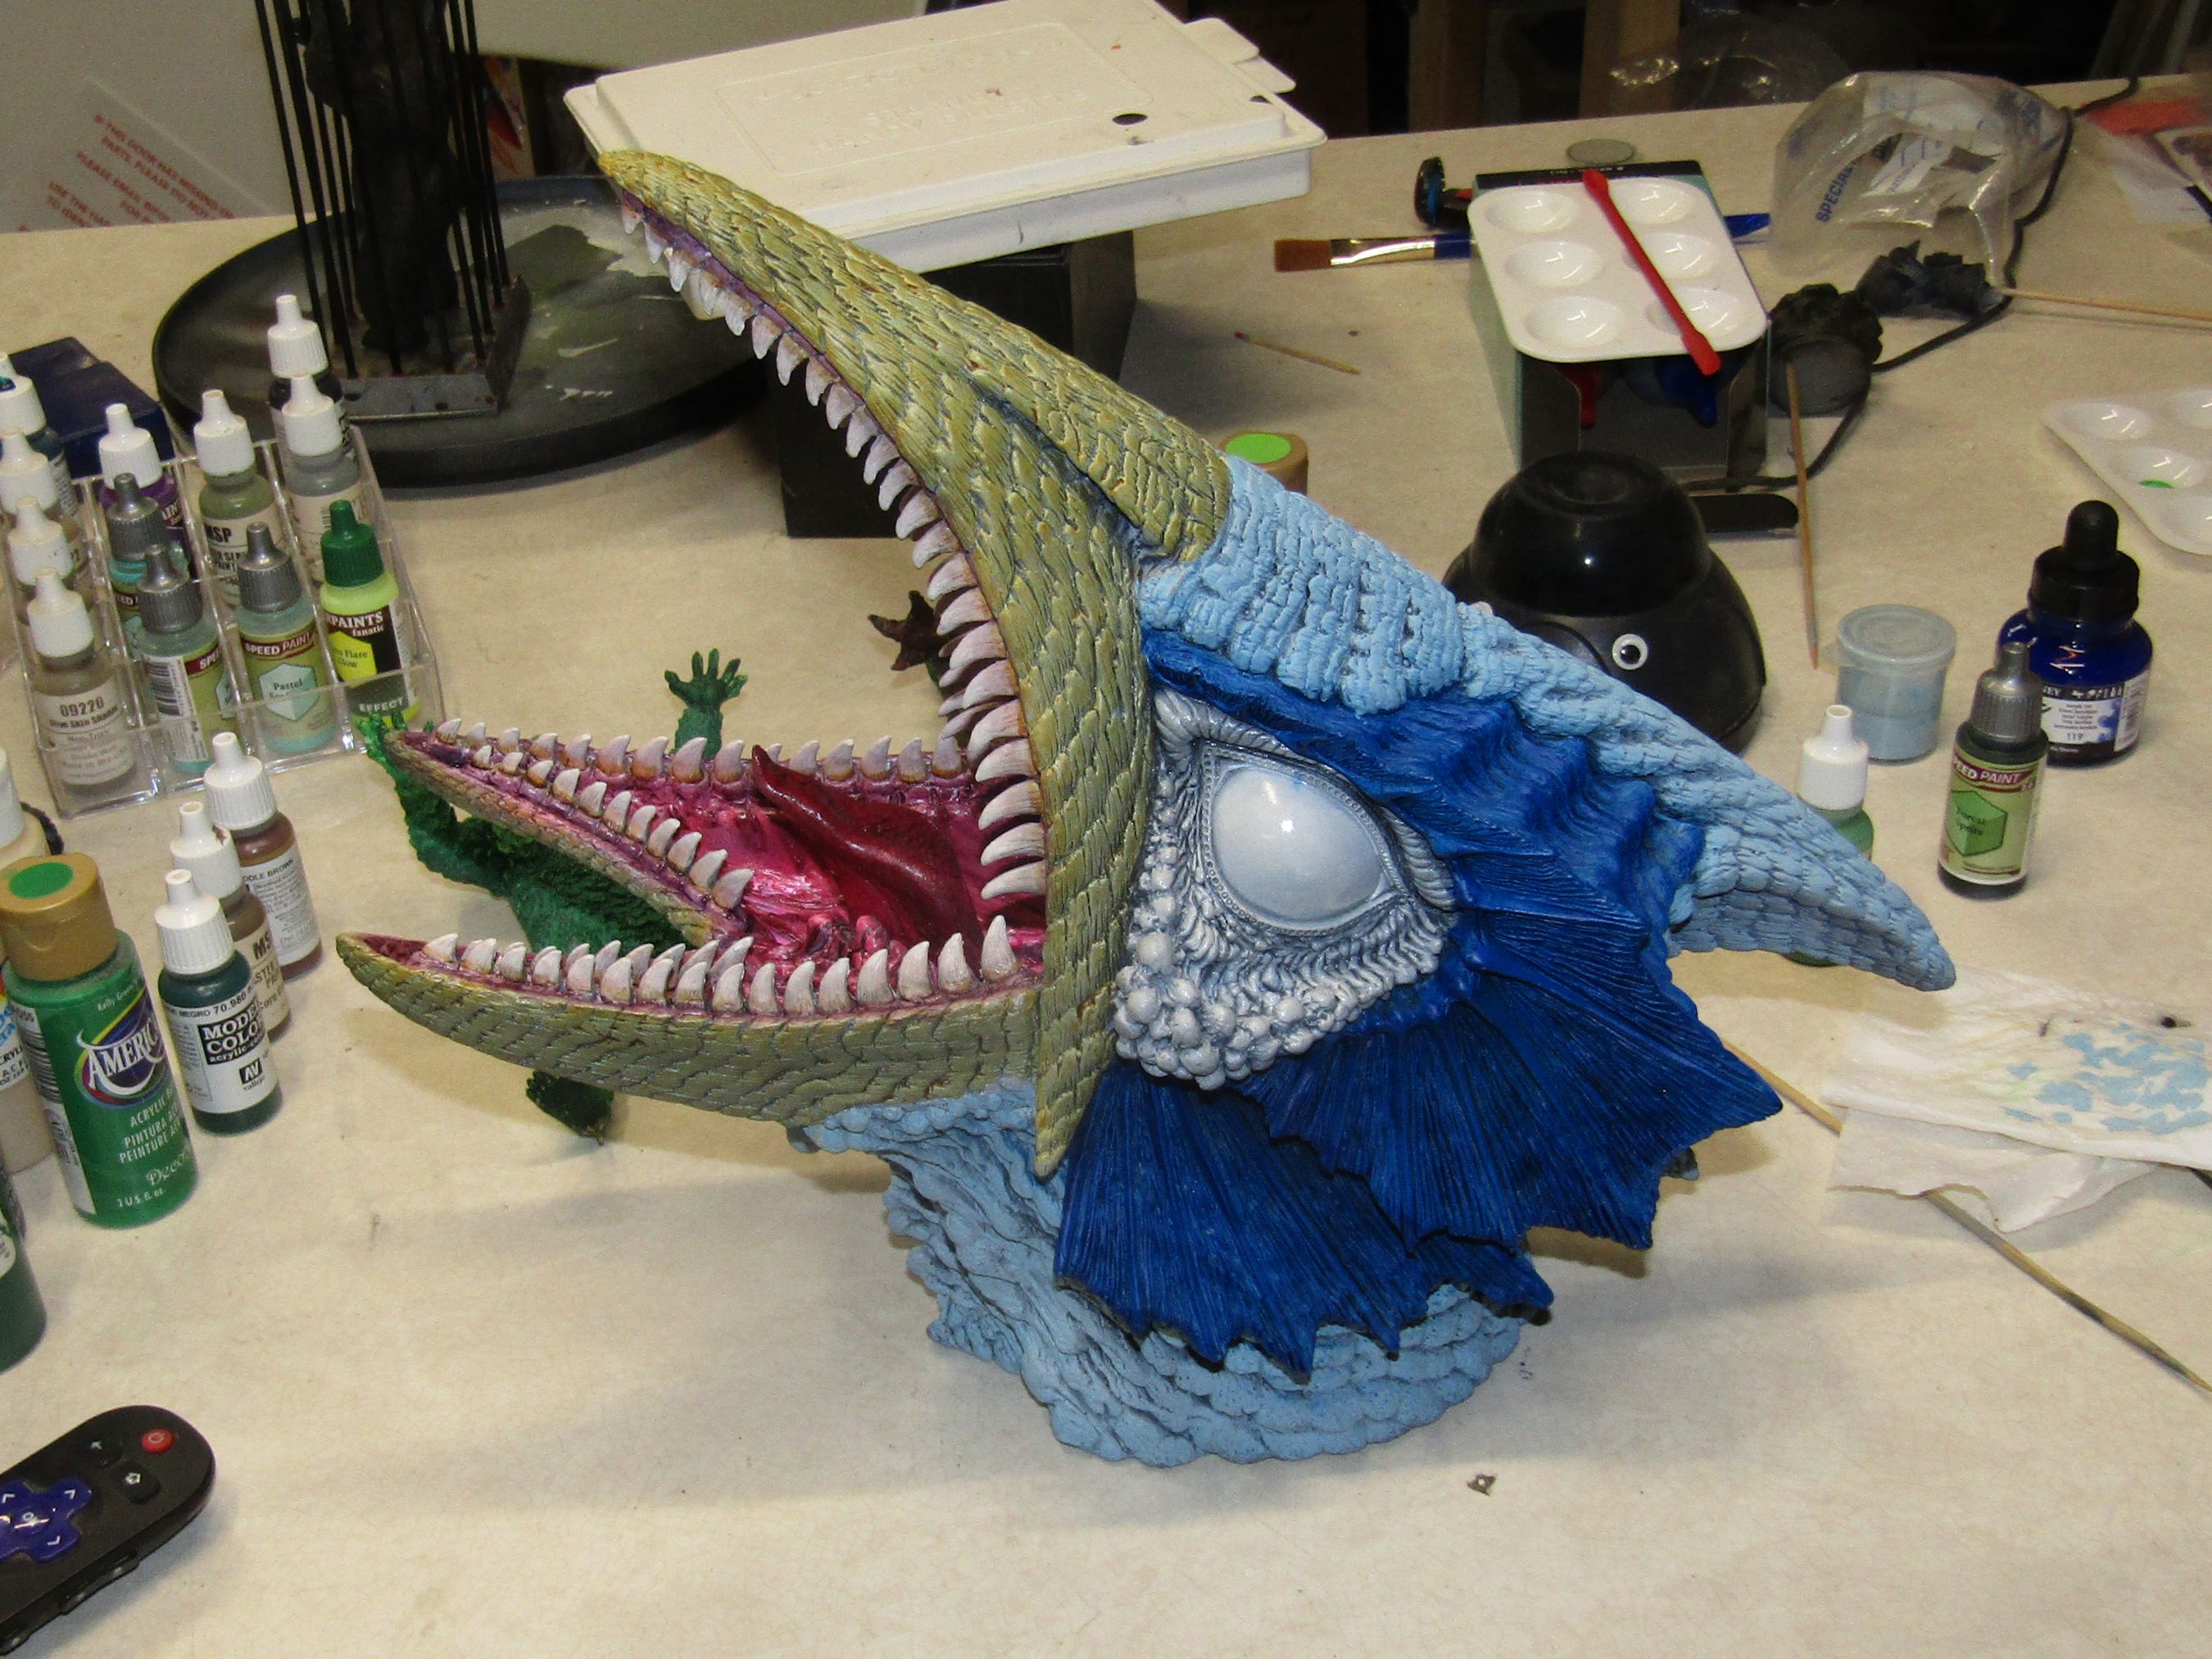 I started by masking and then spraying. My idea was for a light pale bue-gray for the 'feathers' or whatever they are. I actually found I had a paint that was supposed to be that exact color. But, when I started spraying it, it really didn't show up against the white. So I added more blue to it to get it to show up. Yes, it is too blue, but the idea is to knock it back with drybrushing. I also shot the bright blue area around the eyes with some ink. | ||
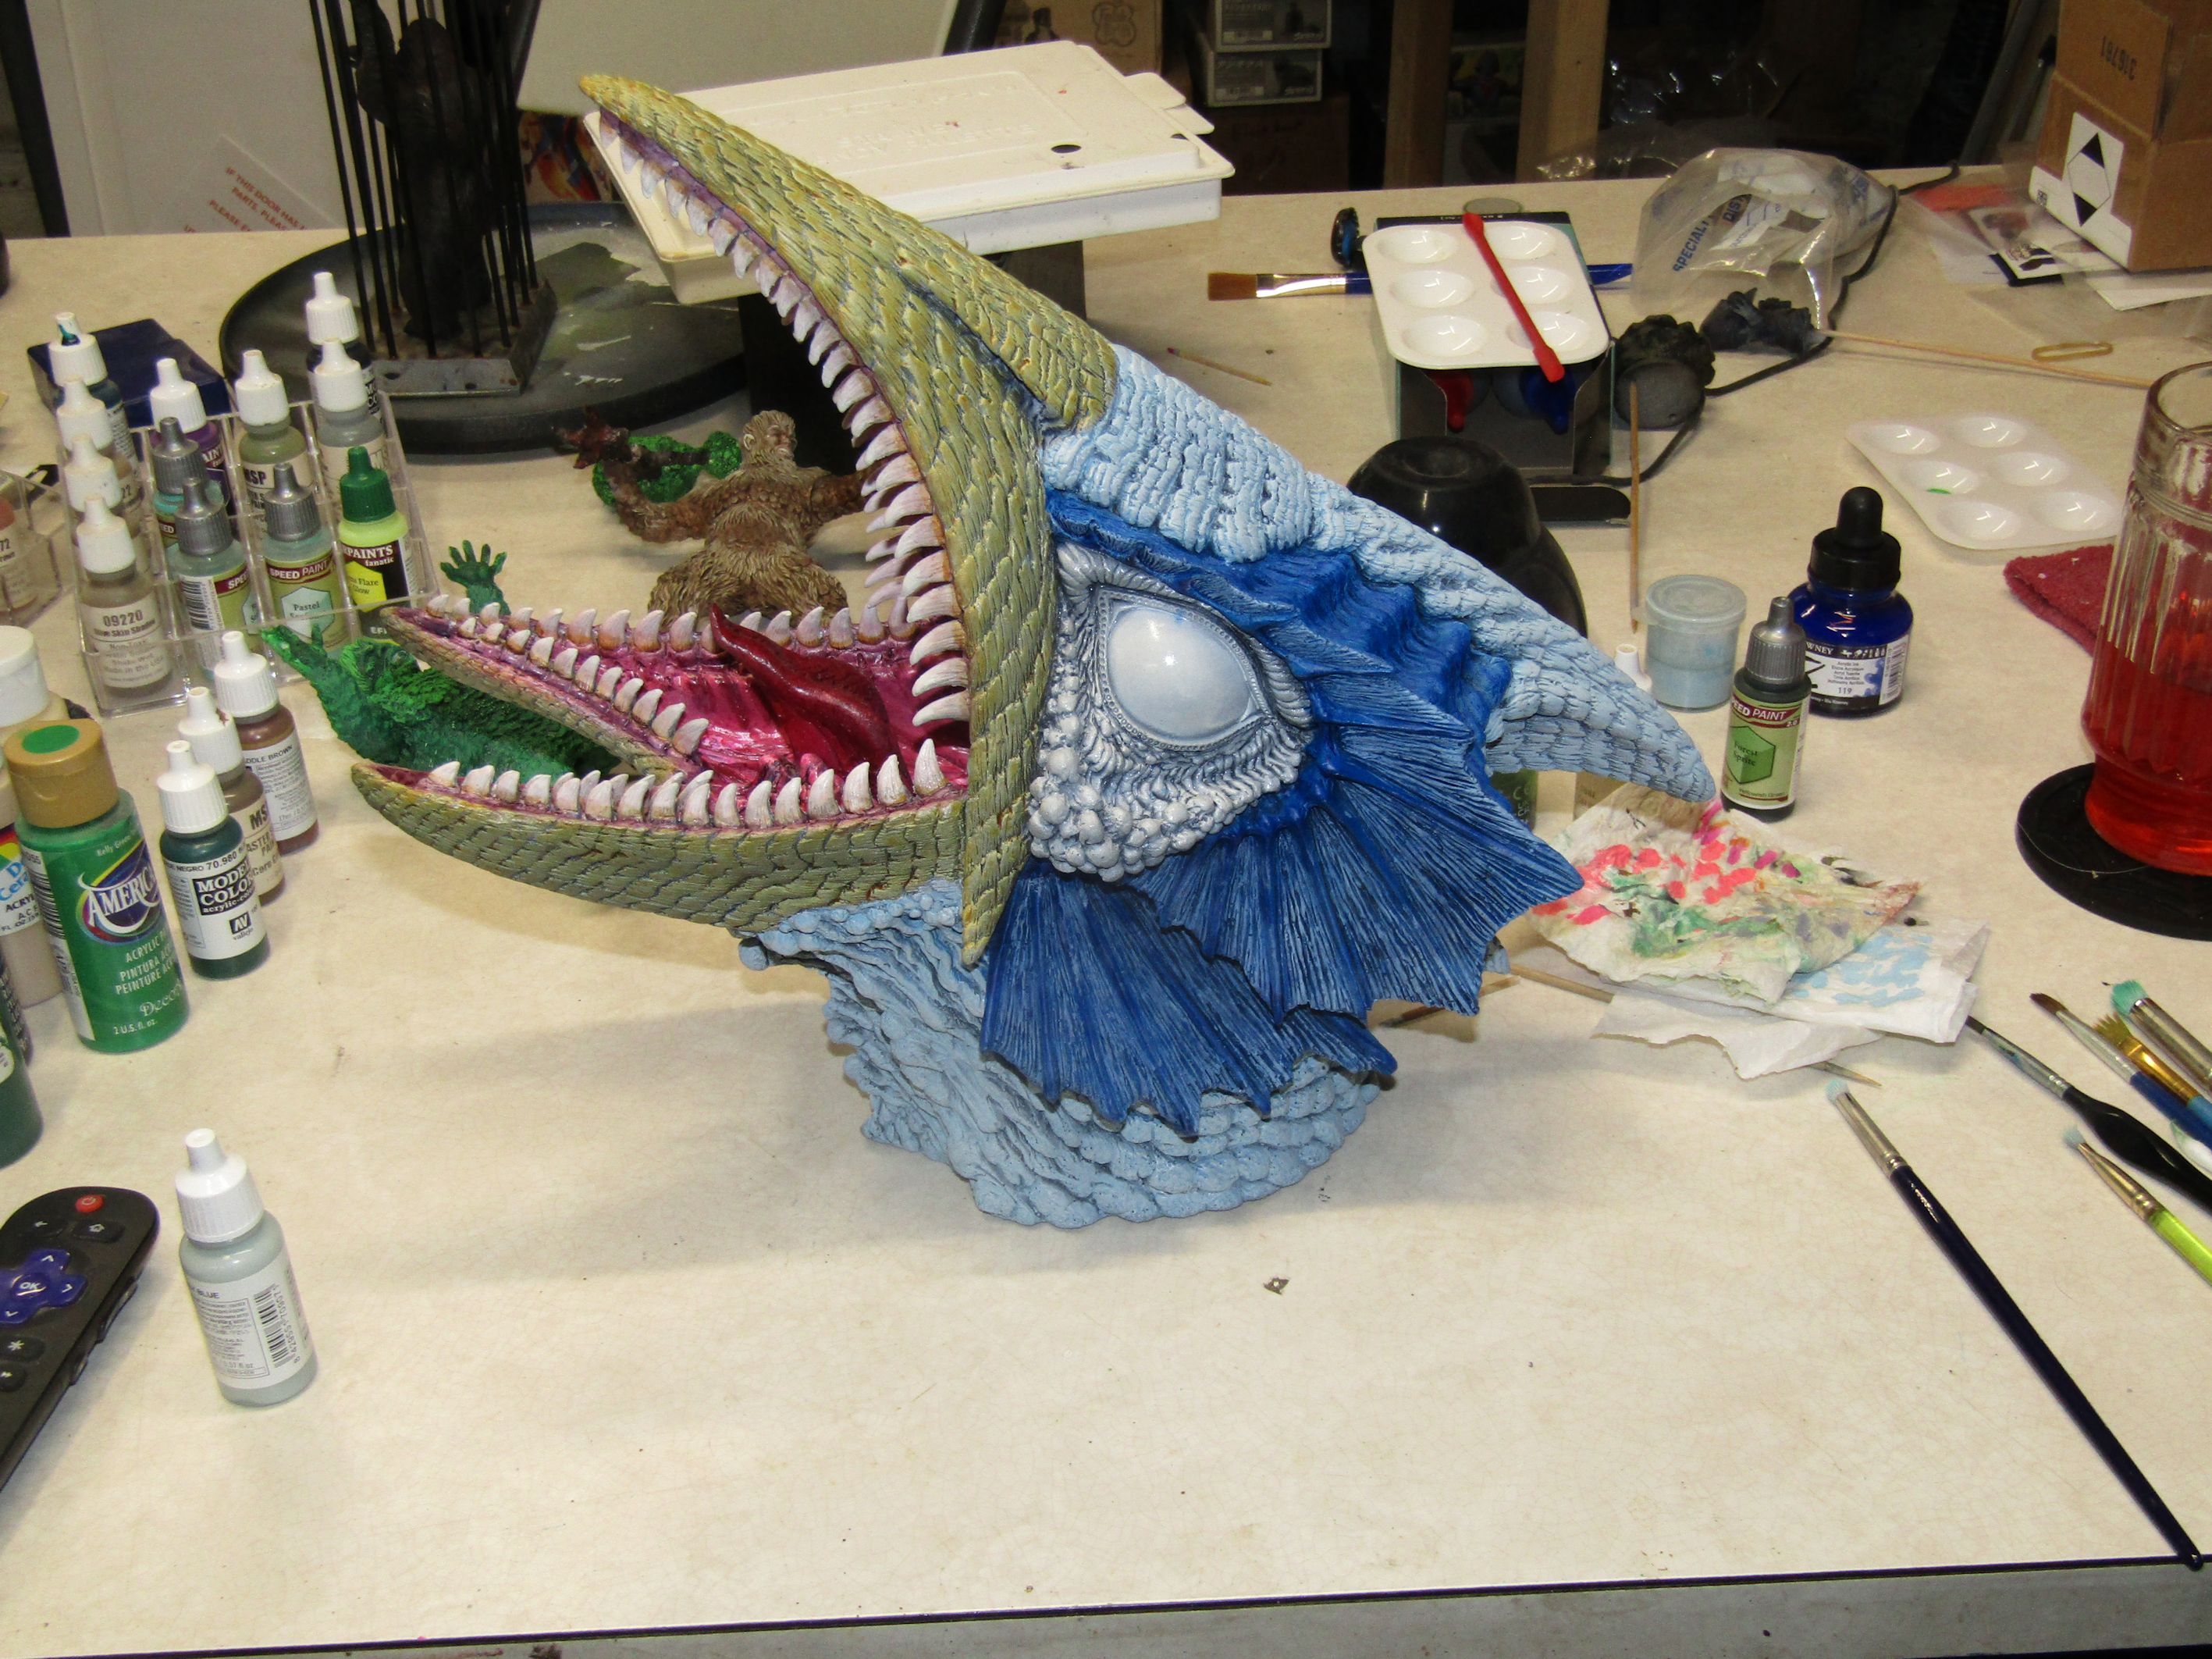  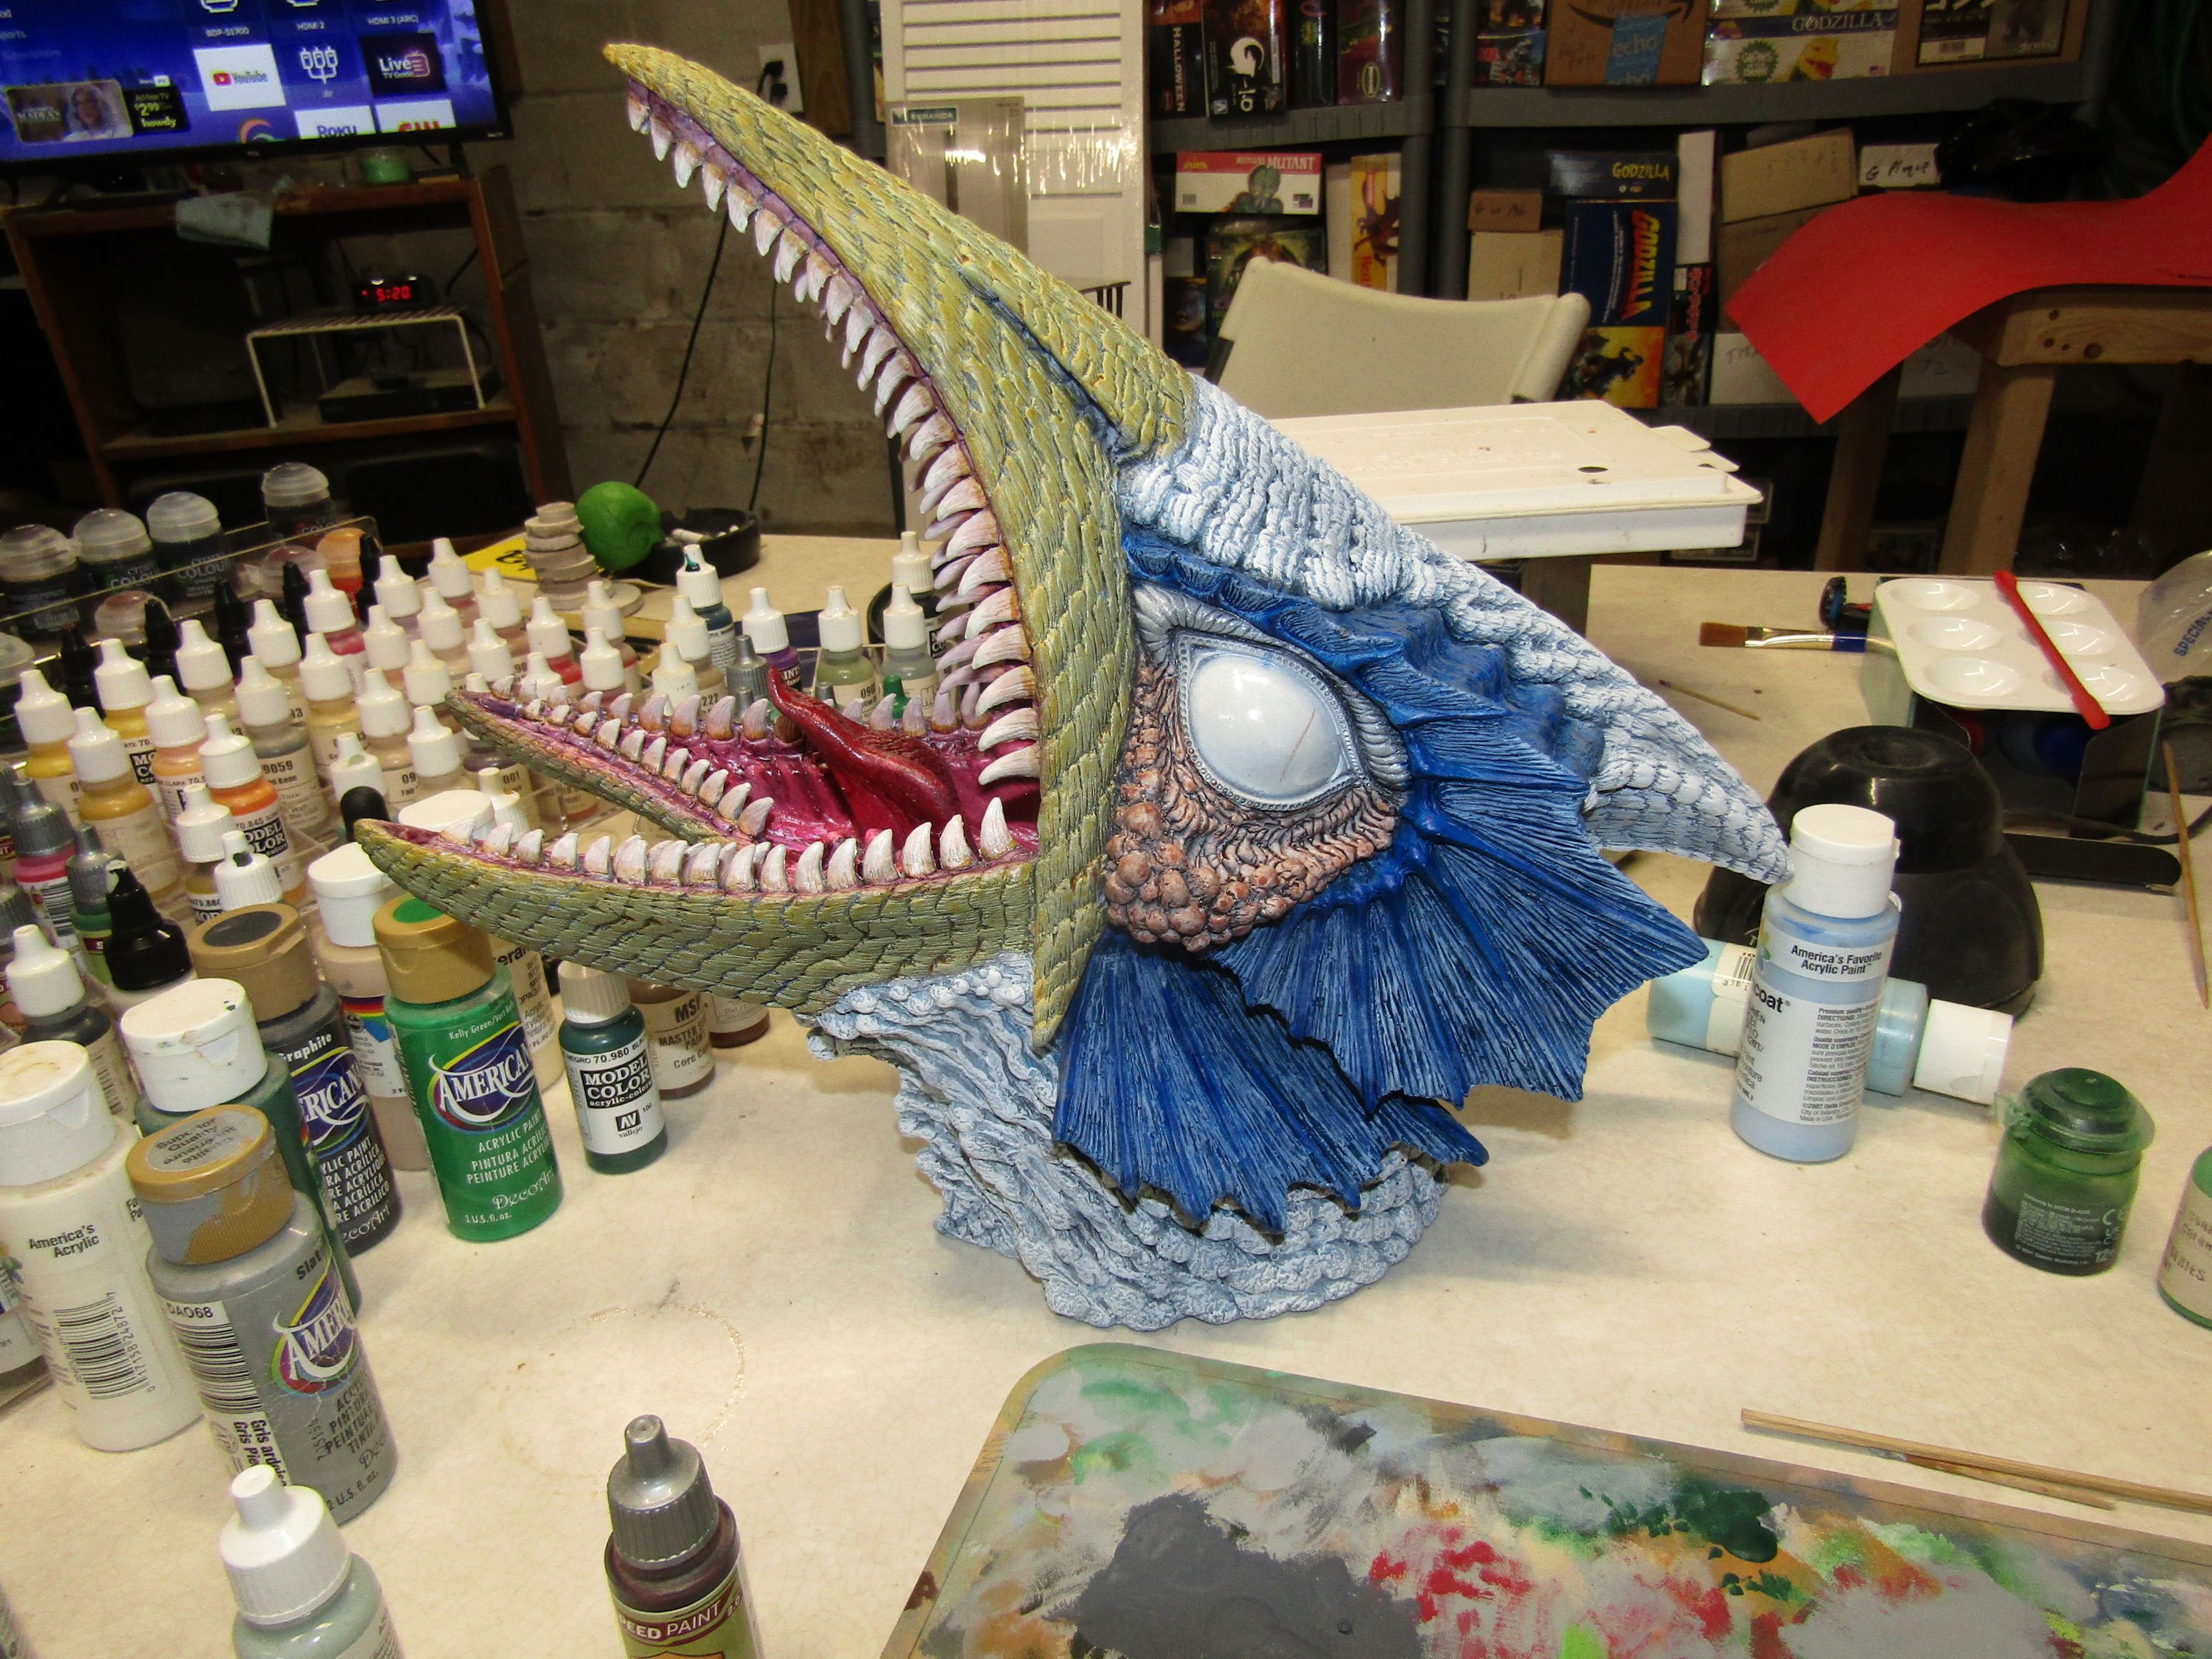 This kind of shows the progression of drybrushing. First round of light gray knocked the blue back a bit. Then a couple more rounds of light blue brought it closer to what I wanted. Then I went with a dark gray, then some off-white over that. And I think I like it. As you can see, I also did the bright blue areas. Some light blue on the sides, and dark gray around the rest of the edges. Which I really need to get a pic of. |
||
  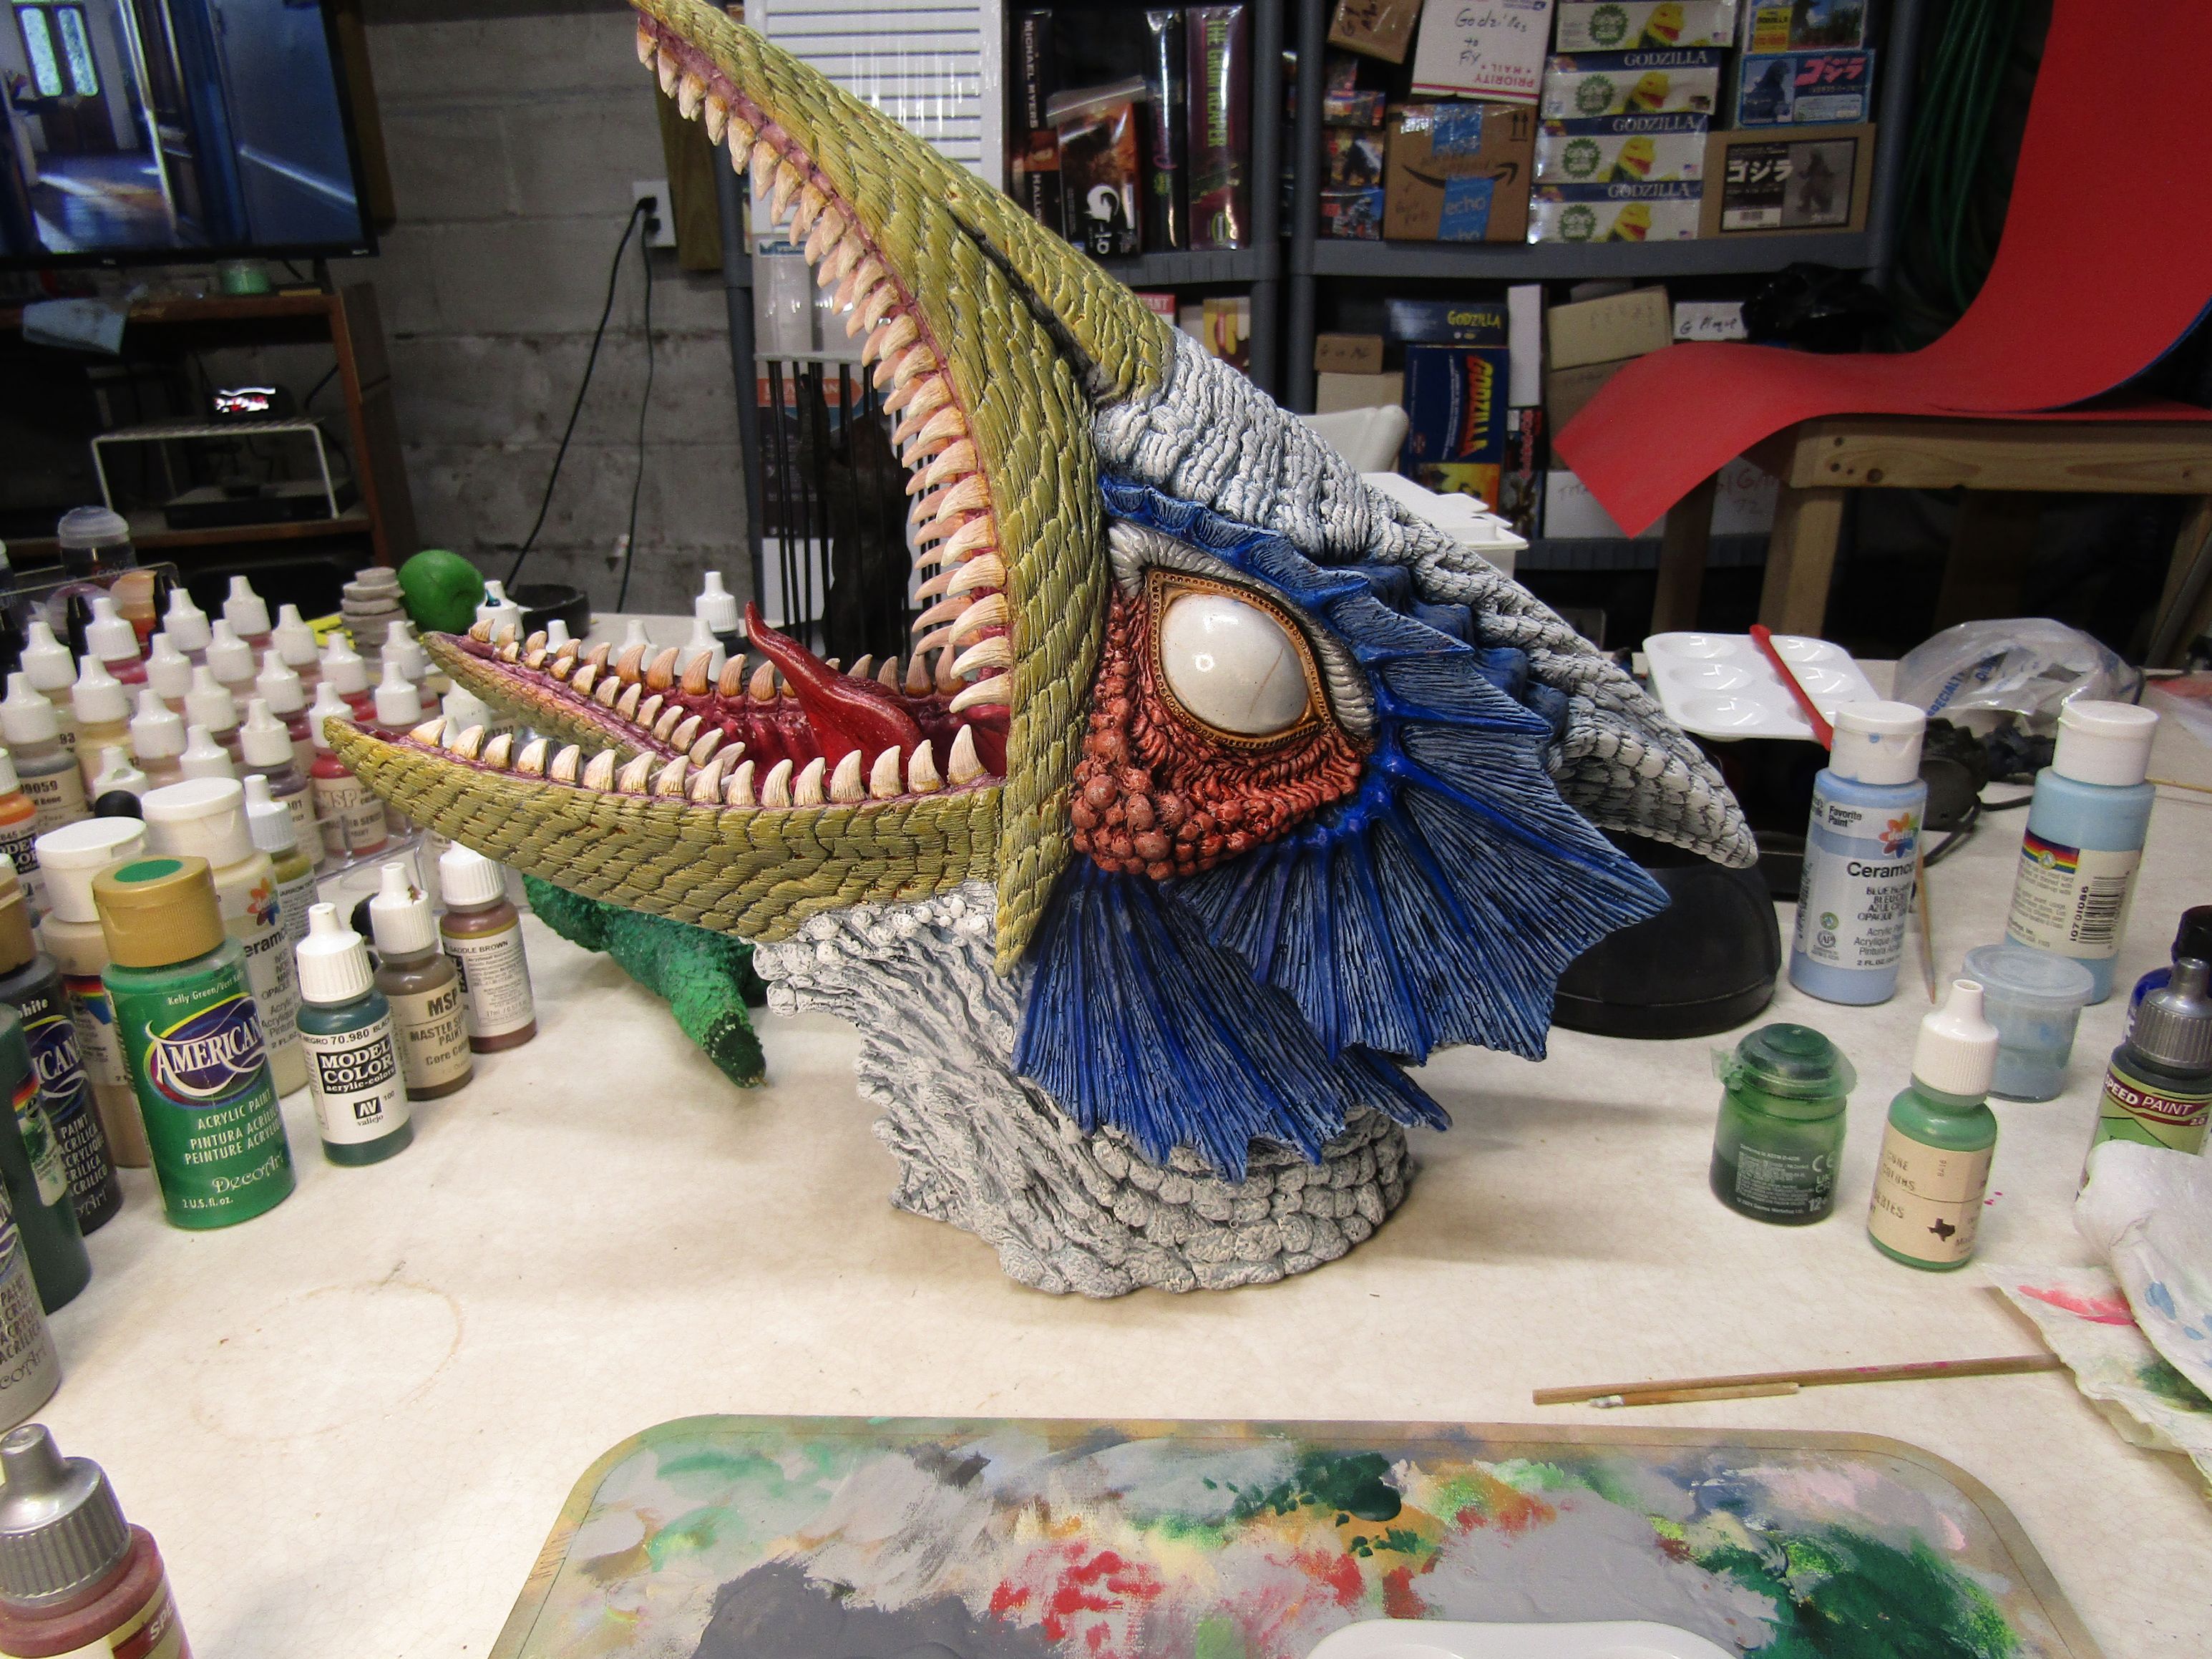 I did the blobs under the eyes with a couple coats of 2 different speed paints. Can't remember which at the moment, but I like it. Originally I was thinking they would be like a puss-green color. But the model was telling me to go reddish. |
||
new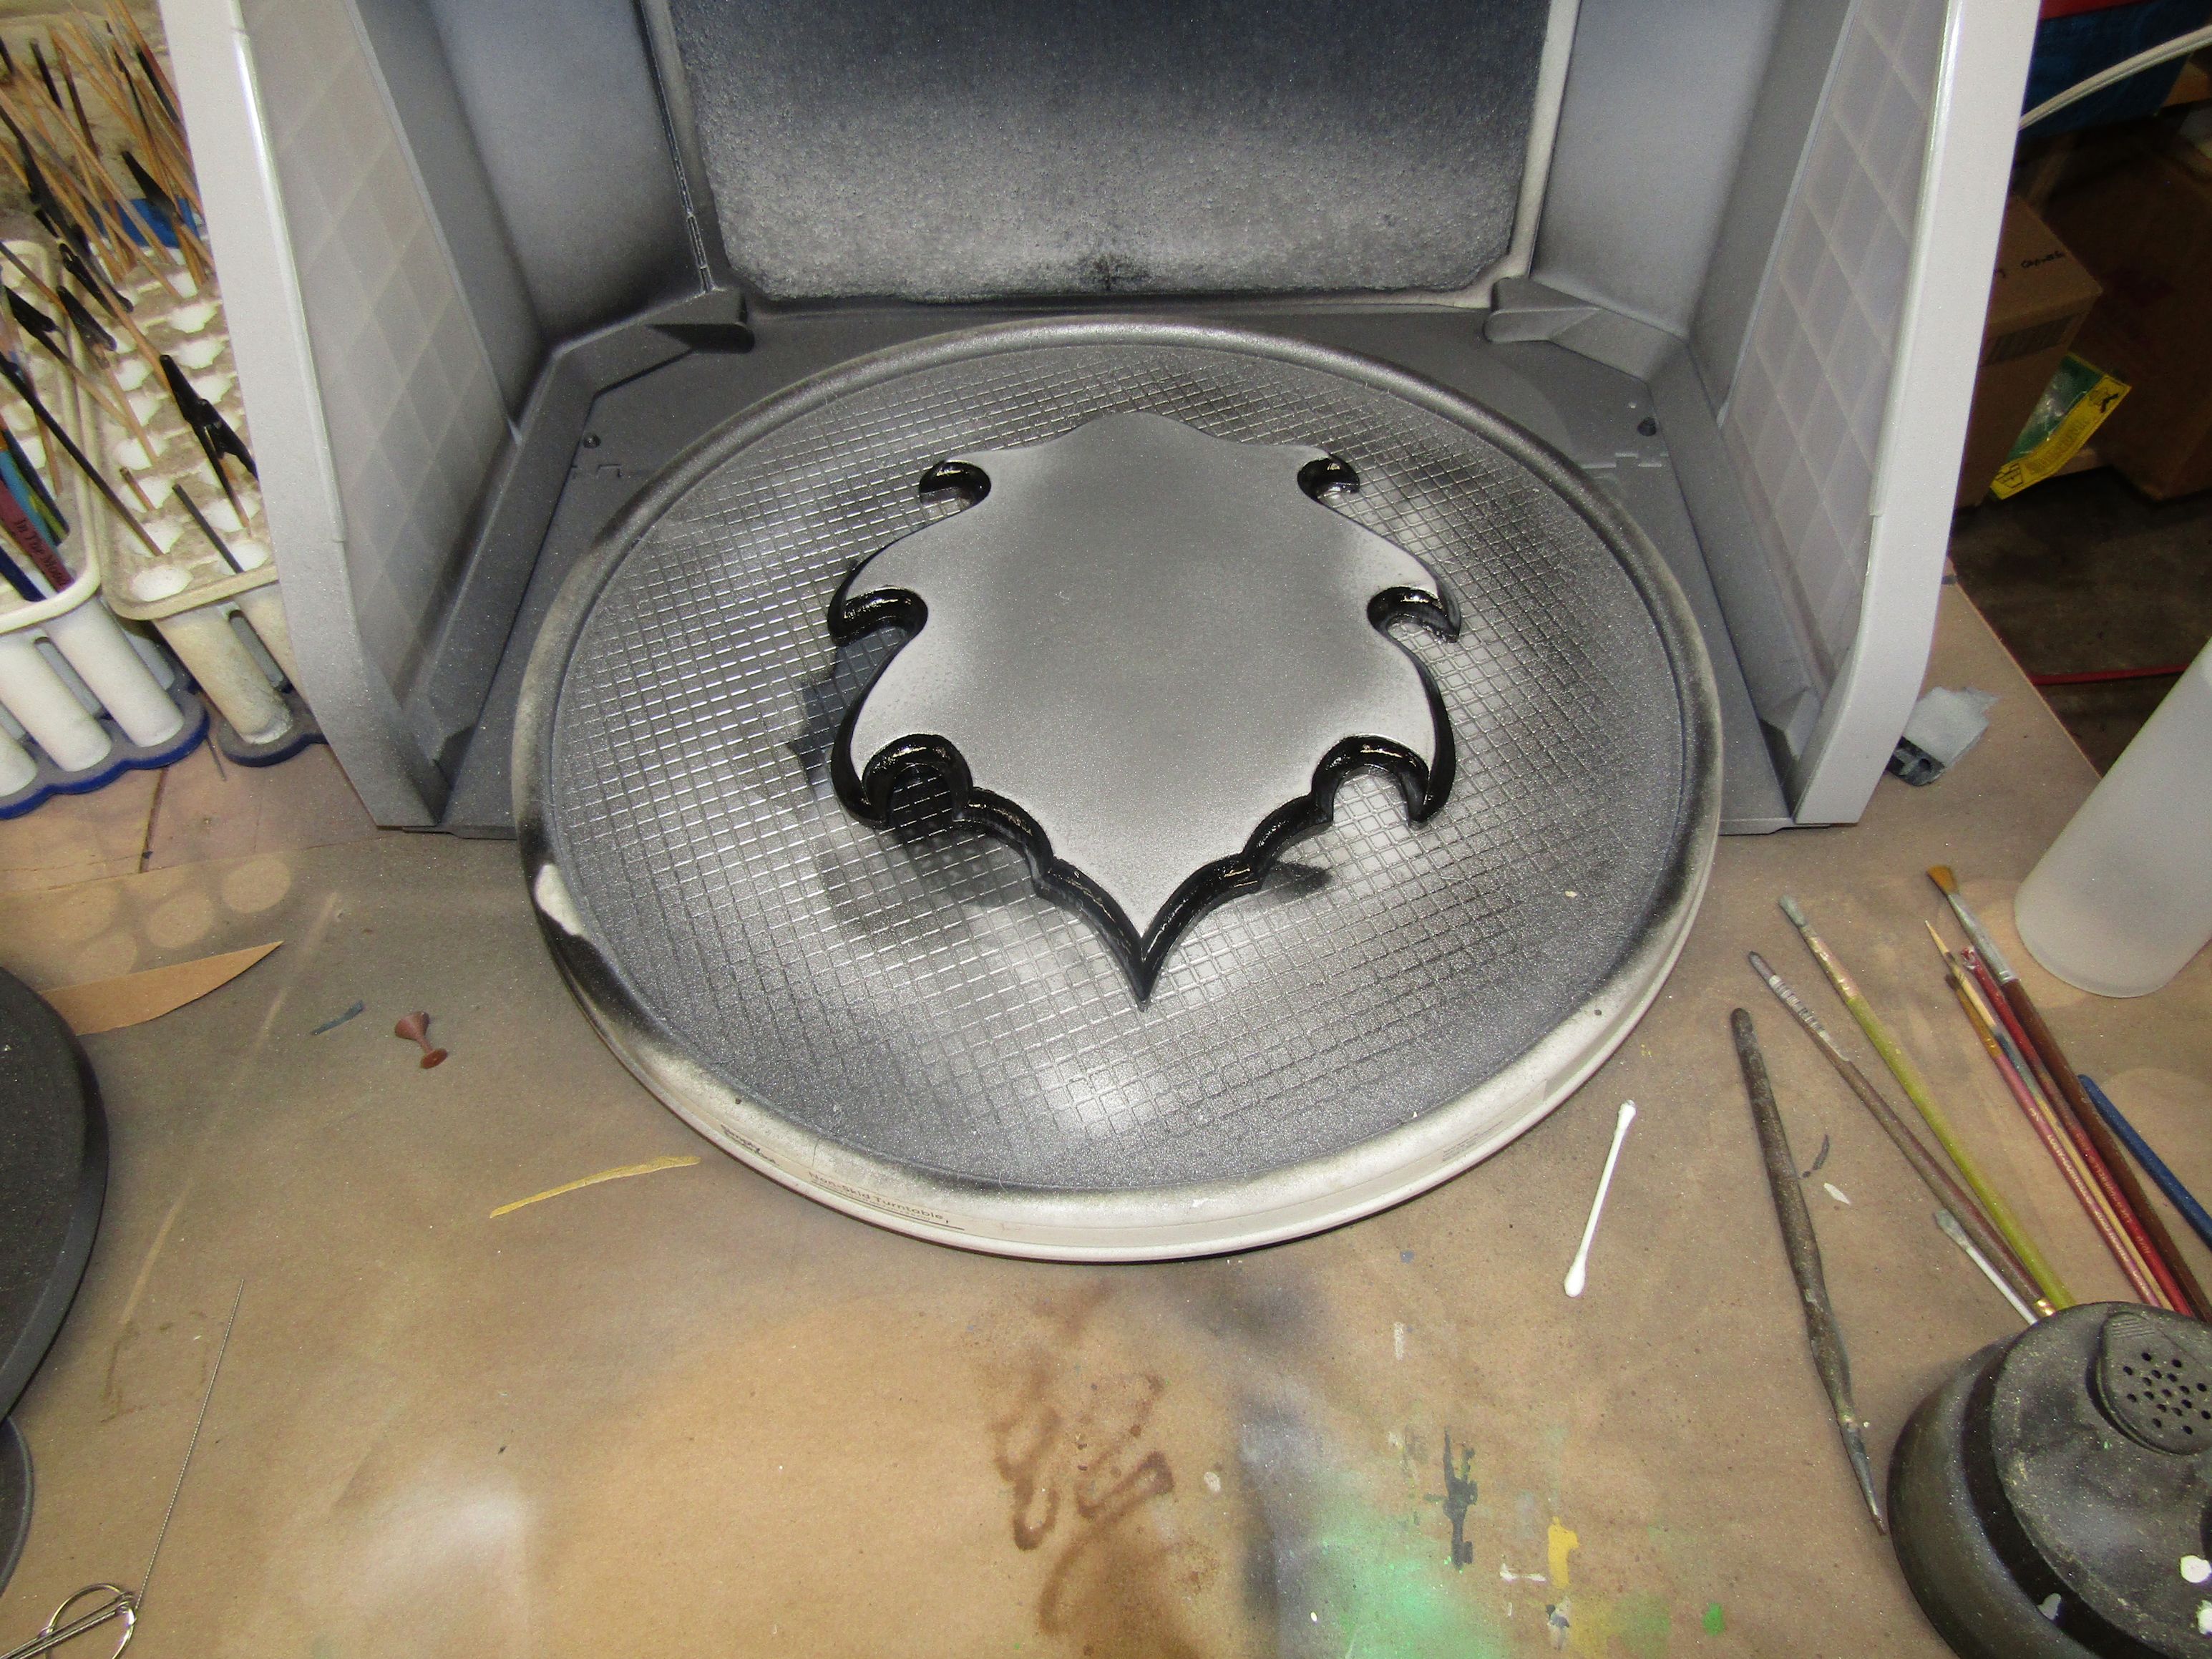 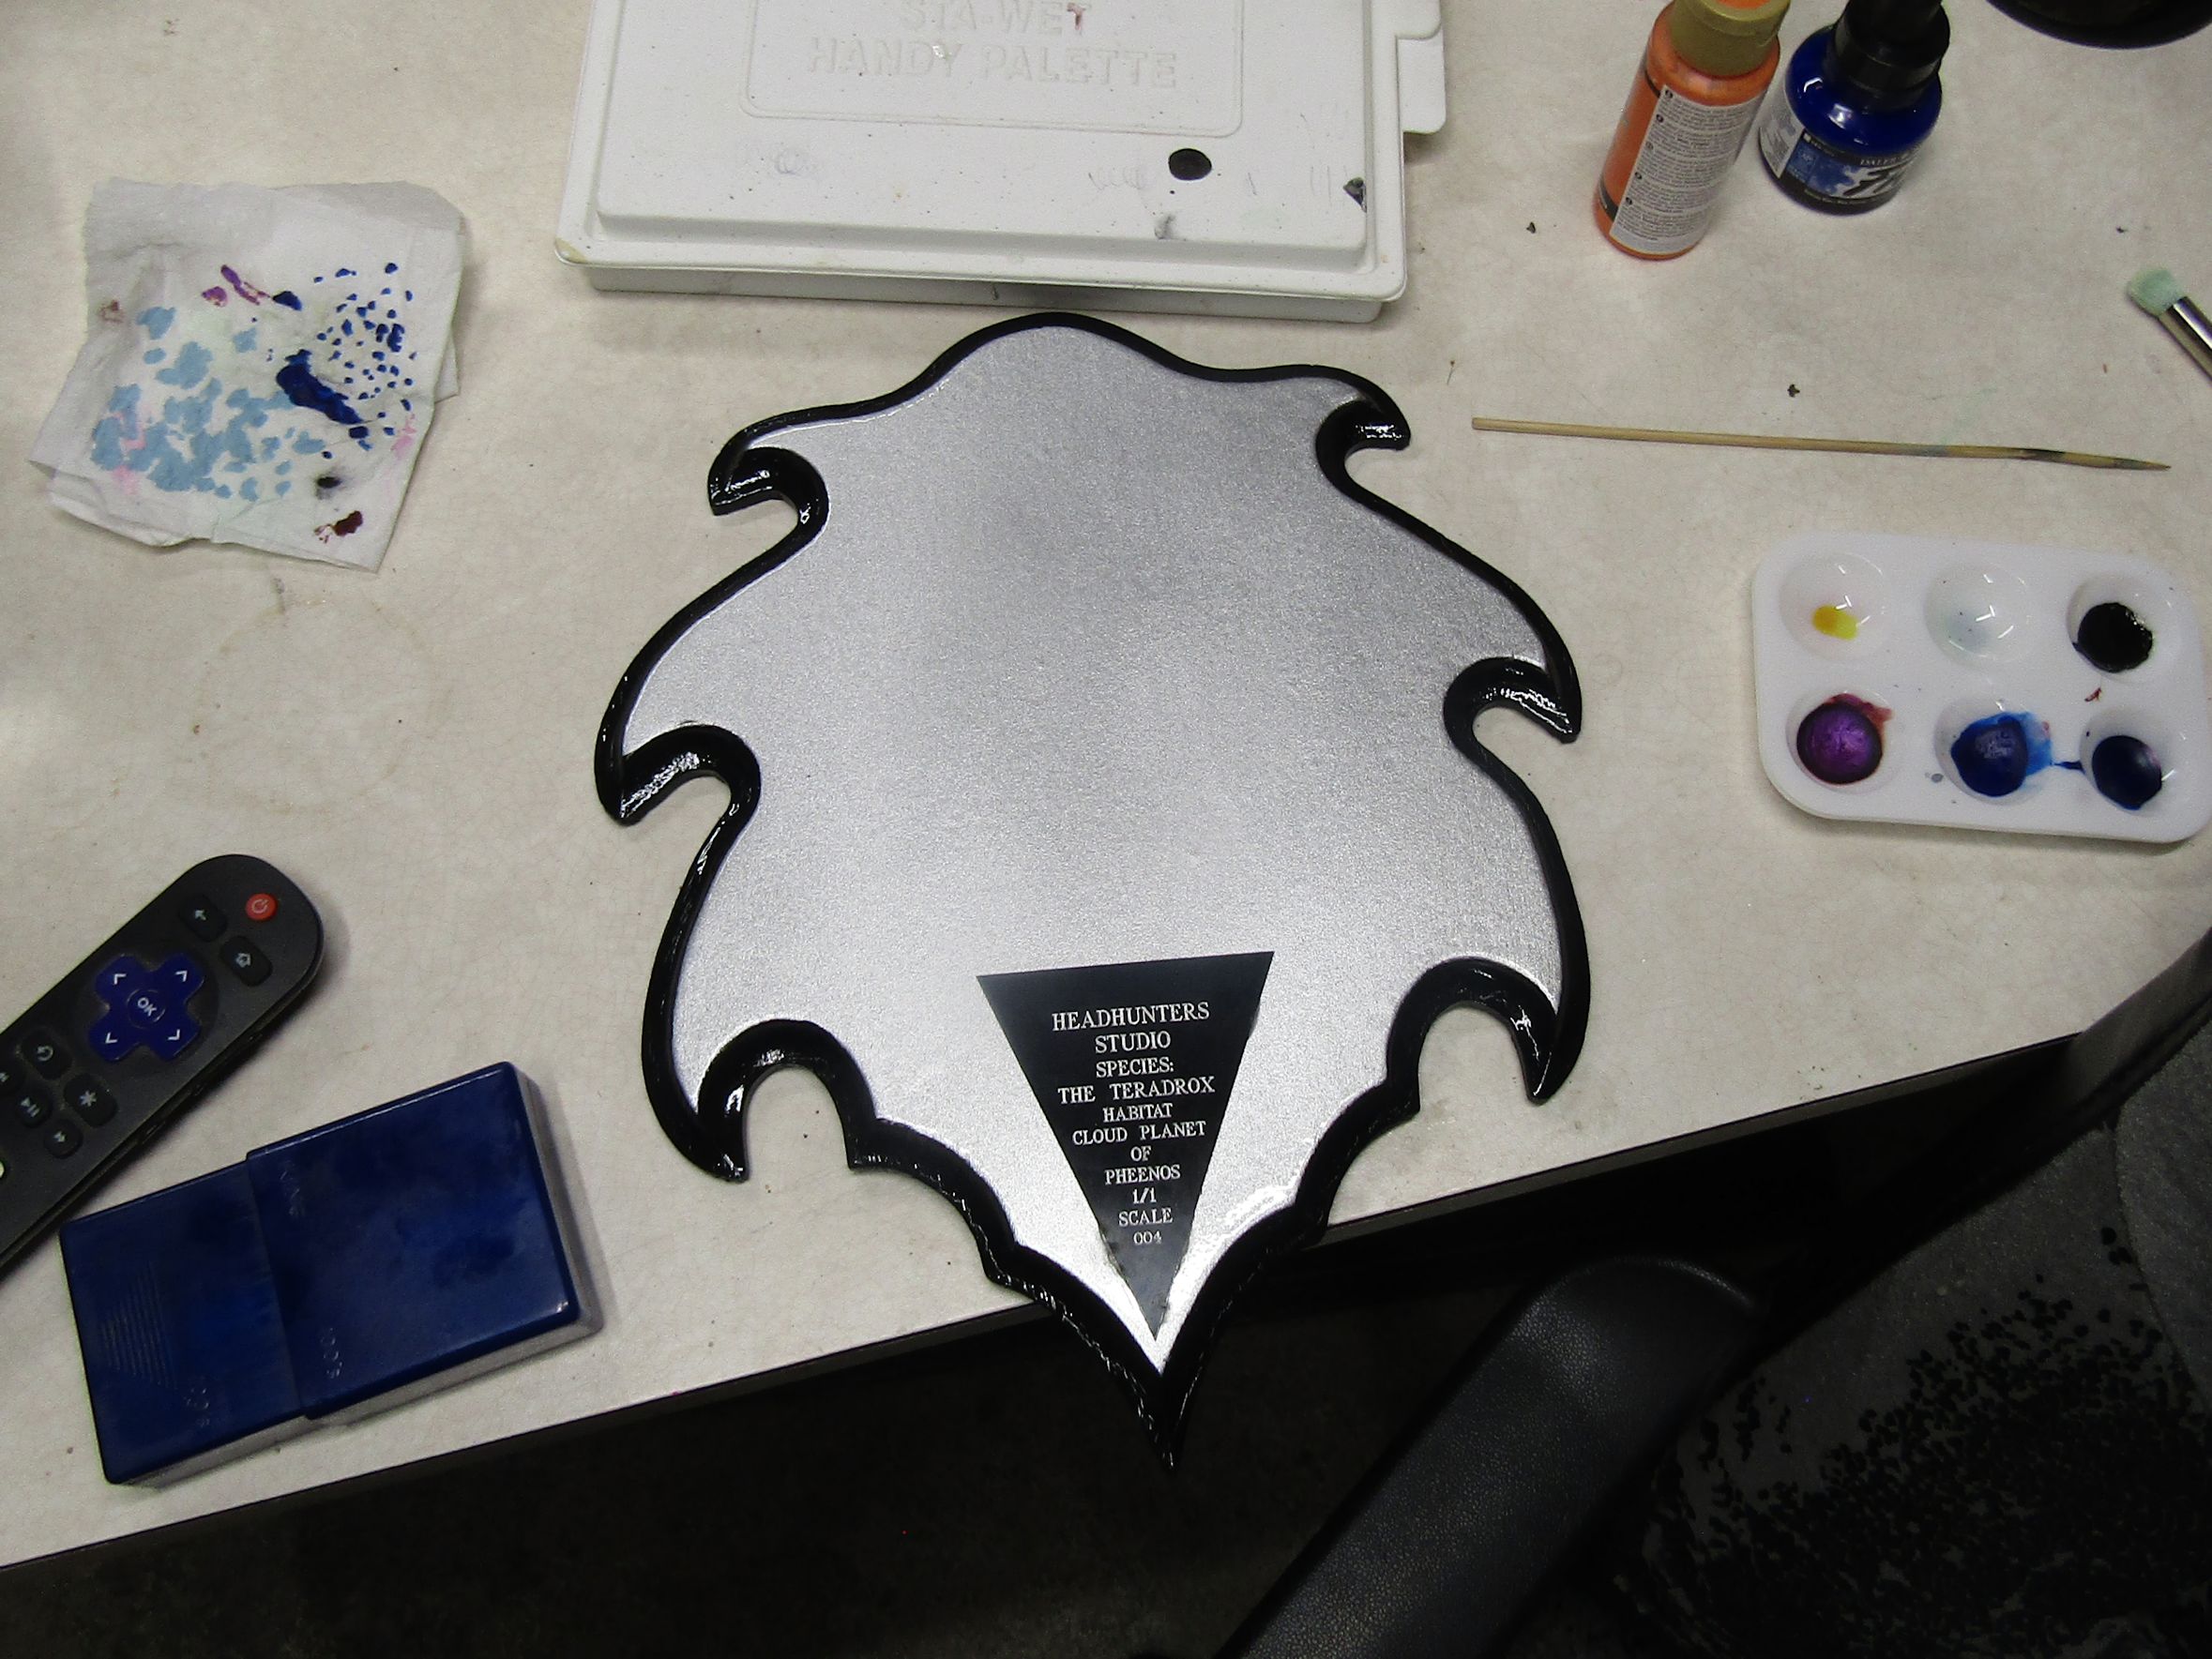 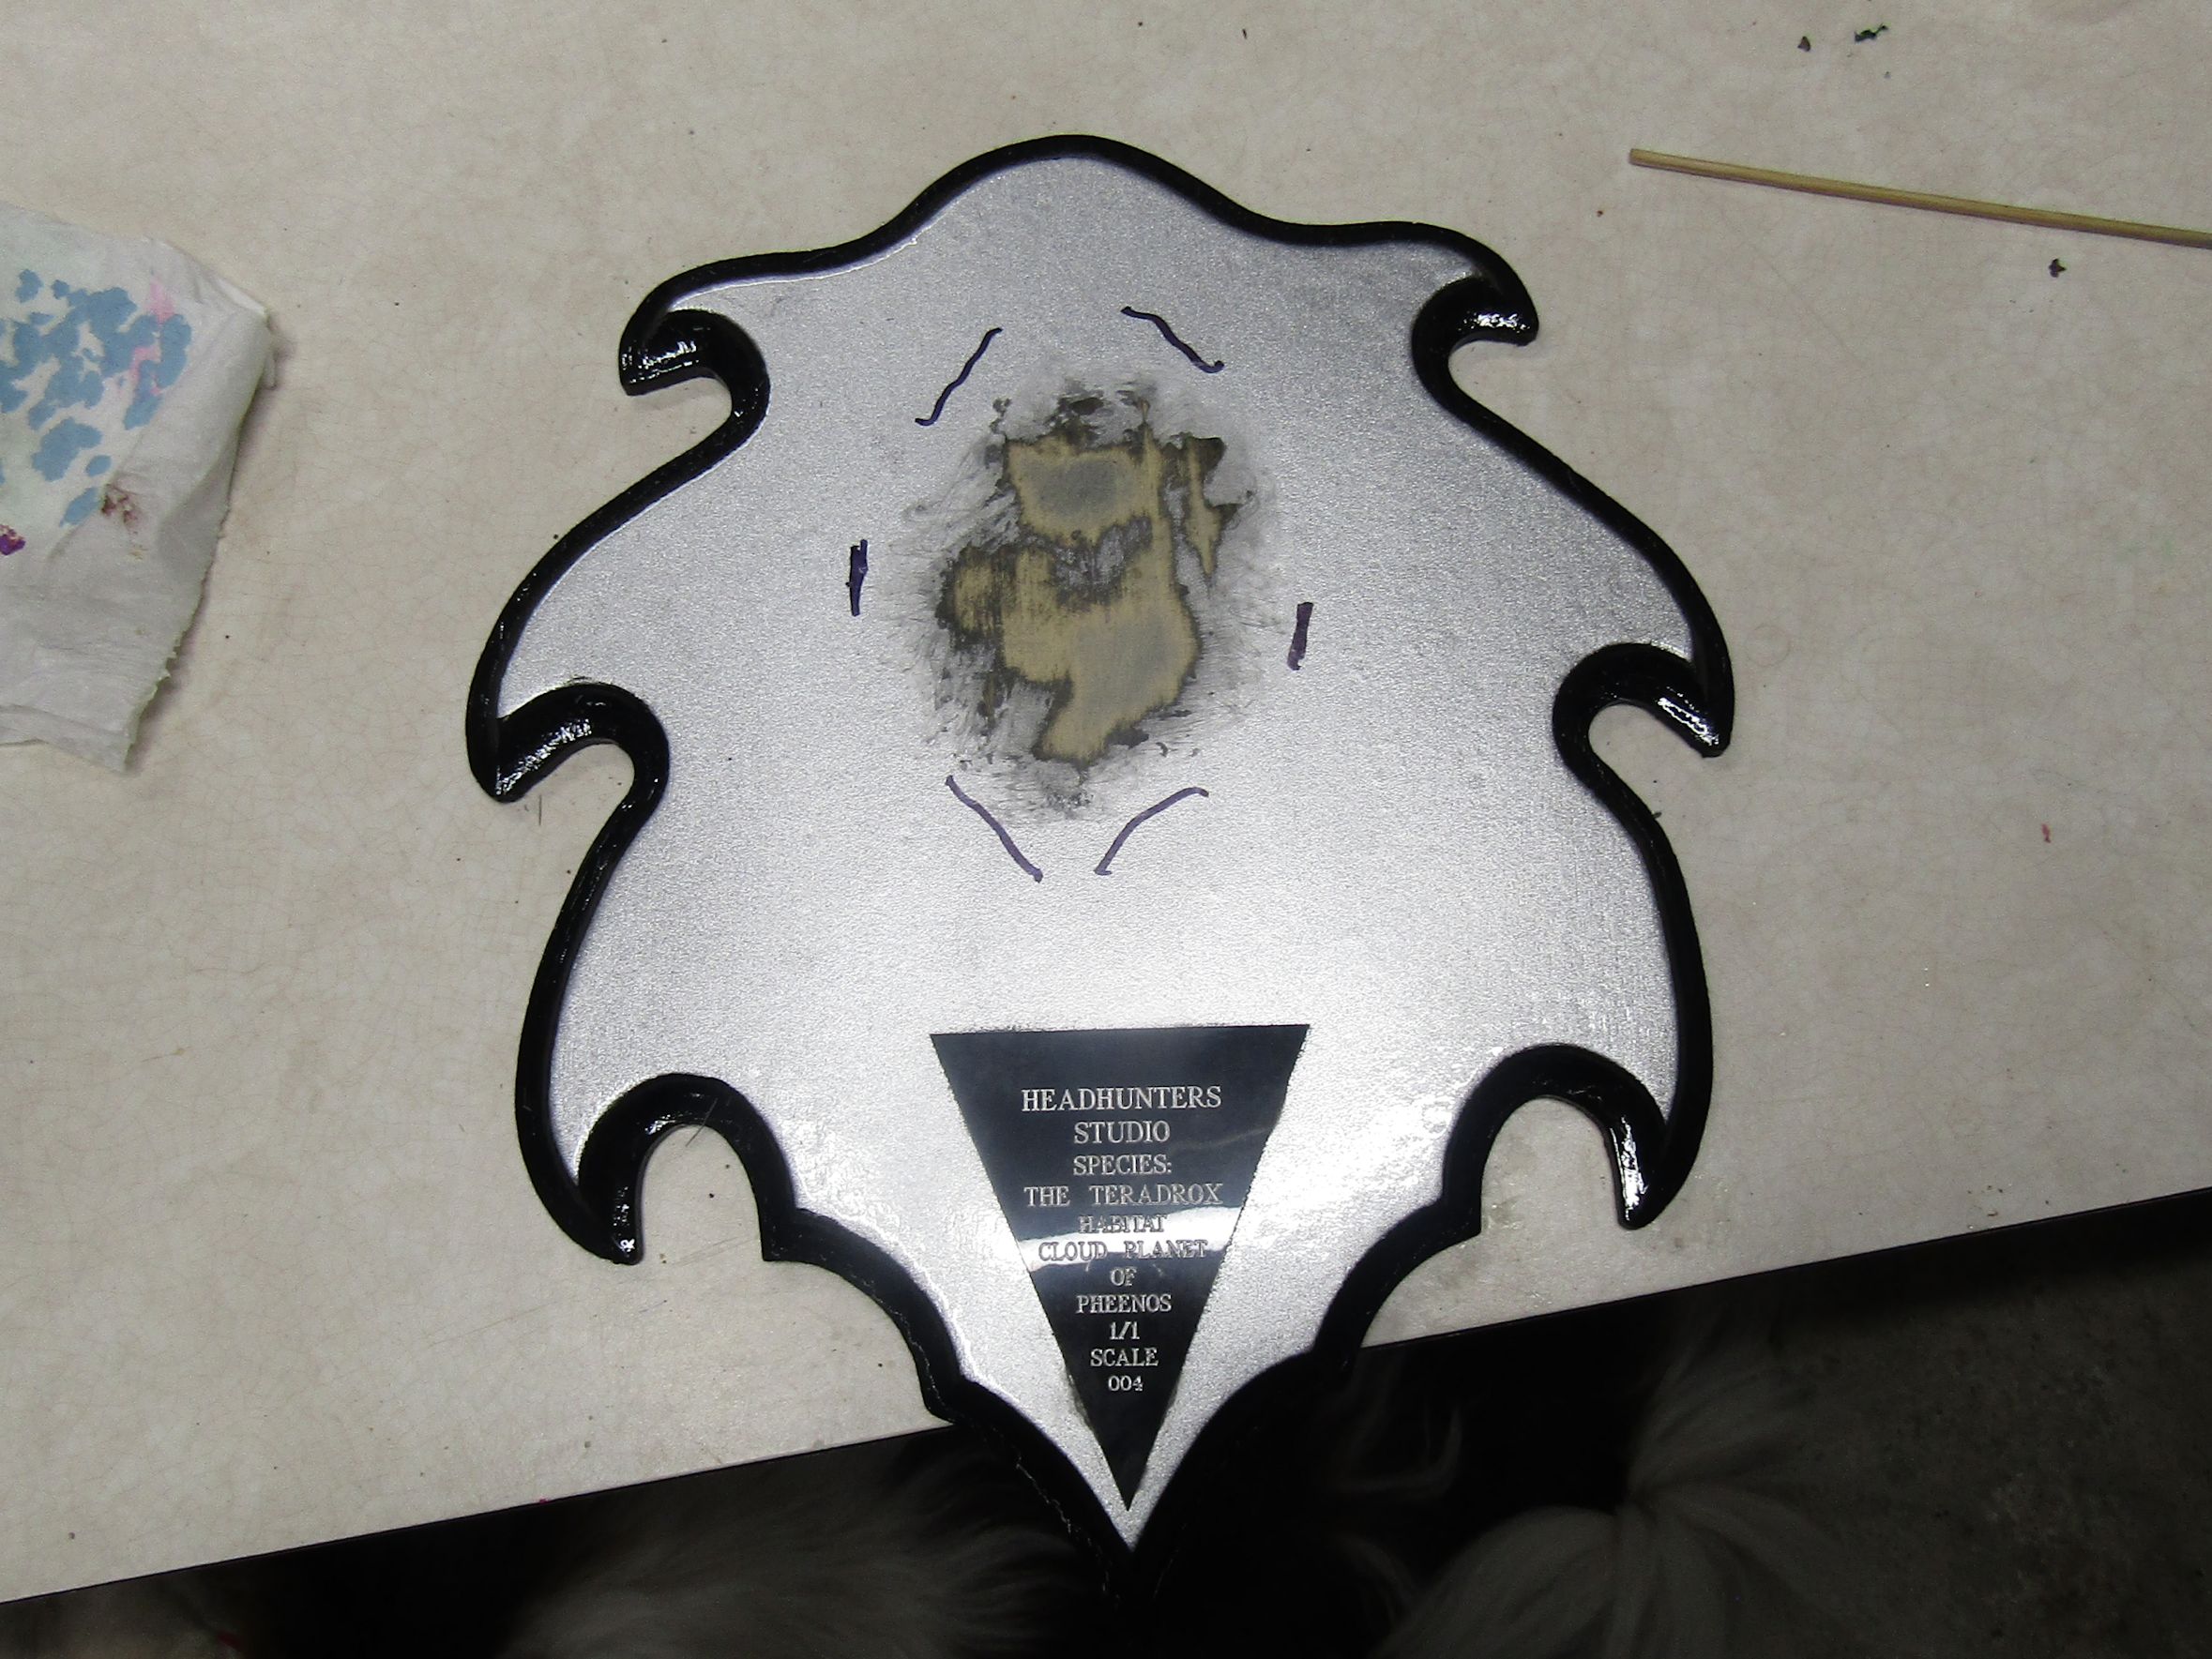 The base got a spray of silver. Black around the edge. Several coats of clear to seal it. Then I glued the placard on. After that I sanded down to bare resin where I would glue the head on. | ||
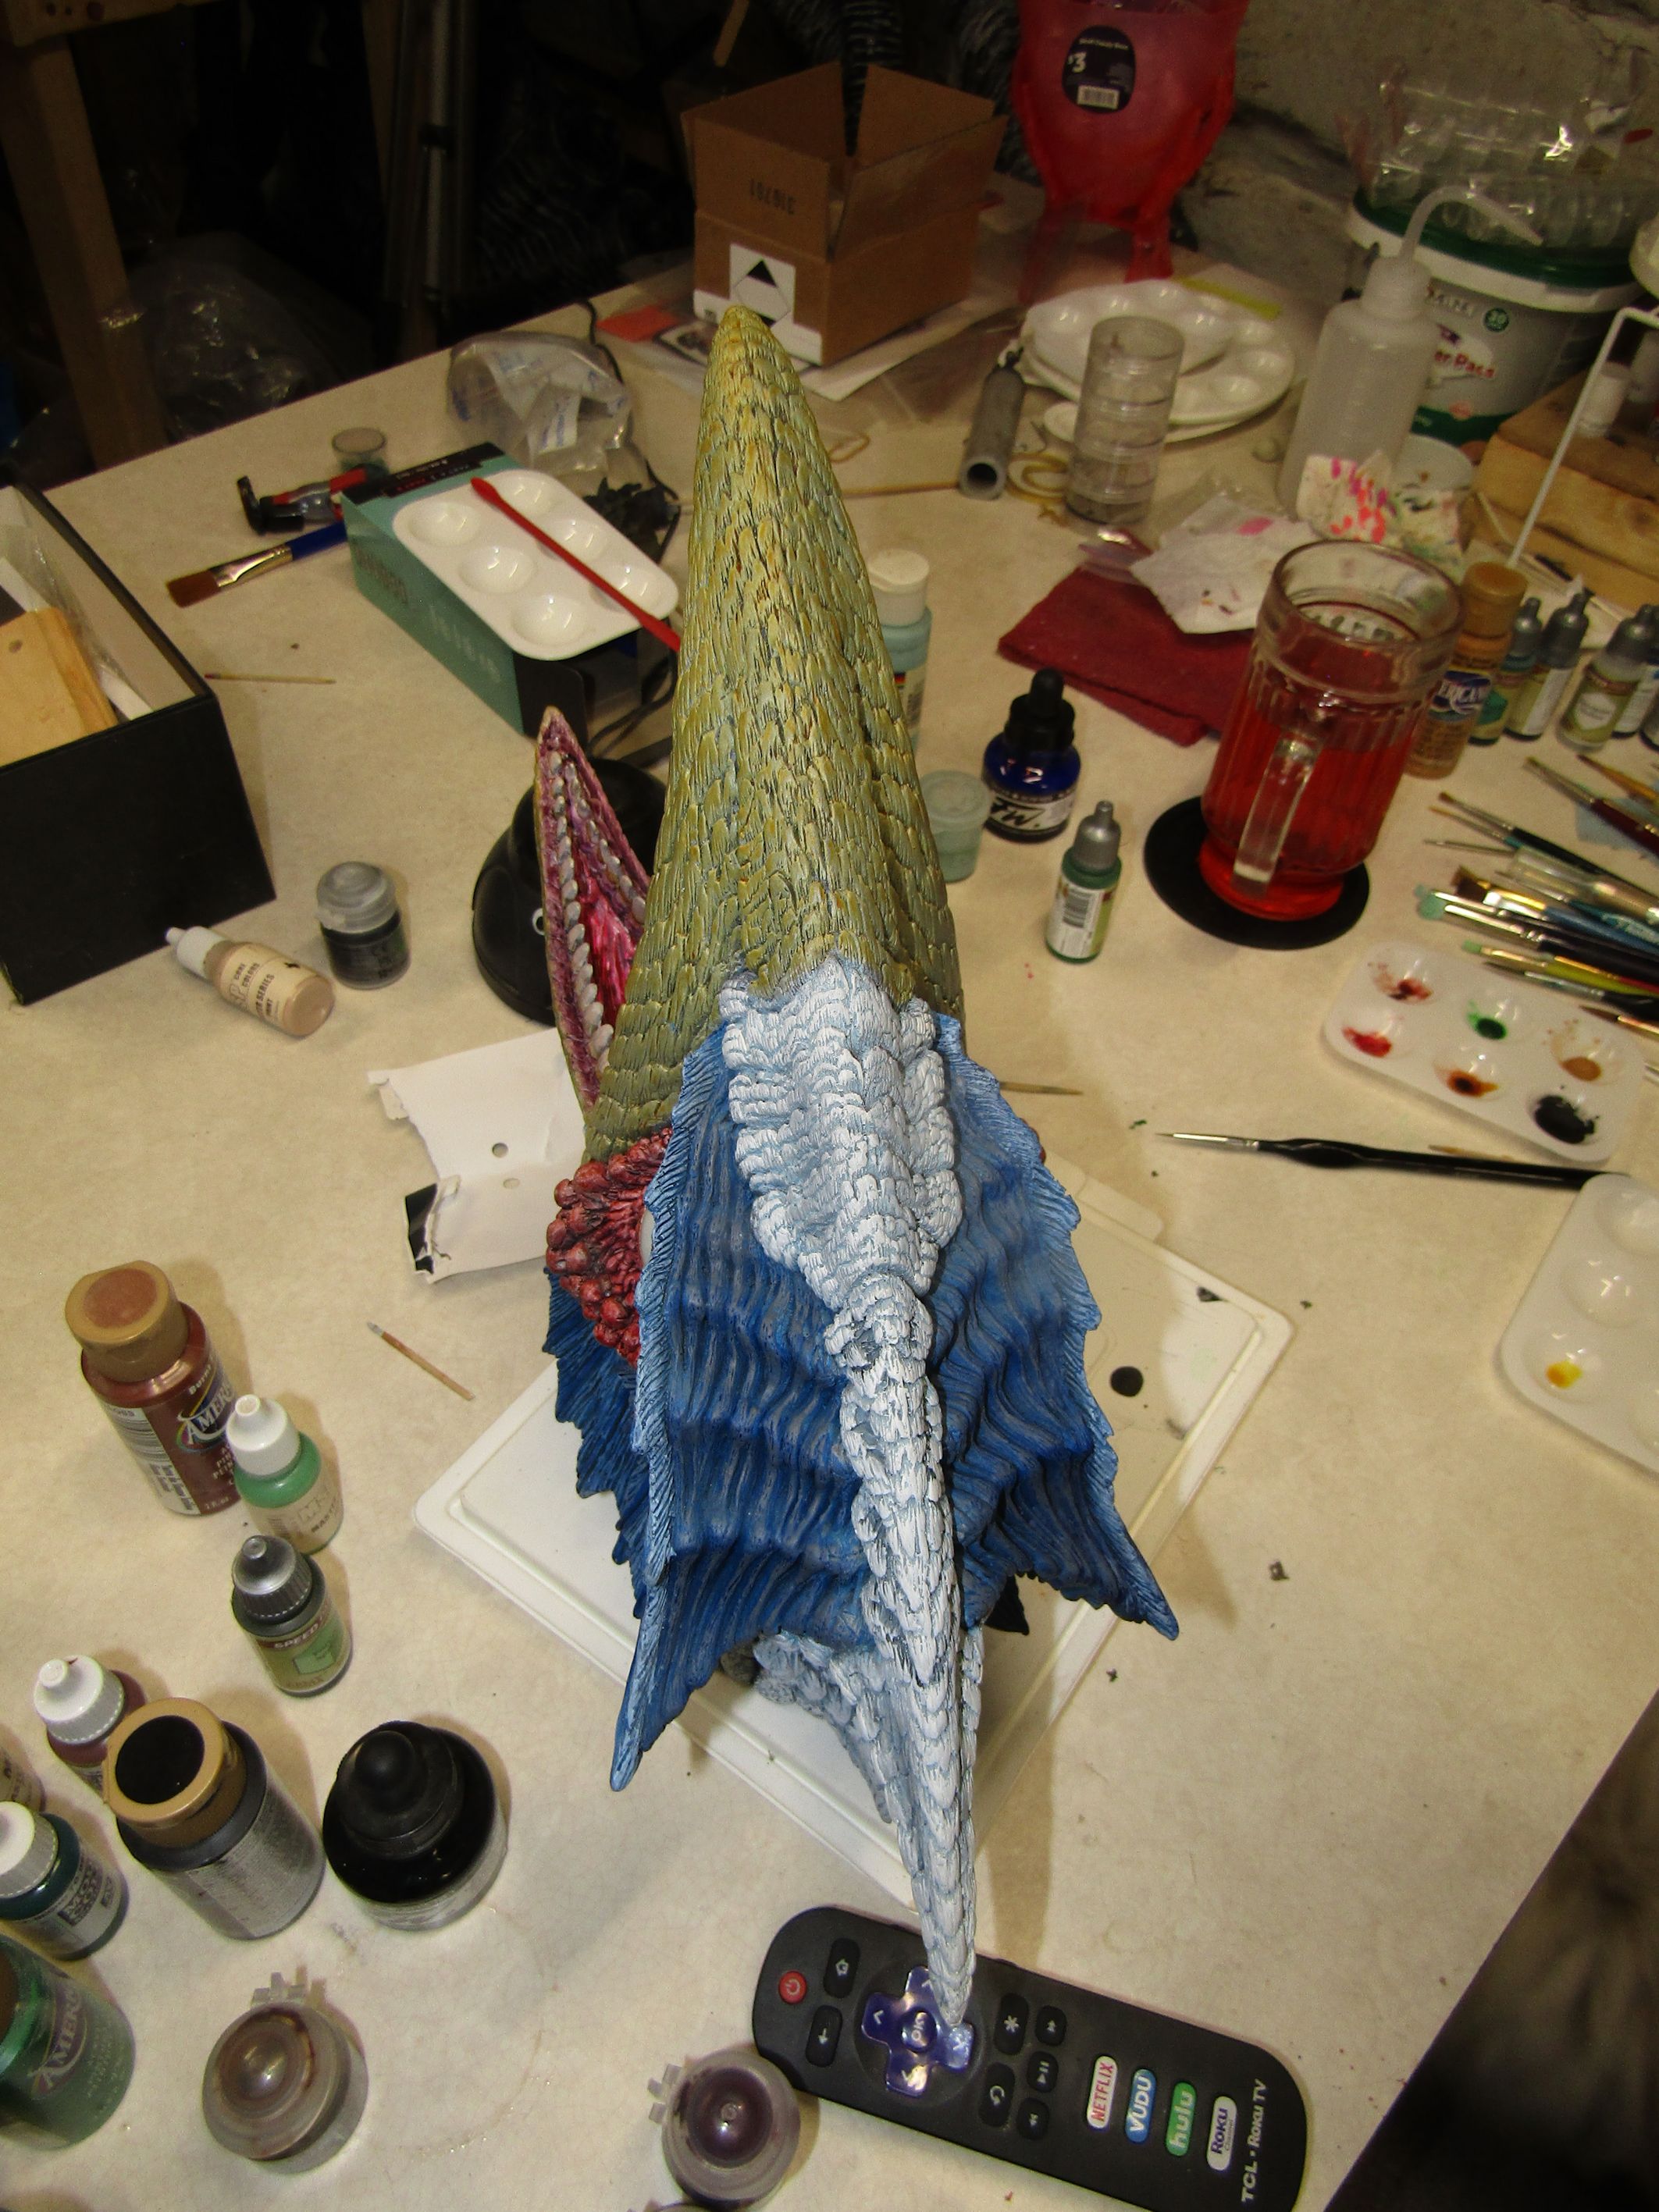 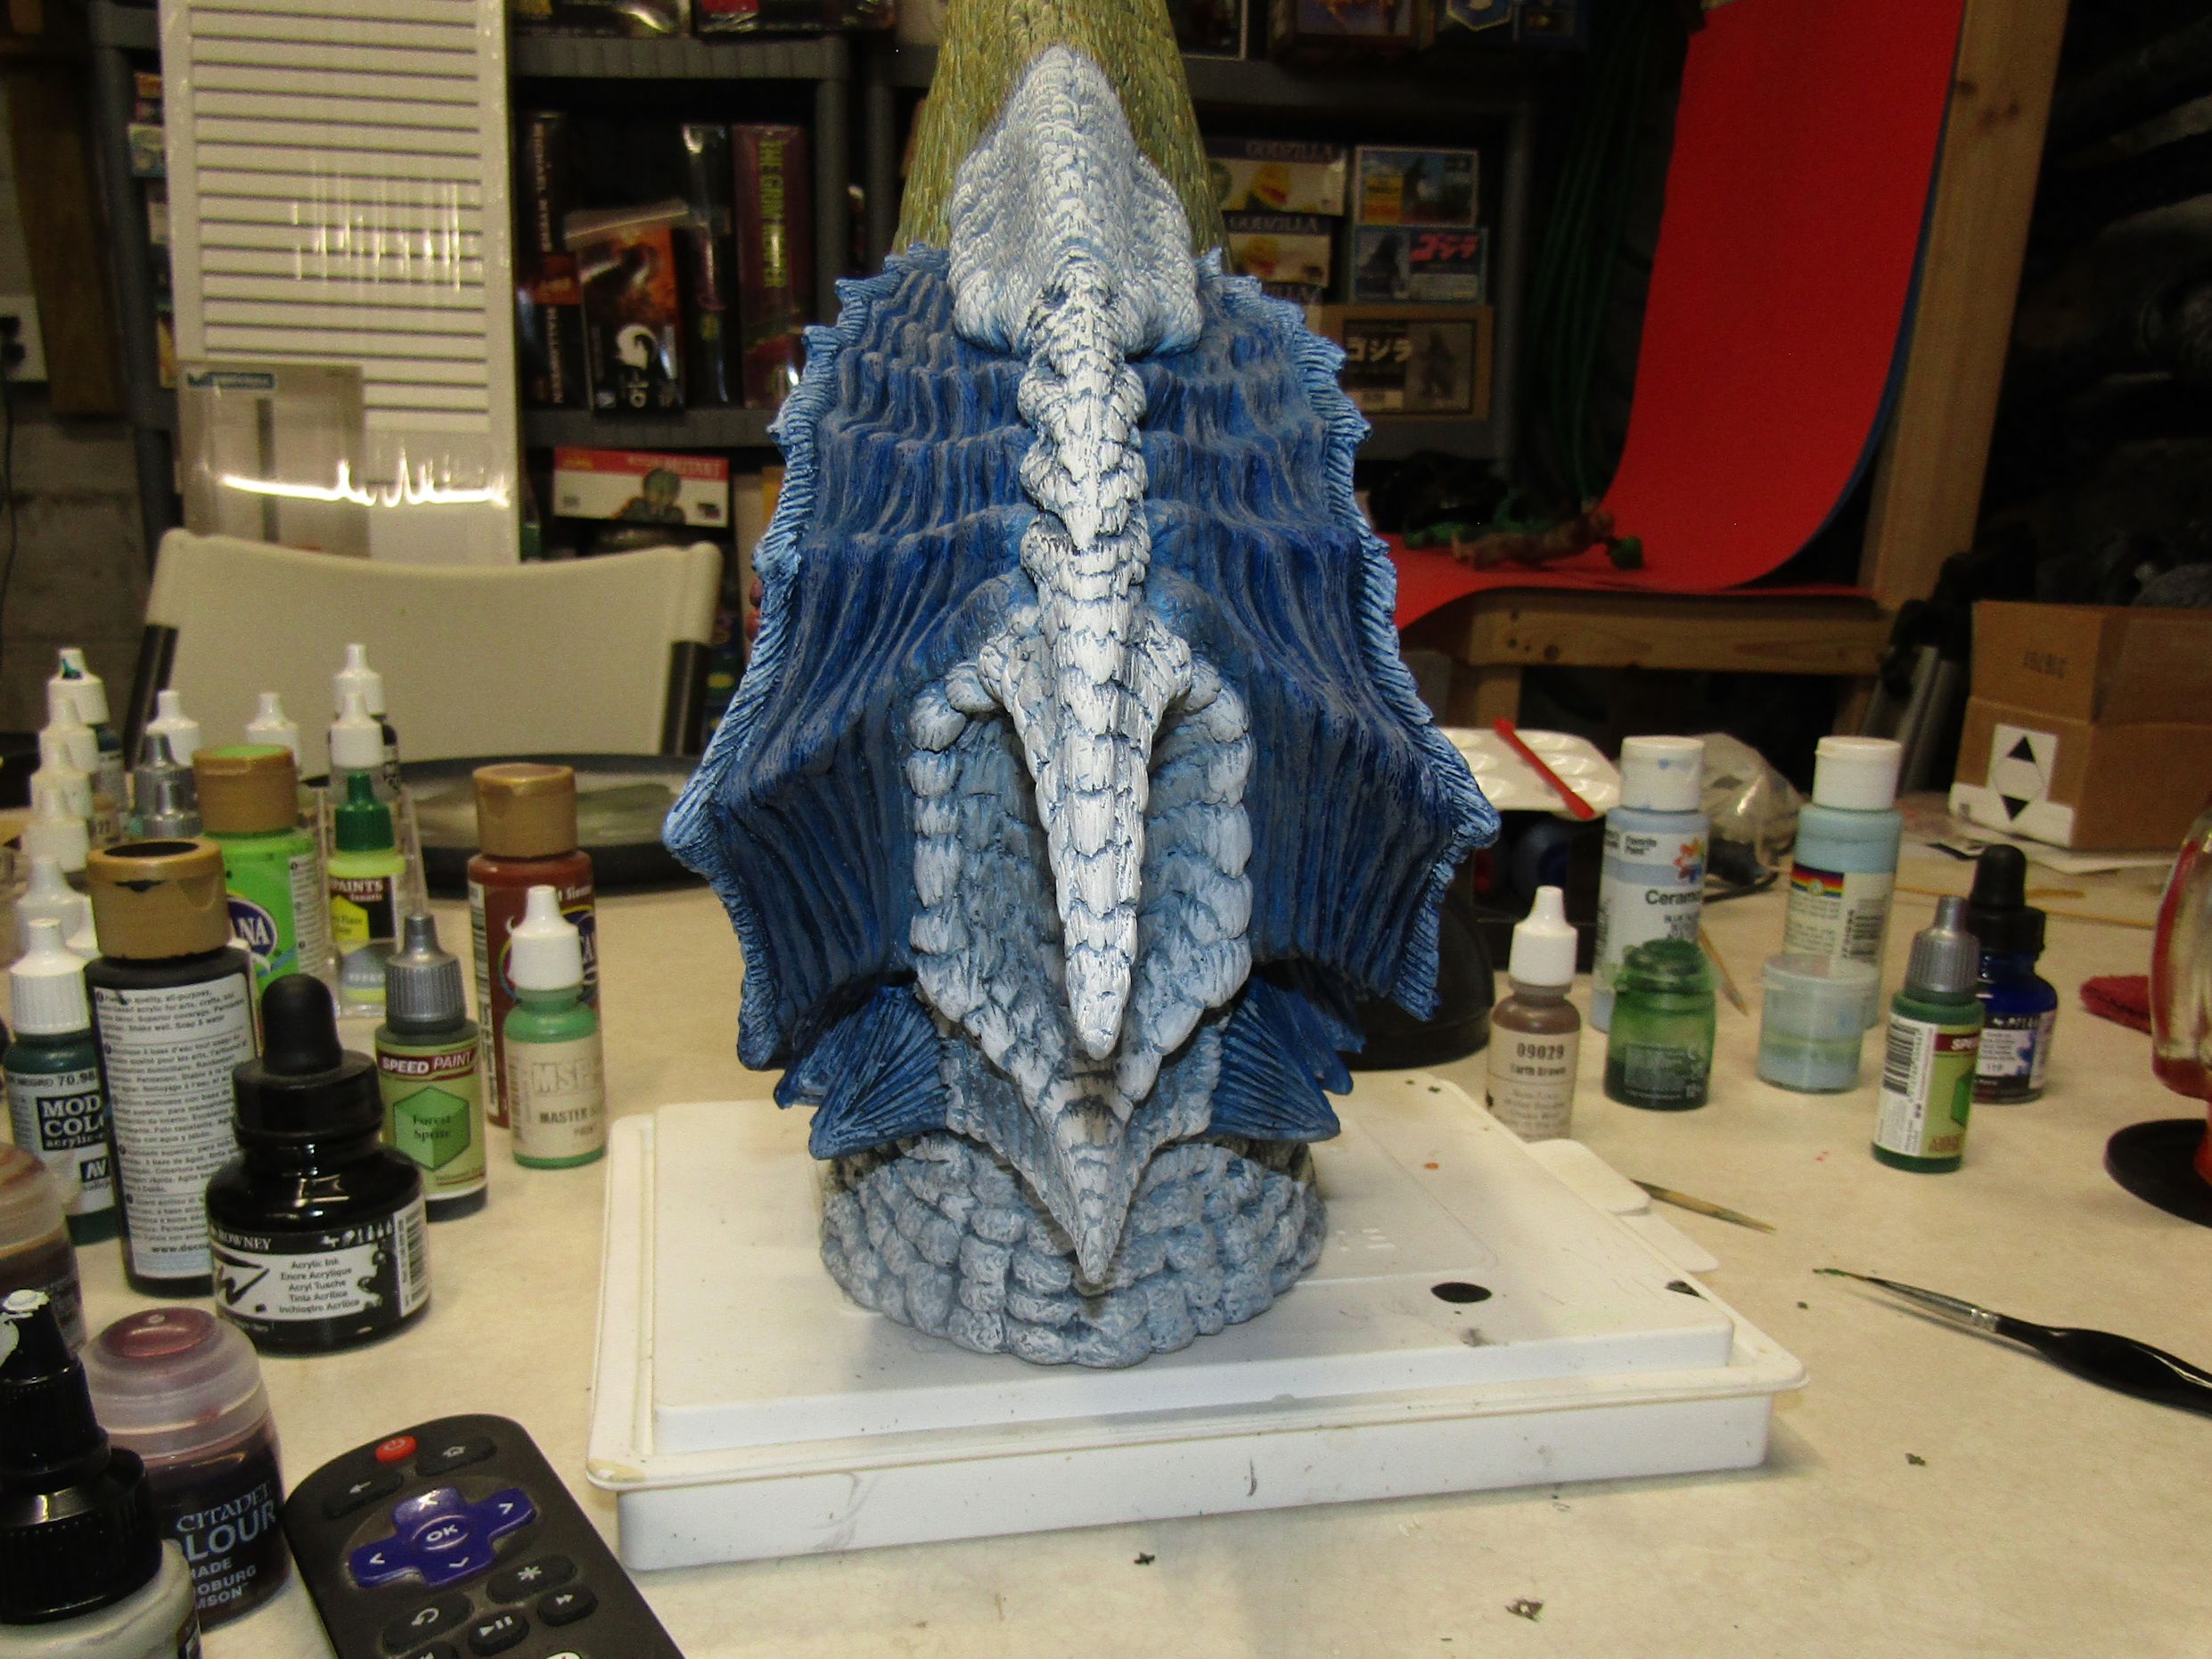 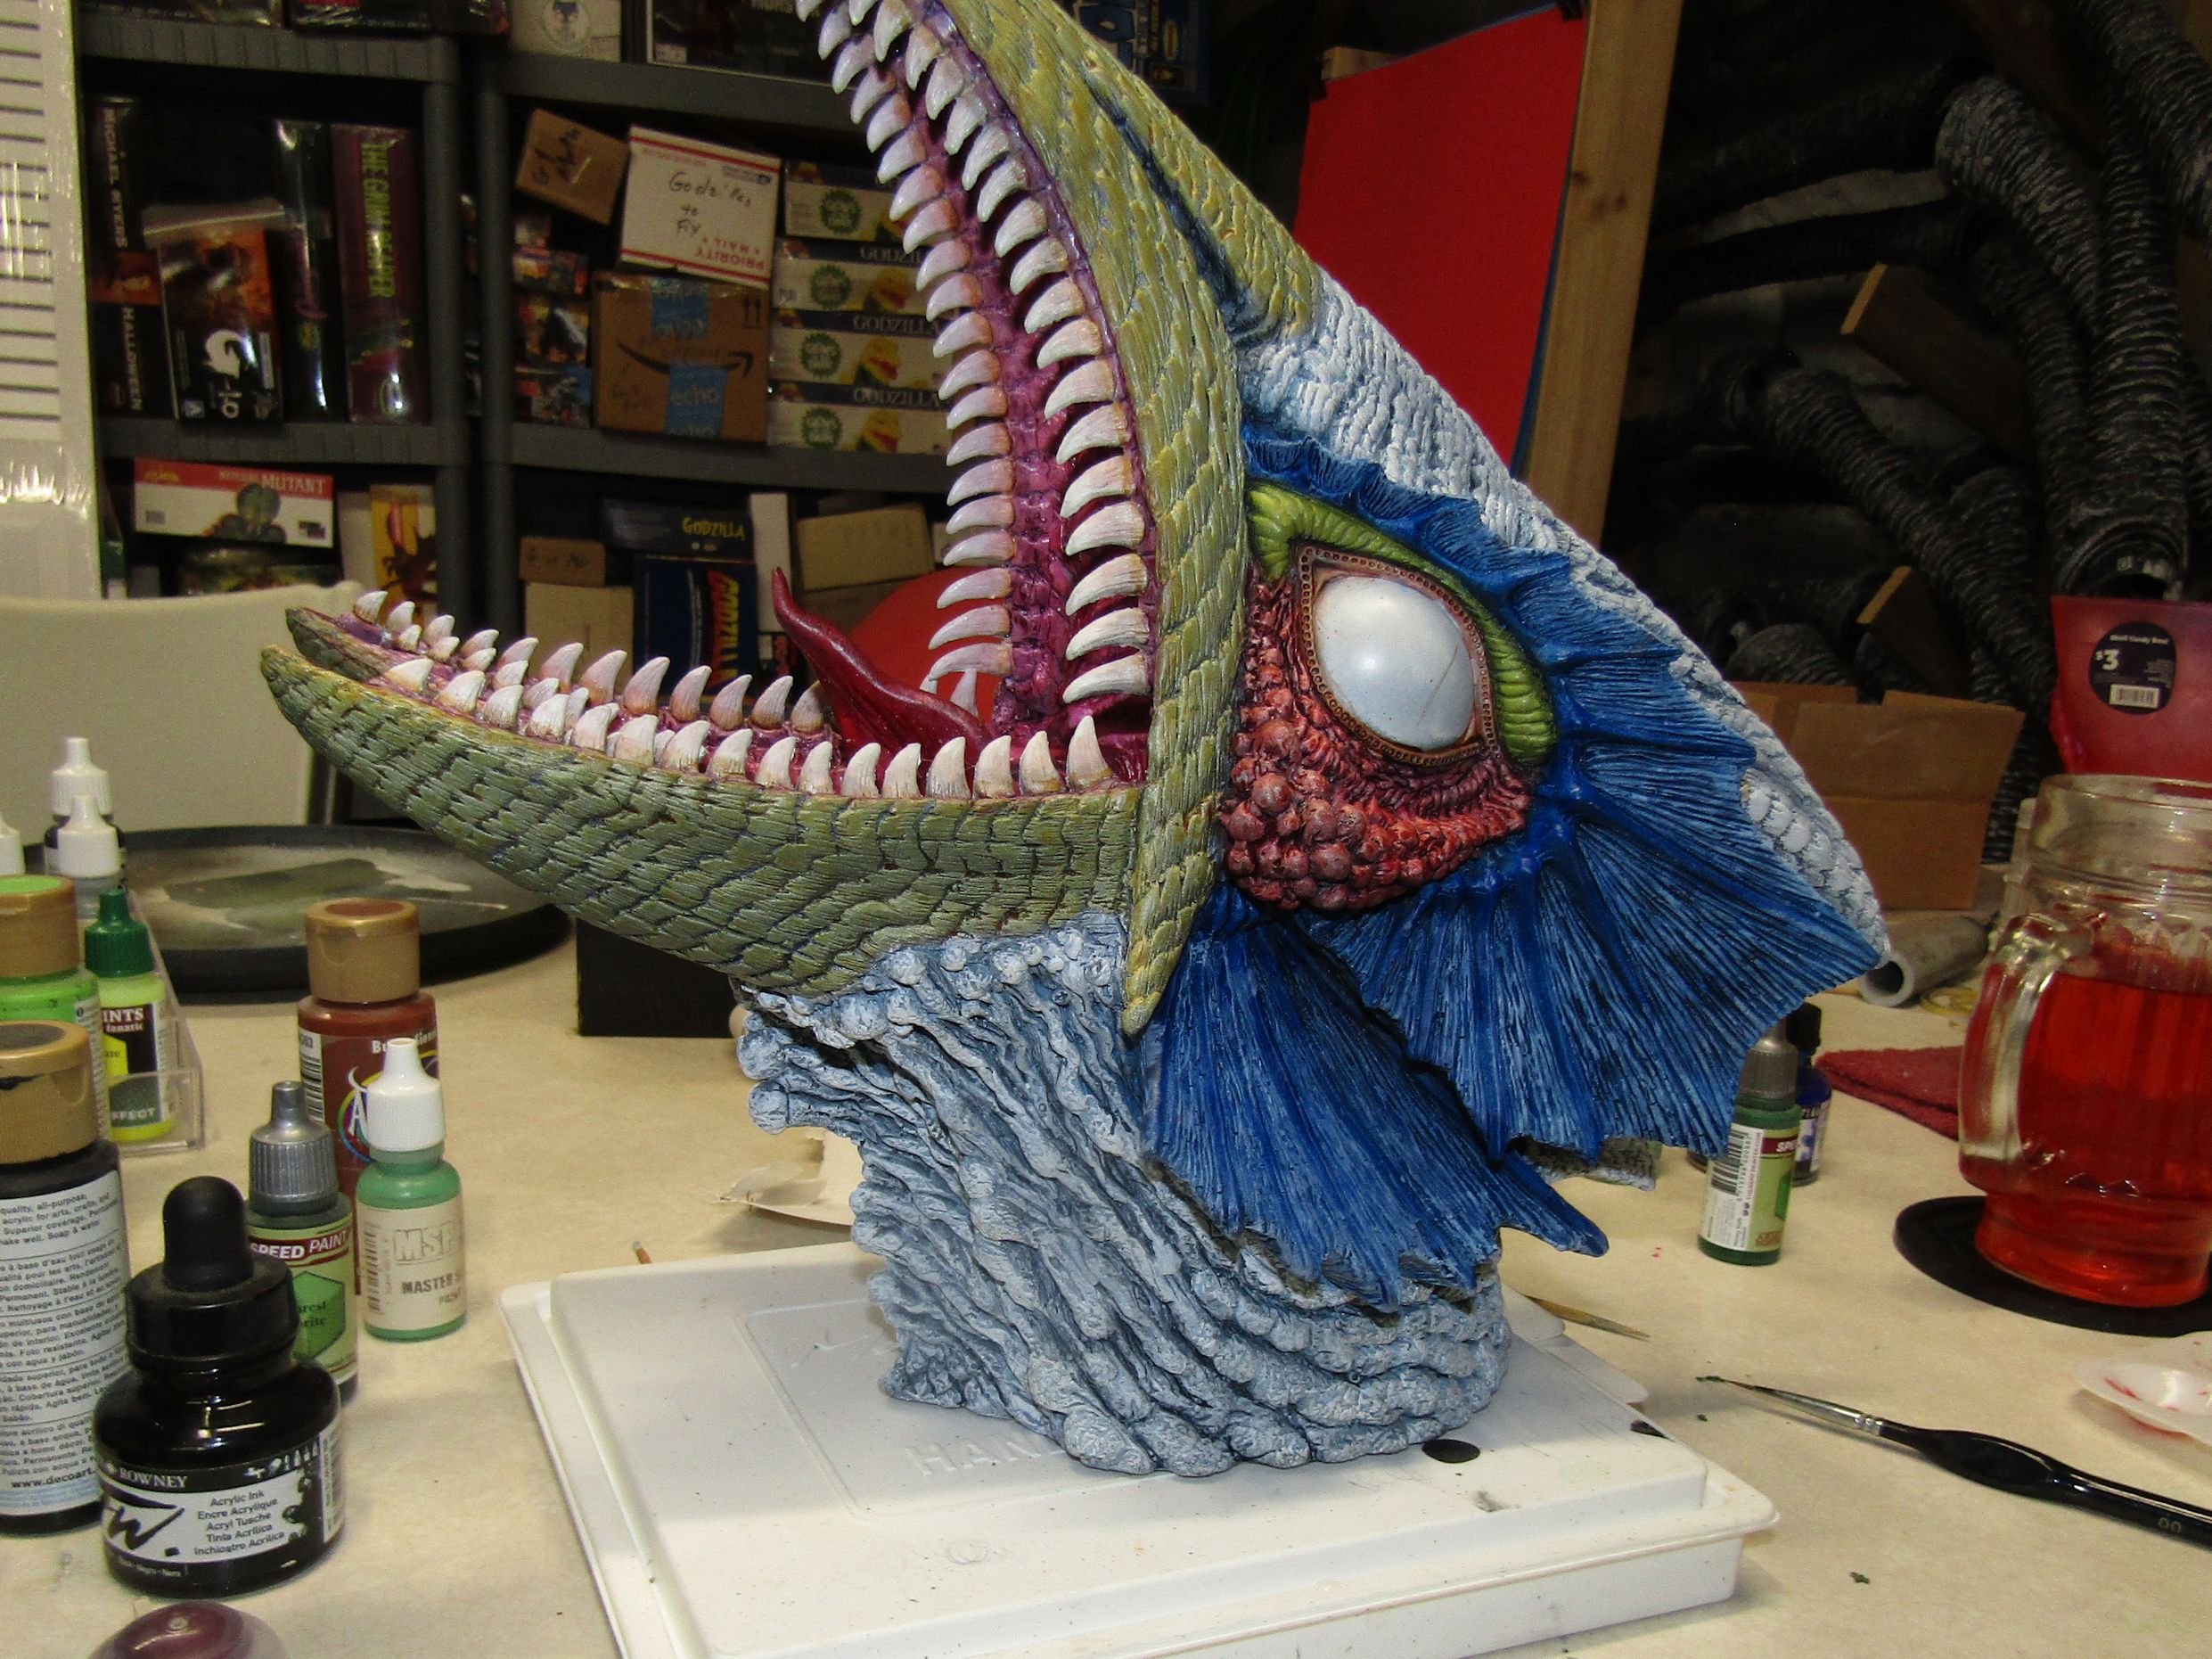 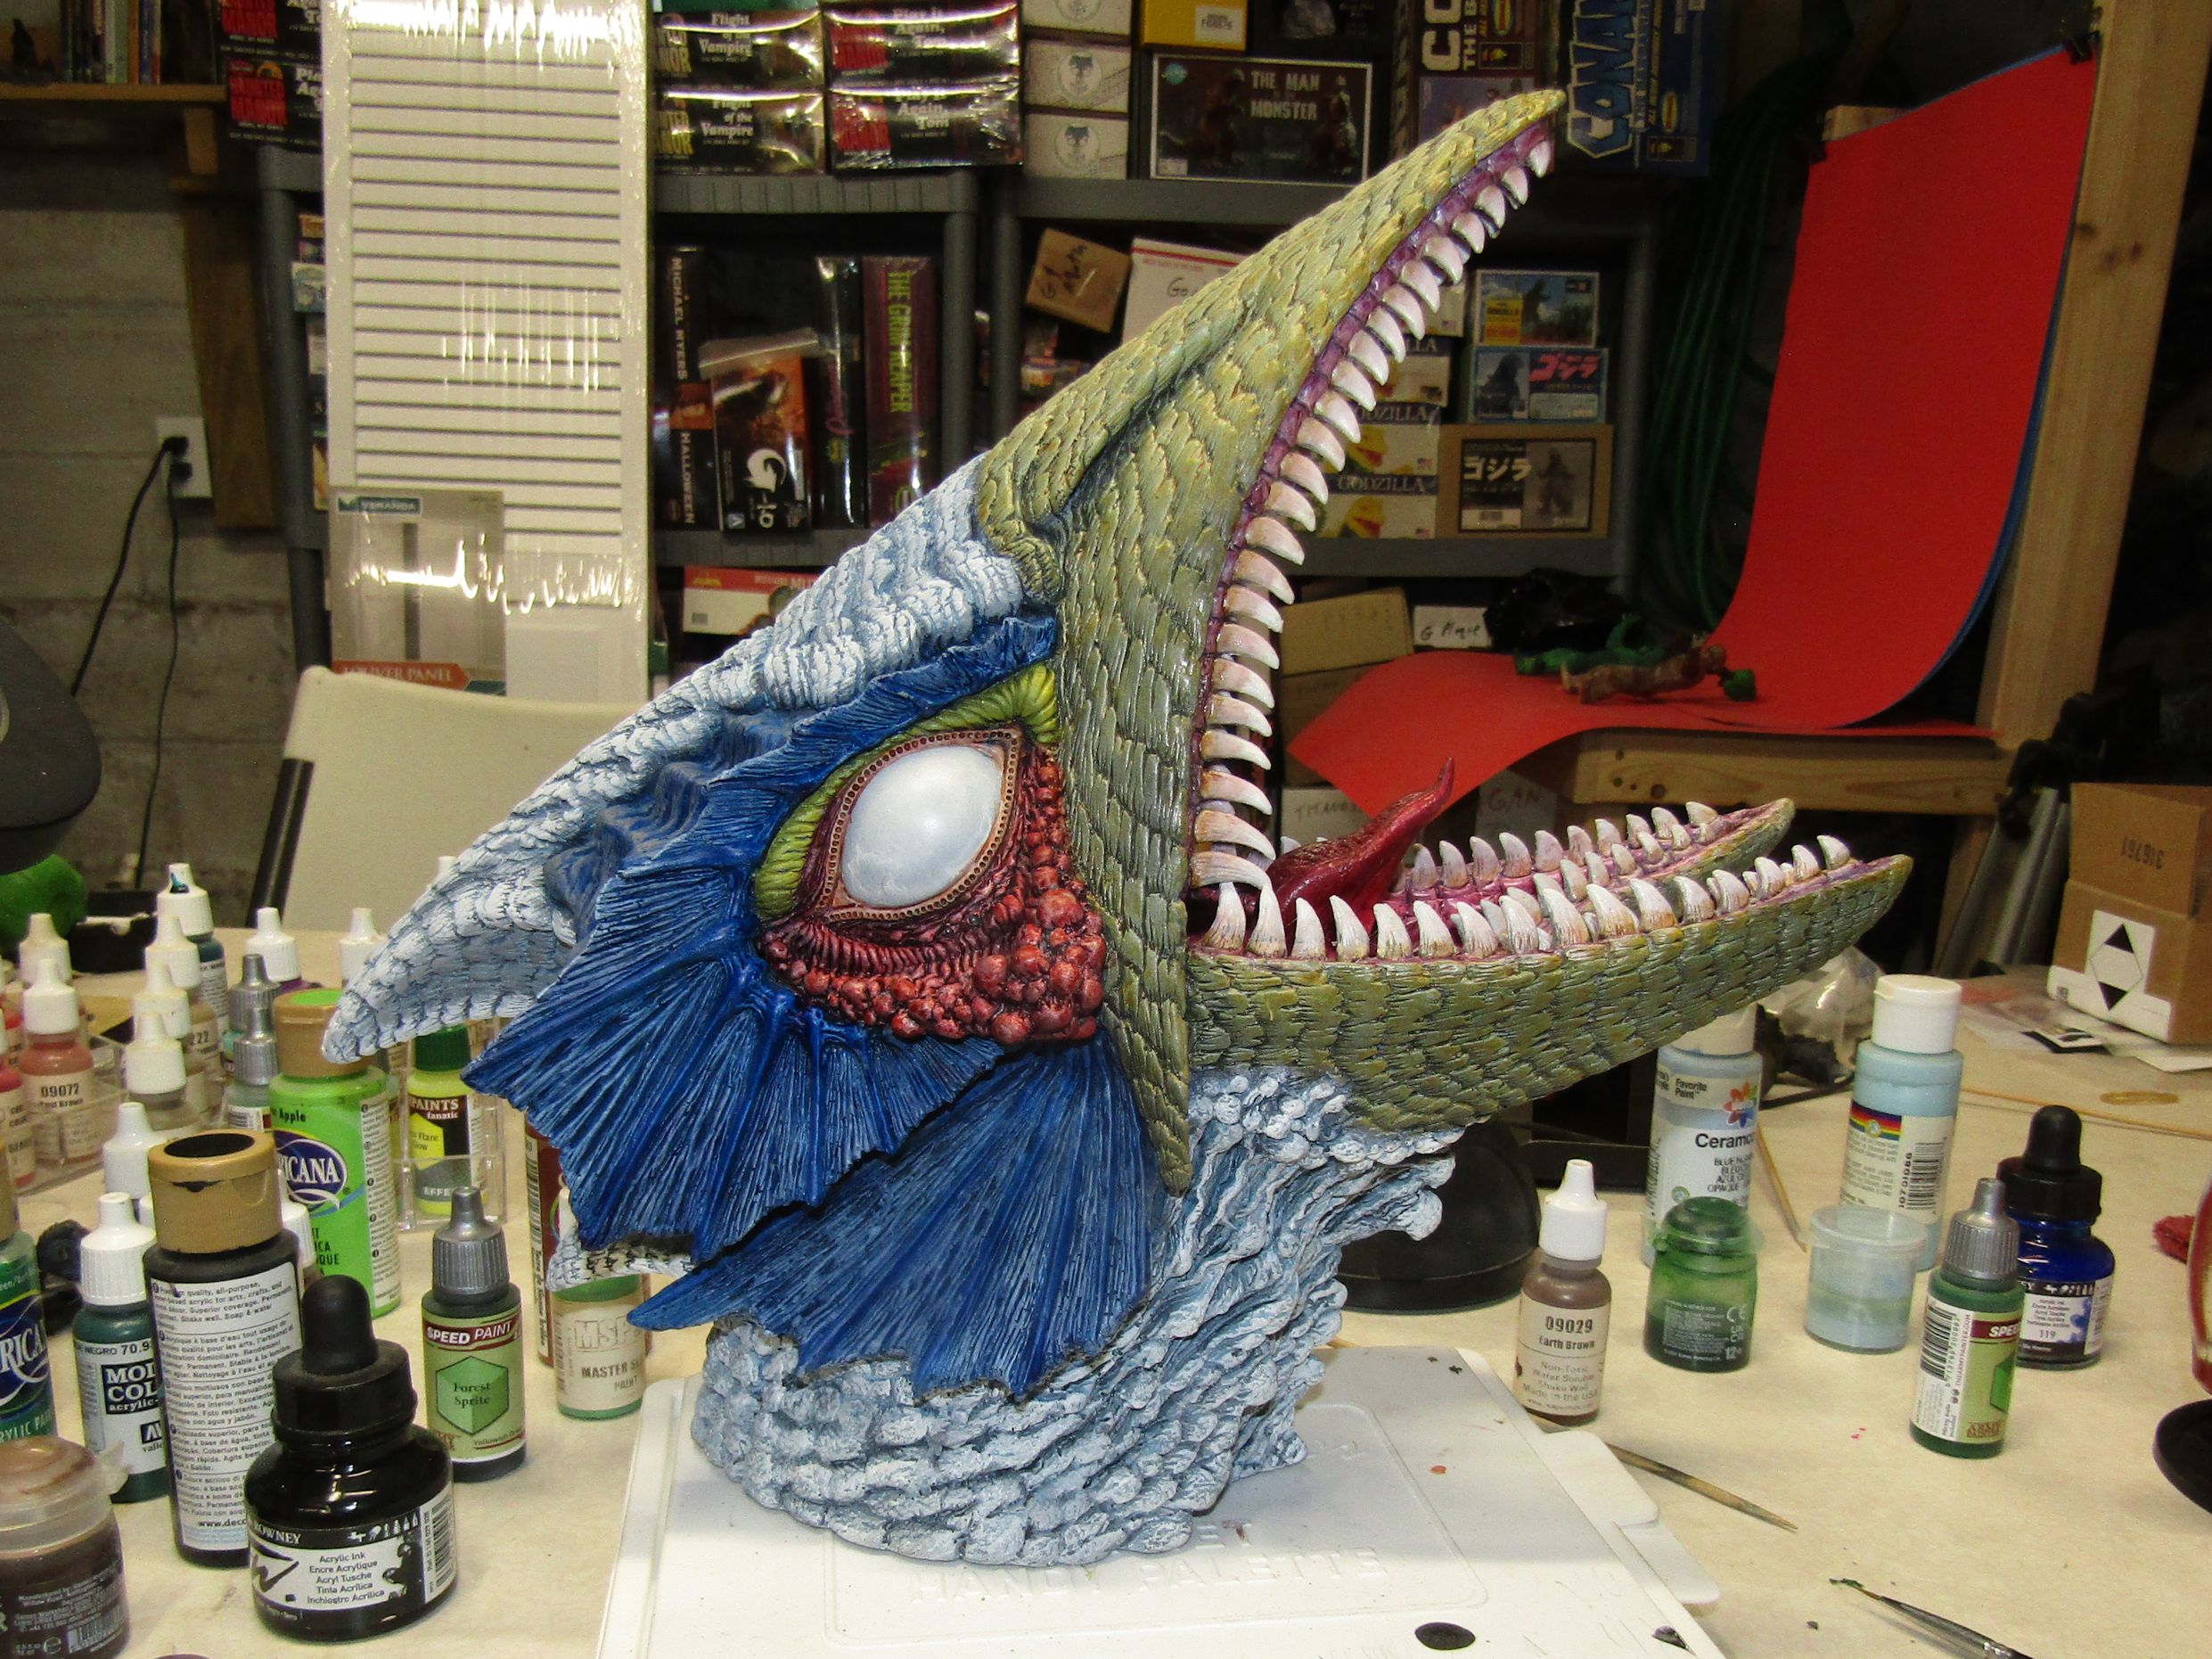 Painted the eybrows yellow and did more work on the stuff around the eyes. Also did more detailing in the blue area, and some washes. | ||
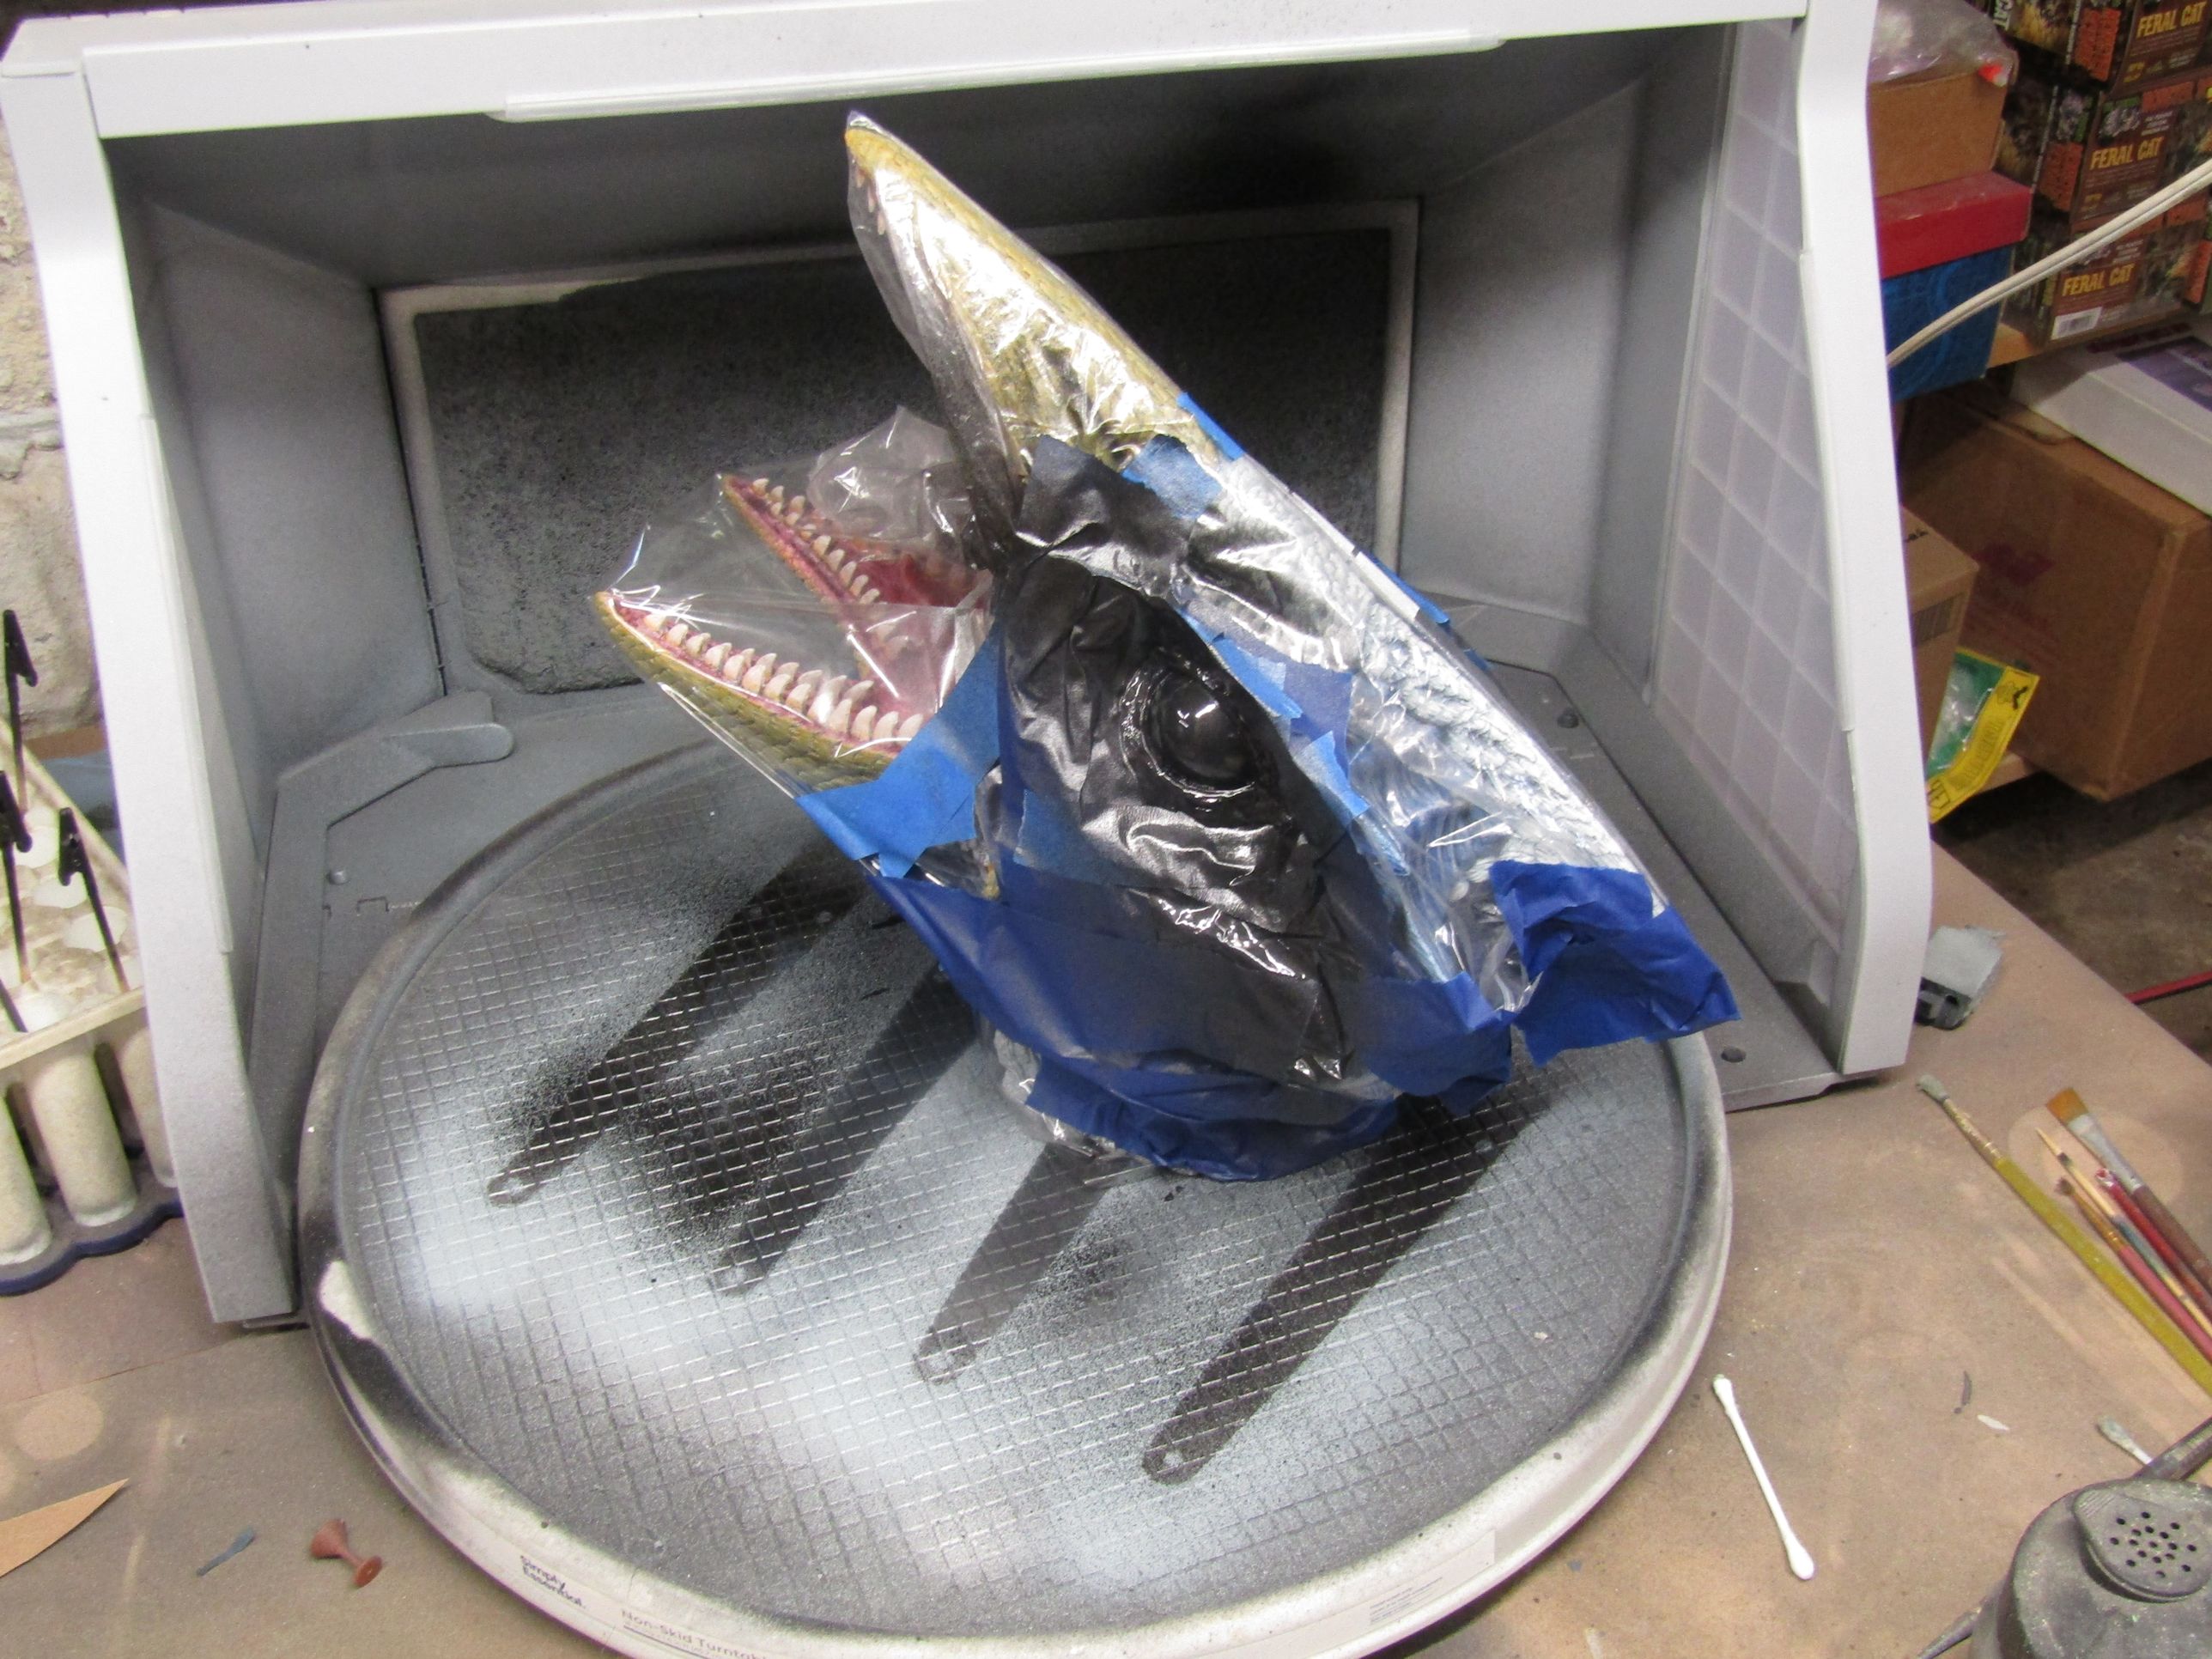 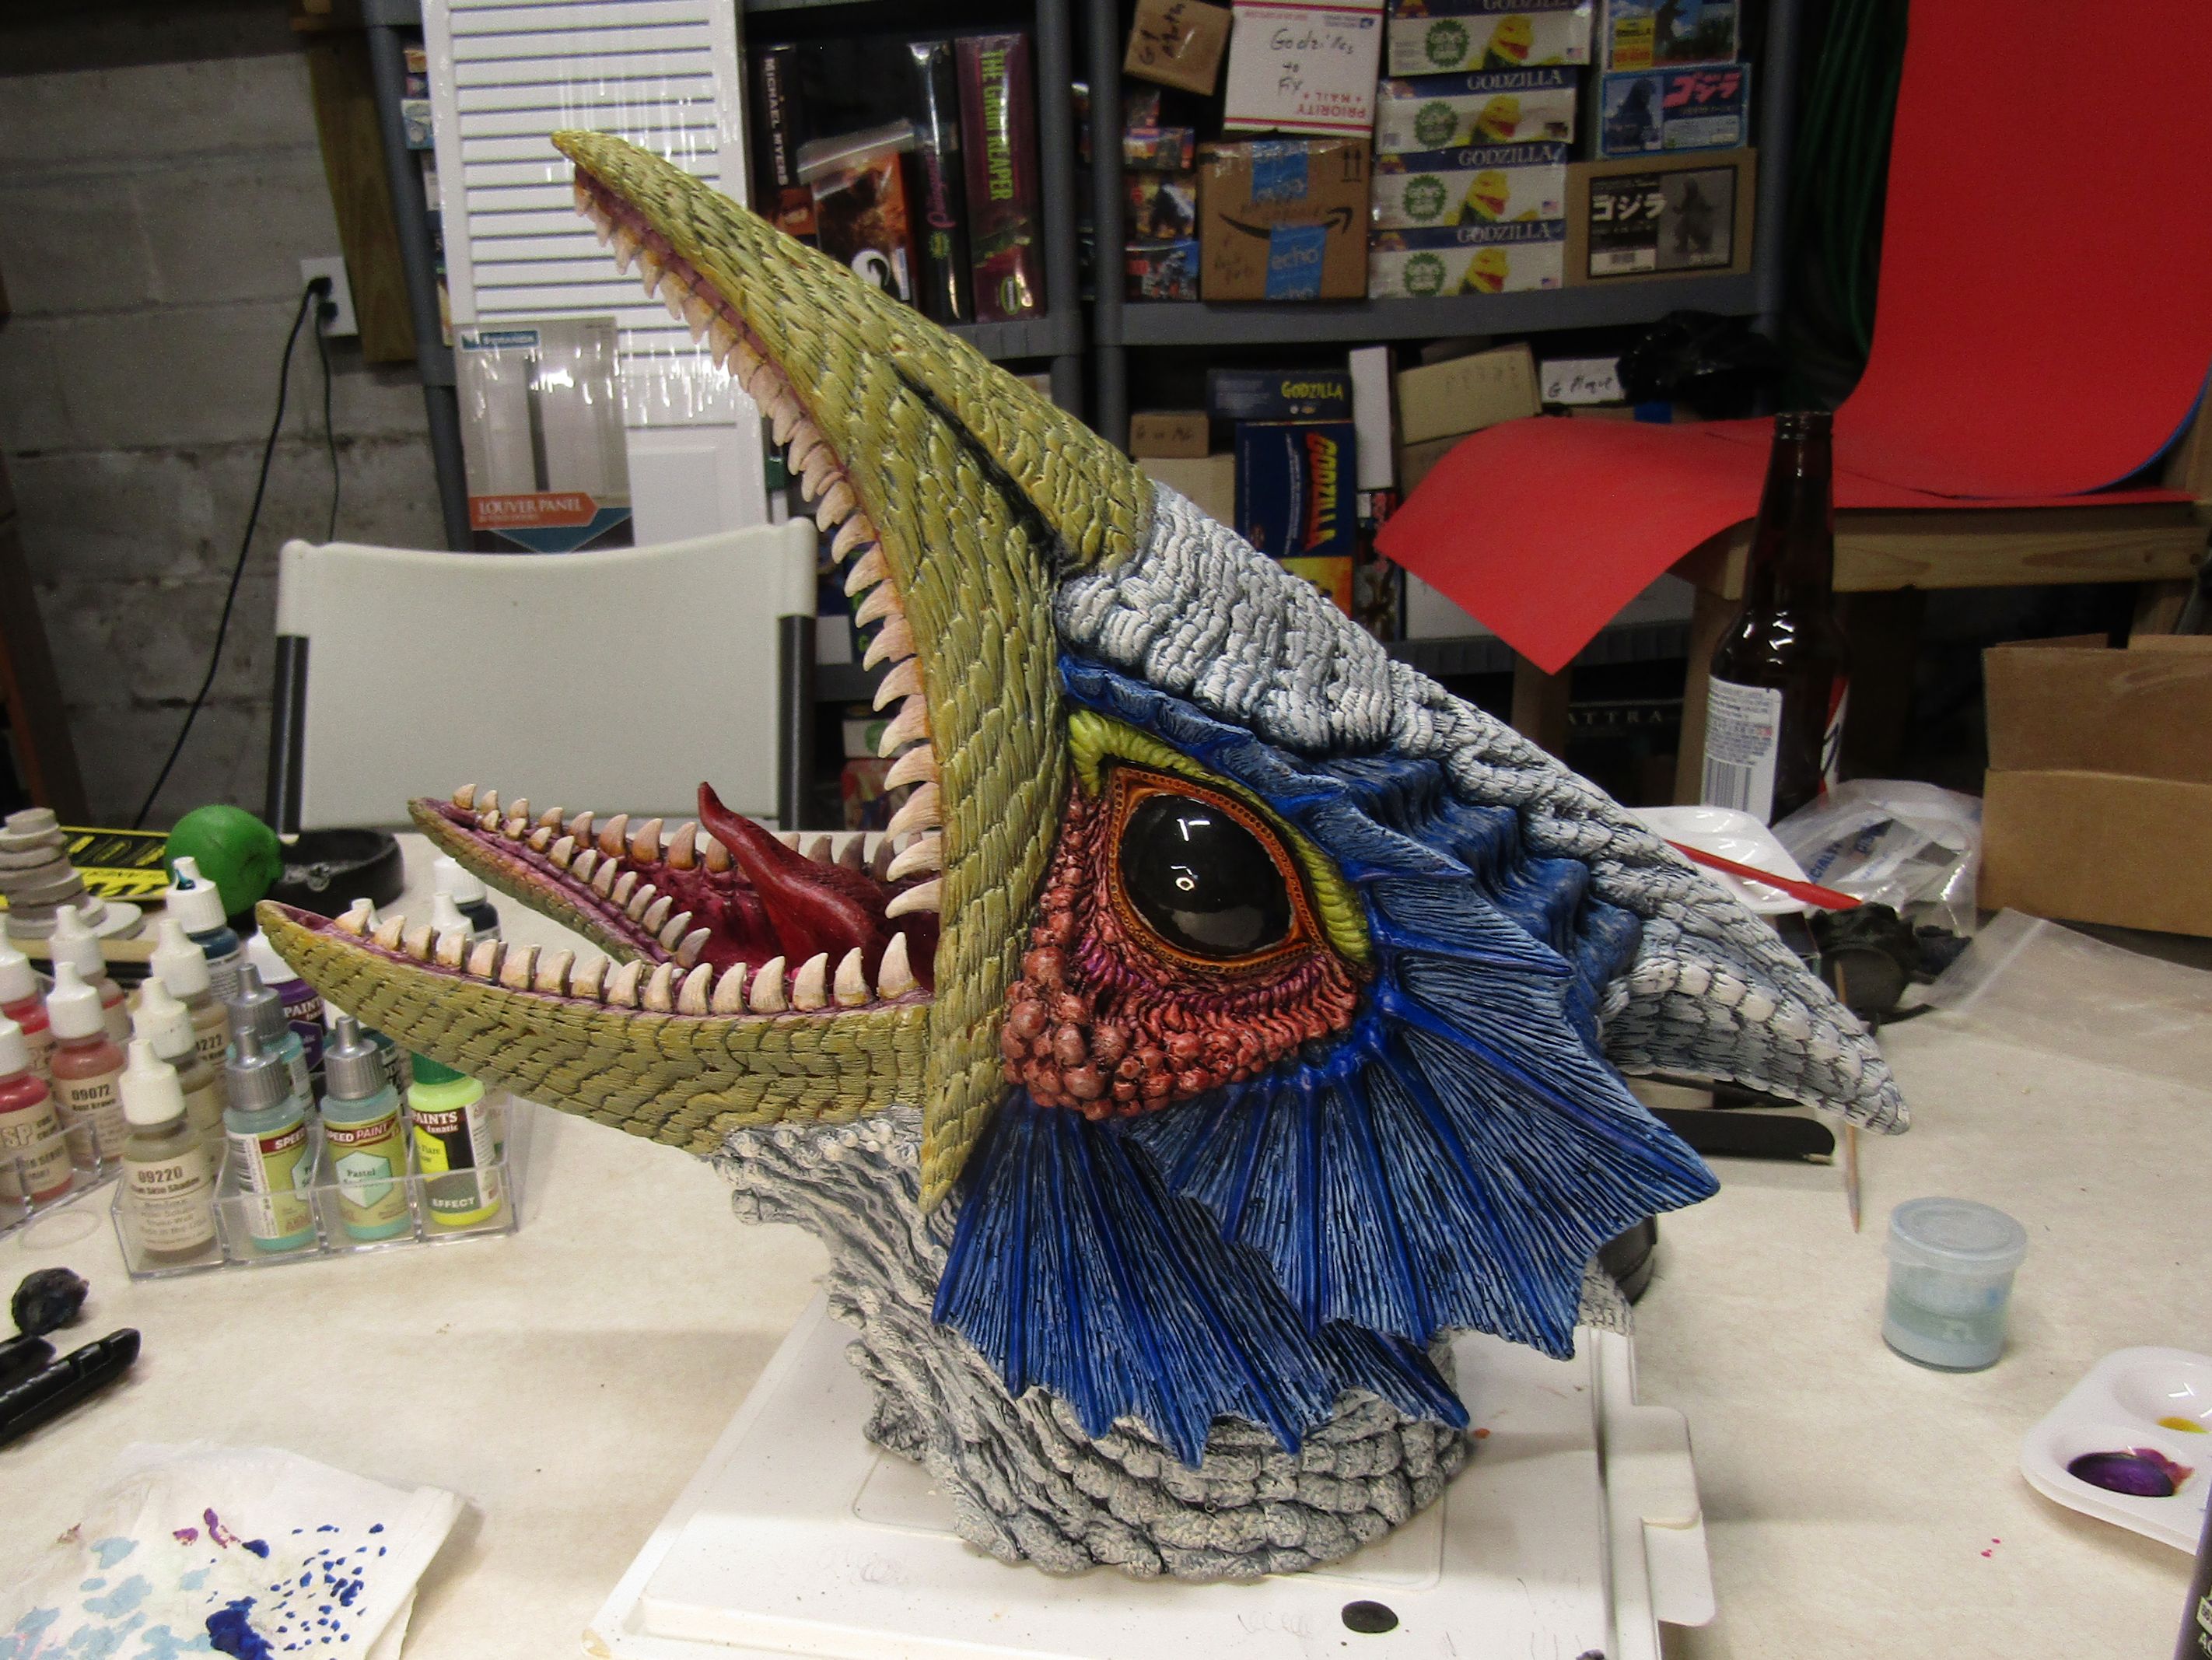 More masking and spraying the eyes metalic black | ||
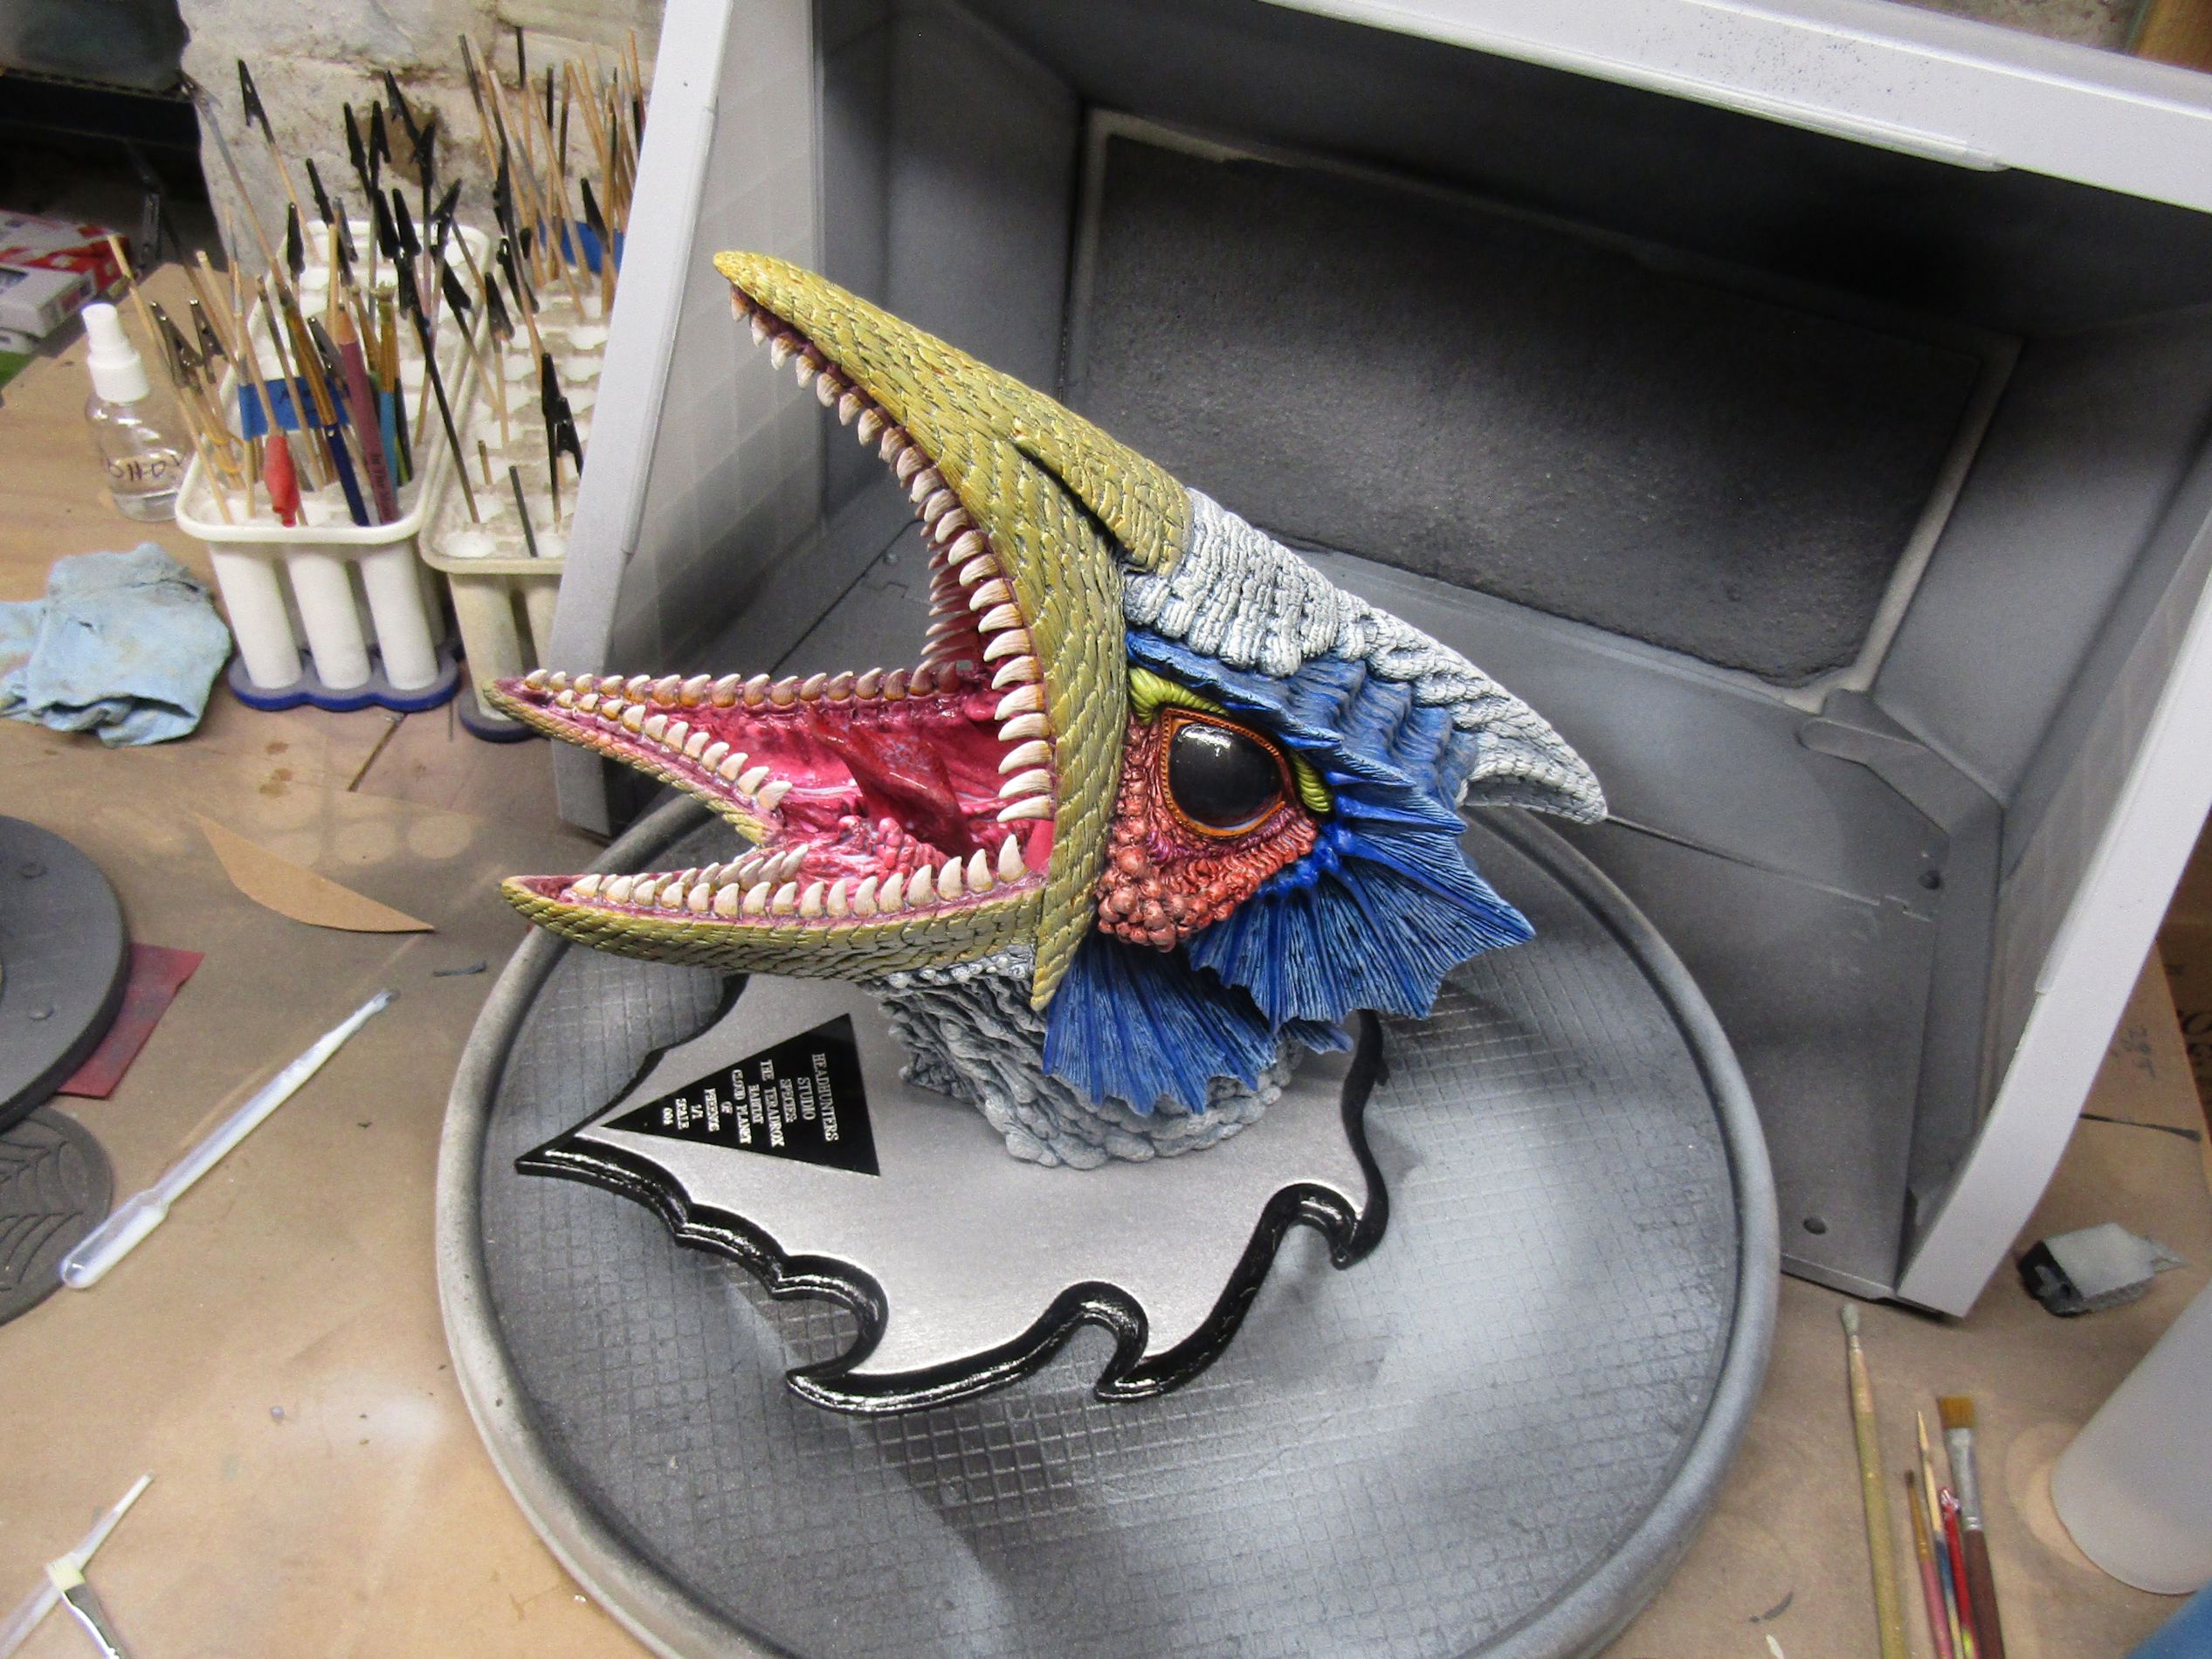 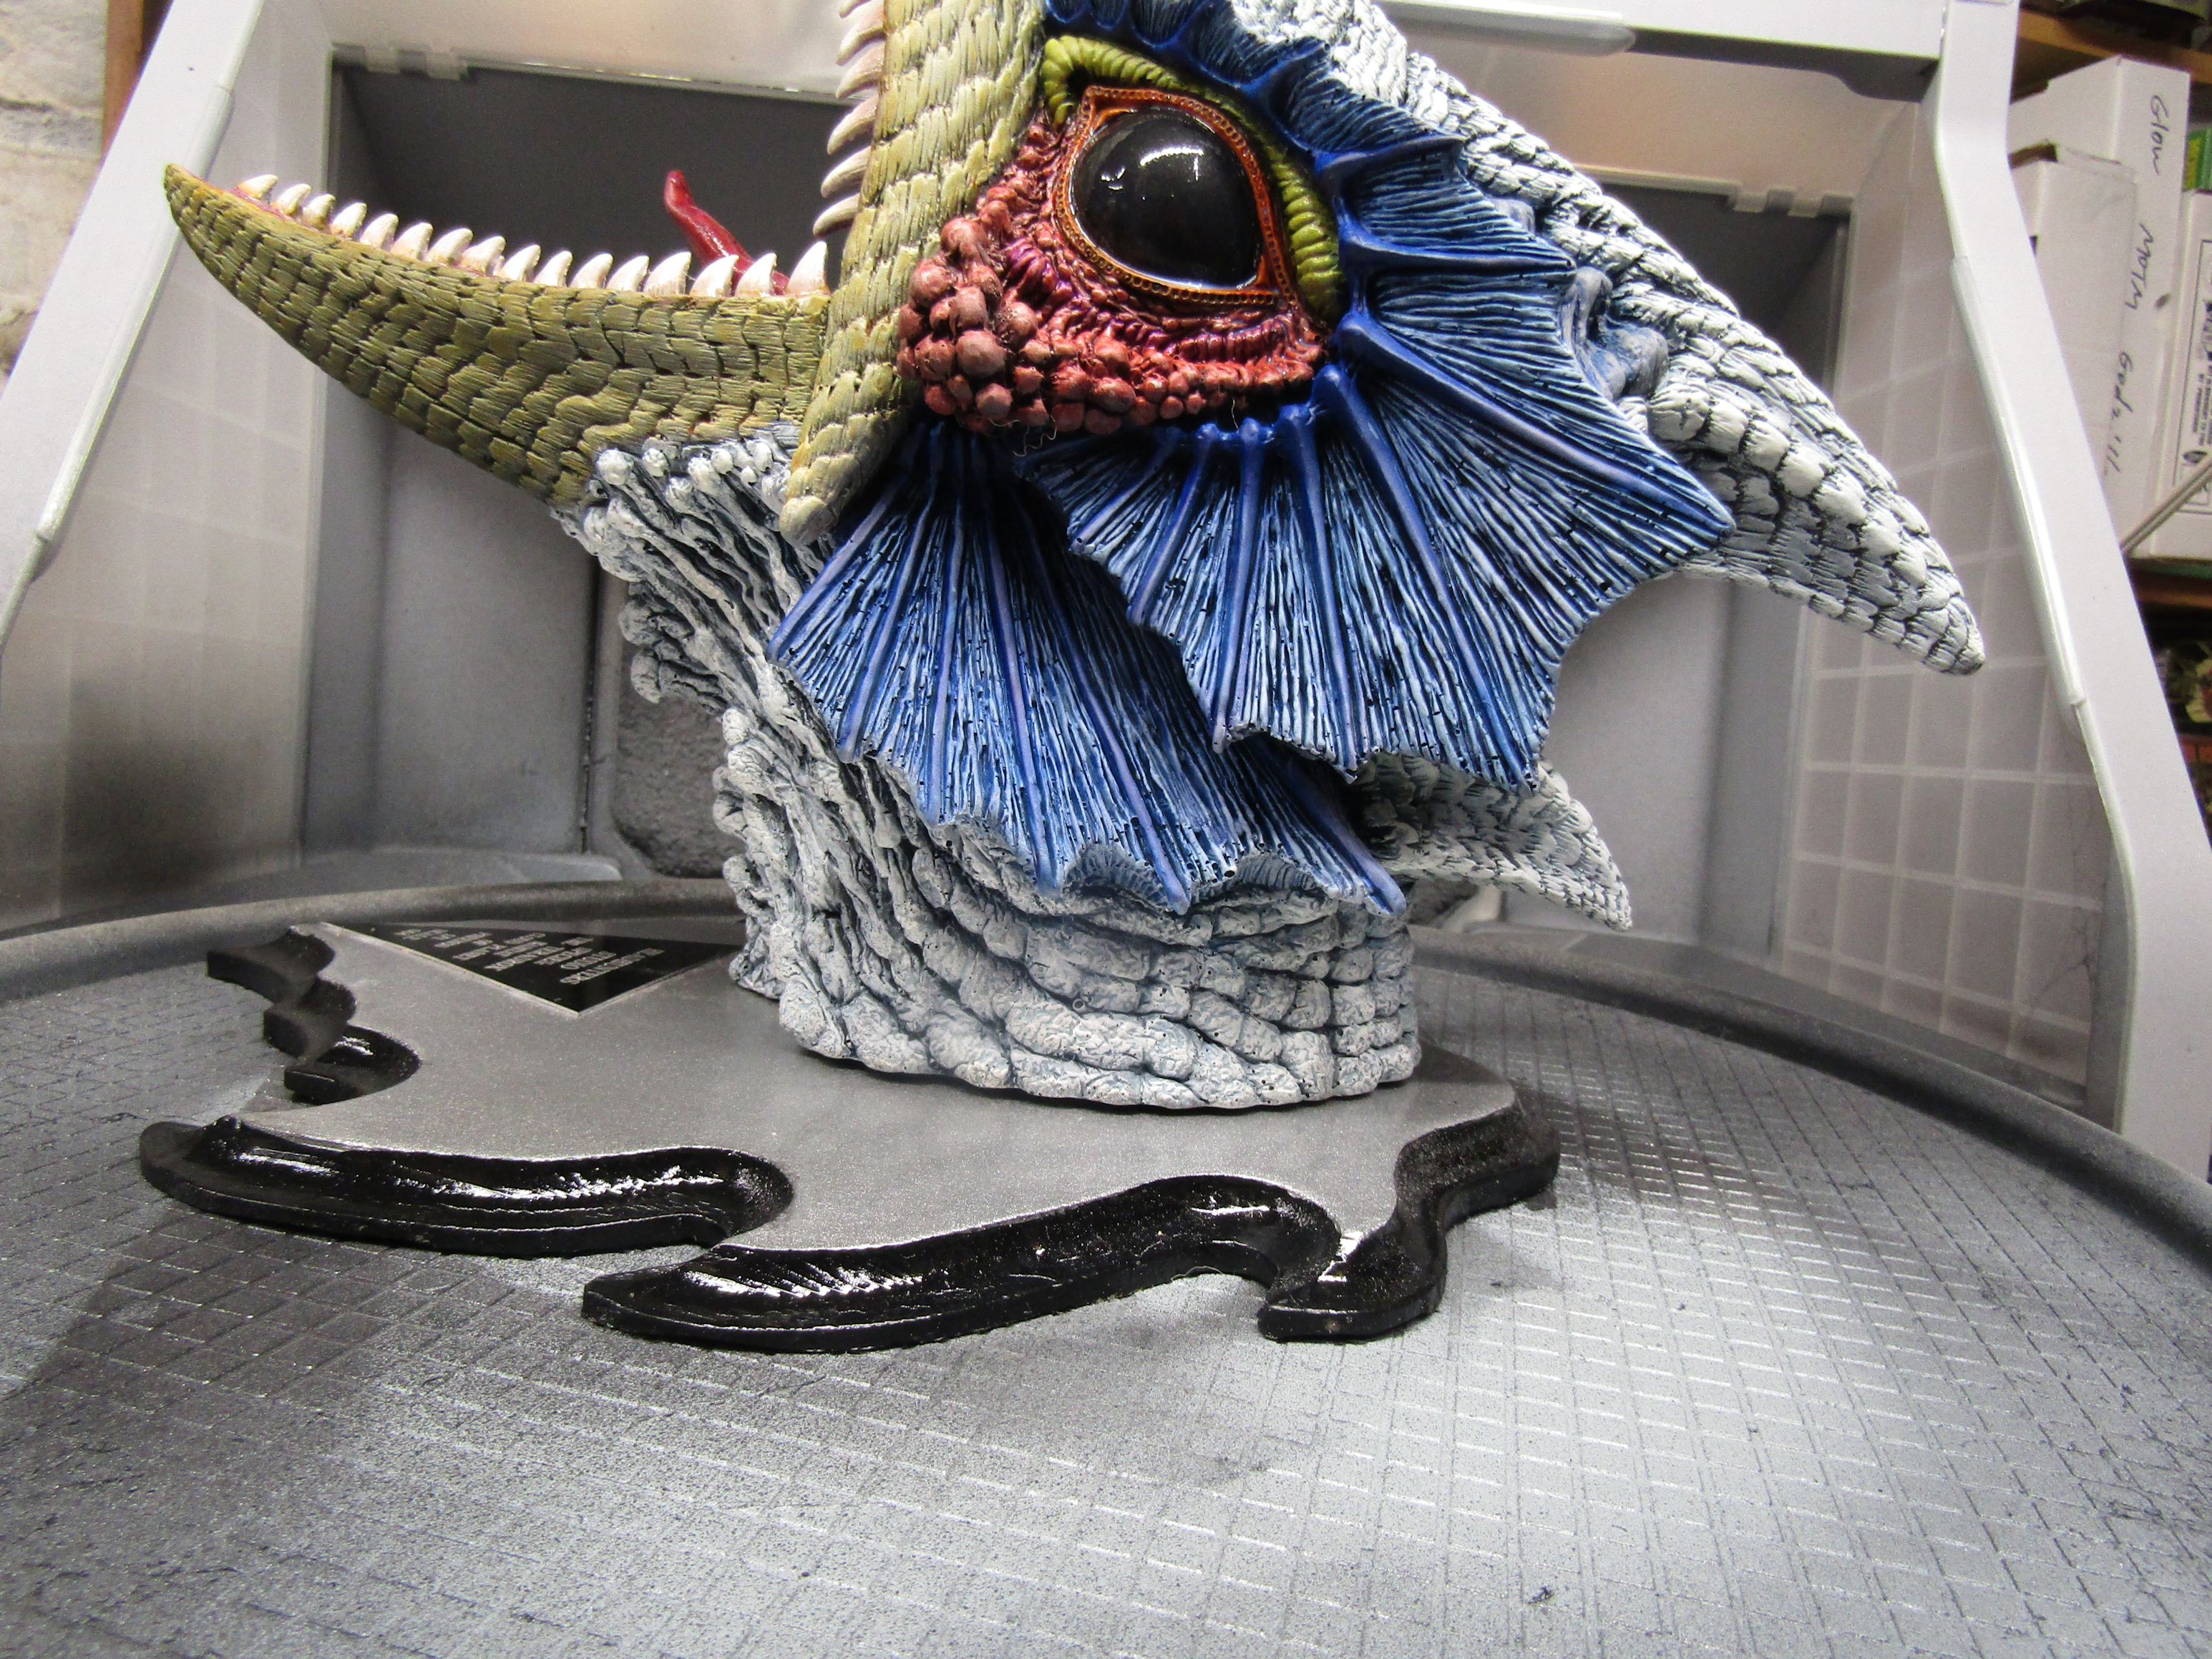 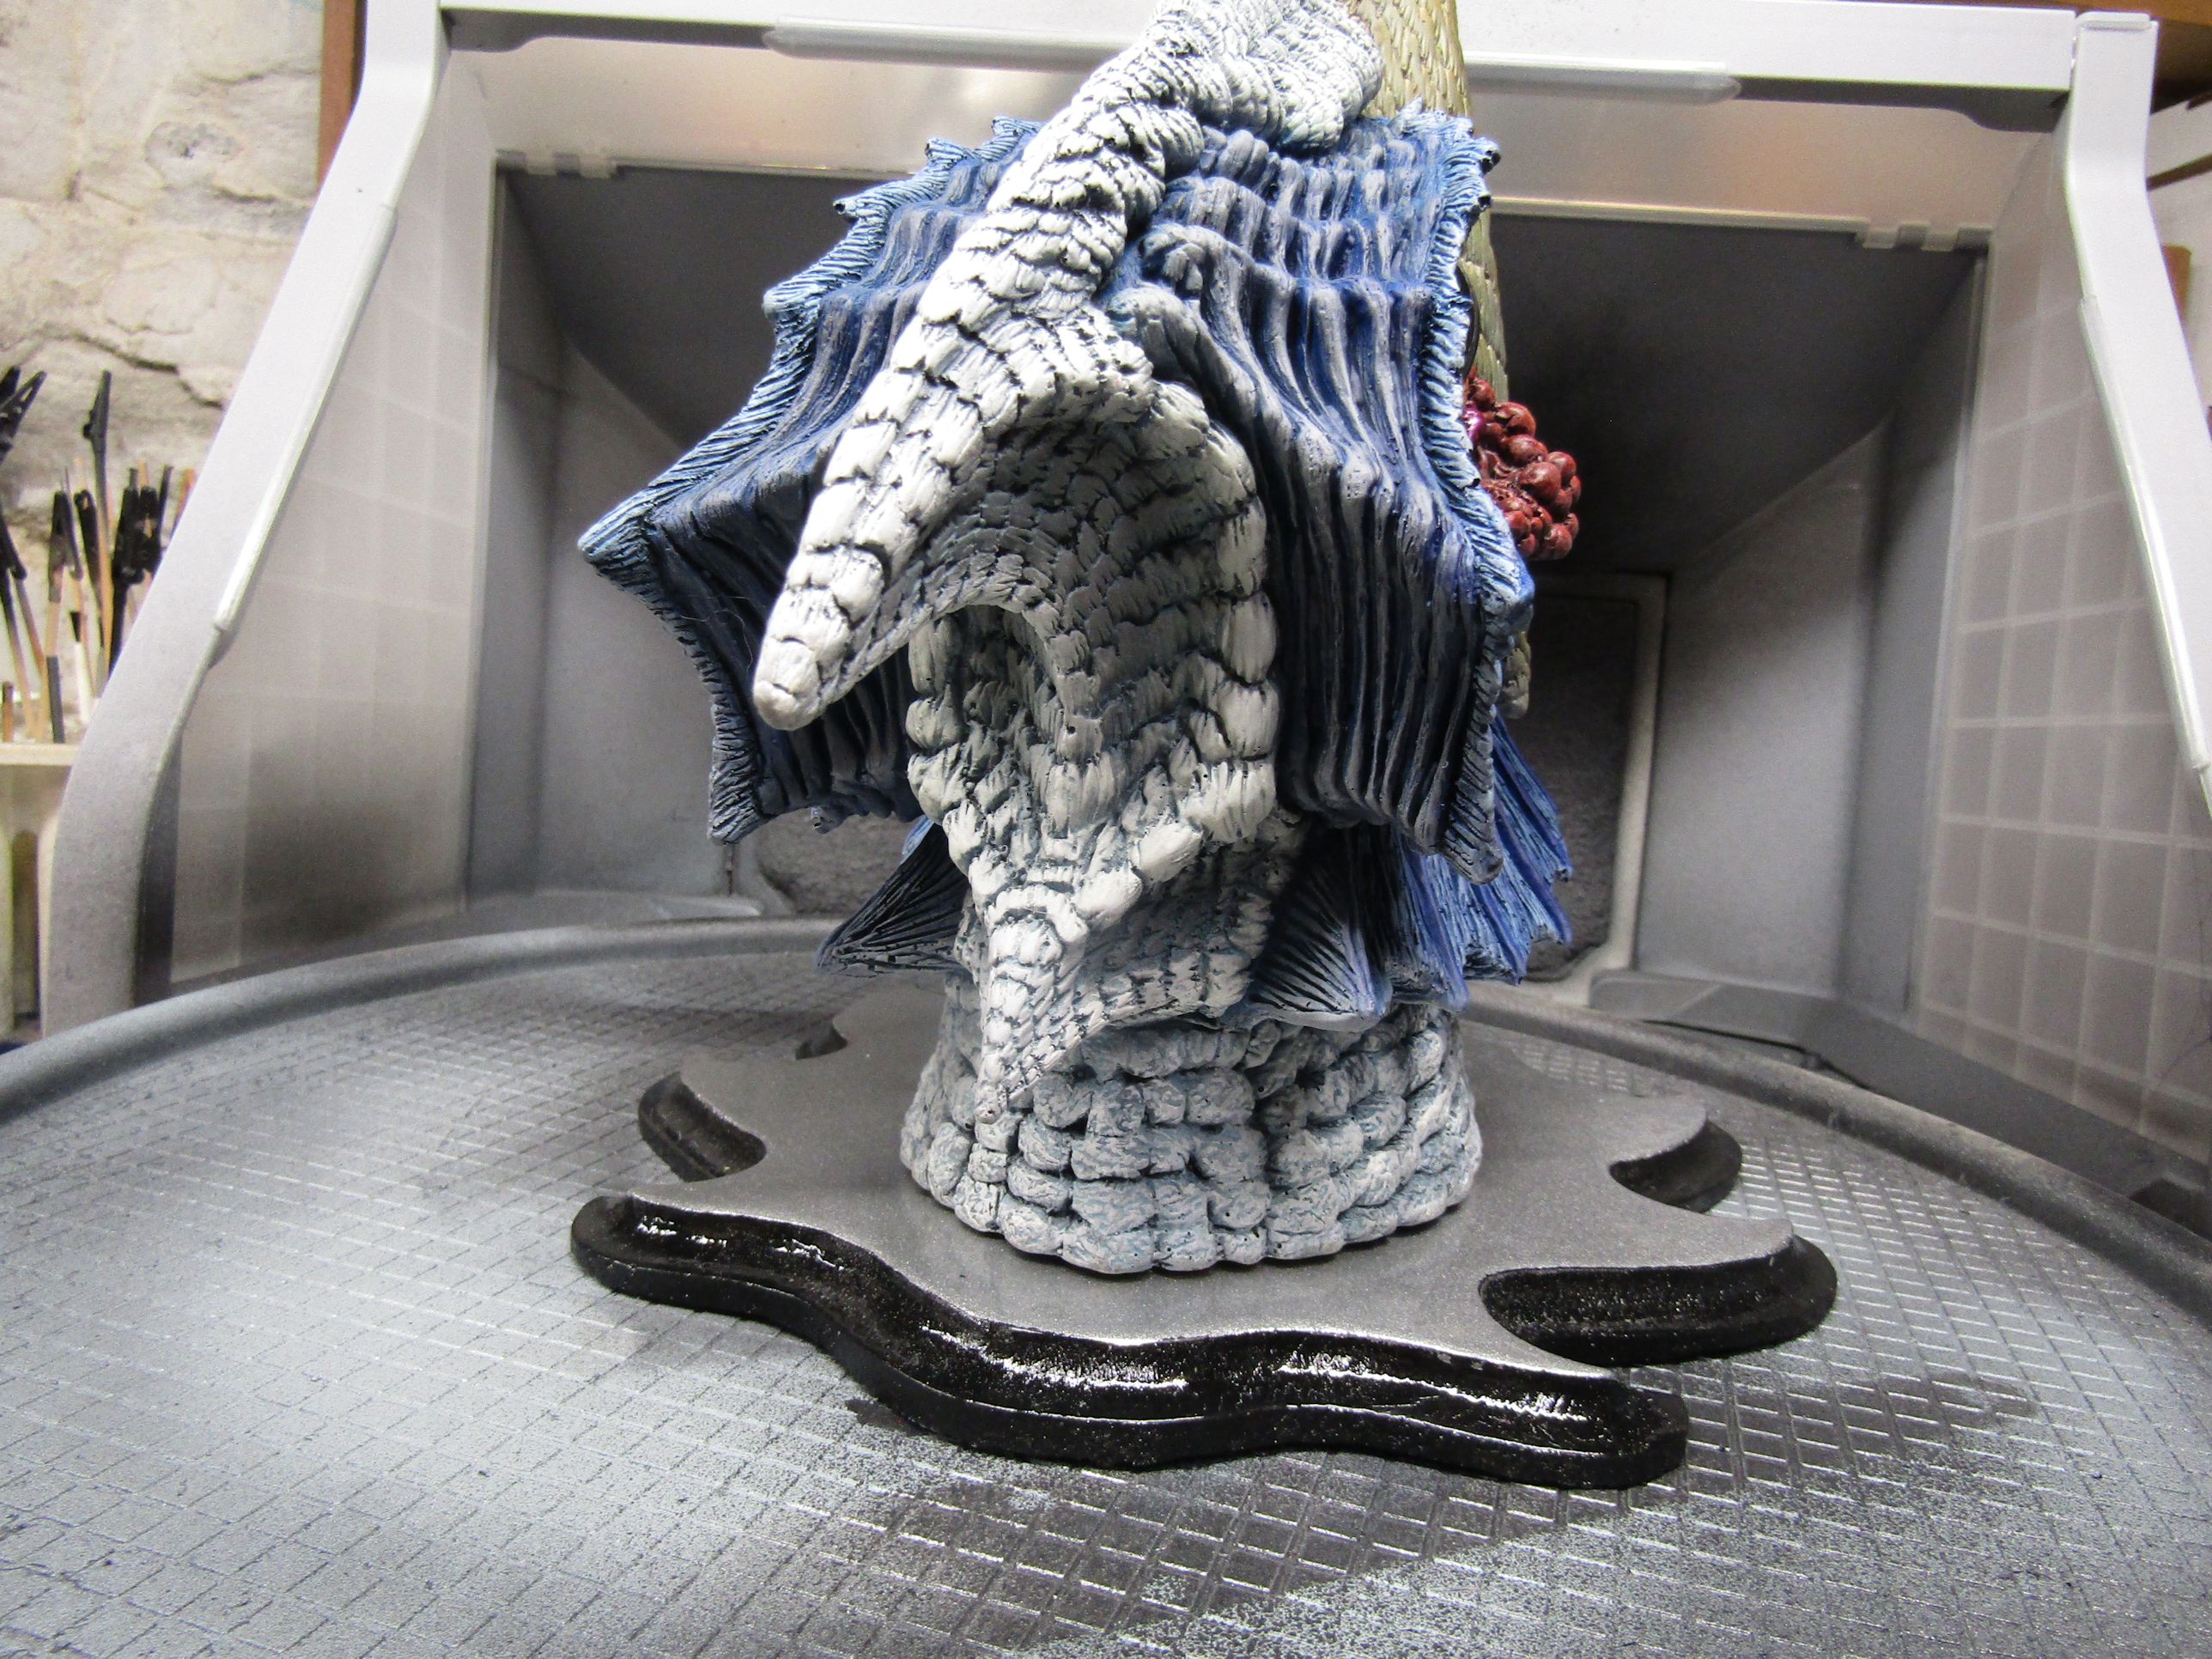 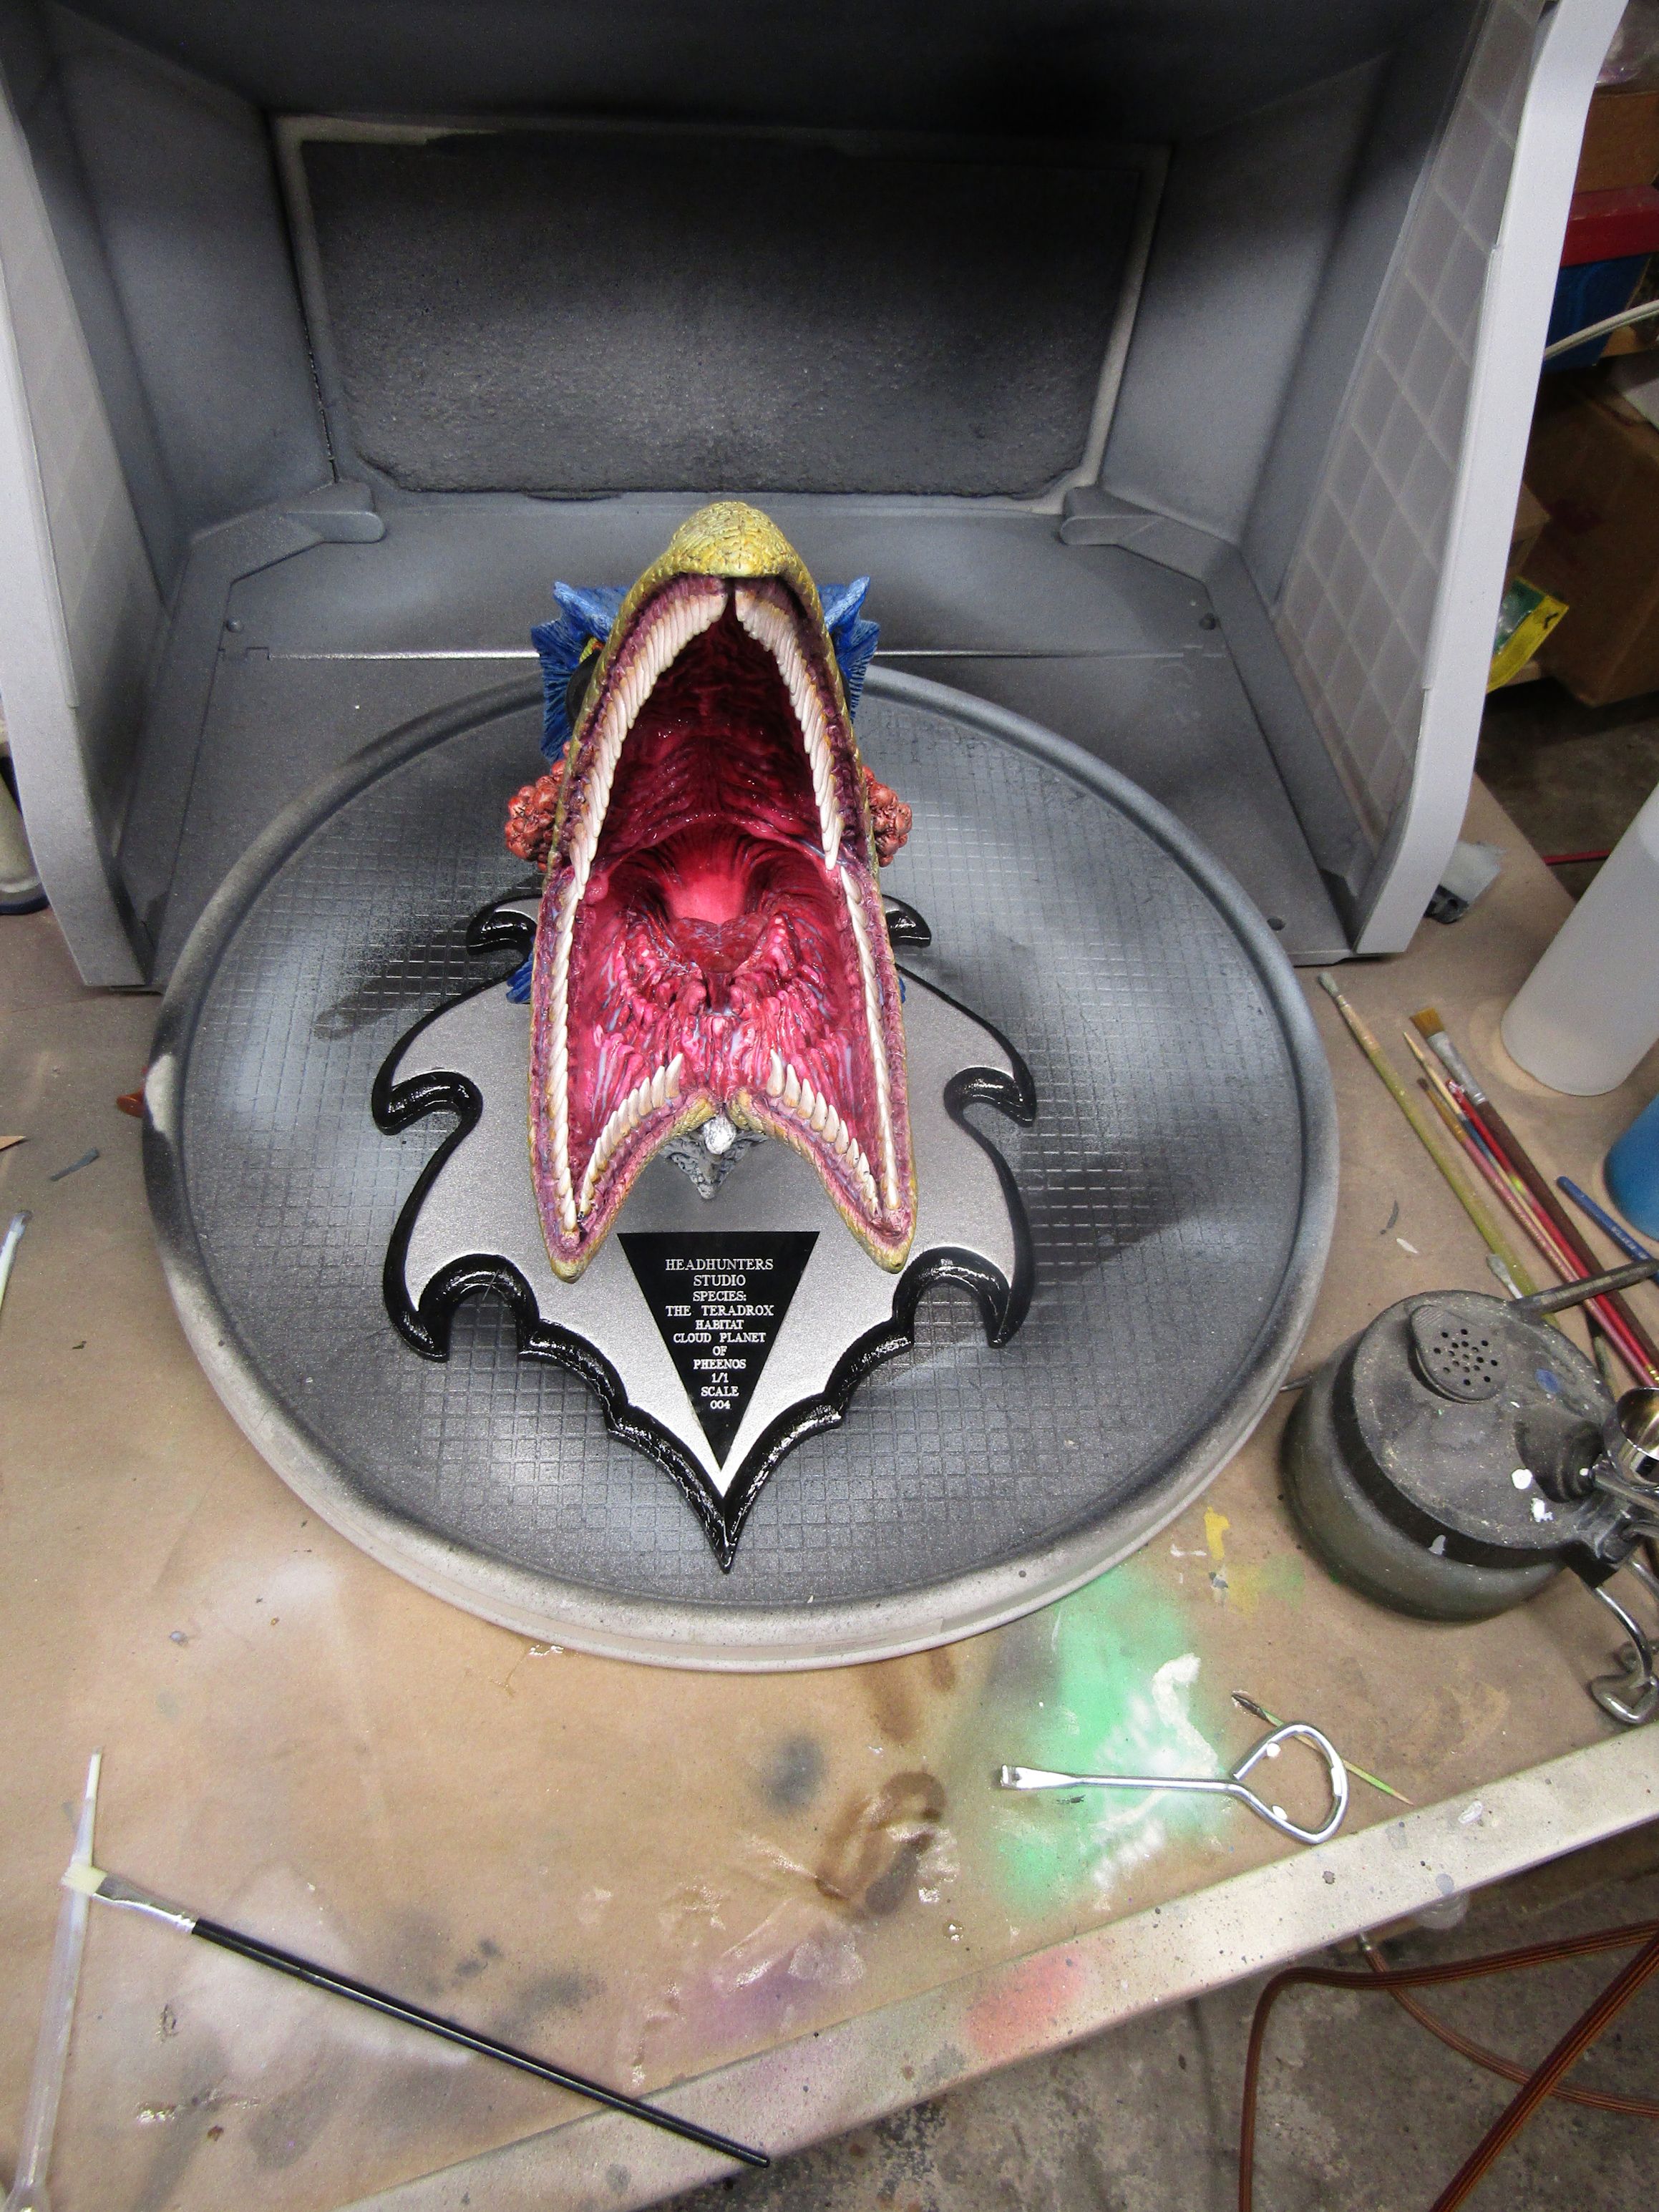 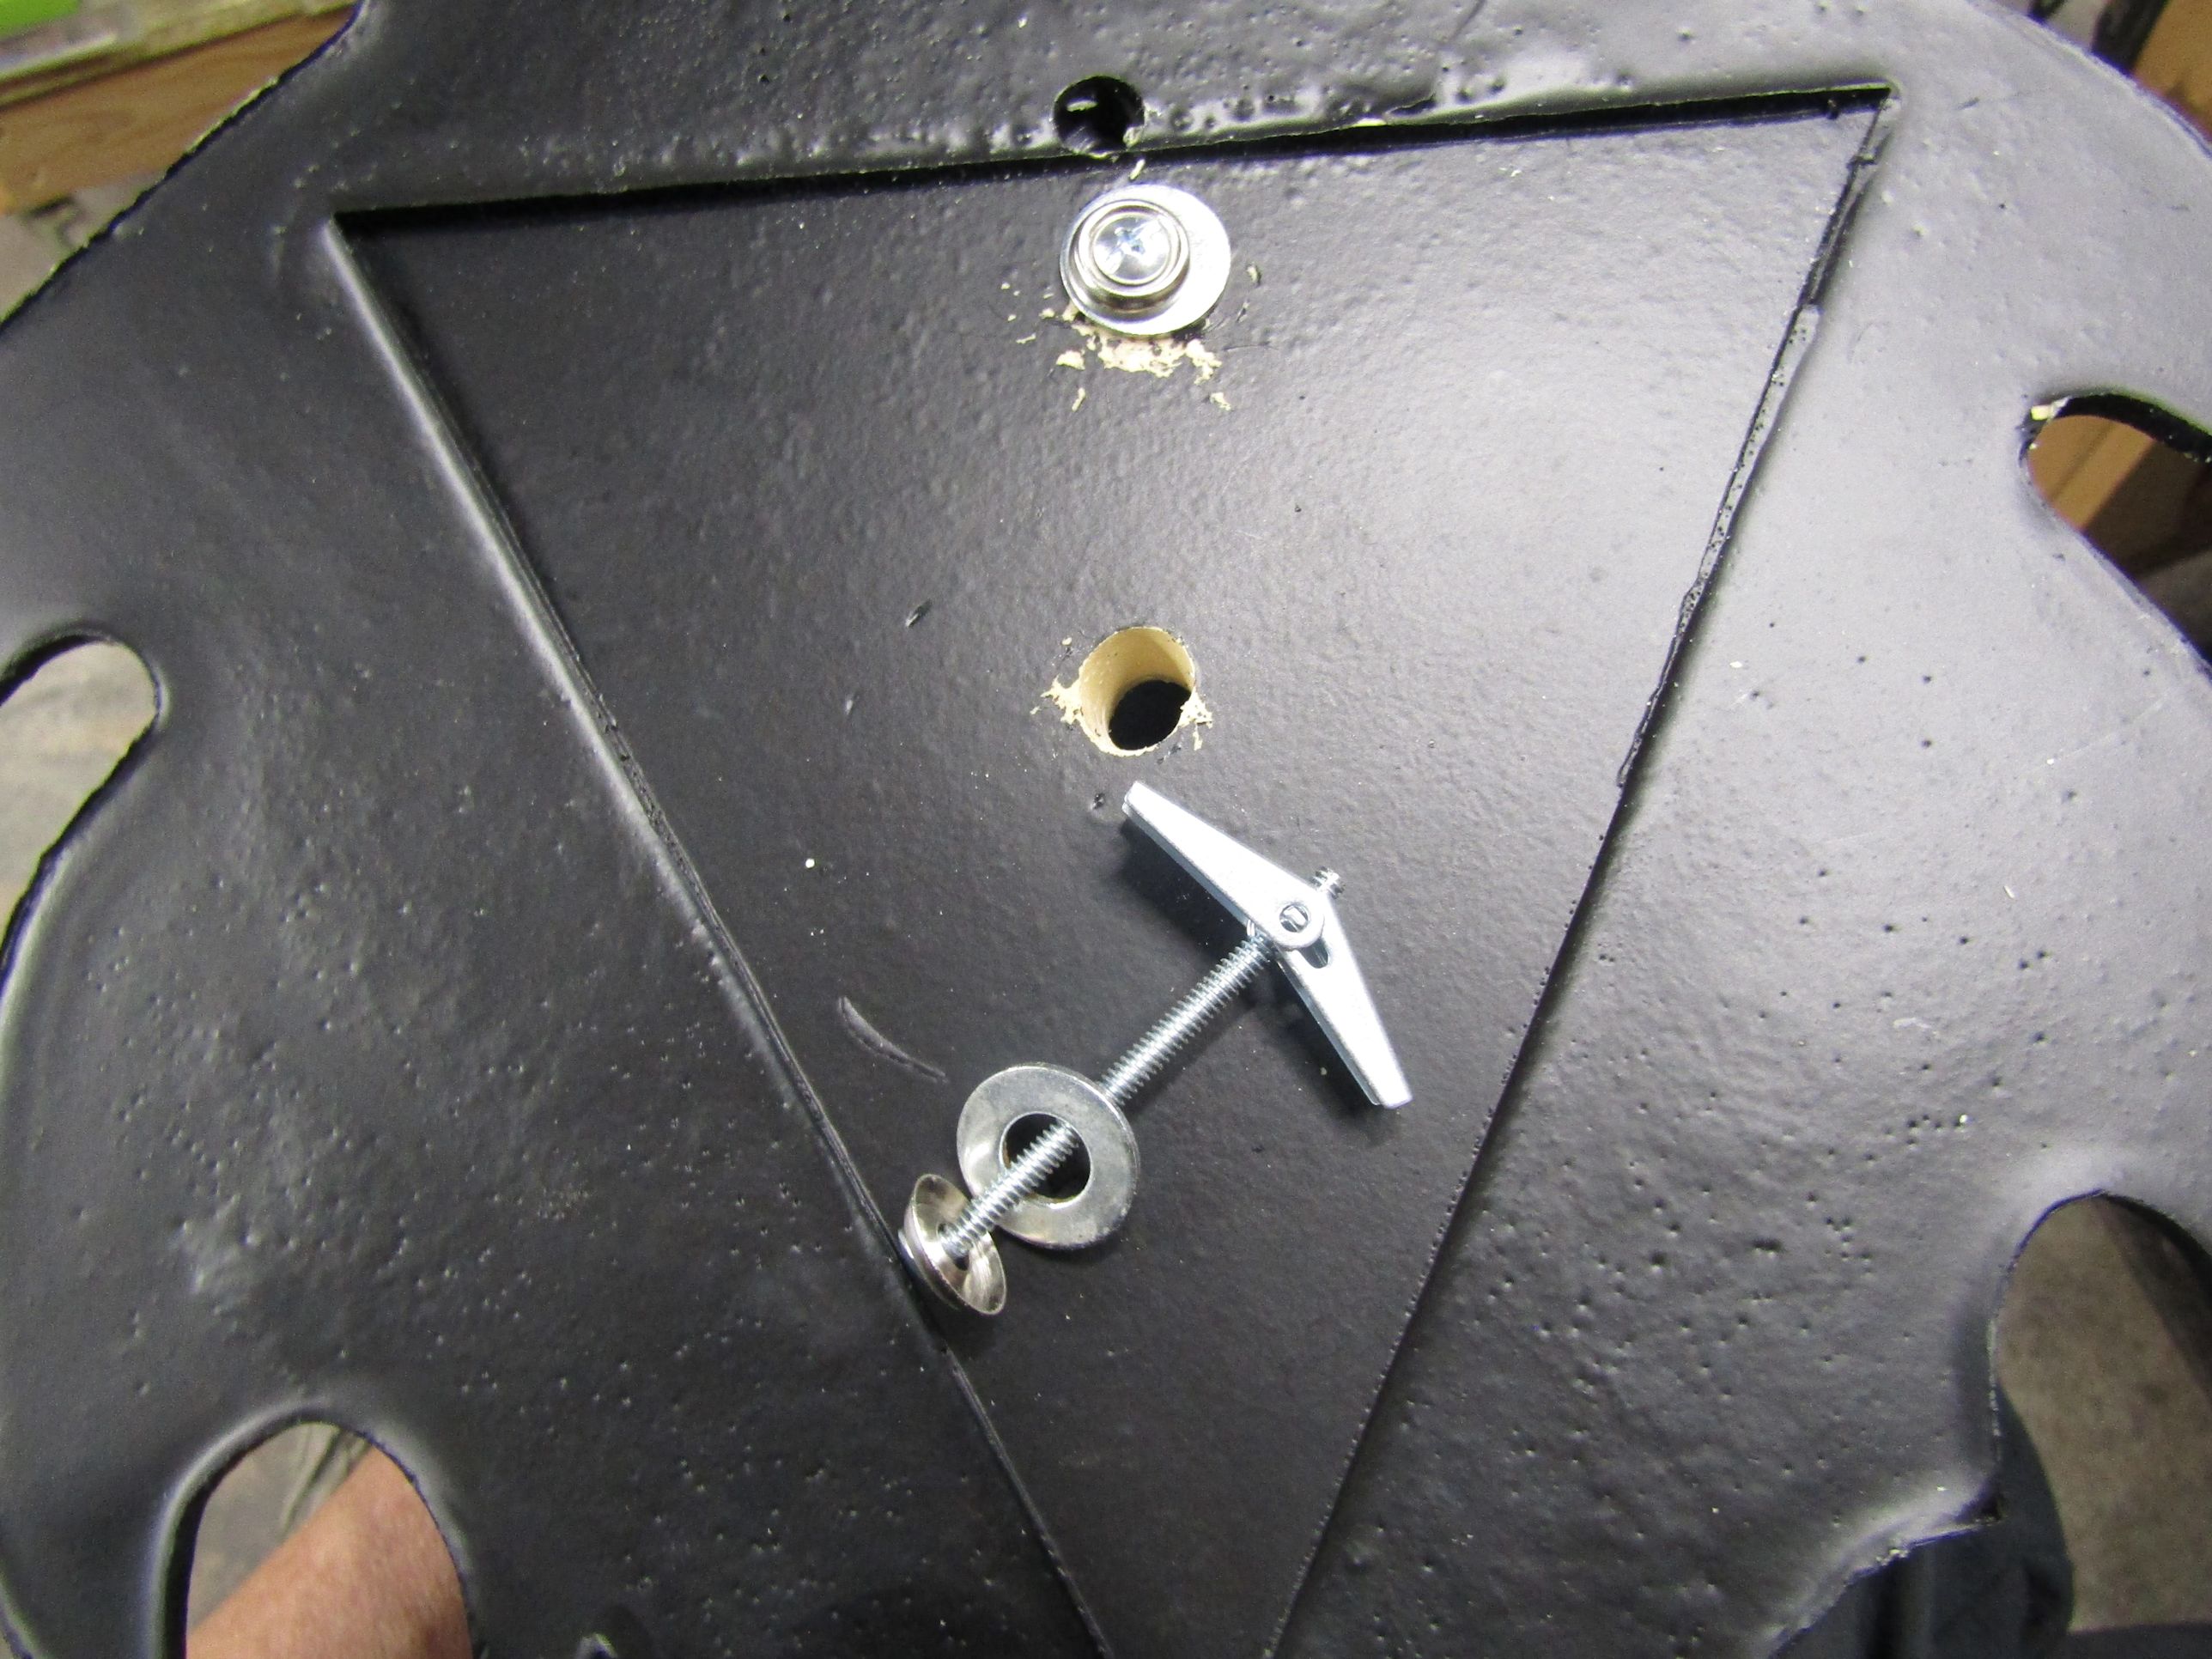 Some gloss coats on the eyes, and mounting the head to the base using some hollow wall toggle anchors. | ||
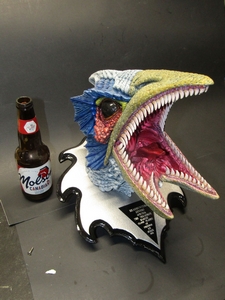 Done! Click image to go to page with finished pics. |
||