| TOYBIZ THOR/CONAN |
| THE MAKING OF THE BASE |
| UPDATED 06/07/05 |
 Thanks to Kitman for the box pic |
|
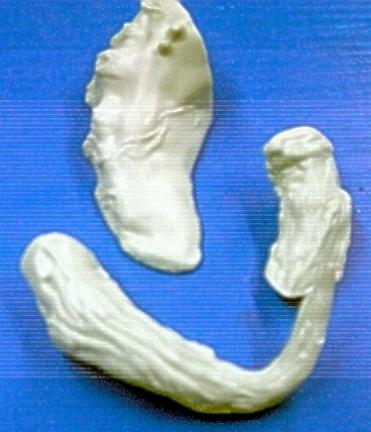
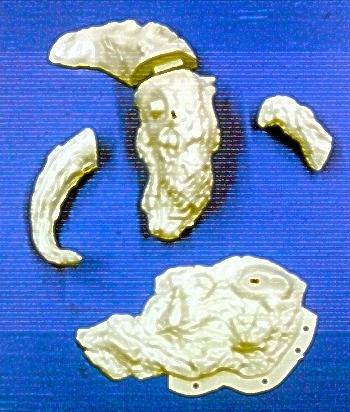
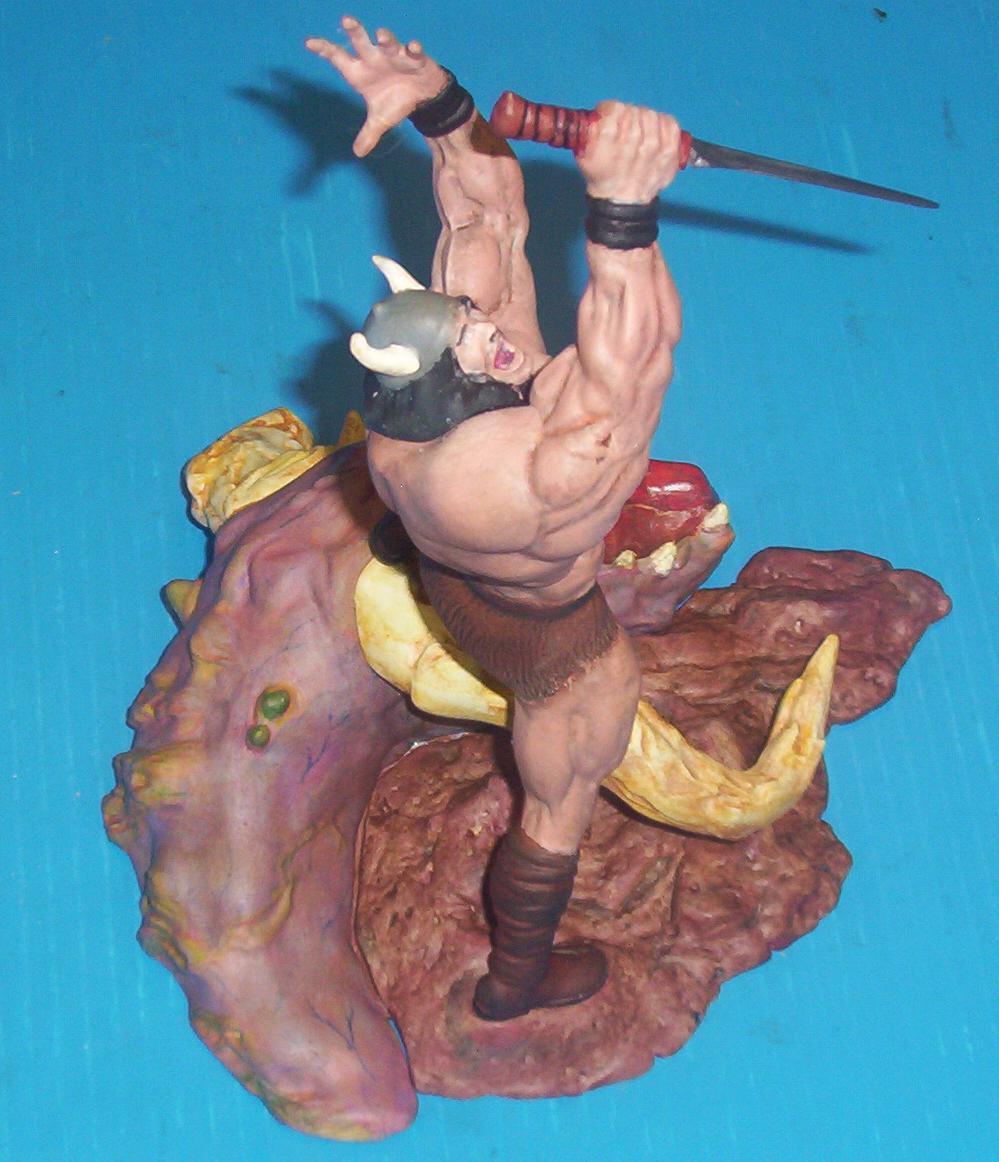
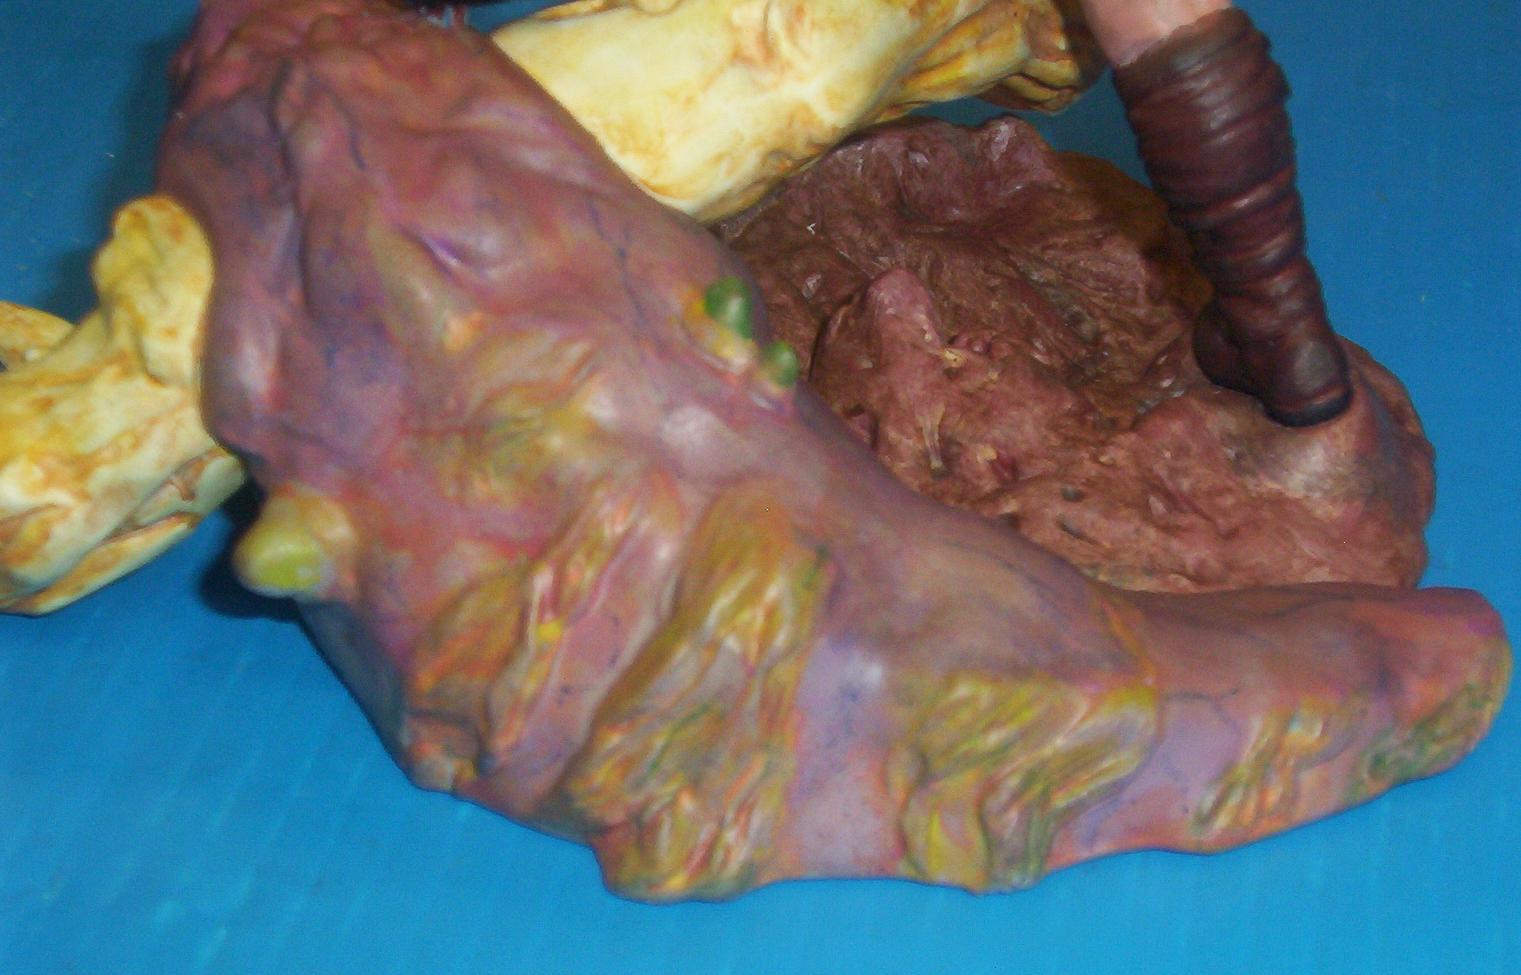
| Now for all the fun I had with the base. As you can see from the pictures below, there were a lot of seams to deal with on the monster. Especially on the top piece that connected the two large side pieces of the head. |
|
| It took a lot of putty and sanding to get all those
worked out. Too bad the monster couldn't have been as well engineered as the Thor figure was. |
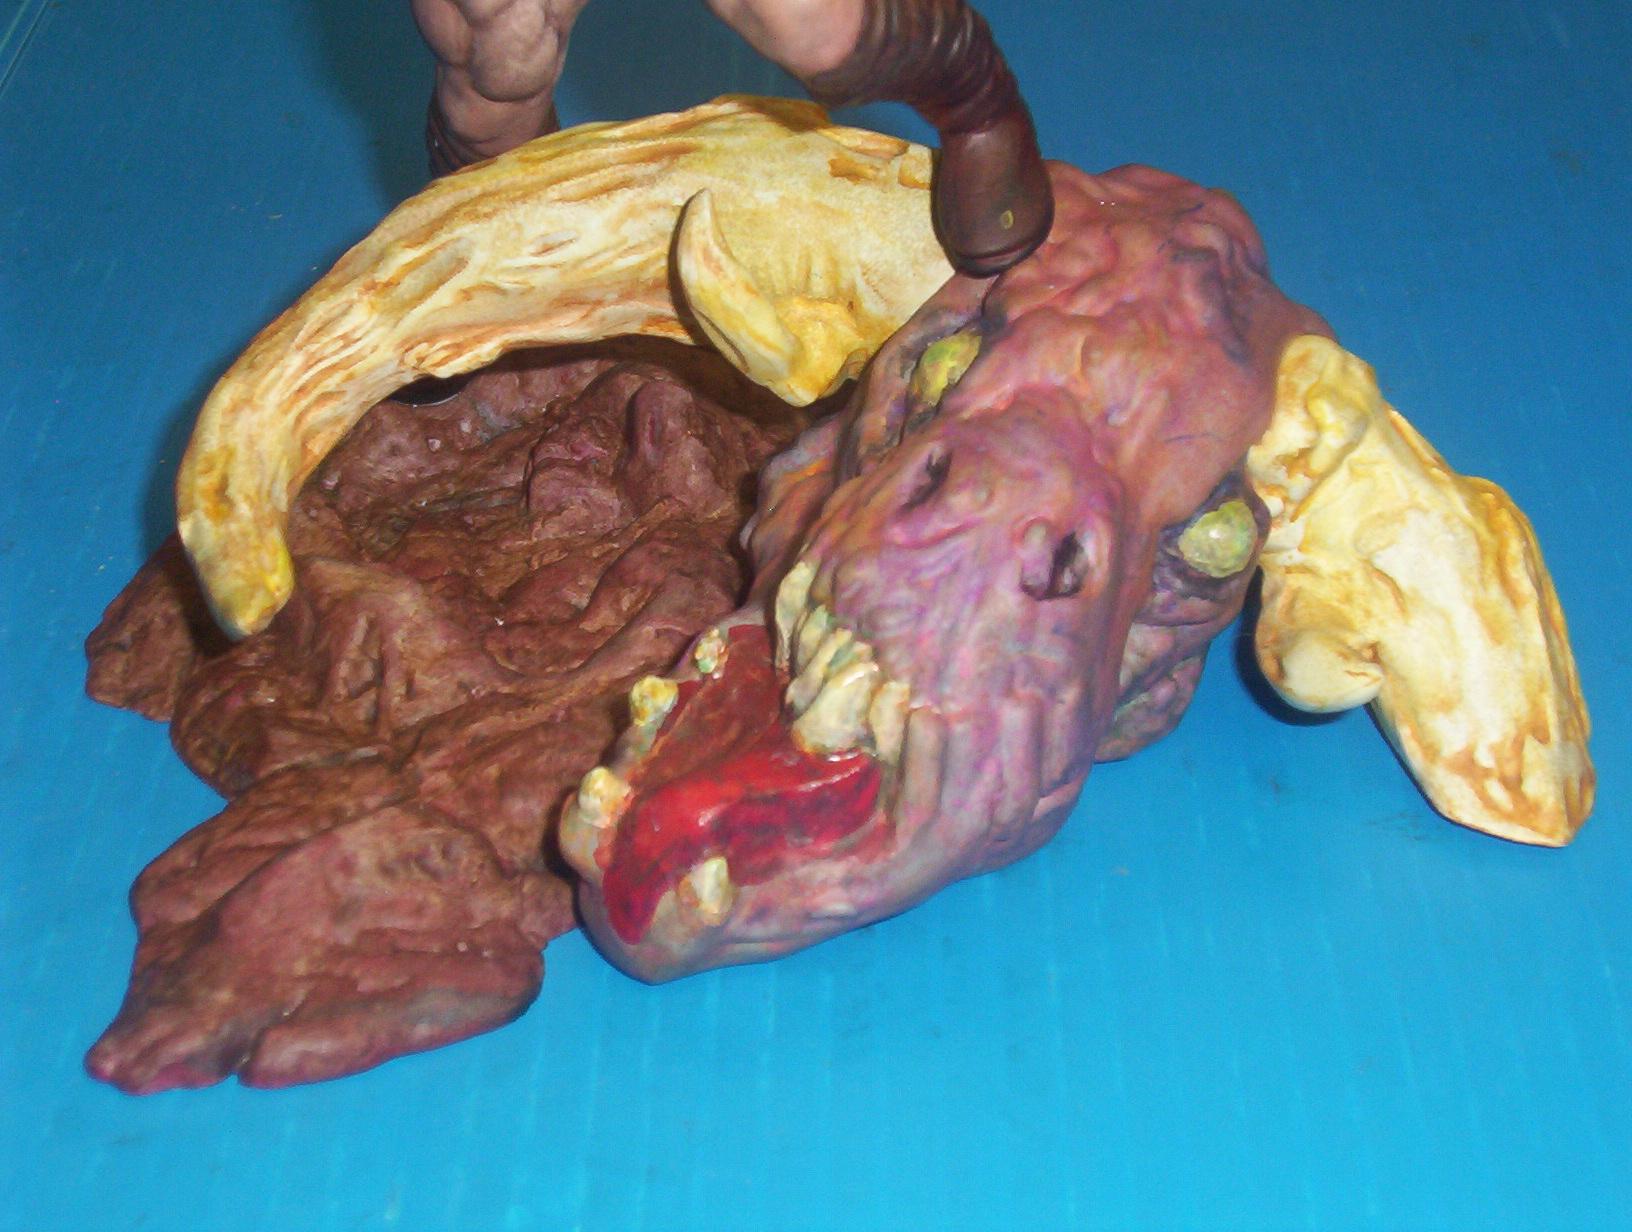
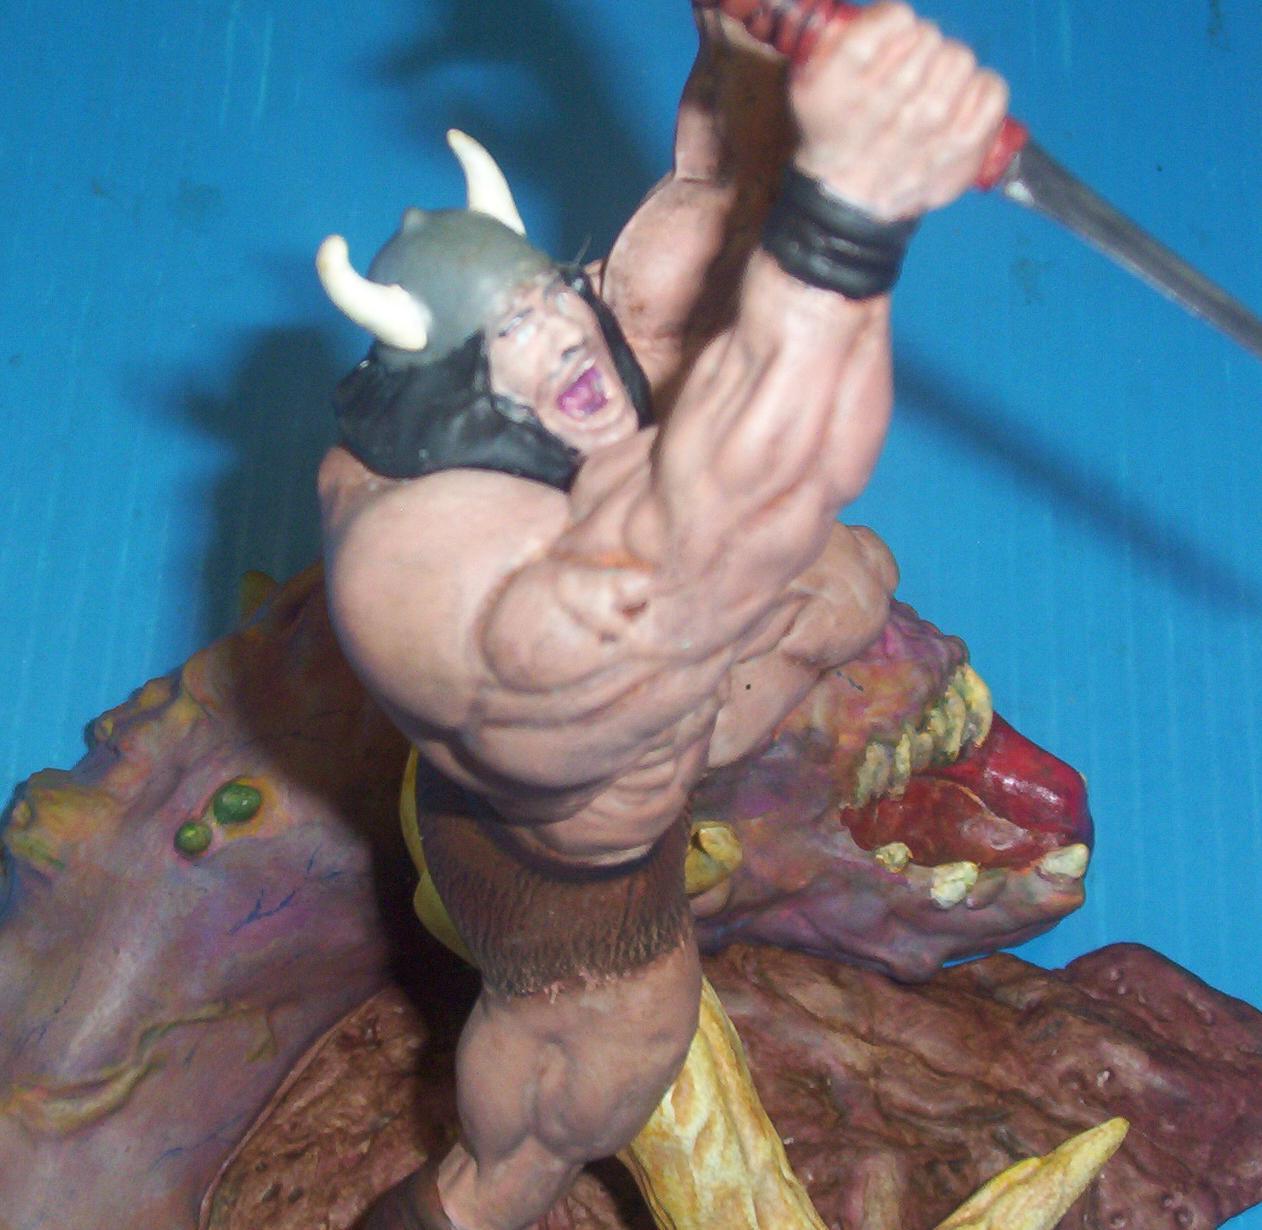
| The horns were primered gray, then base
coated a flat white. Then I used several washes of yellow / brown watercolors to build the depth and detail. |
 |
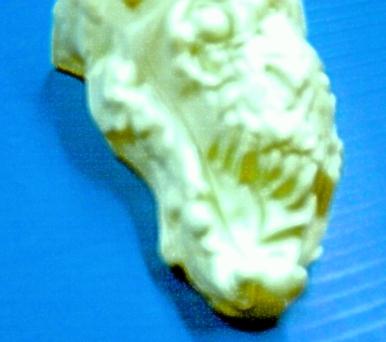
| The main part of the monster was
primered gray. Then a wash coat of dark purple
watercolor. When I say wash coat, what I mean is a very thin coat that lets a lot of the layer below show through. I have found the really cheap kids watercolor trays work great for this. |
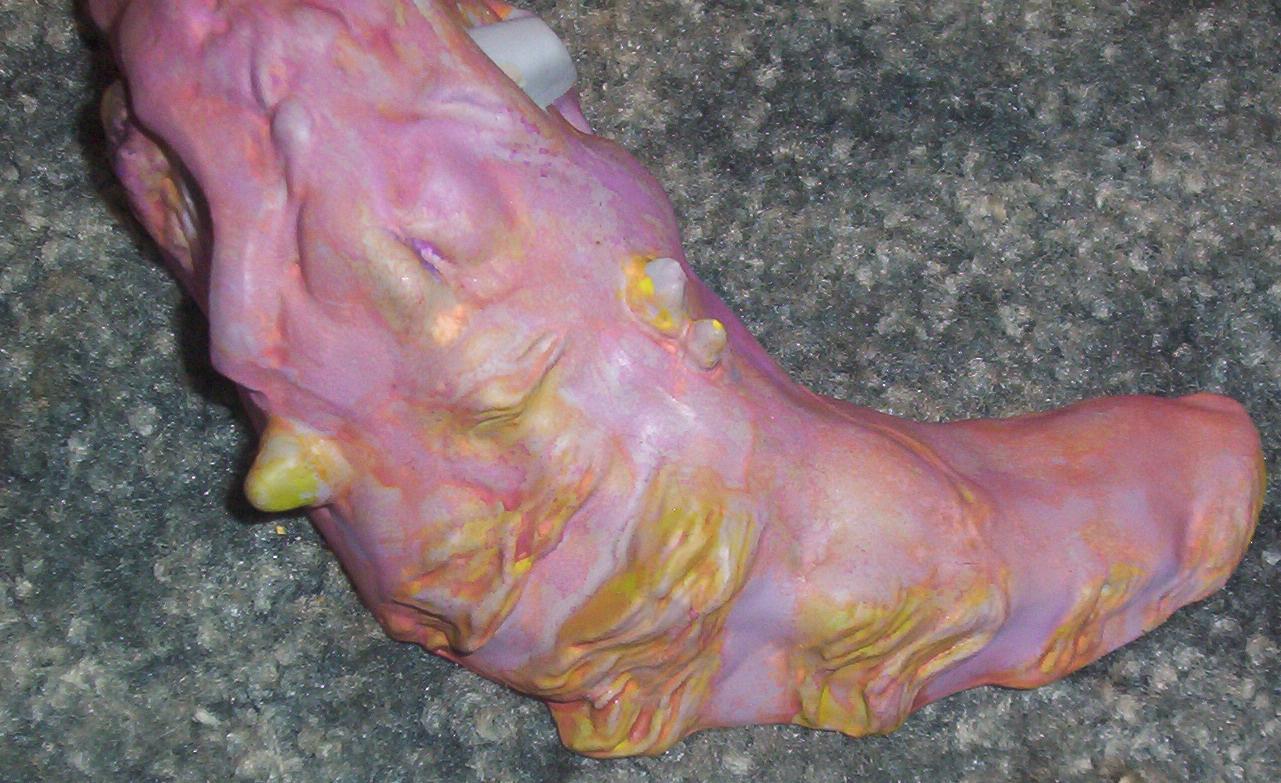  |
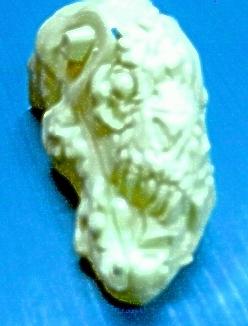
| Then I went back in and used light green
watercolors for the highlights on the back side. Then a wash coat of orange watercolors, and a wash coat of blue watercolors. Then I depened the eye cavities with dark purple watercolors. Then a final wash coat of light purple watercolors. |
|
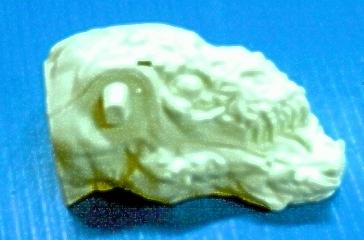
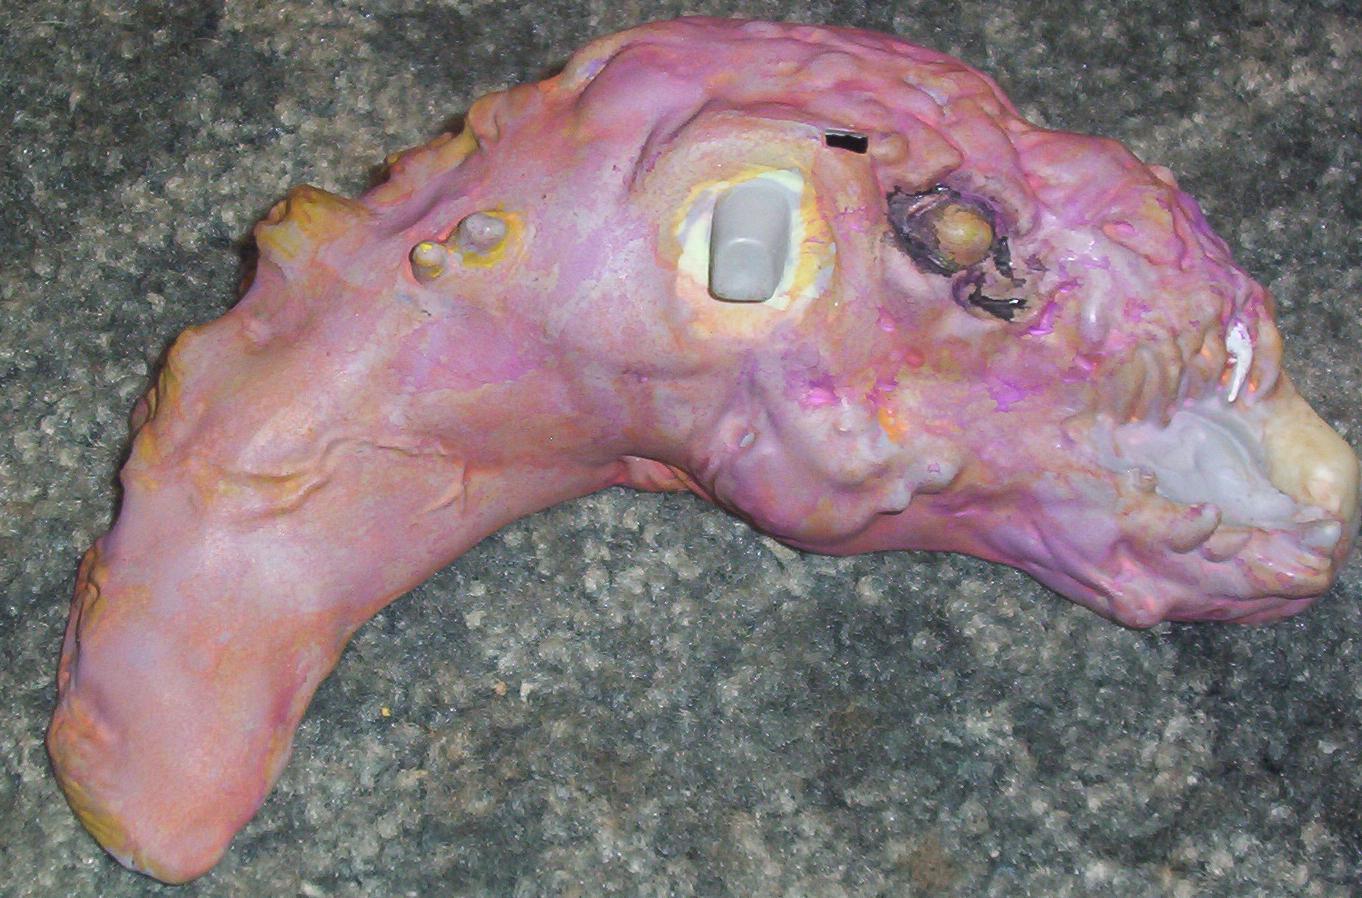
| Time to work on the mouth. If you notice in the pics above, the tongue was redone. Originally it hung out of it's mouth and across part of the base. I didn't add that piece to the kit, I puttied in a bit of tongue to fill out the details already there. |
 |
| I used an off-white for the teeth. A
redish brown for the inside of the mouth, and a dark red
for the tongue. Then a pinkish watercolor for around the lip area of the mouth. A dark green watercolor wash in the creases between the teeth. Then a yellow-brown watercolor around the roots of the teeth. |
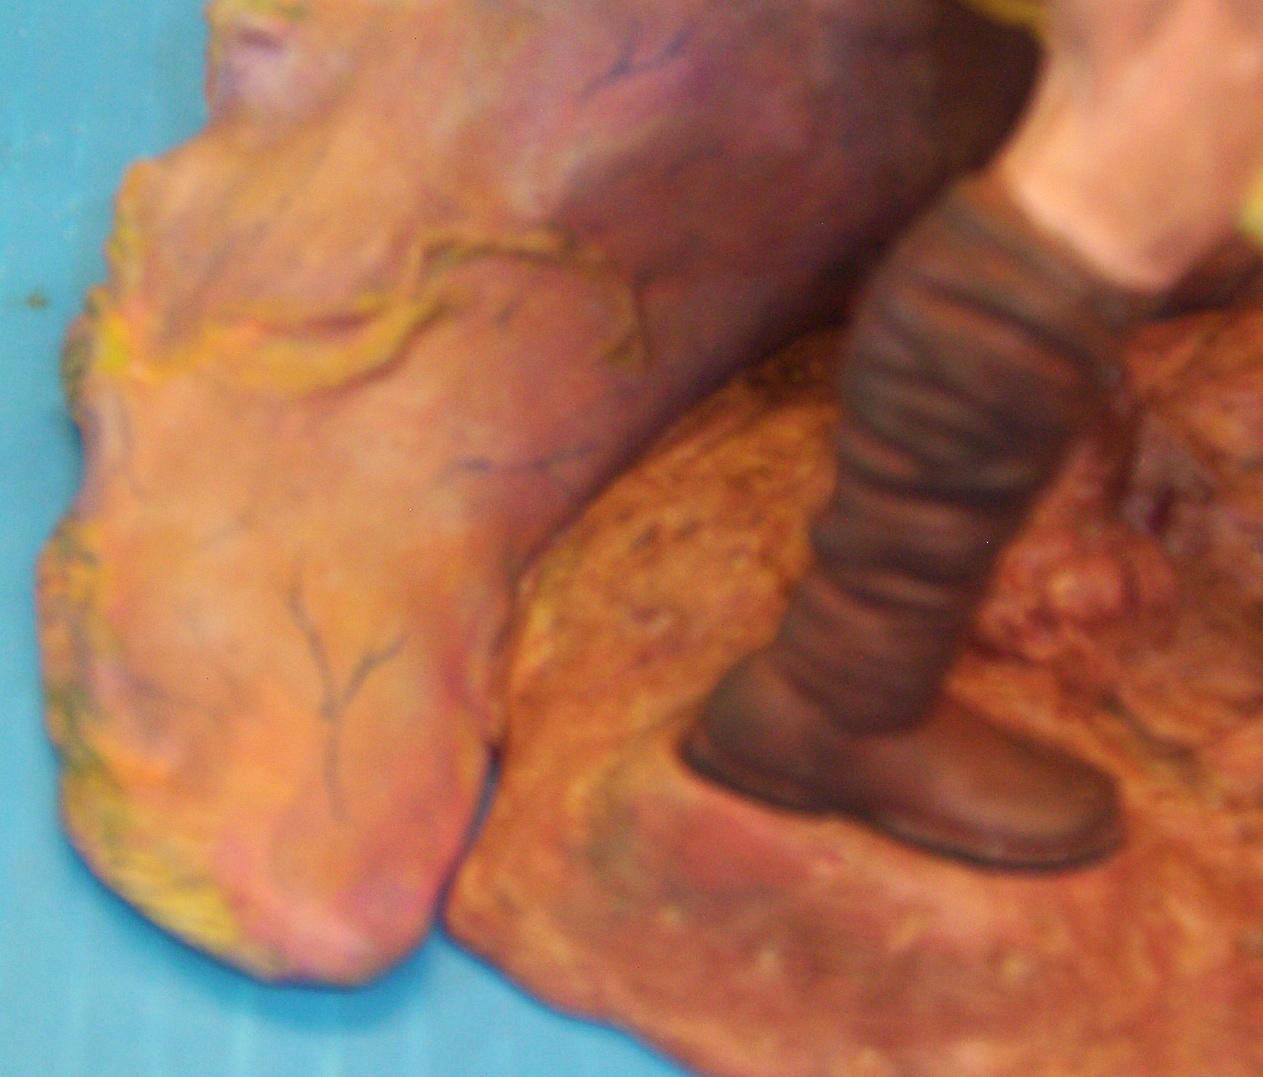
| The base itself was pretty simple. Brown primer. Cinnamon brown over that. Drybrushed a few murky tans and light browns, then a coat of brown antiquing gel. |
| There was one interesting problem presented with this
kit and how I went about it. Attaching the horns. If you notice, they were painted separately. I had to attach them to the monster without using any putty. The joints were tight, but not perfect, so I needed a way to fill the gaps without ruining my paint job. I had an idea that actually worked. I took some water and dirtied it up with some brown watercolors. Then I mixed in some white glue. As you probably know, white glue dries clear. With the brown in the water though it turned out really hazy brown. I laid it in place with a Q-tip. A little at a time, and dried it with a hairdryer. Slowely filling in the gaps and tying it all together. Actually worked better than I had hoped. |
|