| Spiked
Dinosaur UPDATED 04/04/12 click above to jump to newest additions.  Even more pics and indeapth
discussion of the work being done |
 Ok, for years, my daughter and I have talked about teaming up on a project. I love to build kits, and she is a natural painter, so it really seems like we would compliment each other. So, this is that project. She picked it out. I need to get it built before she goes off to college in the fall of 2010. I've got the legs, tail, and body
together. Now I just need to clean up the seams. |
  The main body is just about done. Only a little more texturing to do and I will be happy with it. |
    Got the head glued up. A little quick clean-up then a shot of primer. now I can get to work on really getting that seam cleaned up. |
  Now I've got the legs glued on and ready to rock some more putty! |
        |
  Got the head on now. Still a lot of putty work to go, but at least I have less parts laying around. |
    Ok, all the parts are on now. Most of the major putty work is done too. |
| I got the whole thing primed, and
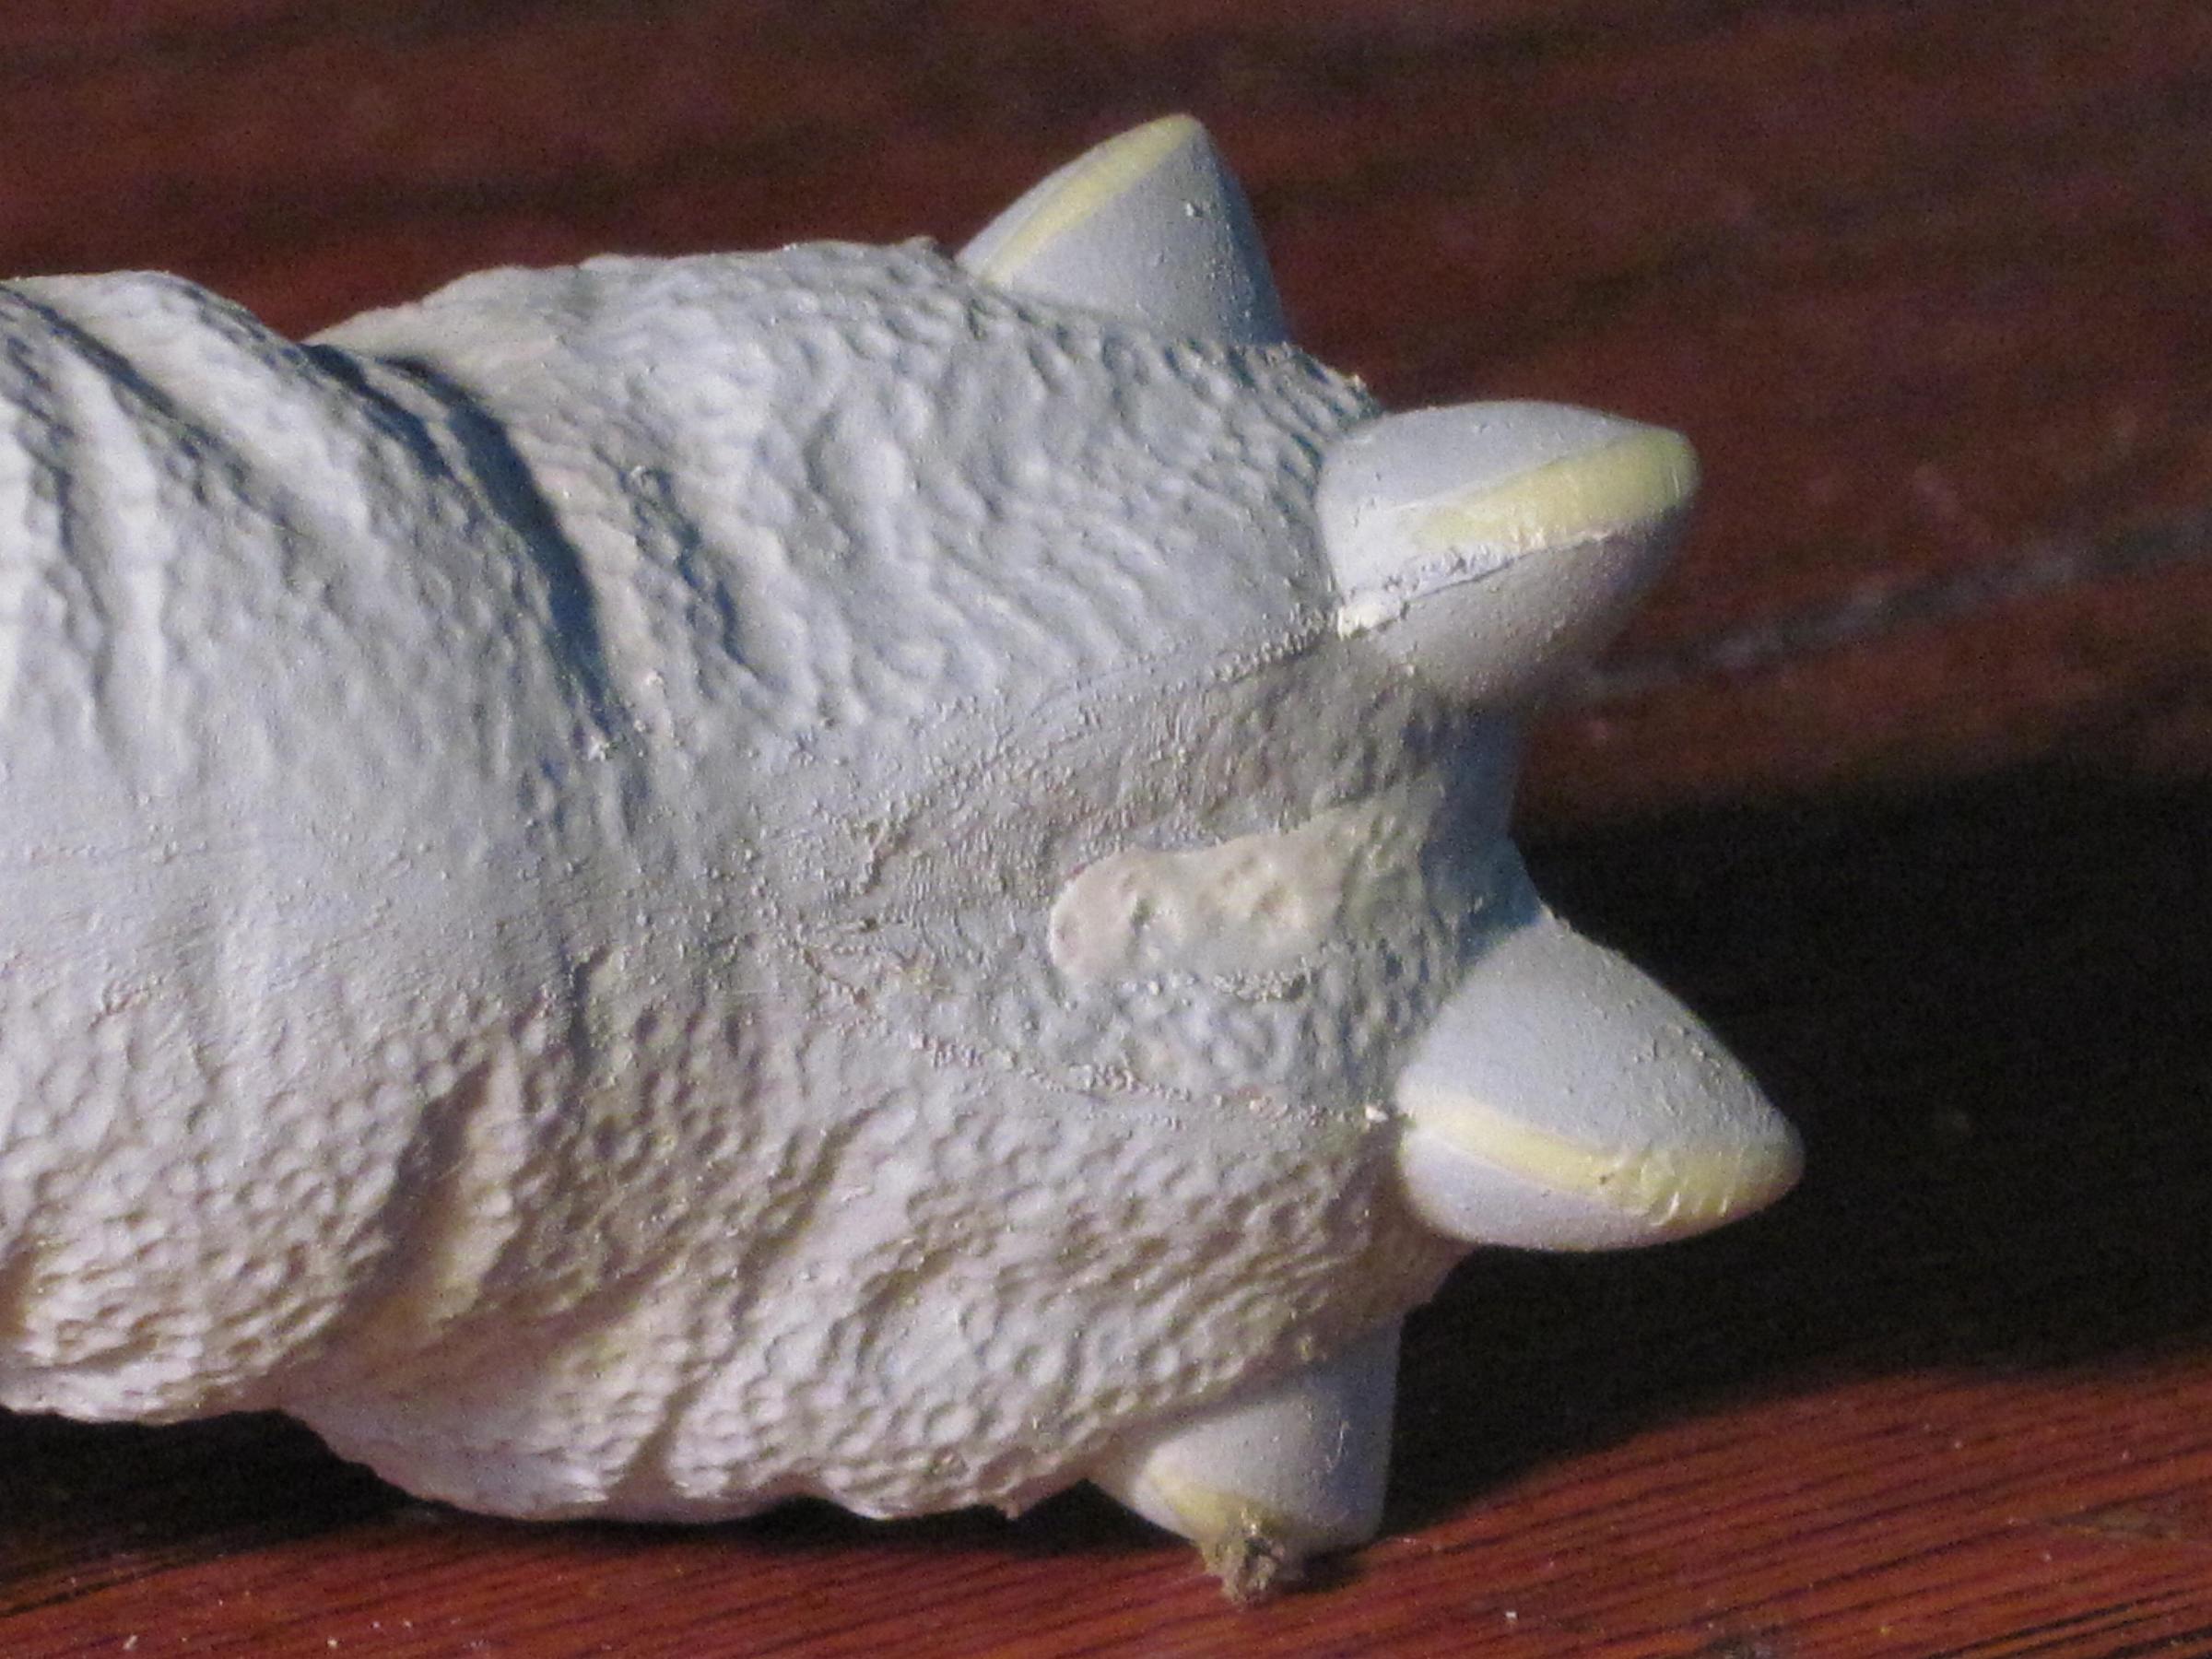
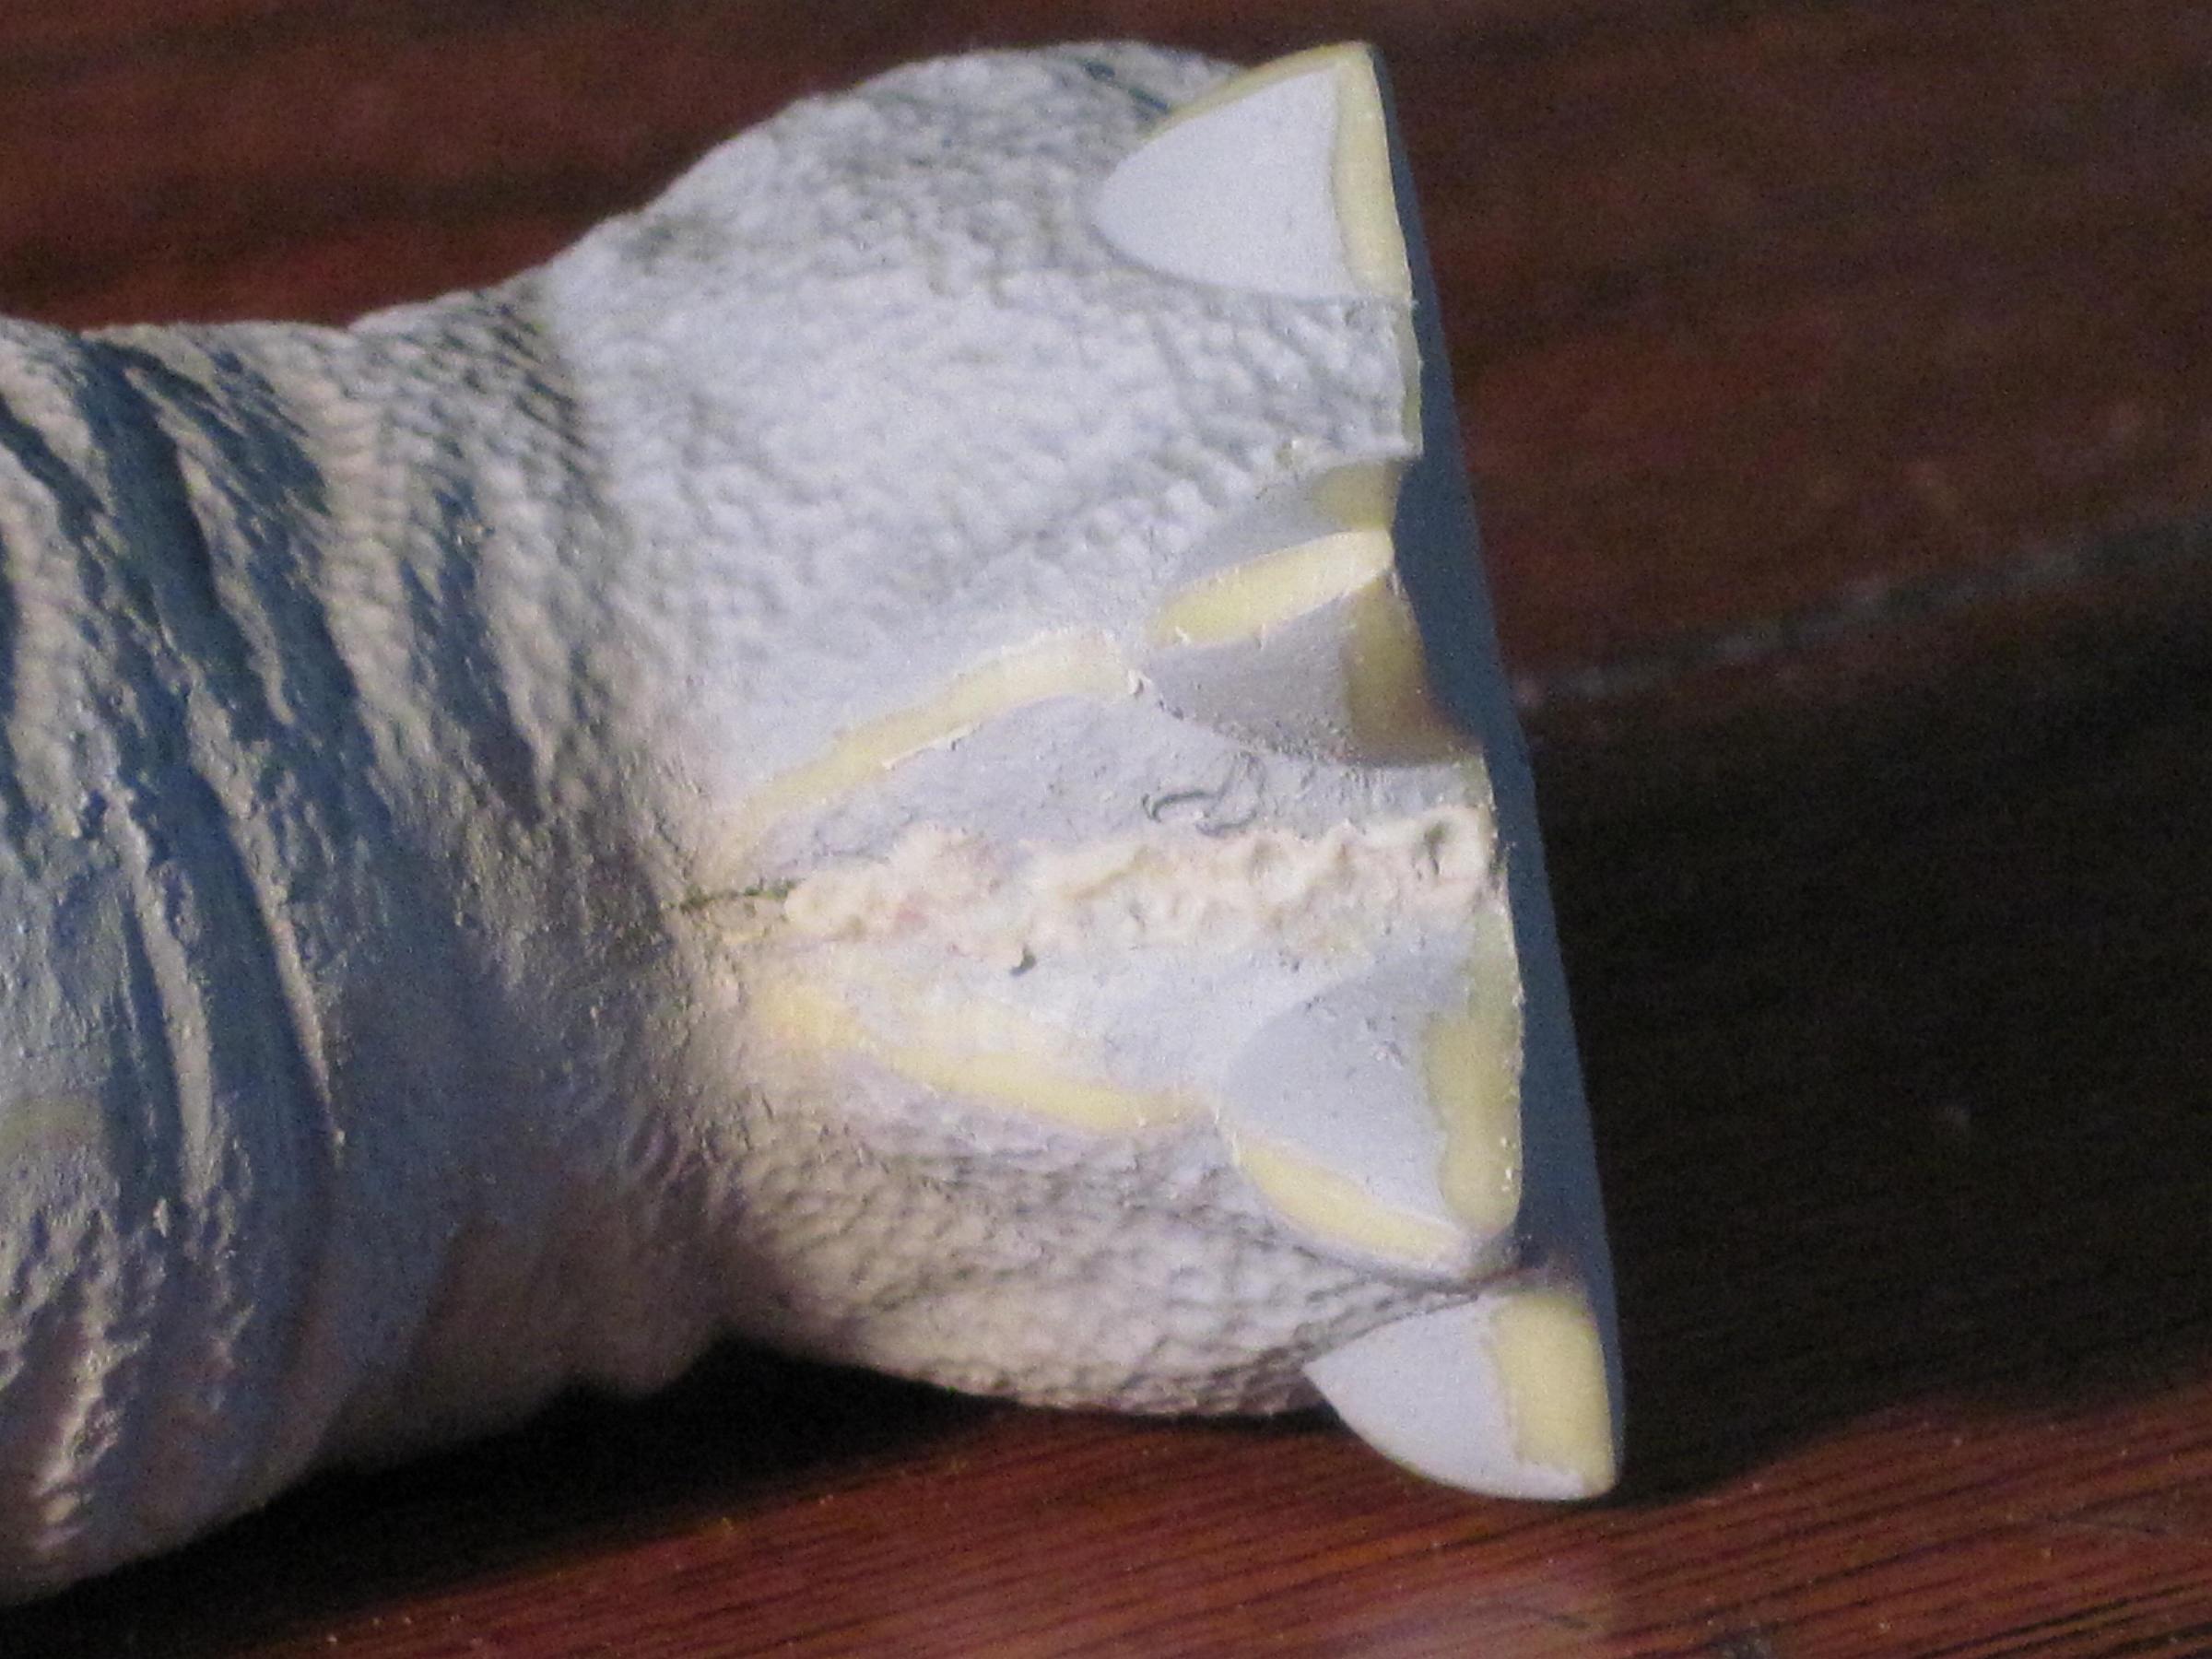
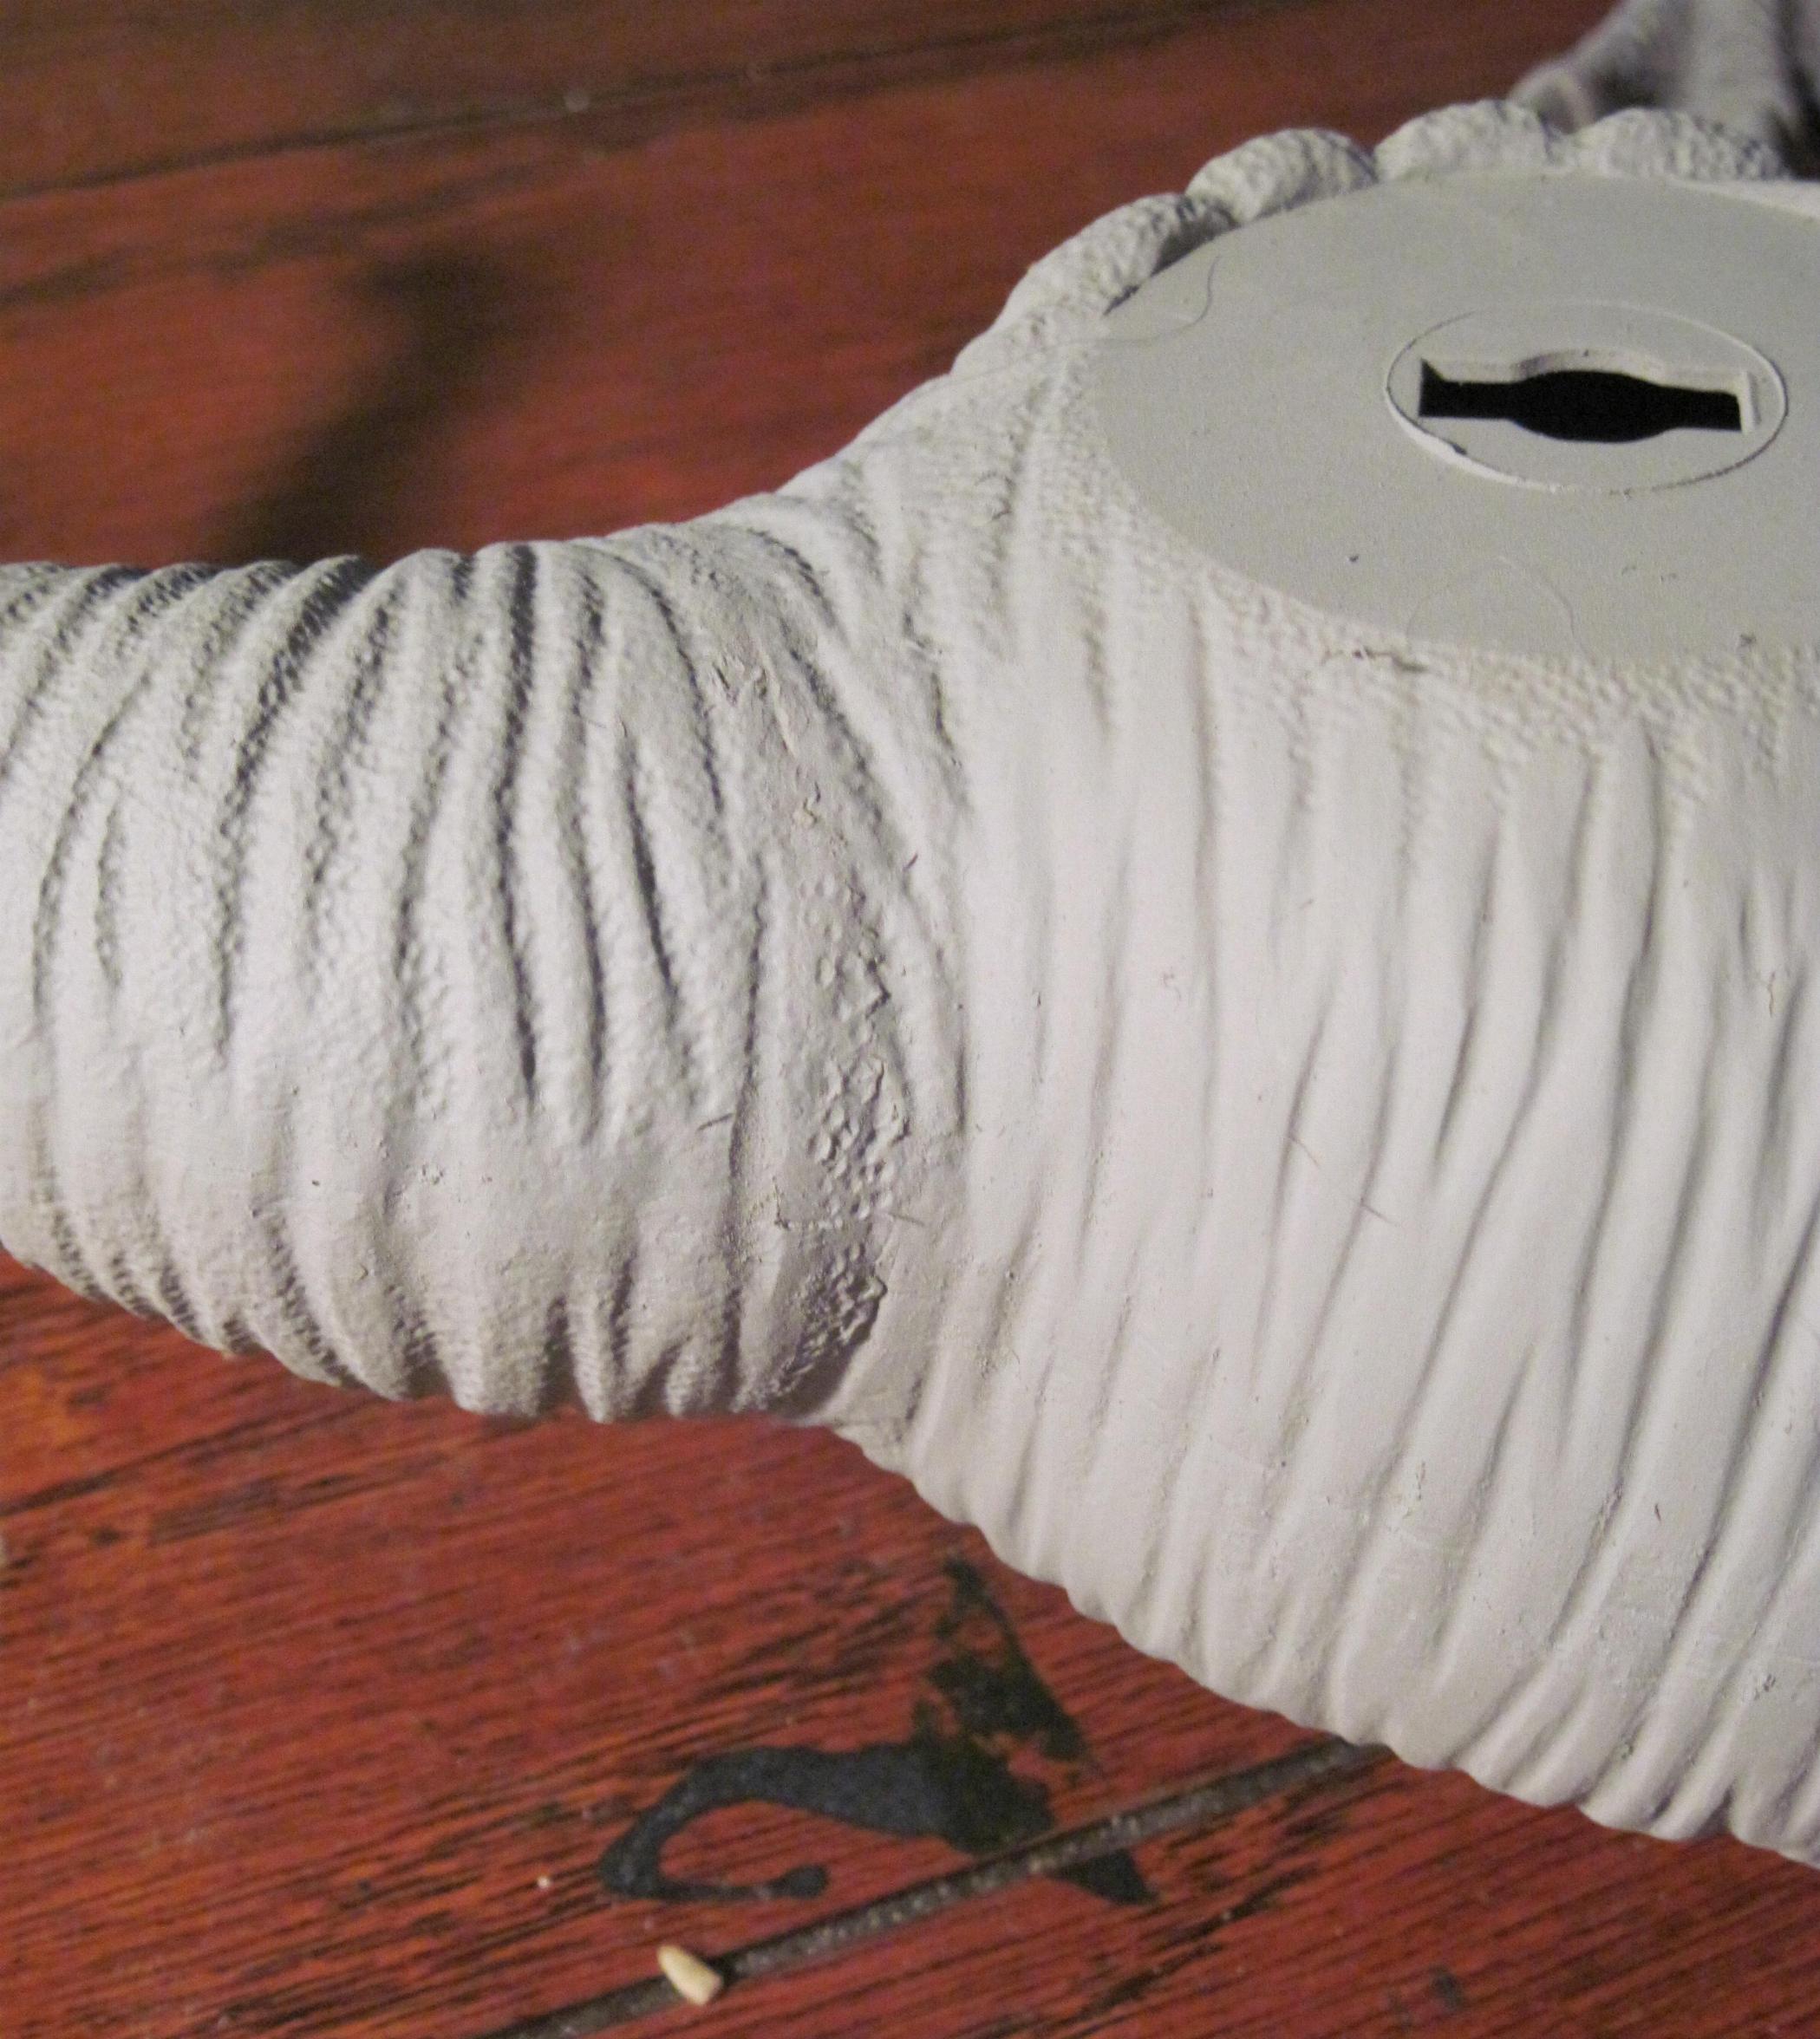
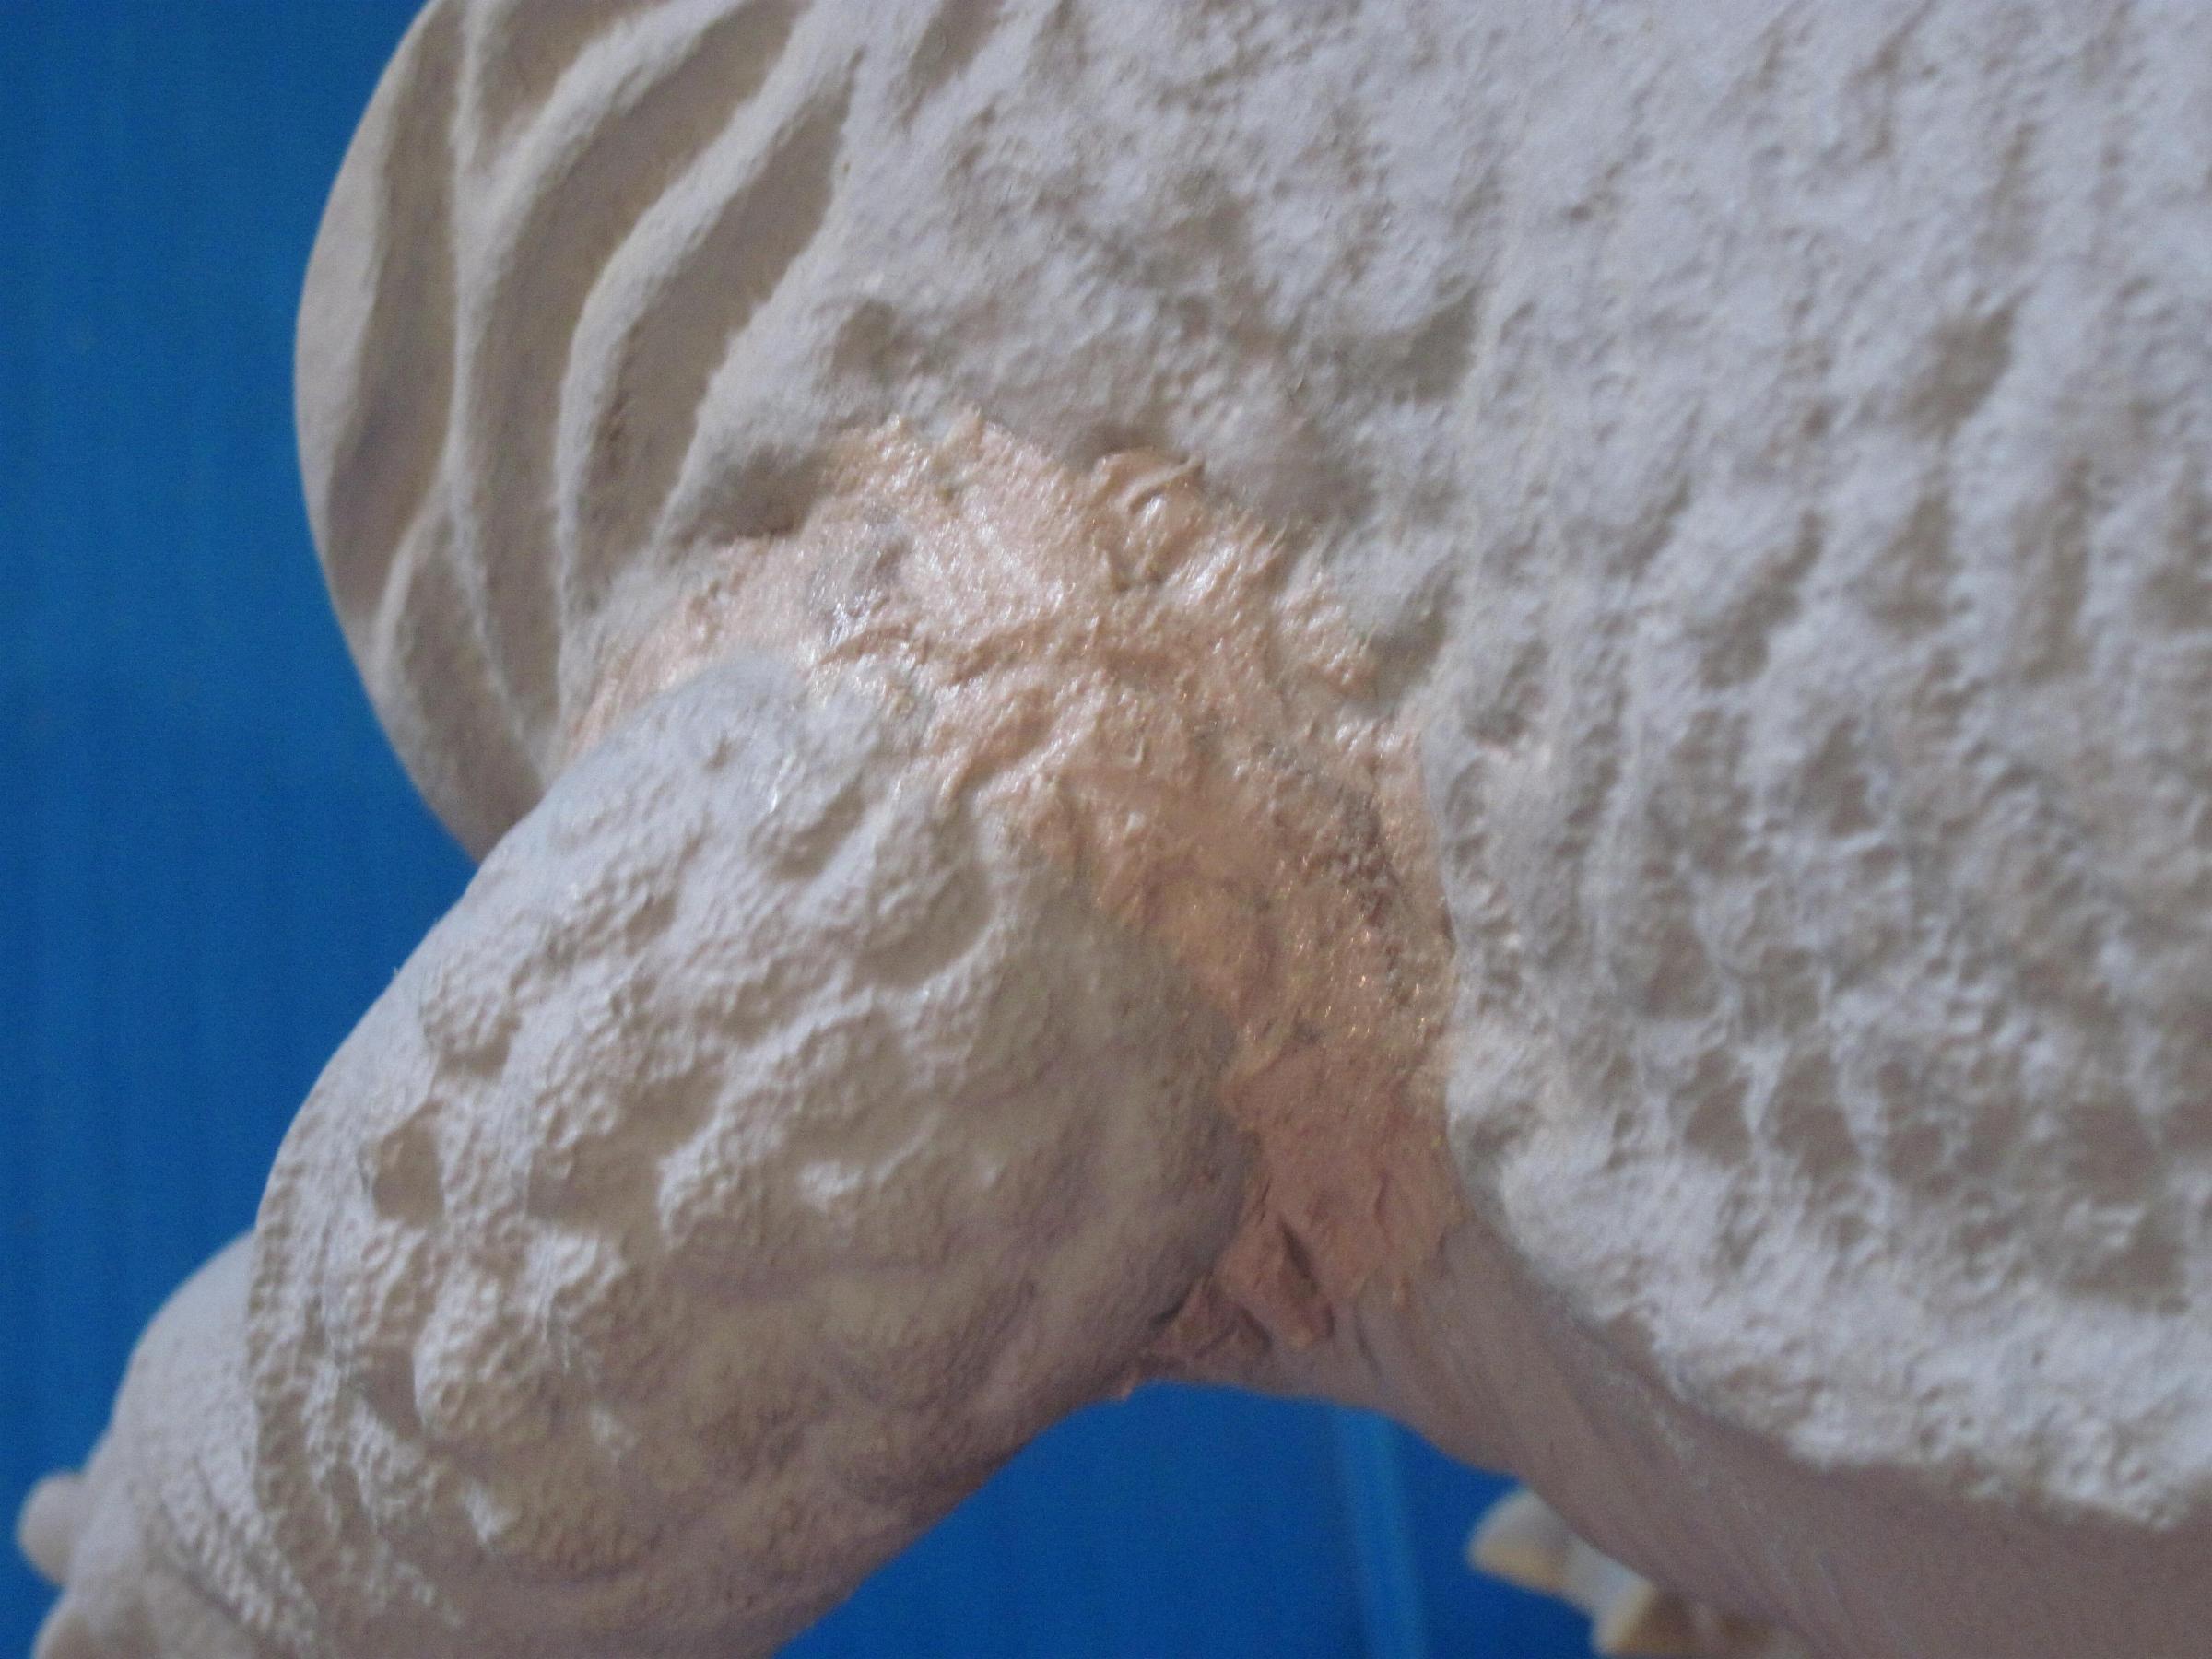
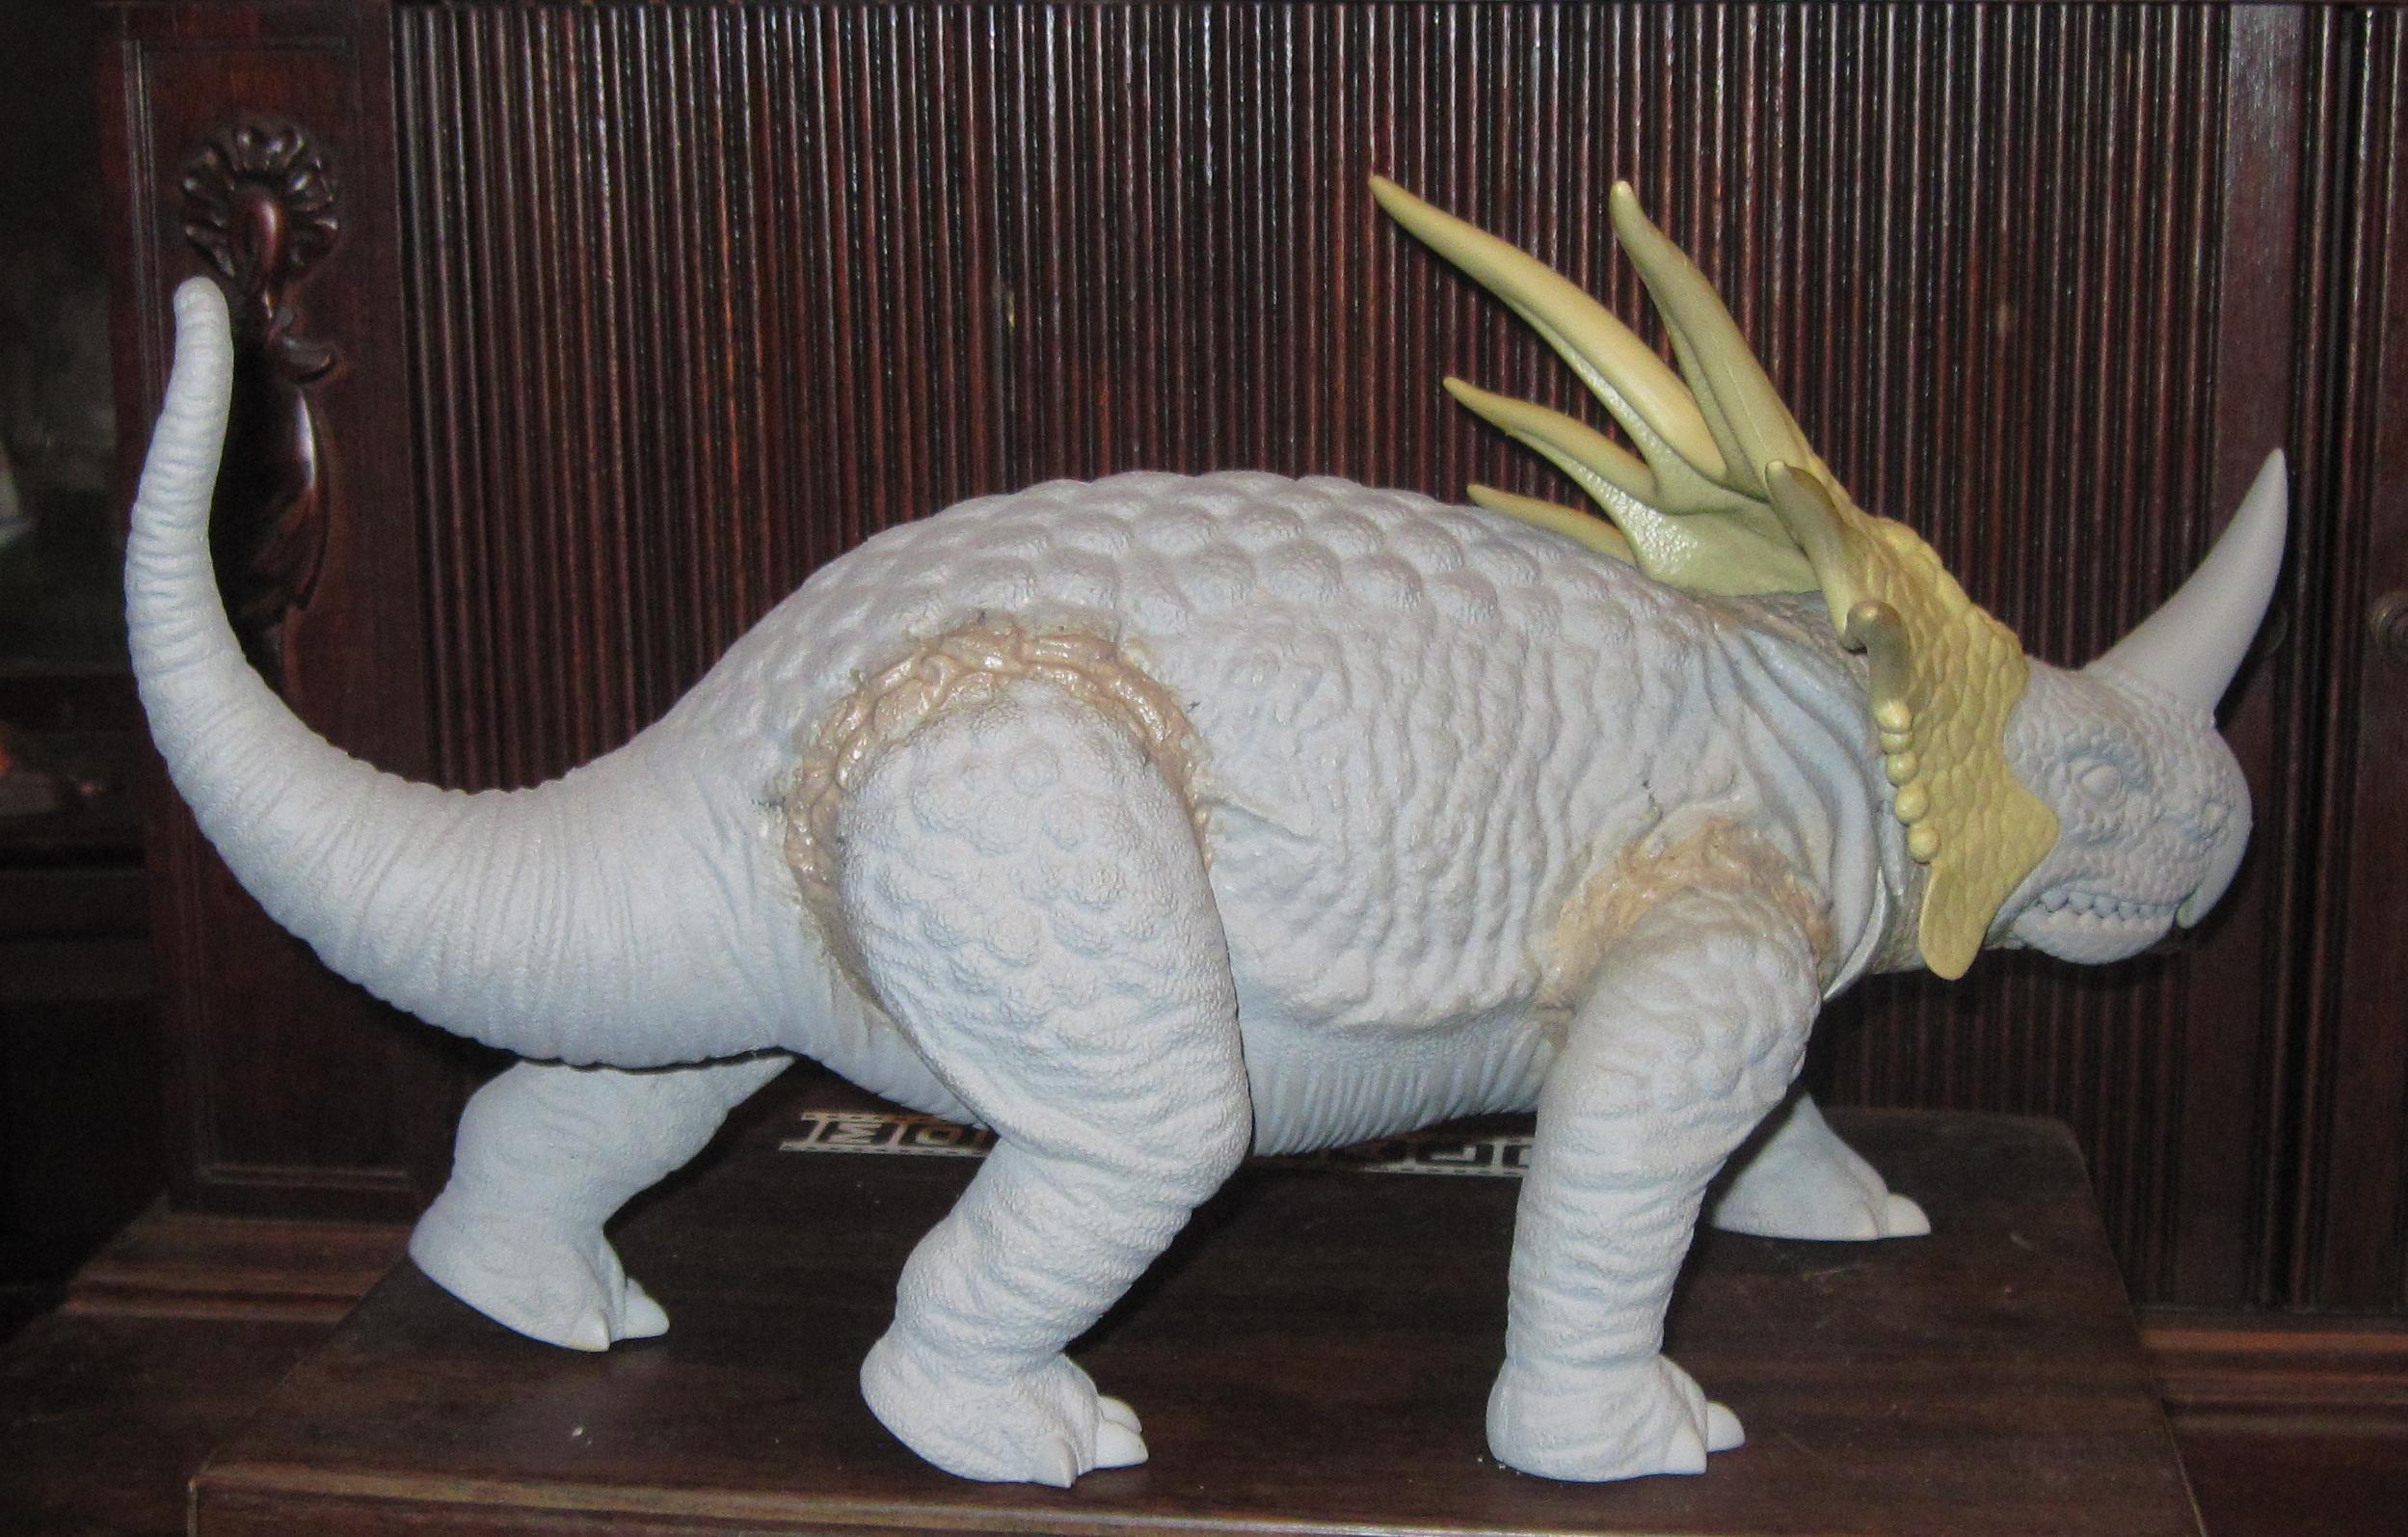
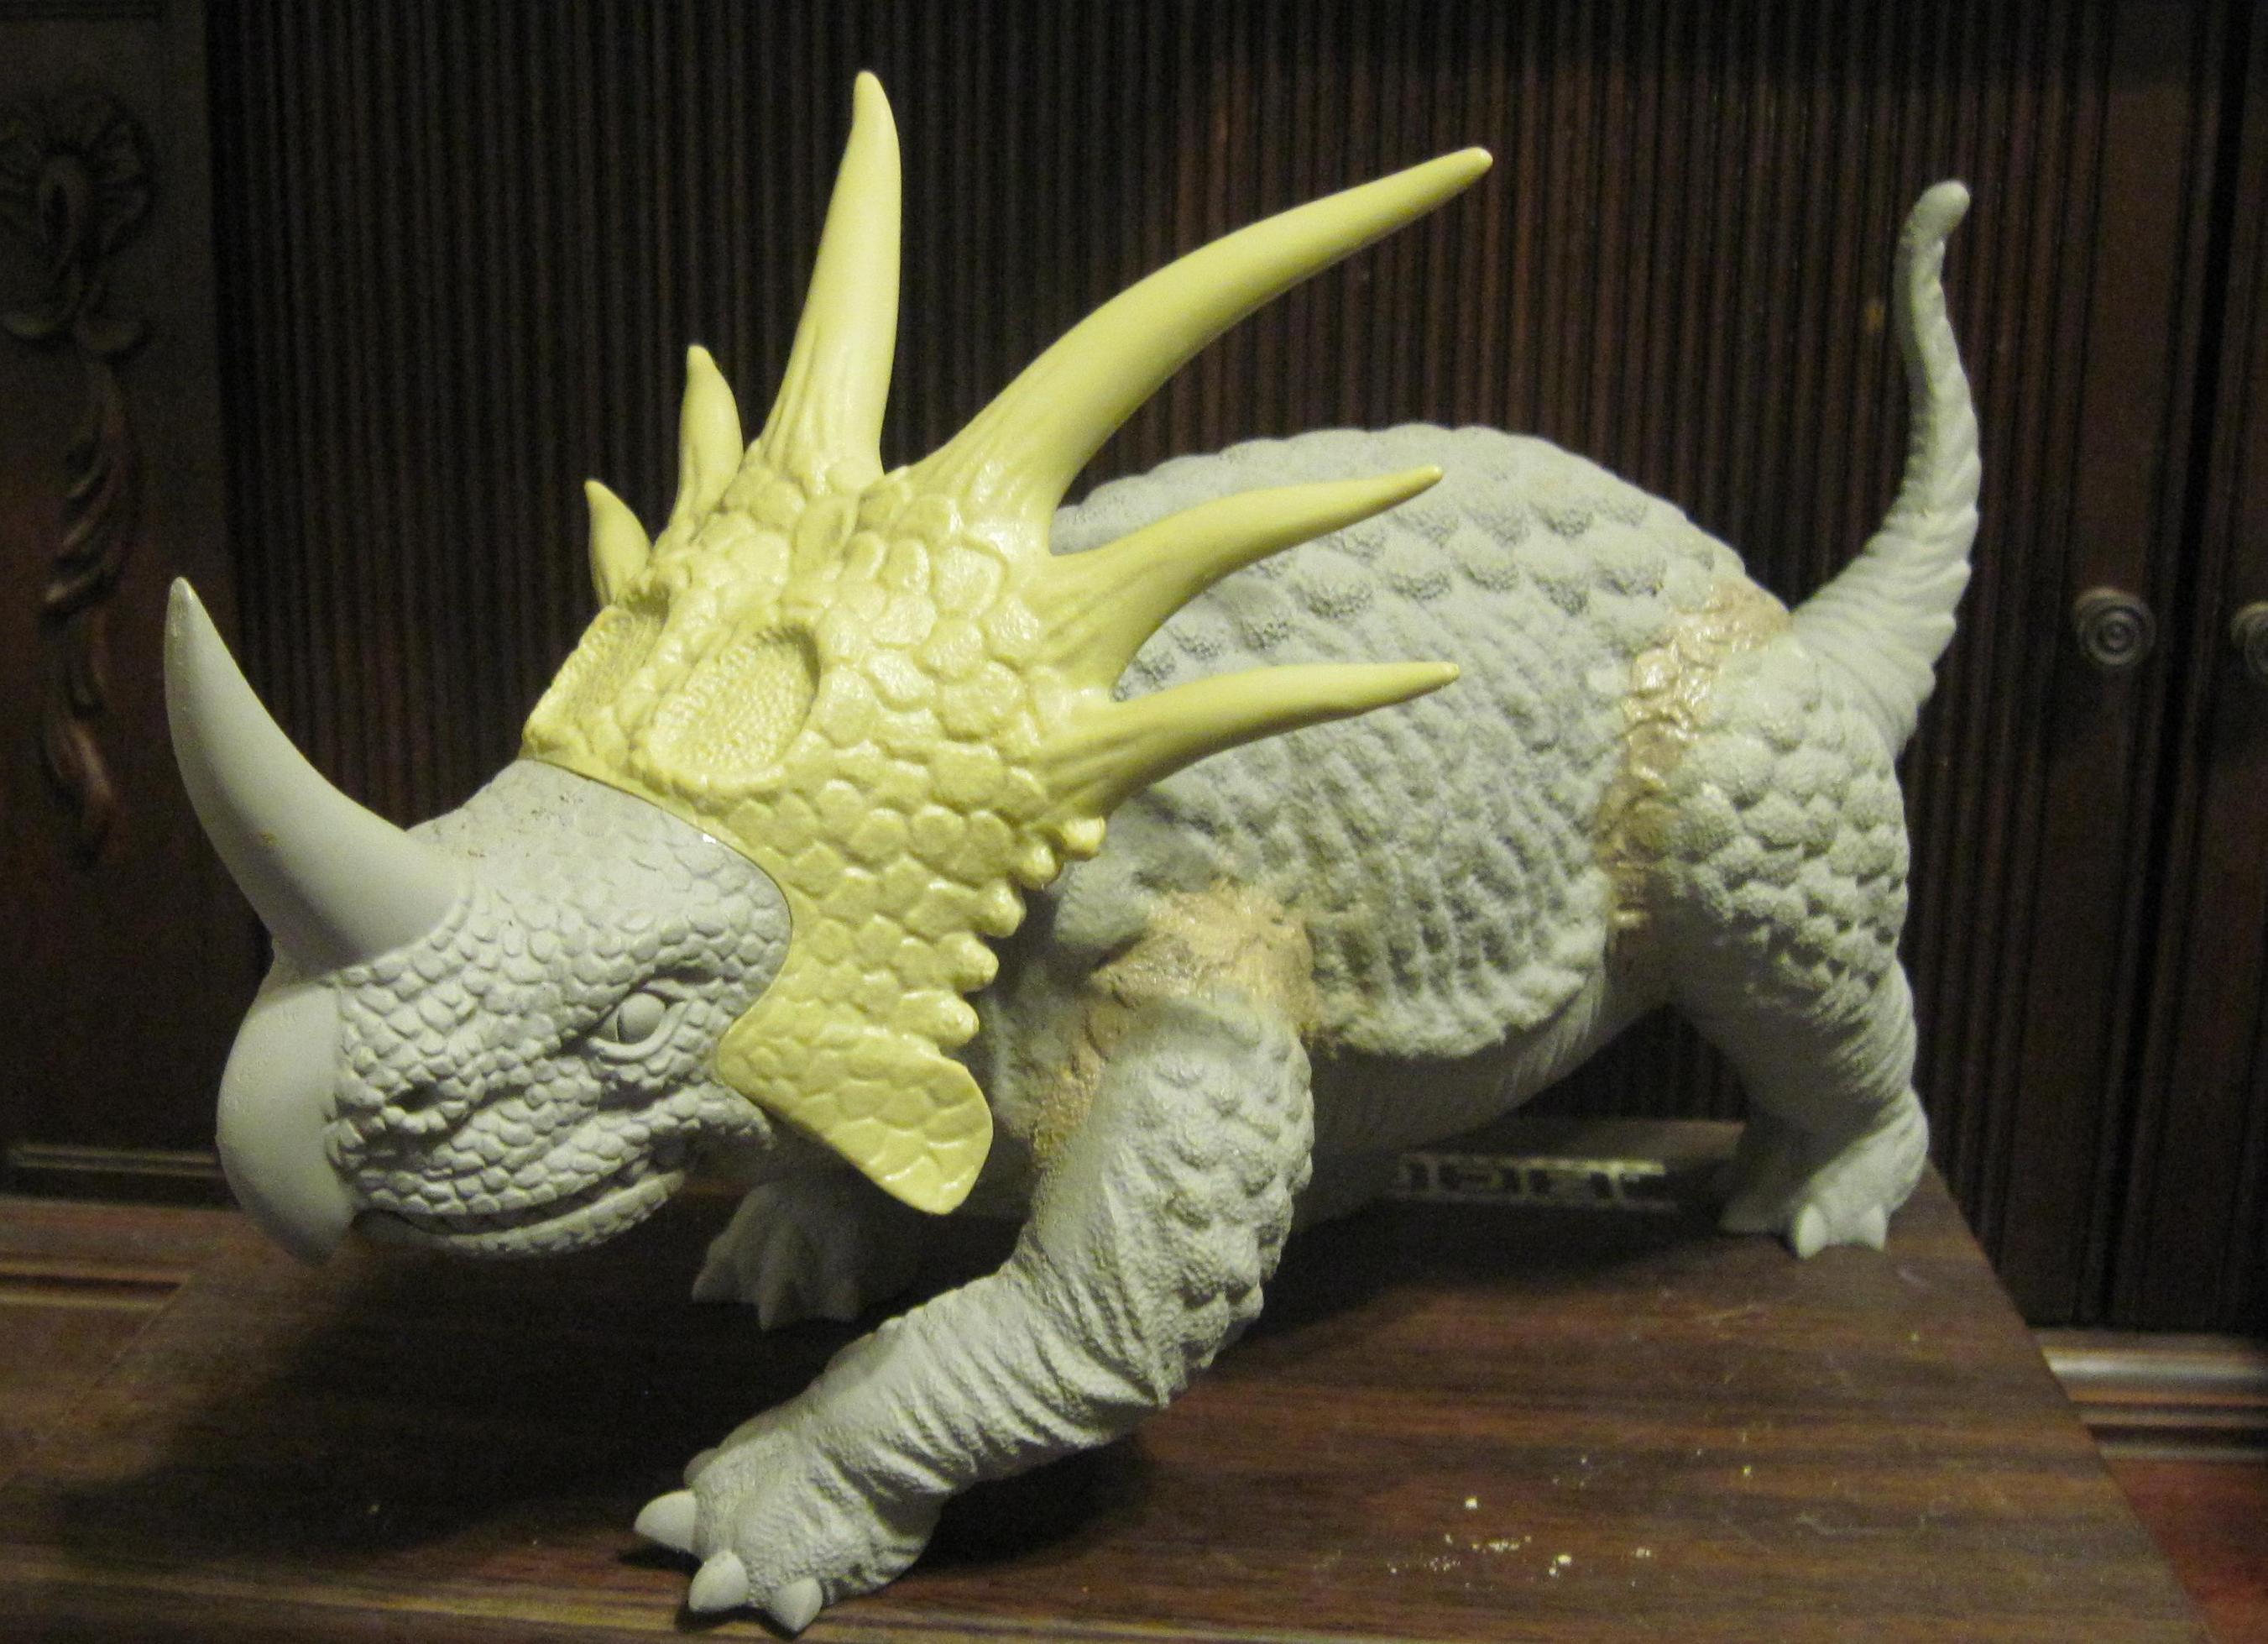
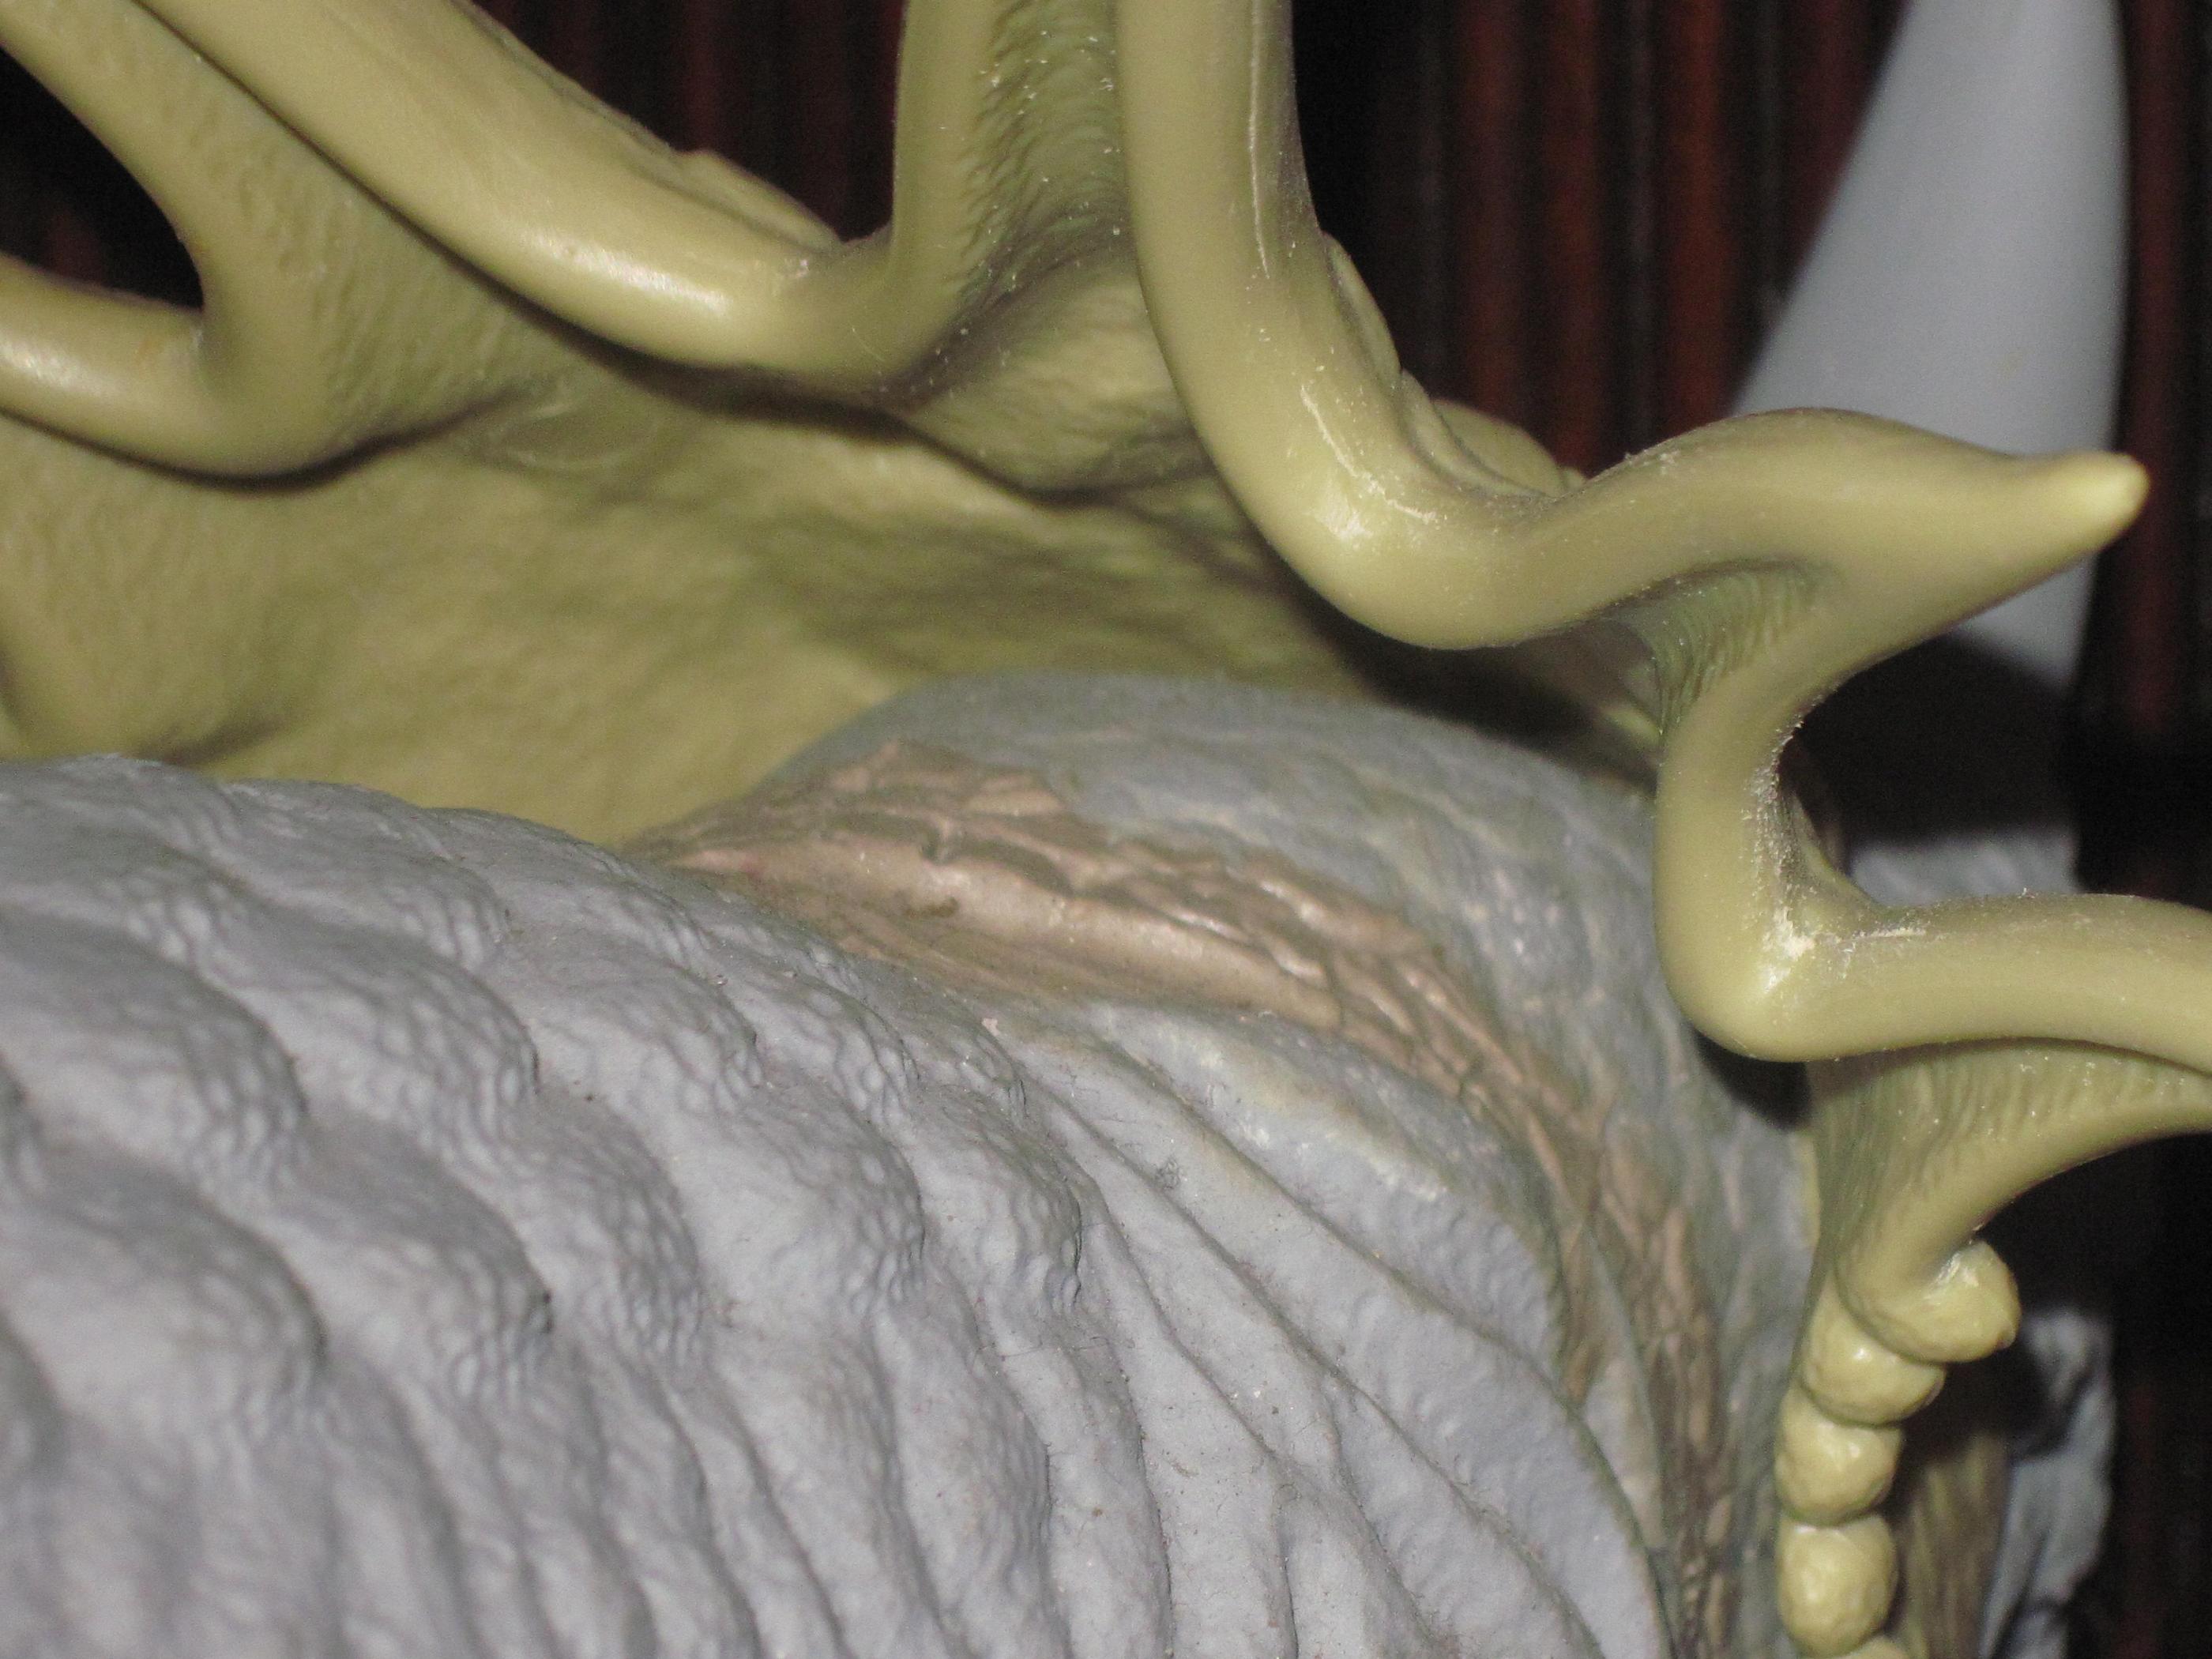
looked it over. One of the first areas of concern was the texture I added when I puttied the neck joint. As you can see in the pic above, the scales are just too sharp, and defined.  I fixed that. I went in with a small ball in my dremel, and made the valleys wider, which also rounded things off better. It looks more natural now, and even more uniform once it was reprimed.   Of course I had to address the seam where I added the frill. The method I have found so far that works the best, is to apply the putty. Smooth it out and contour it soe it lays naturally on the piece and you can't see a definite edge to it. Then I let it set up a bit, and go in with toothpicks and the neds of paintbrushes to form the scales by pressing the groves in. When I get that where I like it, I brush it with a little solvent to smooth it and take the hard edges away. Let it set up a little again, then texture it by dabbing with a stiff bristle brush  Then last, while I had that small ball in the dremel, I went back over some of the seams I did well over a year ago now. They looked great then. But now that the rest of the kit looks so much better, some areas didn't look so good anymore. So, I ground off a few high spots where 2 leg halves were joined. Then I followed the skin folds and such that were already there, and made them deeper, and more pronounced at the seams. To tie it all in, I thinned down some epoxy paste and stippled it over the areas. This gave me a nice matching texture to what was already there.new |
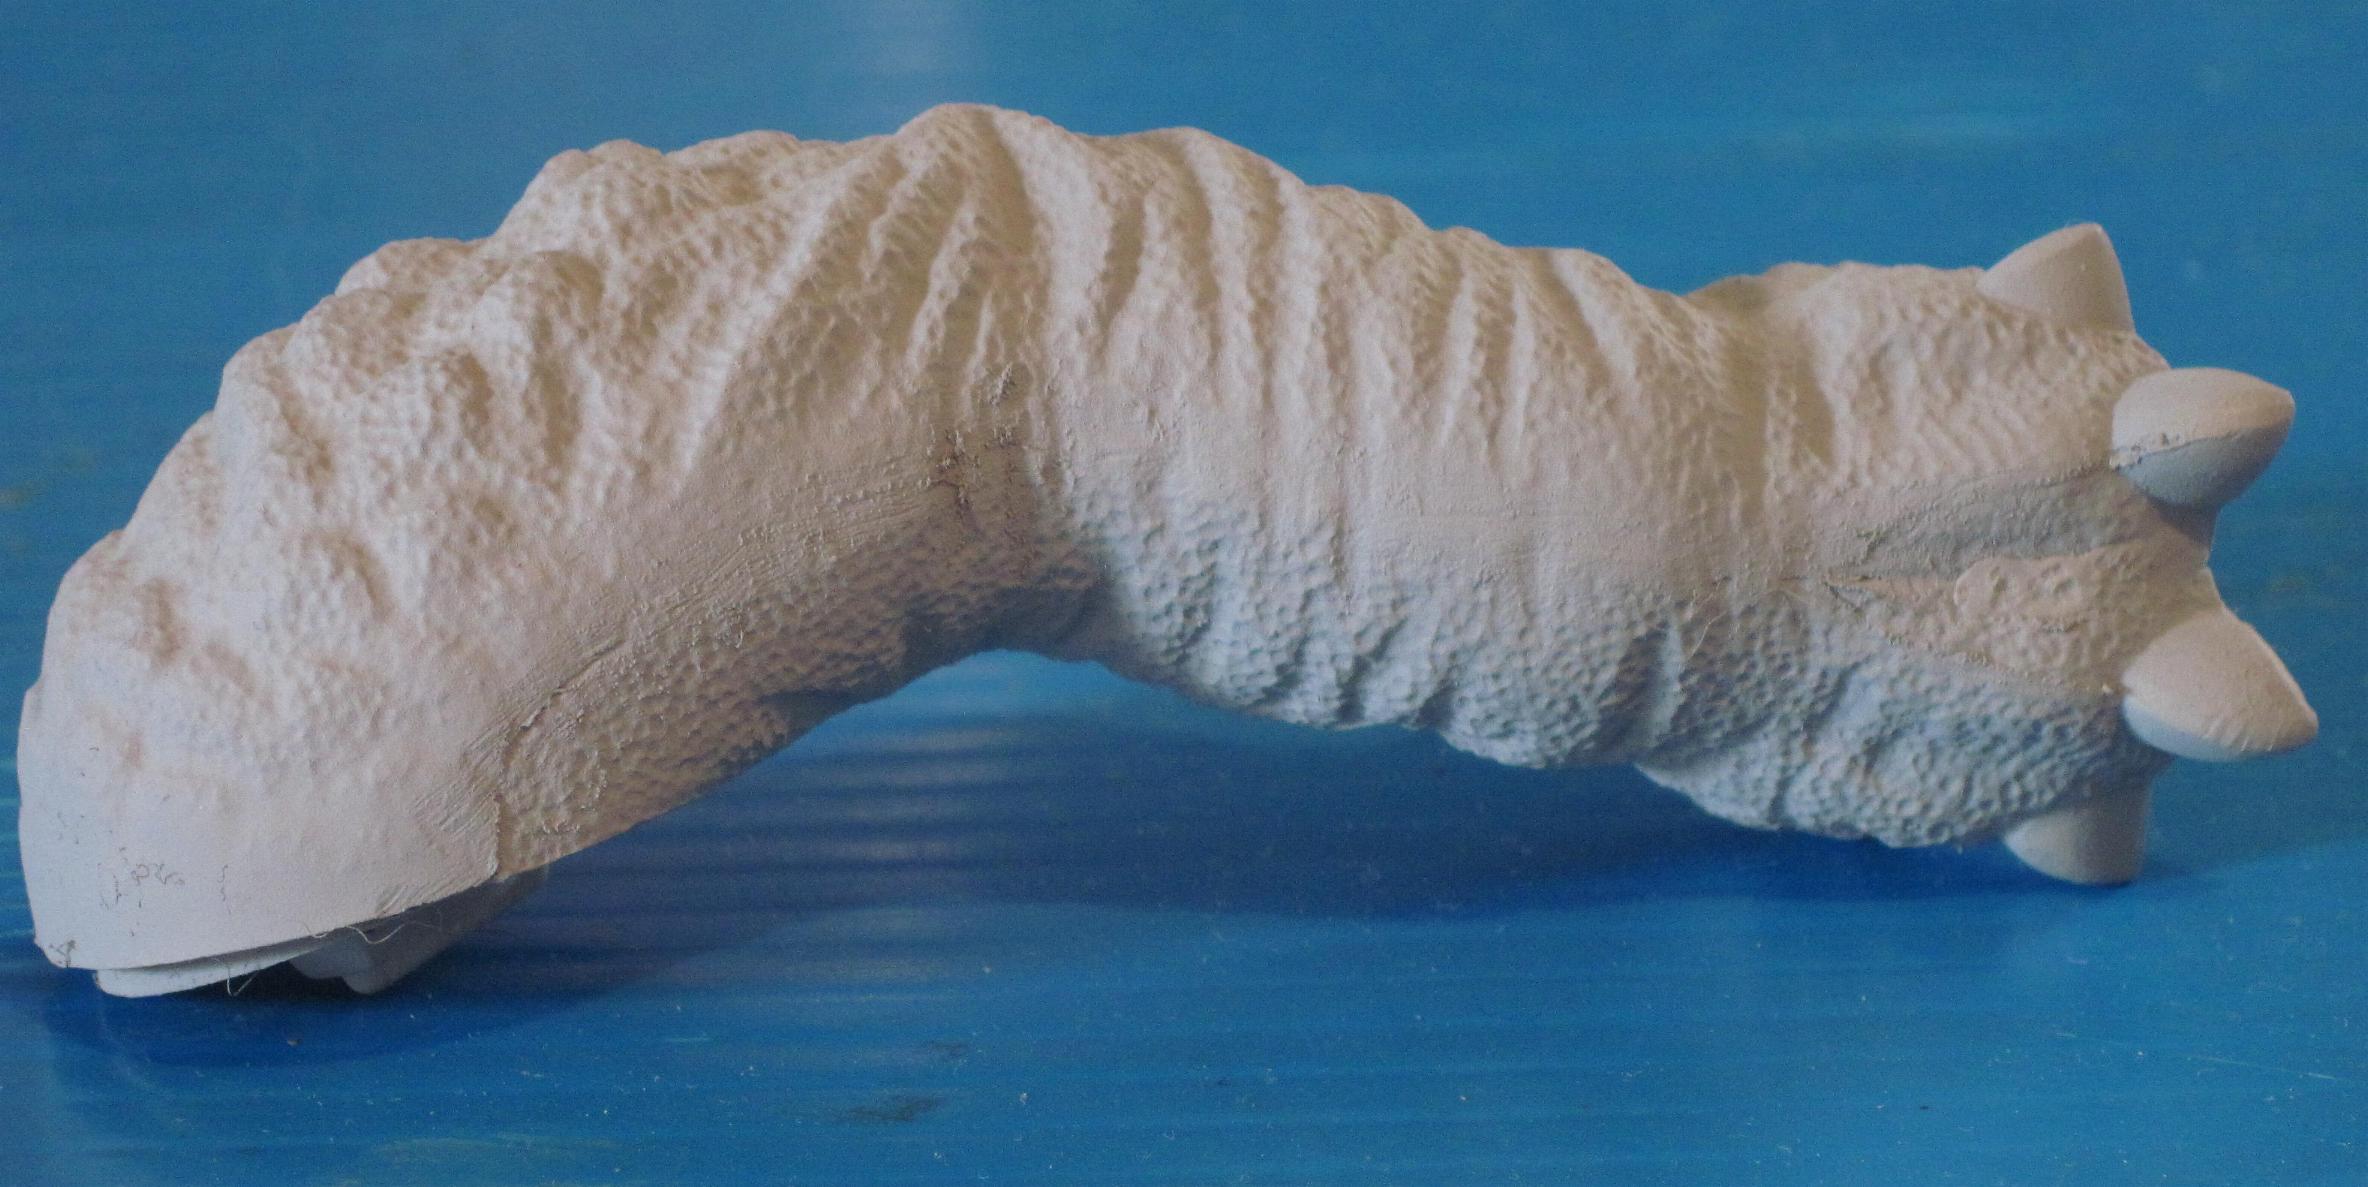
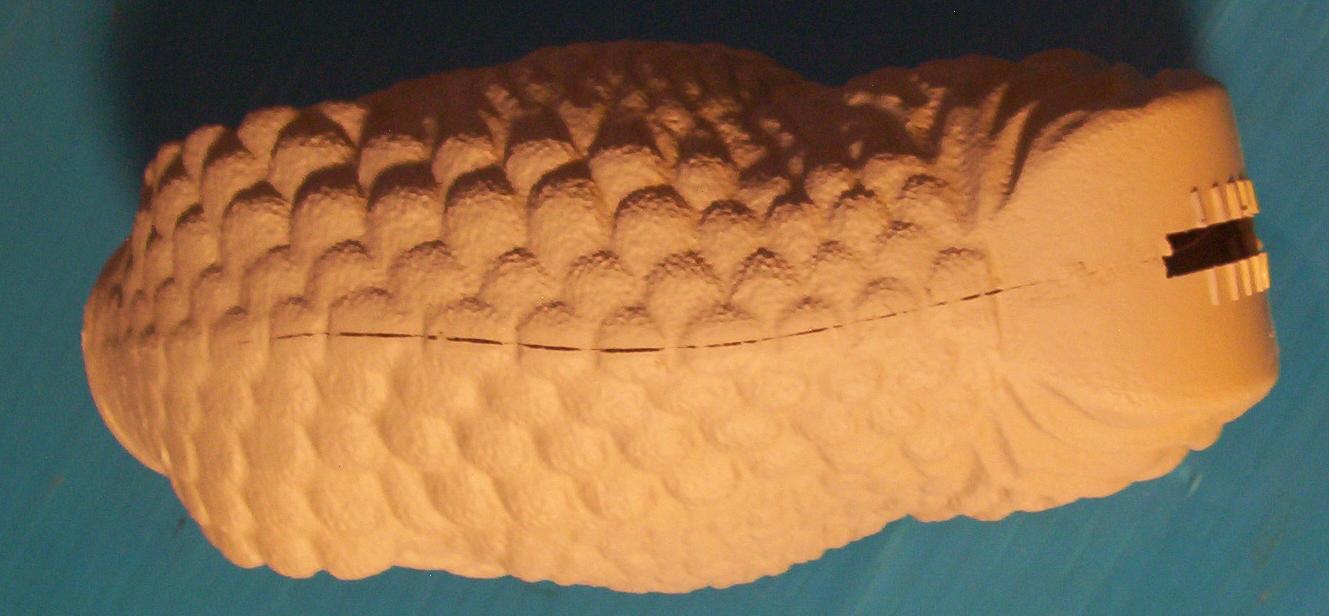
  Well, my part of the project is done now. The kit is build, and fully puttied and textured. And yes, just like on all my dino kits, I puttied and textured the bottom of the feet. Just doesn't feel done for me when that part is left out. |
Instead of taking a ton of pics and having to edit and upload them, and then add them to the page, I just shot a video of the kit. |
| BACK |