New from BIR
Sculpted by Chris
Elizardo
See the OOB
Review. Or the Finished
Kit
|
UPDATED 06/22/09
|
Just got this kit and am having a
blast with it.
Will split this page into 2 sections. One for the figure
work, and the other for work on the backdrop. |
| The
Figure 
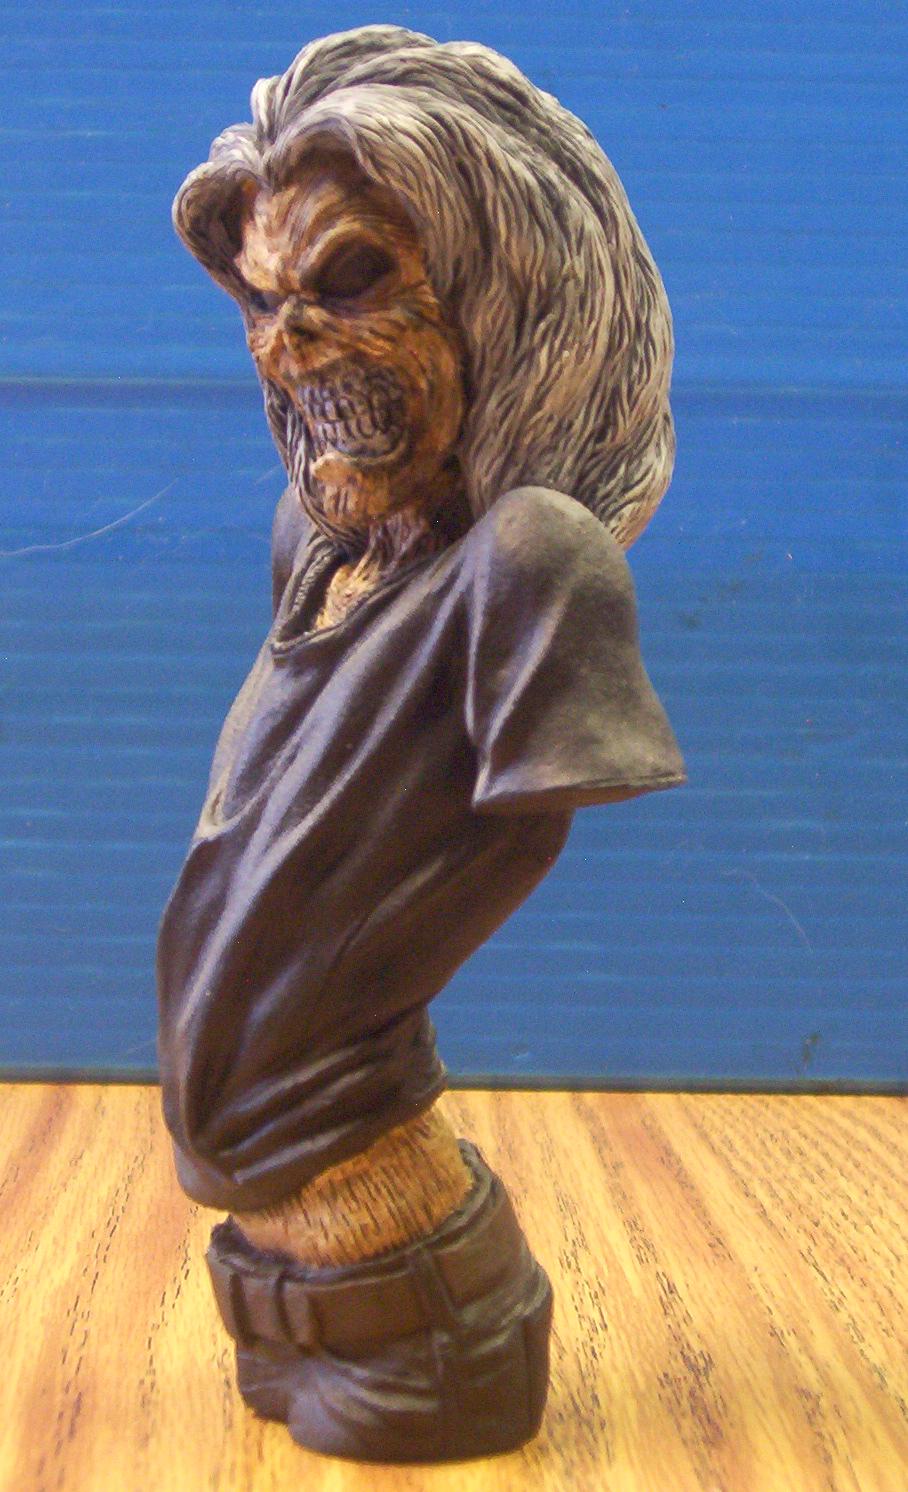
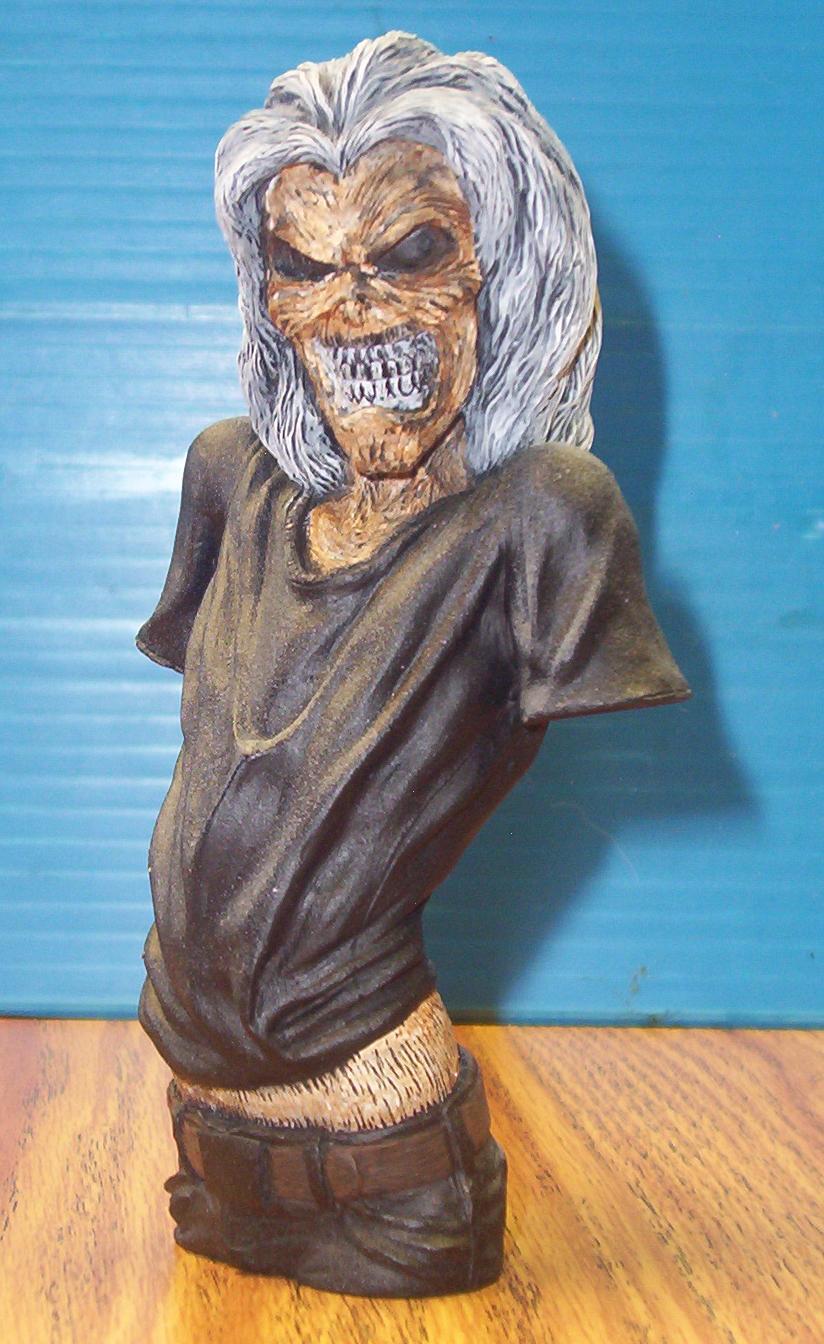
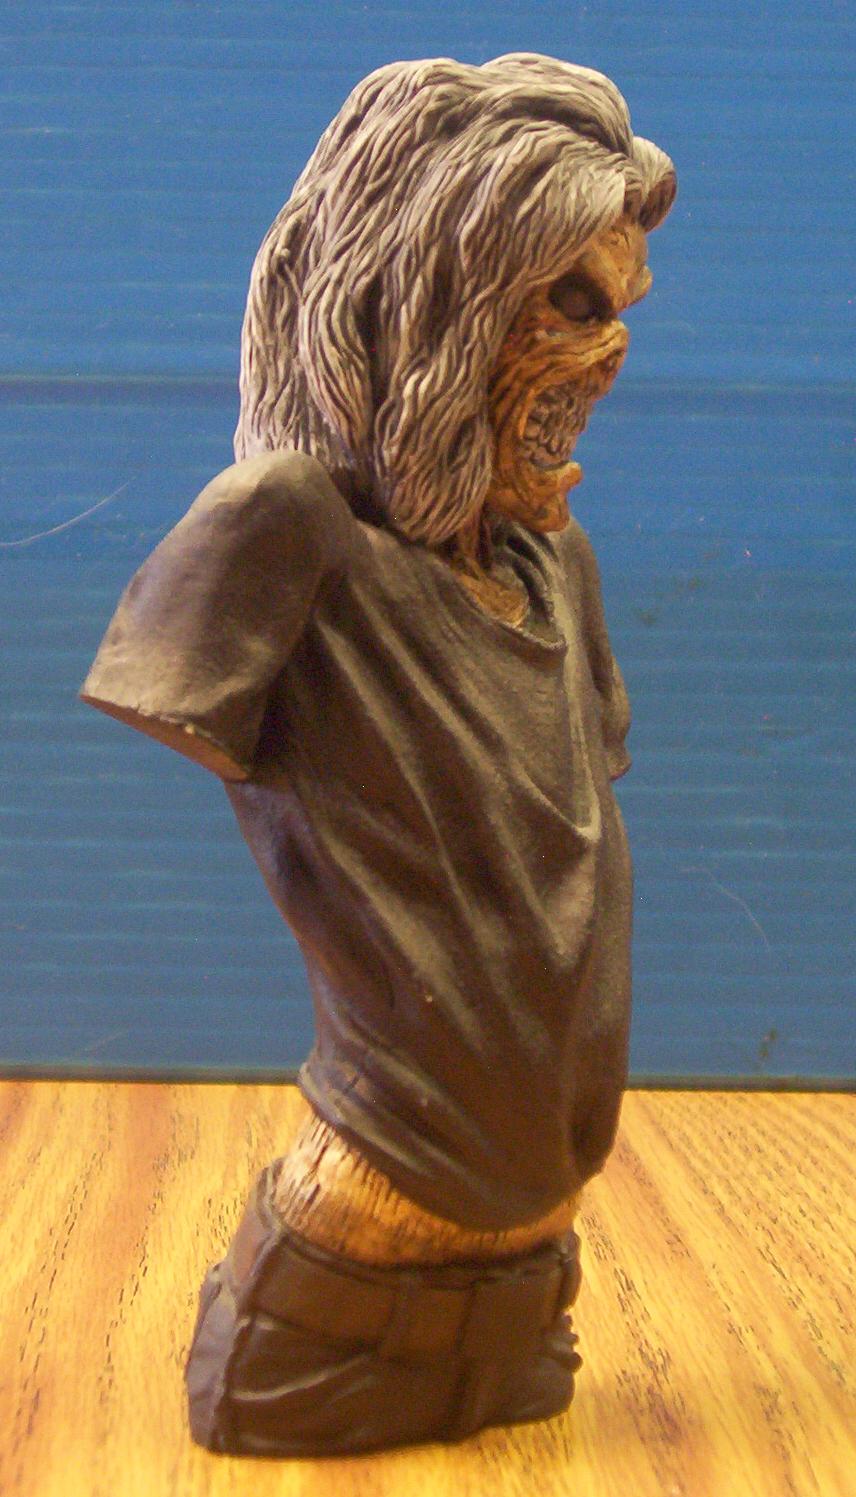
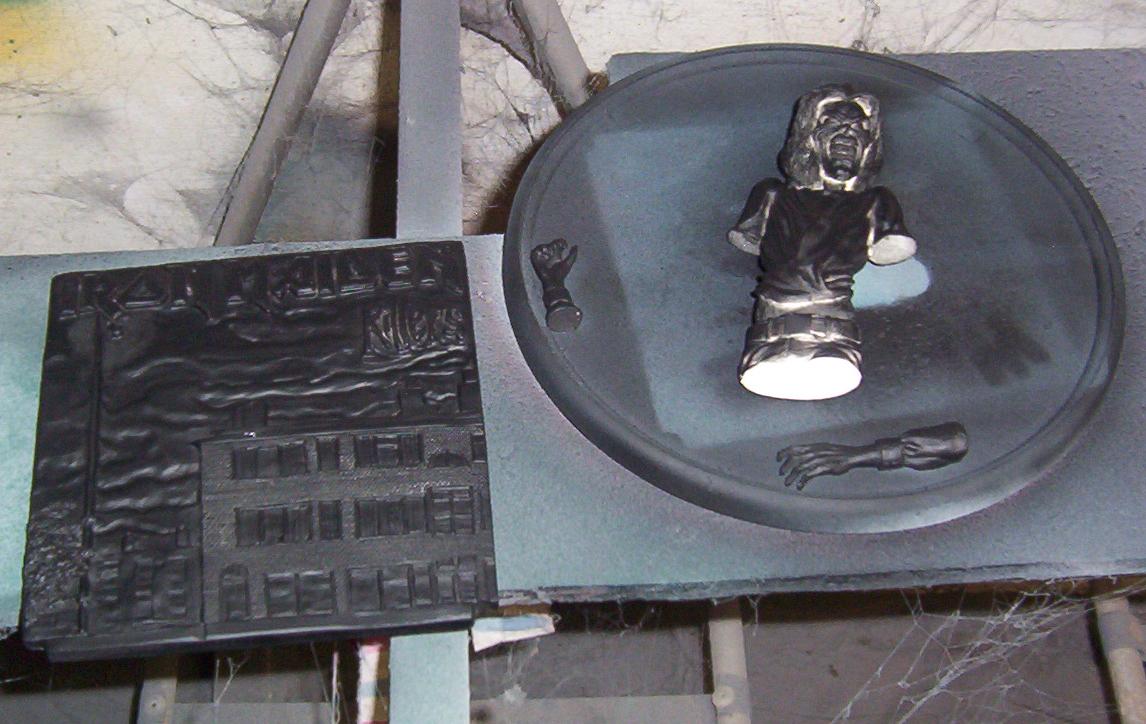
A little black primer on most of the parts.
Still working
on the arms.
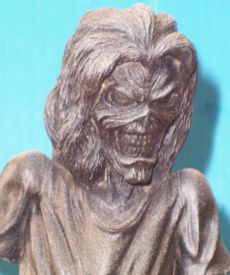 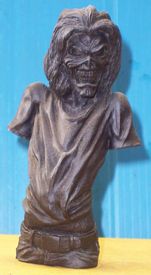
A little gray primer from the direction of the light.
That way, when I get that far, I can go over it with some
yellow watercolors so it will look like the yello light
hitting the kit.
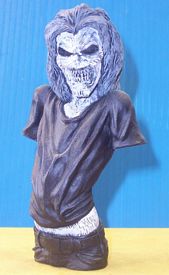
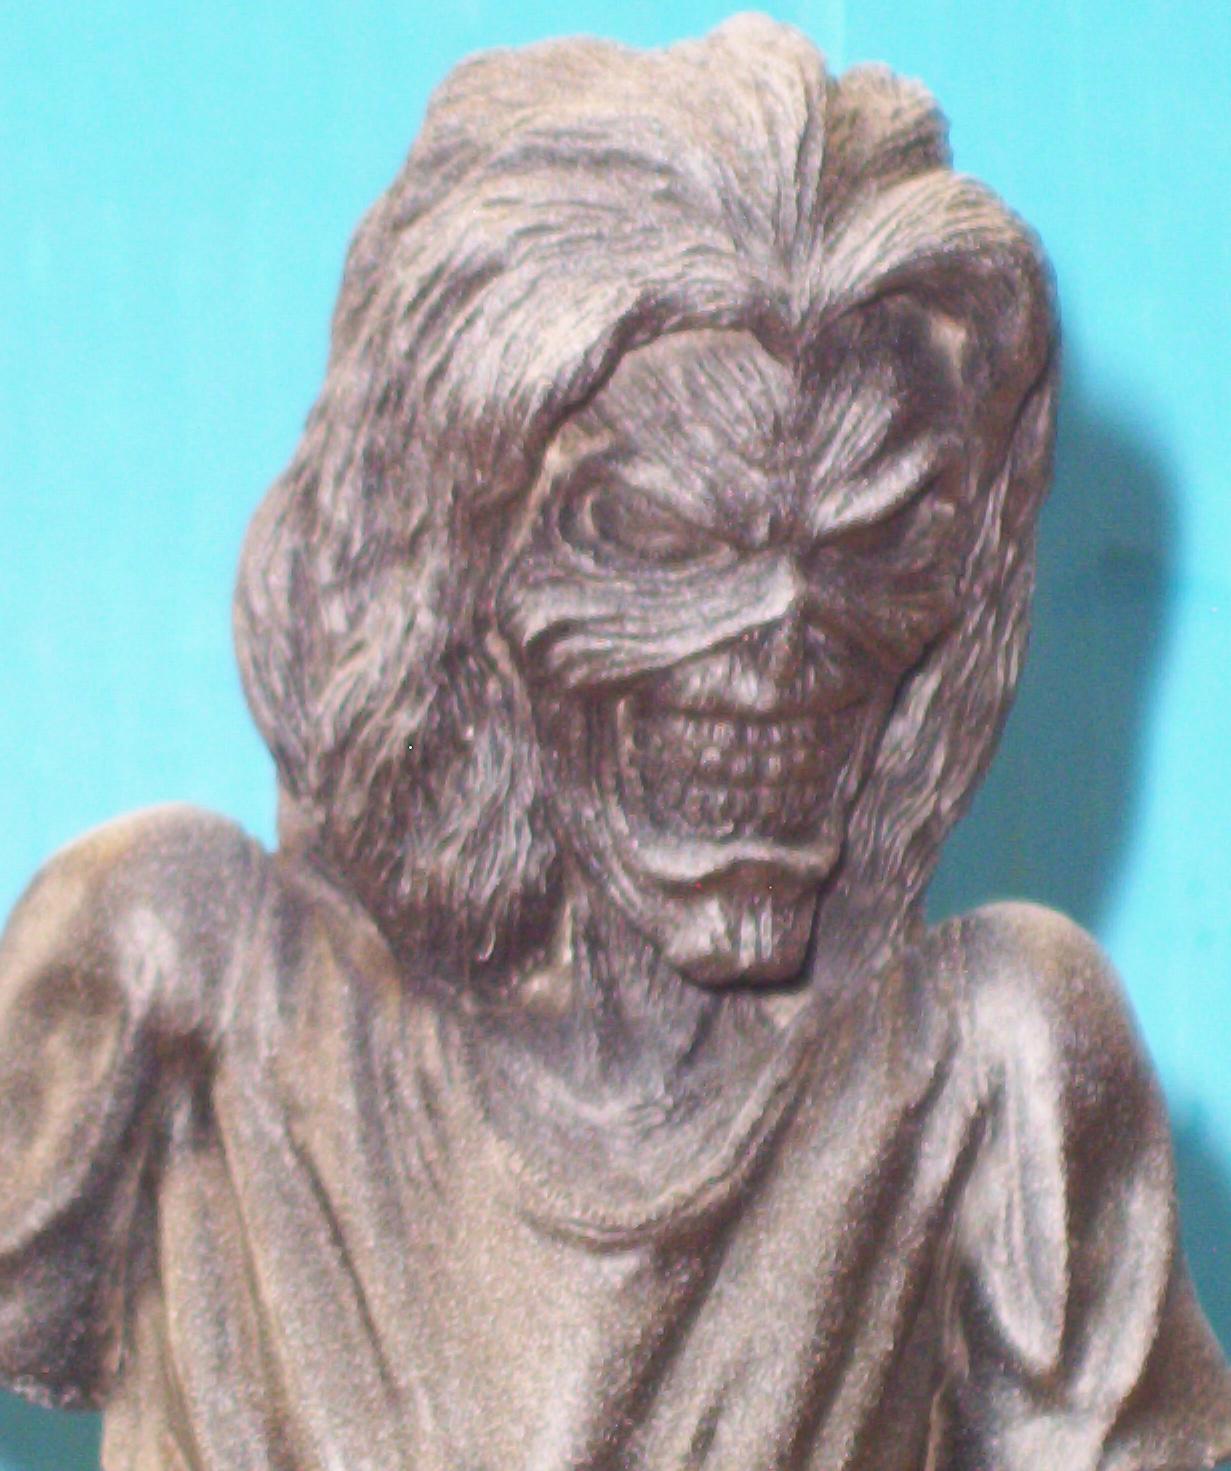
Went over the flesh with some white soe I have something
to work up from.
Hit the hair with some gray drybrushing.
|
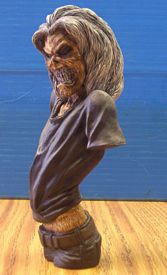 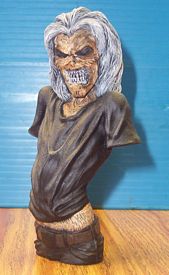 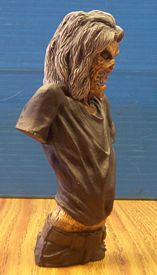
A little more progress.
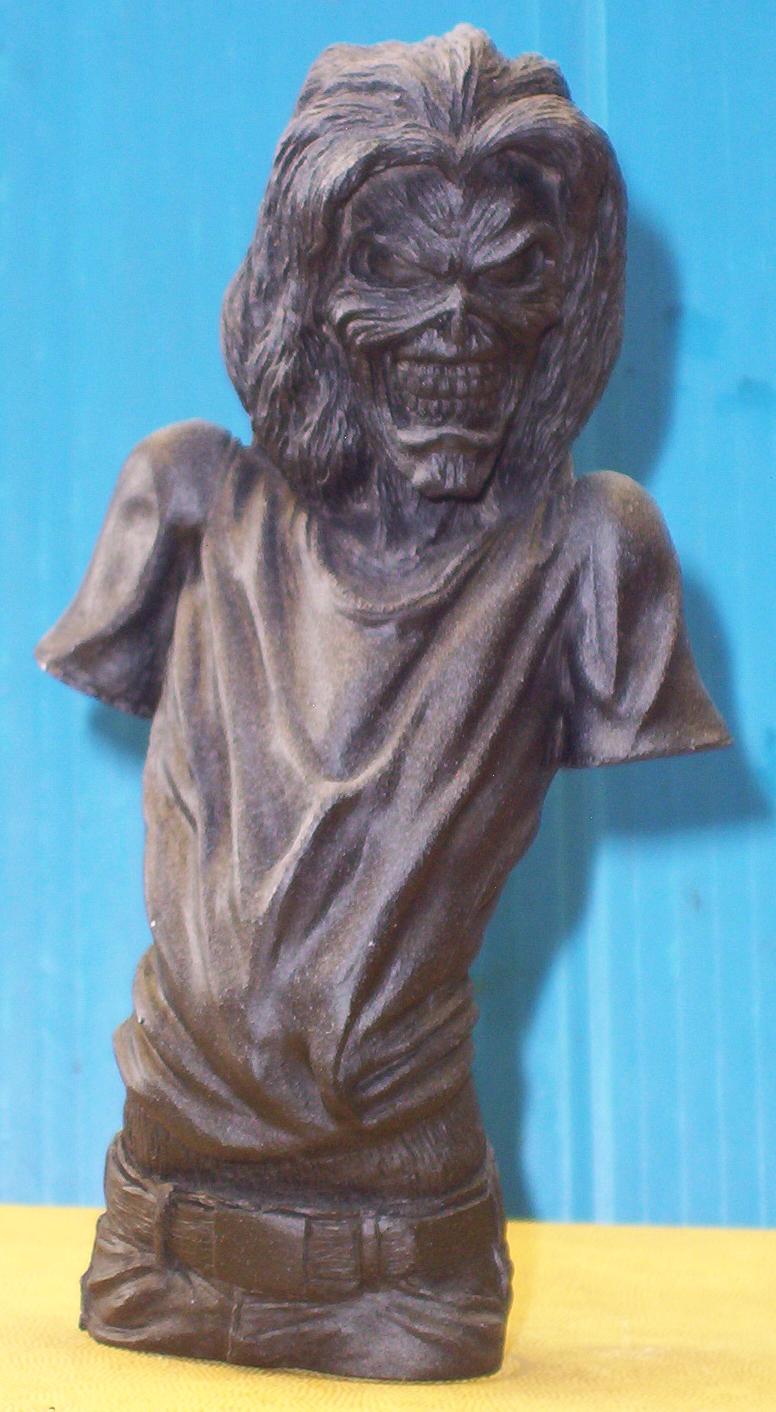
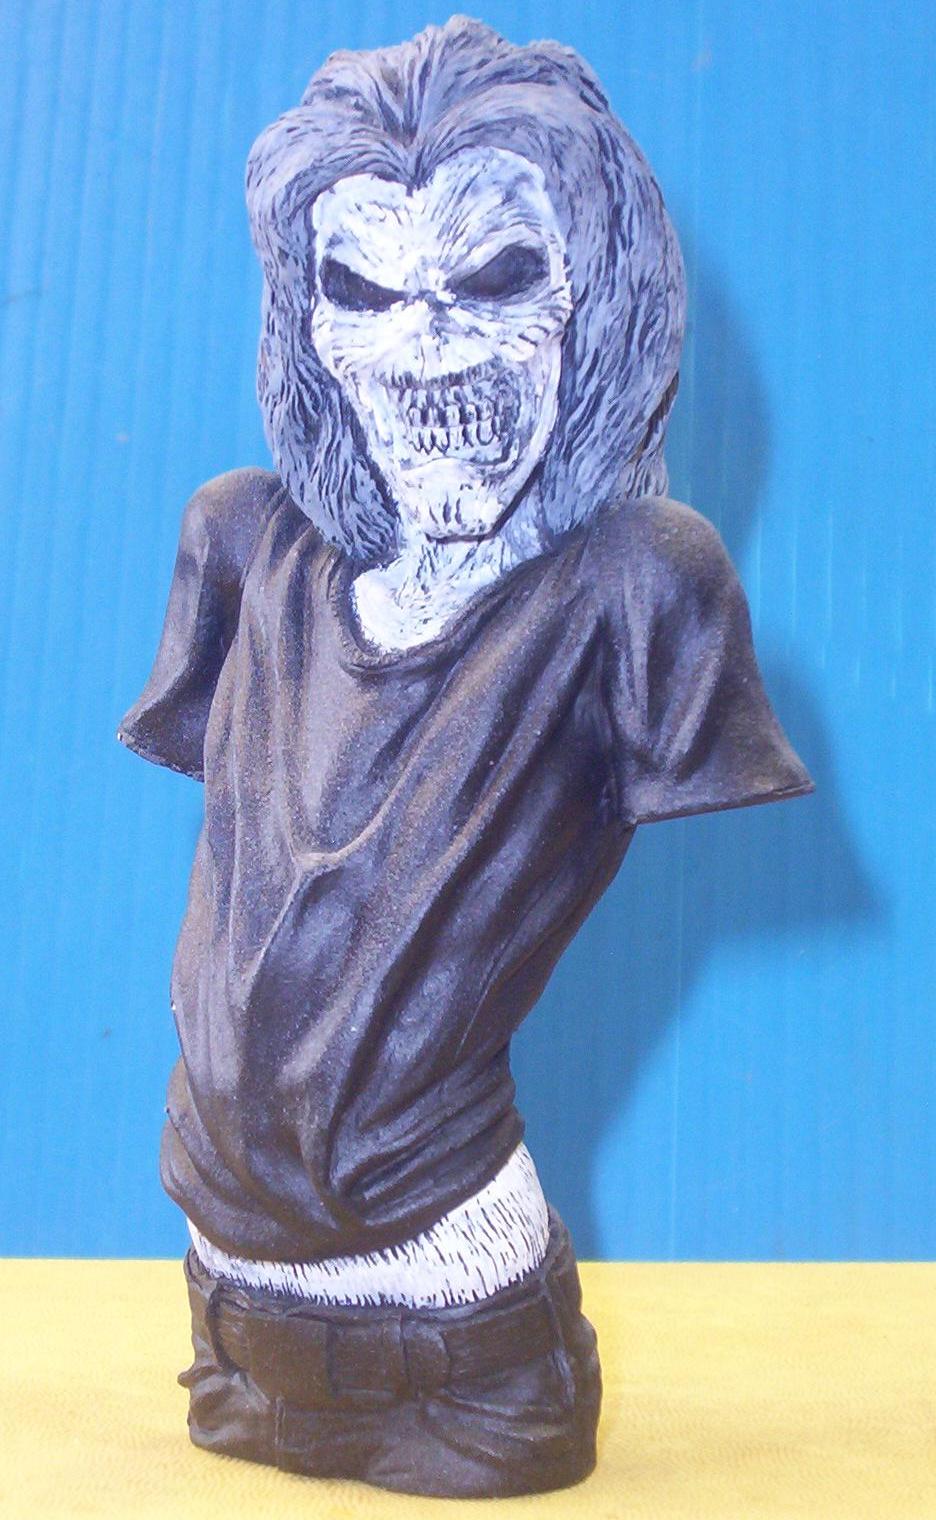
Went over the flesh with a little brown to give it some
base. Highlighted the hair with white.
And painted the belt brown.
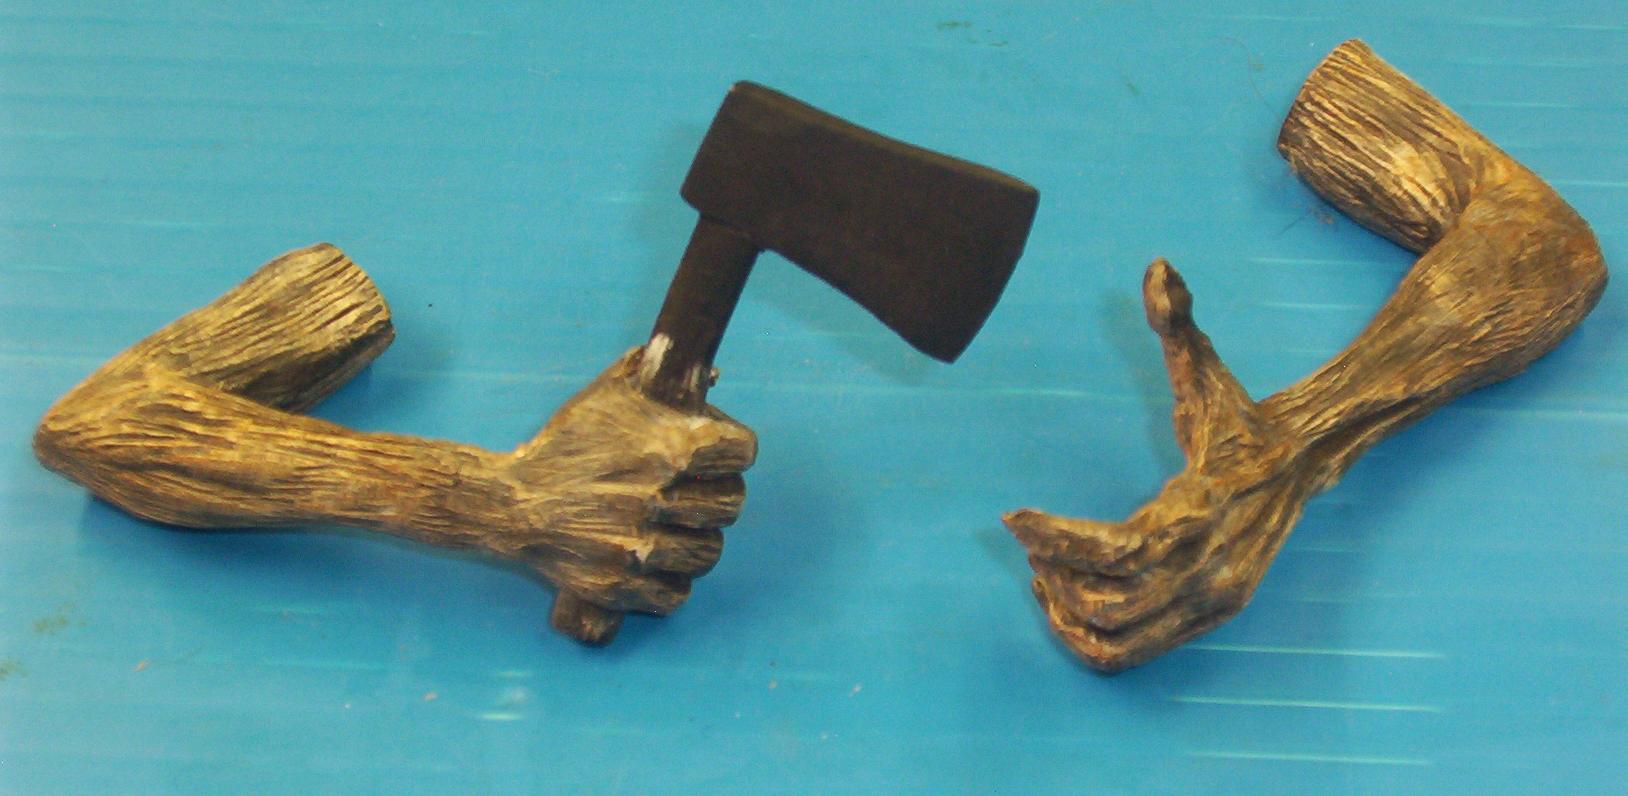
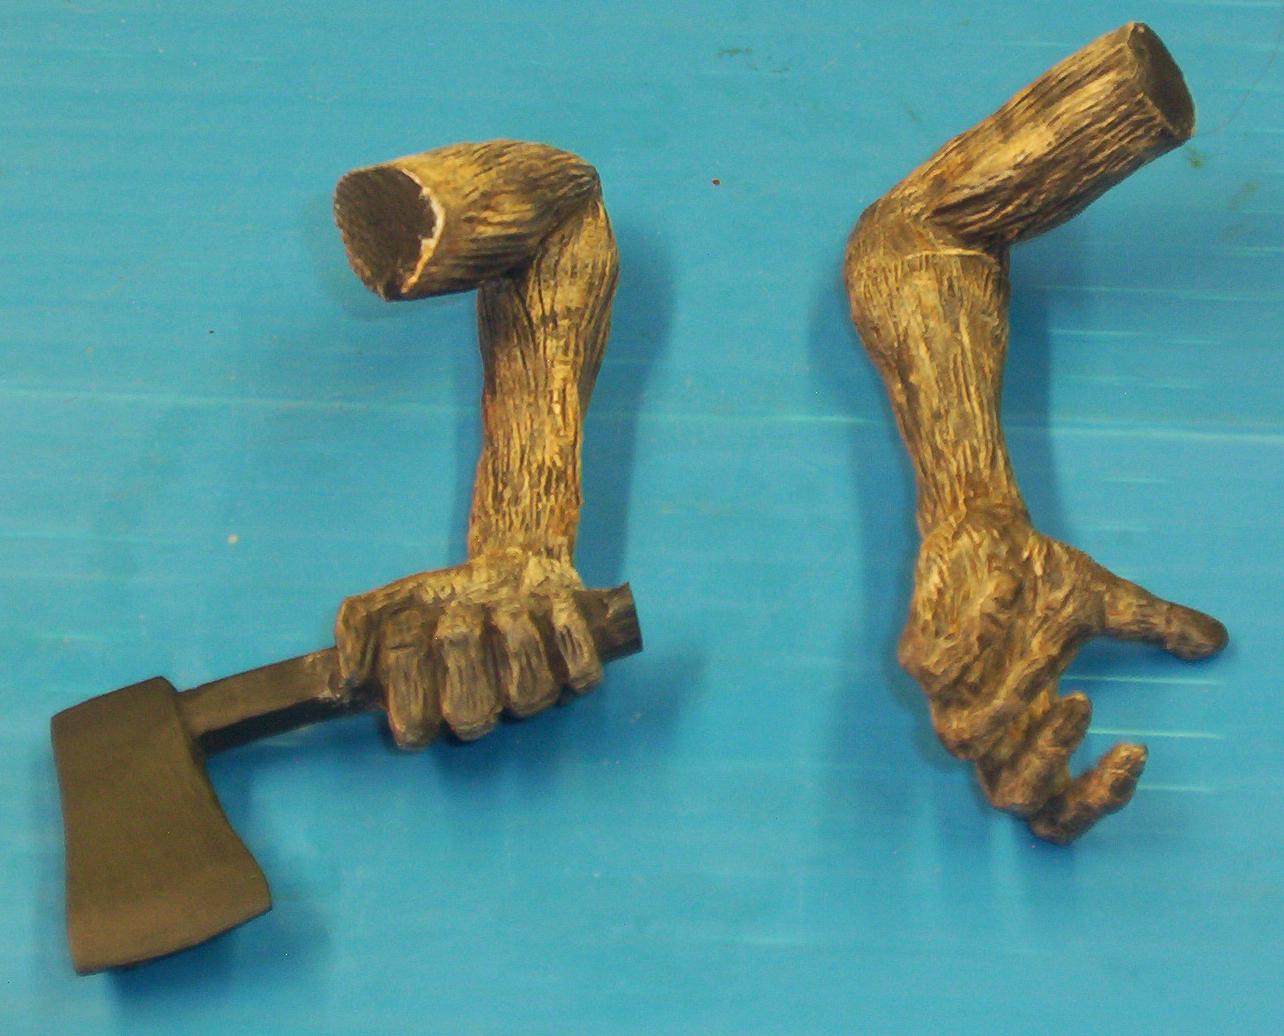
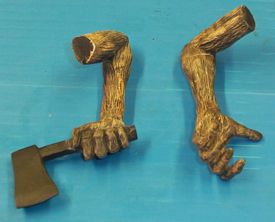
The arms were primerd in black, then drybrushed white,
then some brown, same as the body.
|
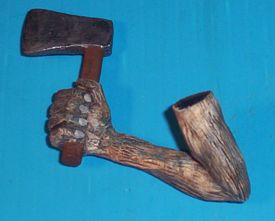
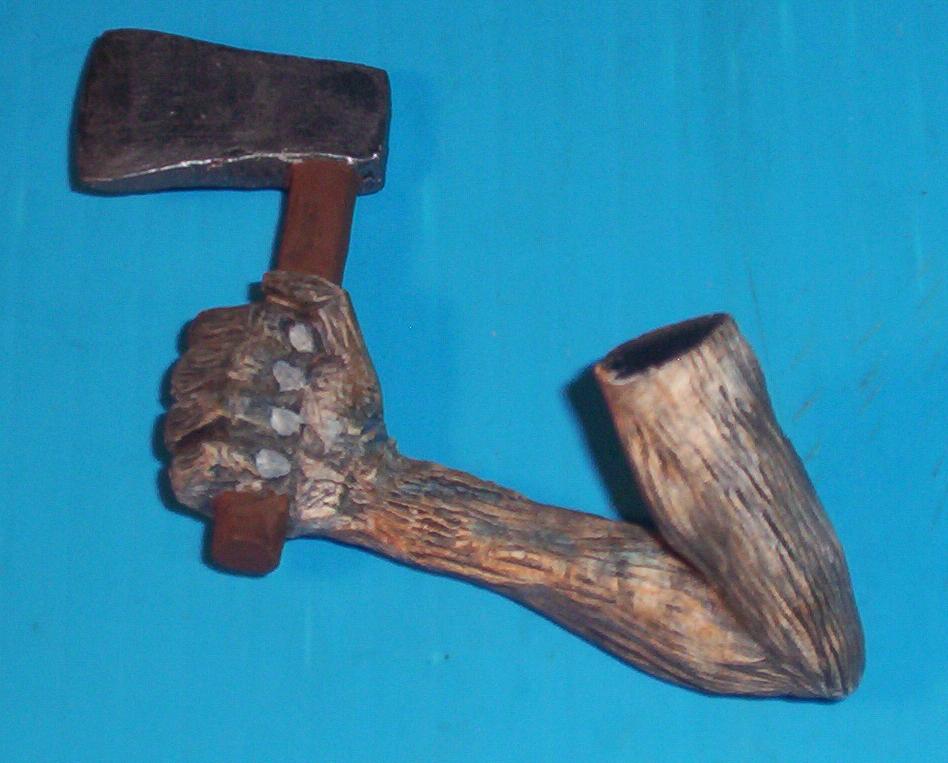
Some more detail work on the hands.
Some white watercolors on the nails (which also got a
little gloss after final flat sealer).
Some dark brown for the axe handle.
And some gunmetal for the axe head.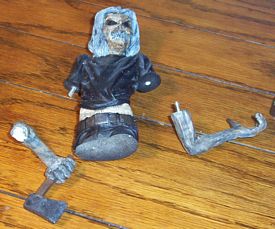
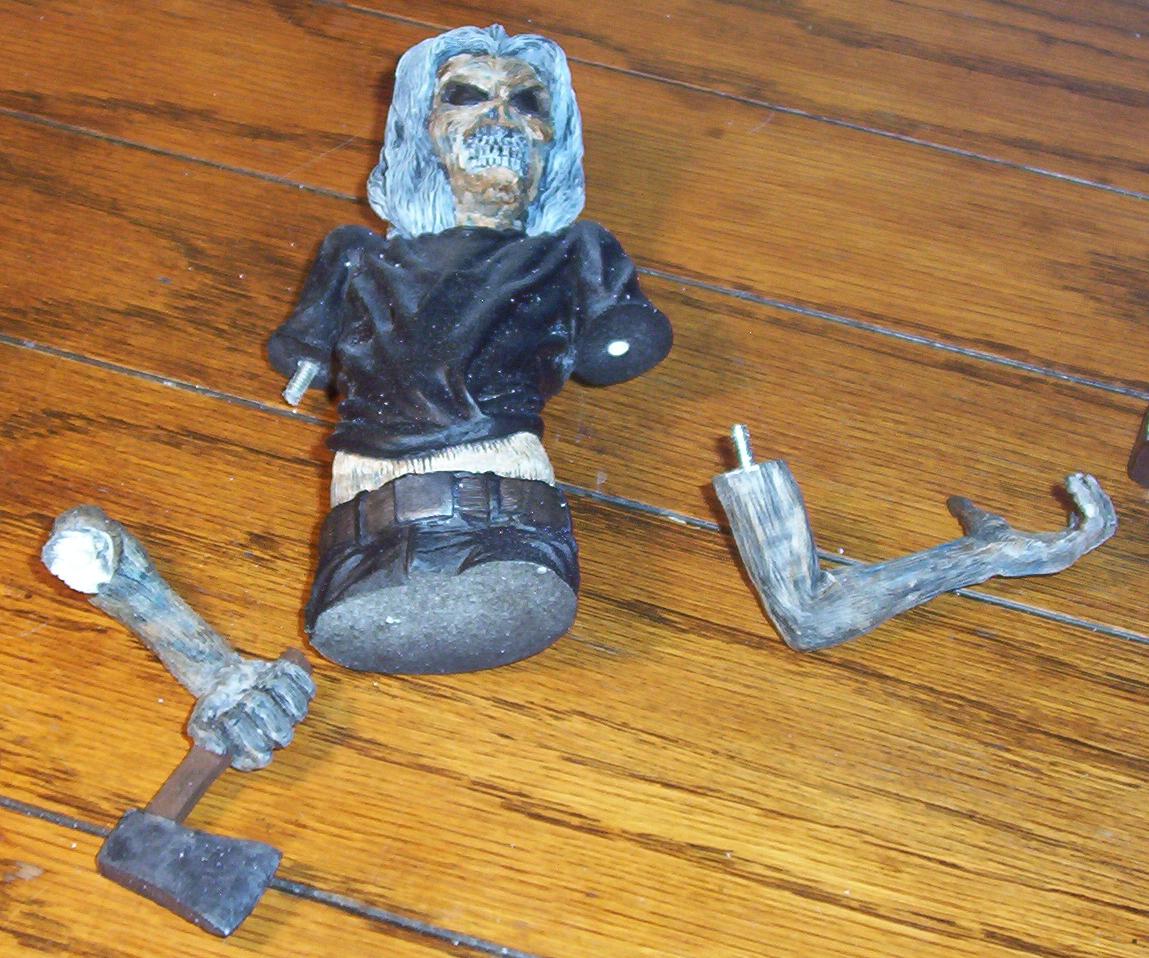
Some drilling and pinning to get ready for final
assembly.
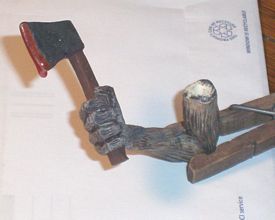
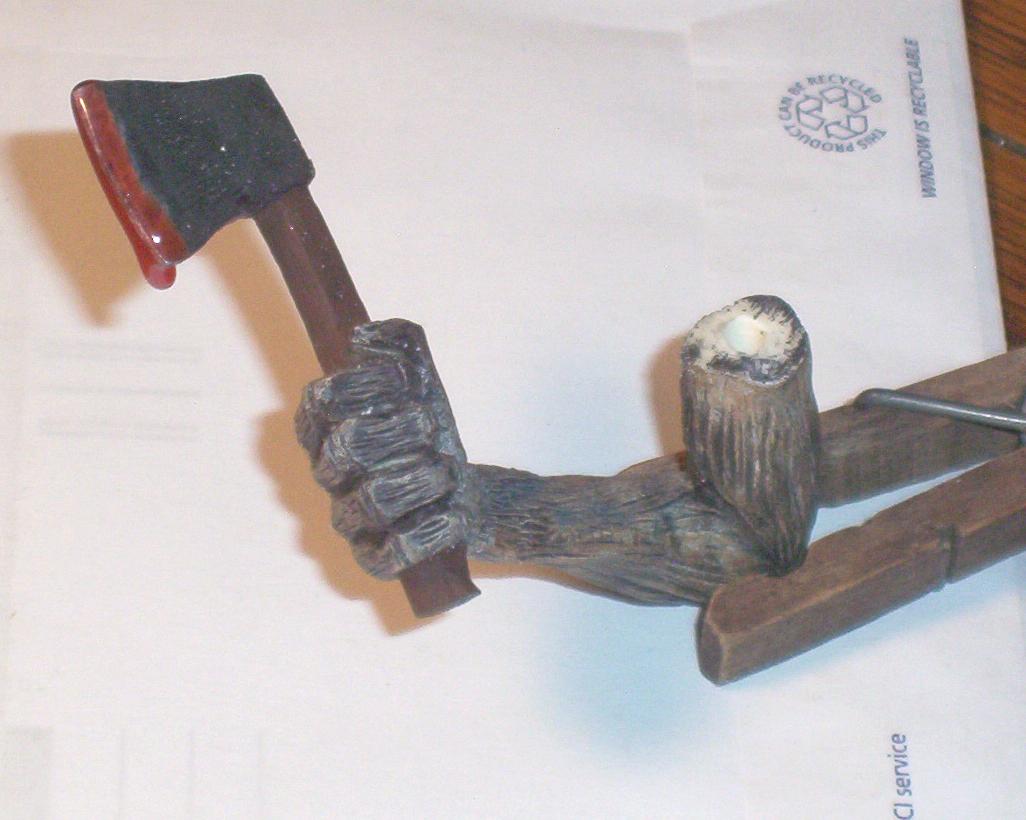
Final touch for this arm.
After using a litttle silver for the edge of the axe
blade, I decided it needed one more thing.
Just painting blood wouldn't be good enough.
So I mixed some watercolor red into some 5 minute epoxy
glue, then dipped the edge of the blade in it.
Then I held it in an upright position with a clothspin
while the glue set up, with a nice drip hanging from it.
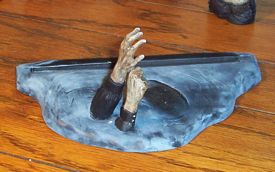
I haven't really touched on the base and other items yet.
The base was primerd black, then I just smudged it up
with some light gray.
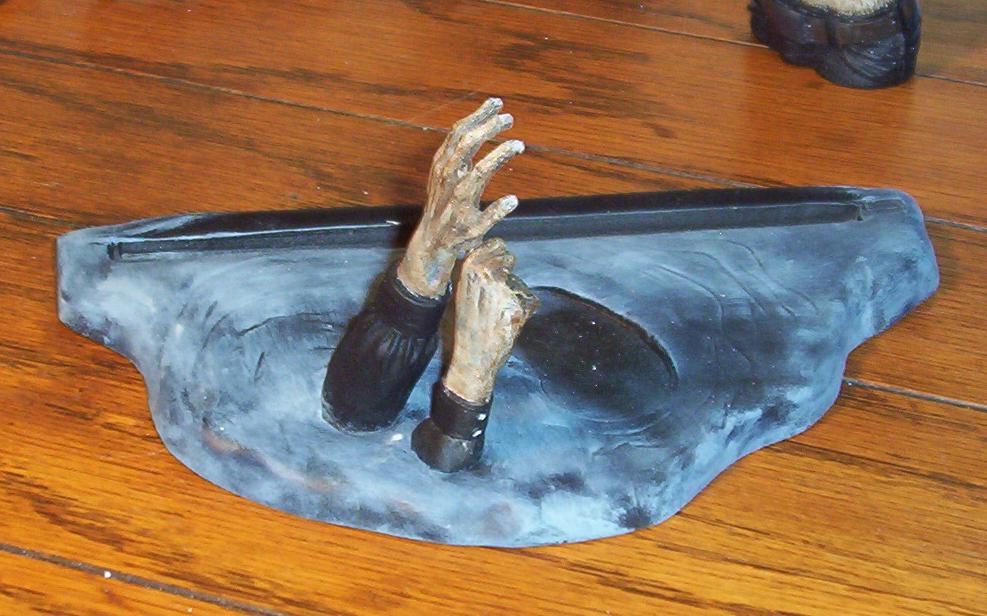
The other arms wer also primered black. The hands painted
white, then washed with brown and ocre.
The nails got the white watercolor and gloss that Eddies
hands did.
The cloth got some very dark grey drybrushing to bring
out the folds a little better.
And he buttons on the cuff also got an even thinner coat
of the white watercolors.
|
| .The Backdrop |
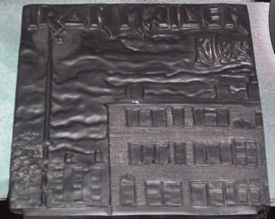 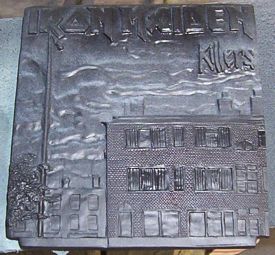
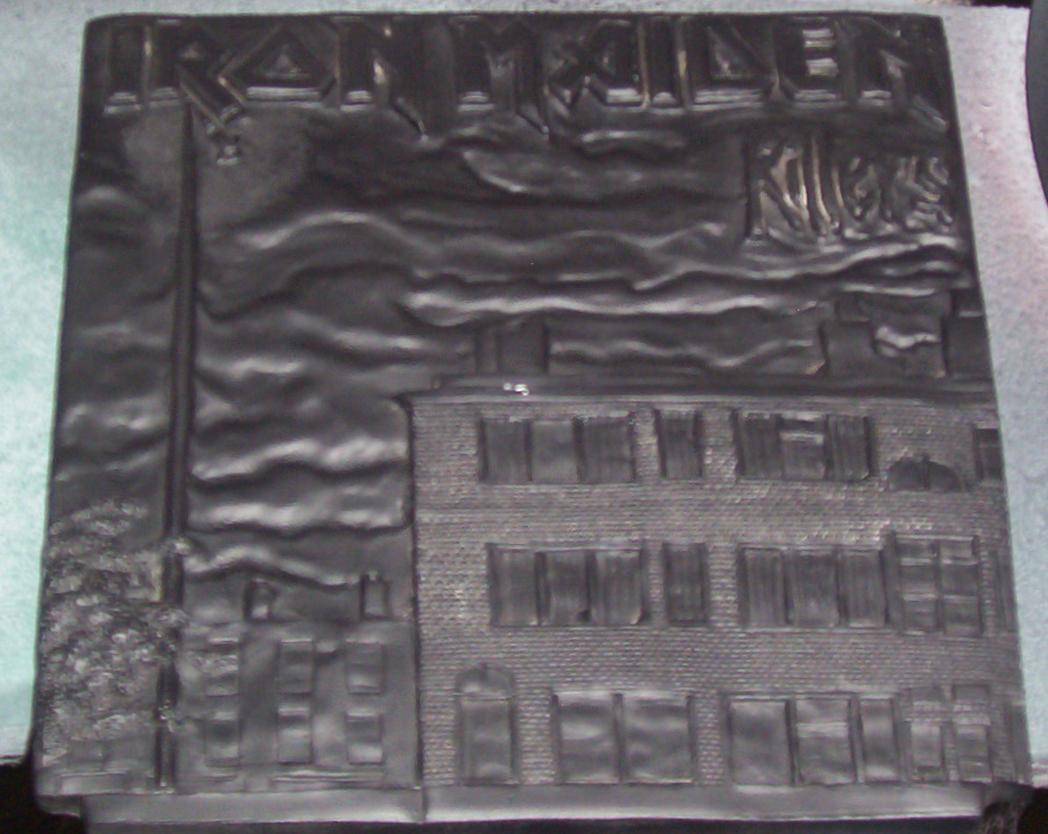
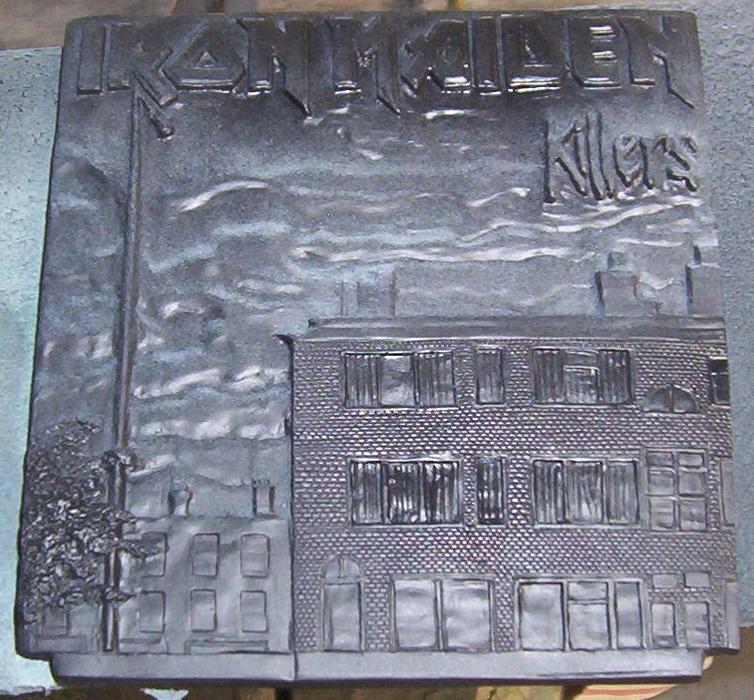
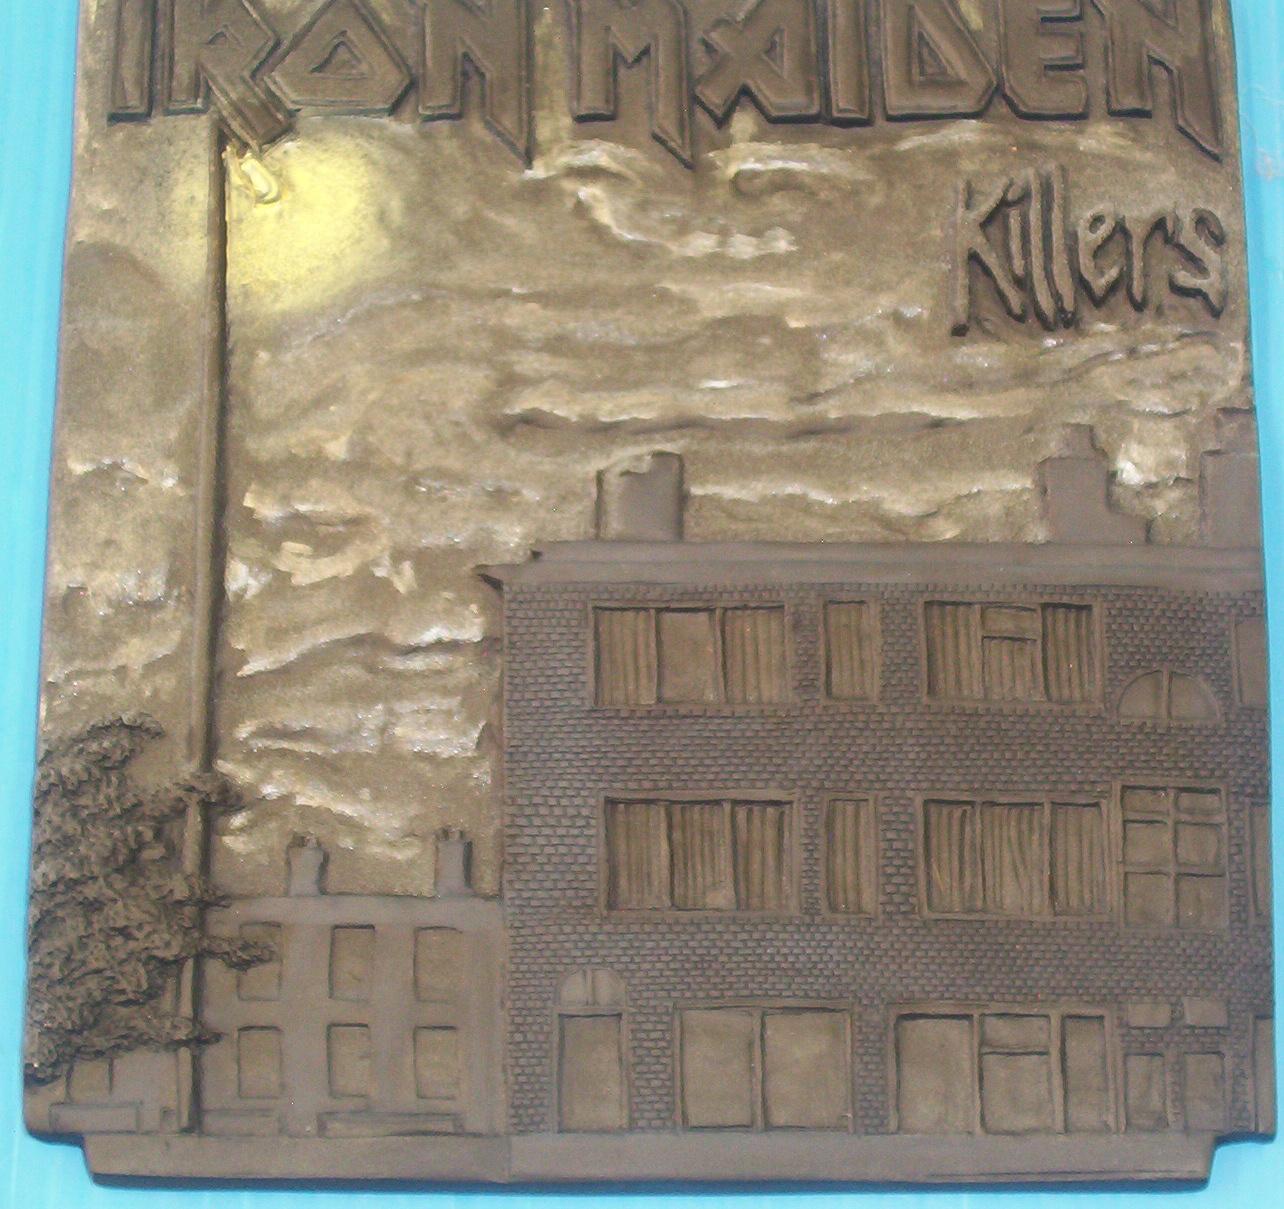
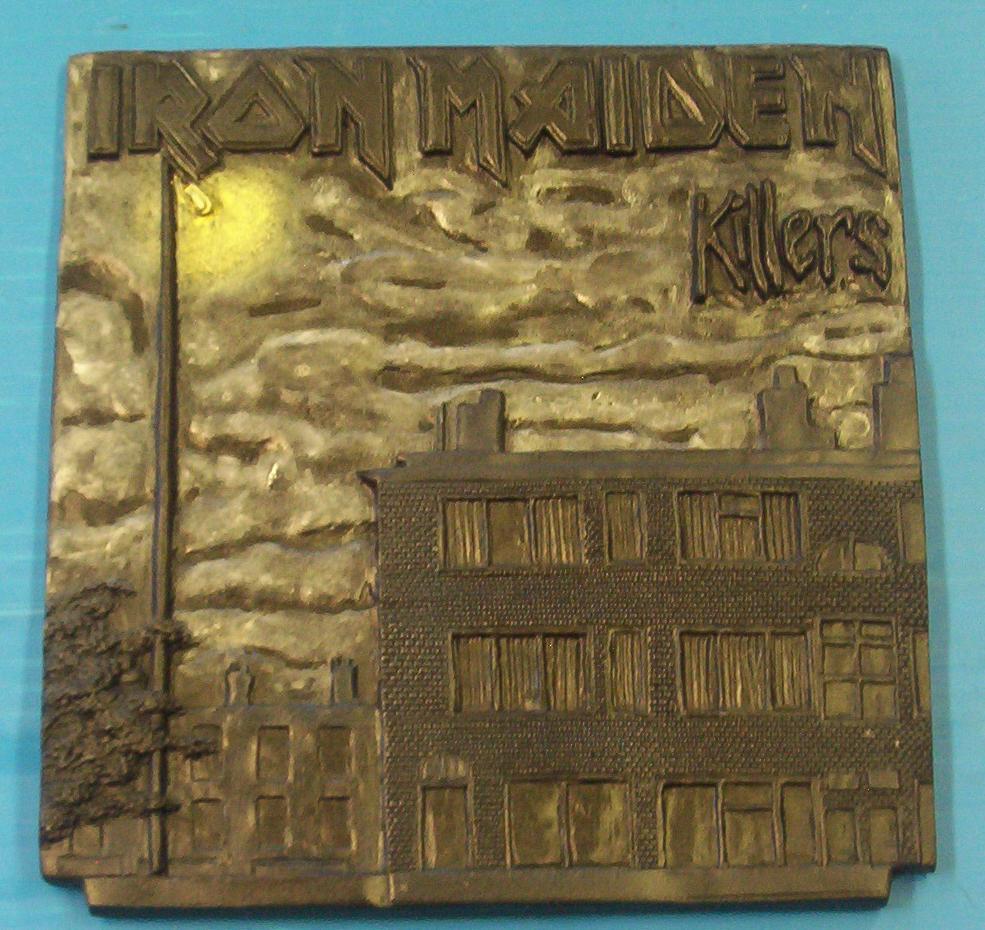
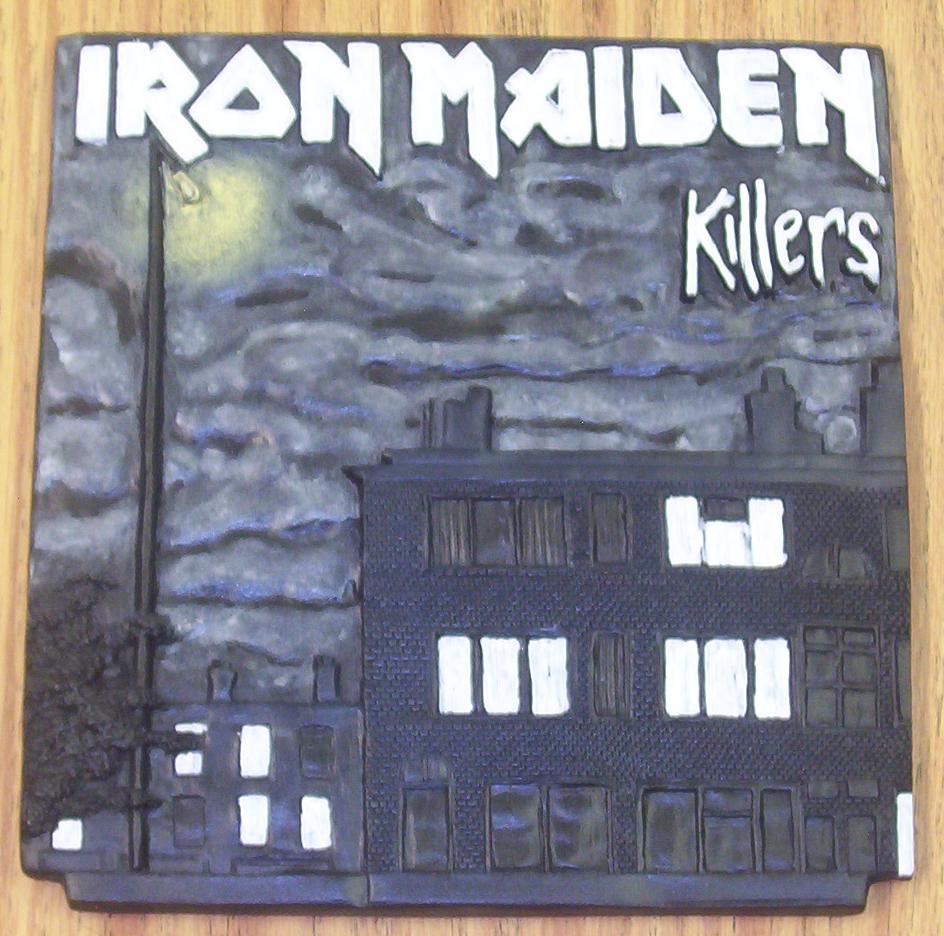
Some black primer, then a little shot of gray to hit the
highlights on the clouds.
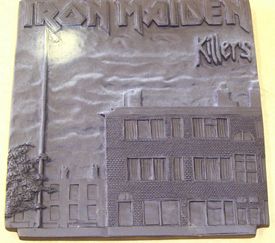 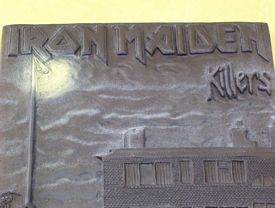
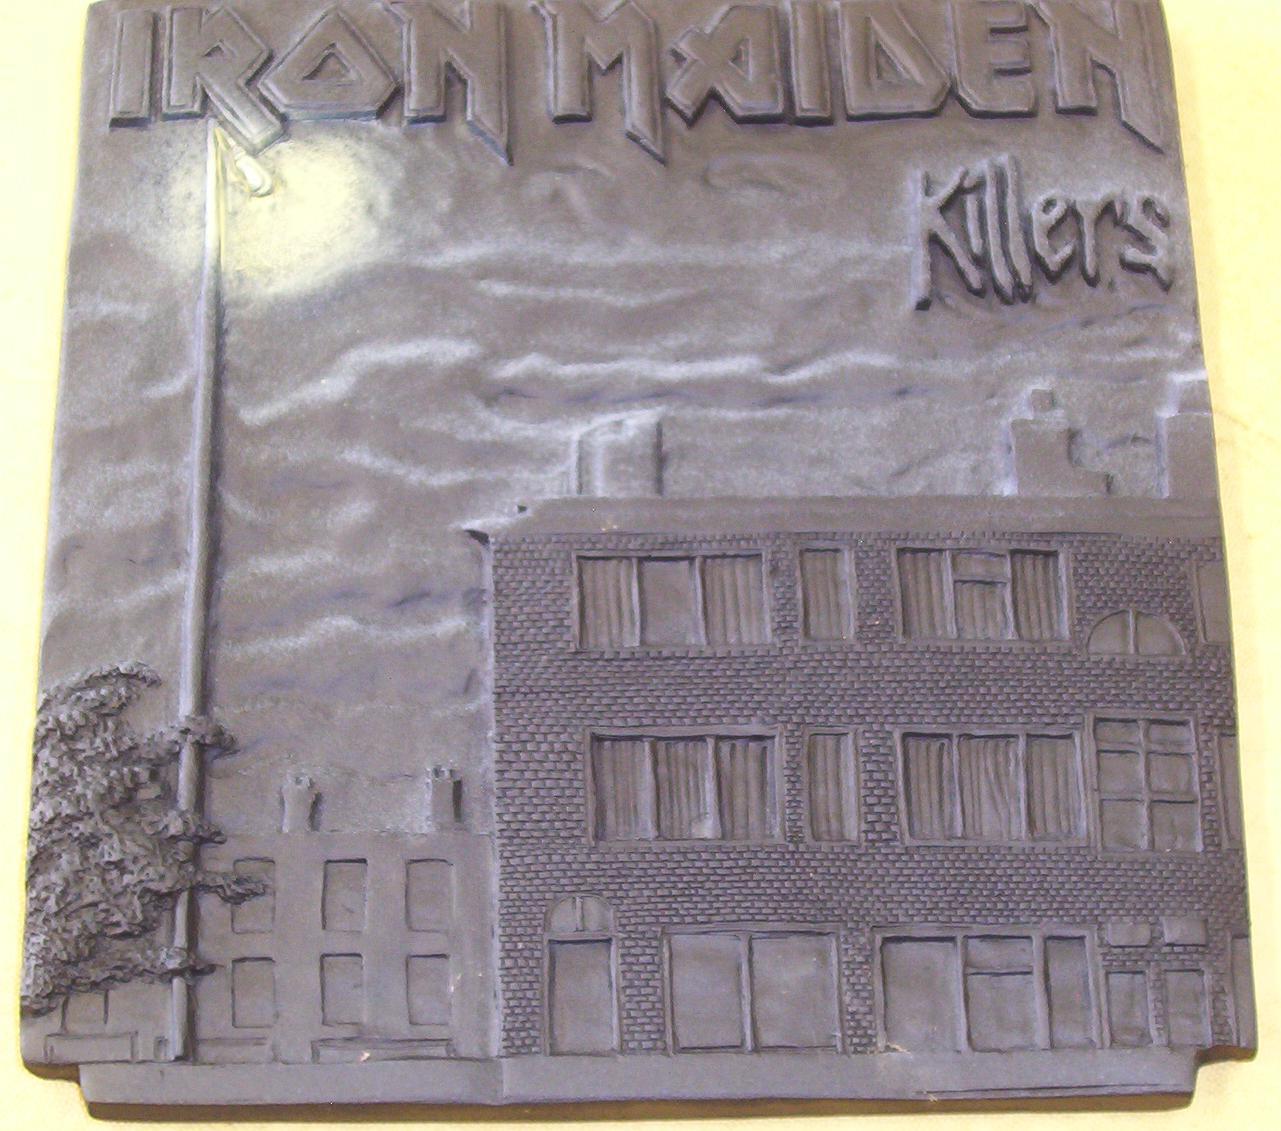
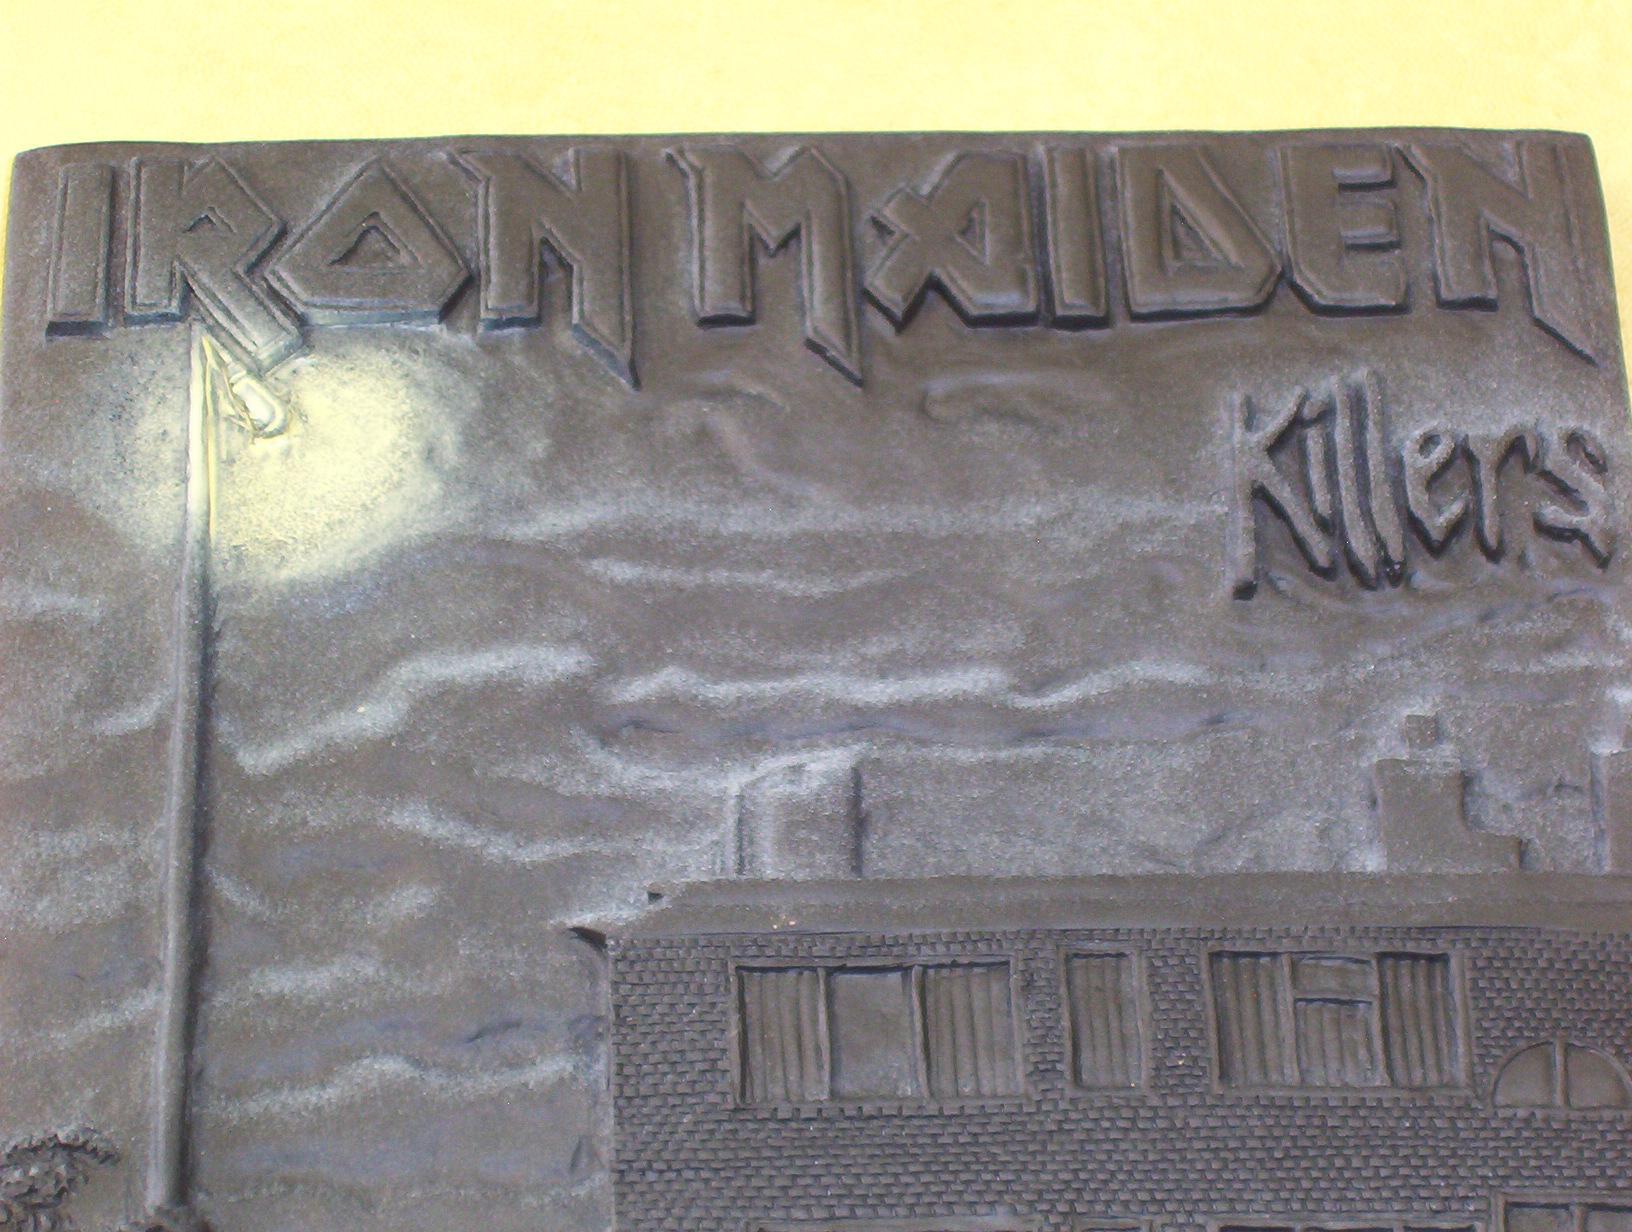
A quick shot of yellow for the glow of the lamplight.
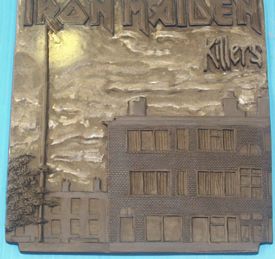
A little more work.
I went over the logo with some black to cover the gray
and the yellow.
Highlighted the buildings a little with some midnight
blue so they will stand out a bit.
Then went over the clouds a little with some gunmetal. |
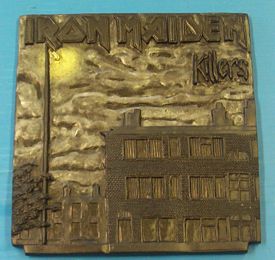
Just about done with the clouds finaly.Went in with some
white and black glazes kind of swirled around.
Also blocked them in with a little black.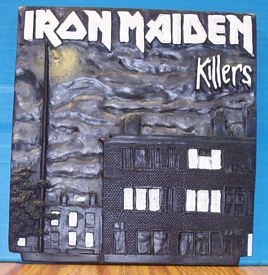
Just blocked things in with a little white so I have
something to work up from.
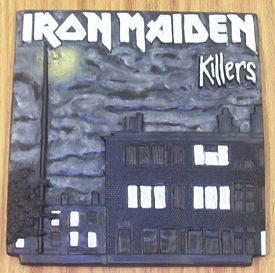
A little more work on the clouds here.
Went in lightly with some white watercolors and kind of
smudged them in with my finger to blend.
|
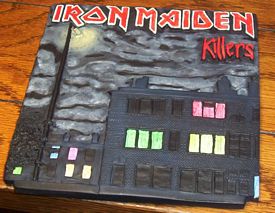 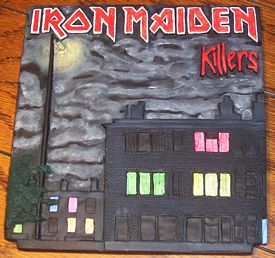
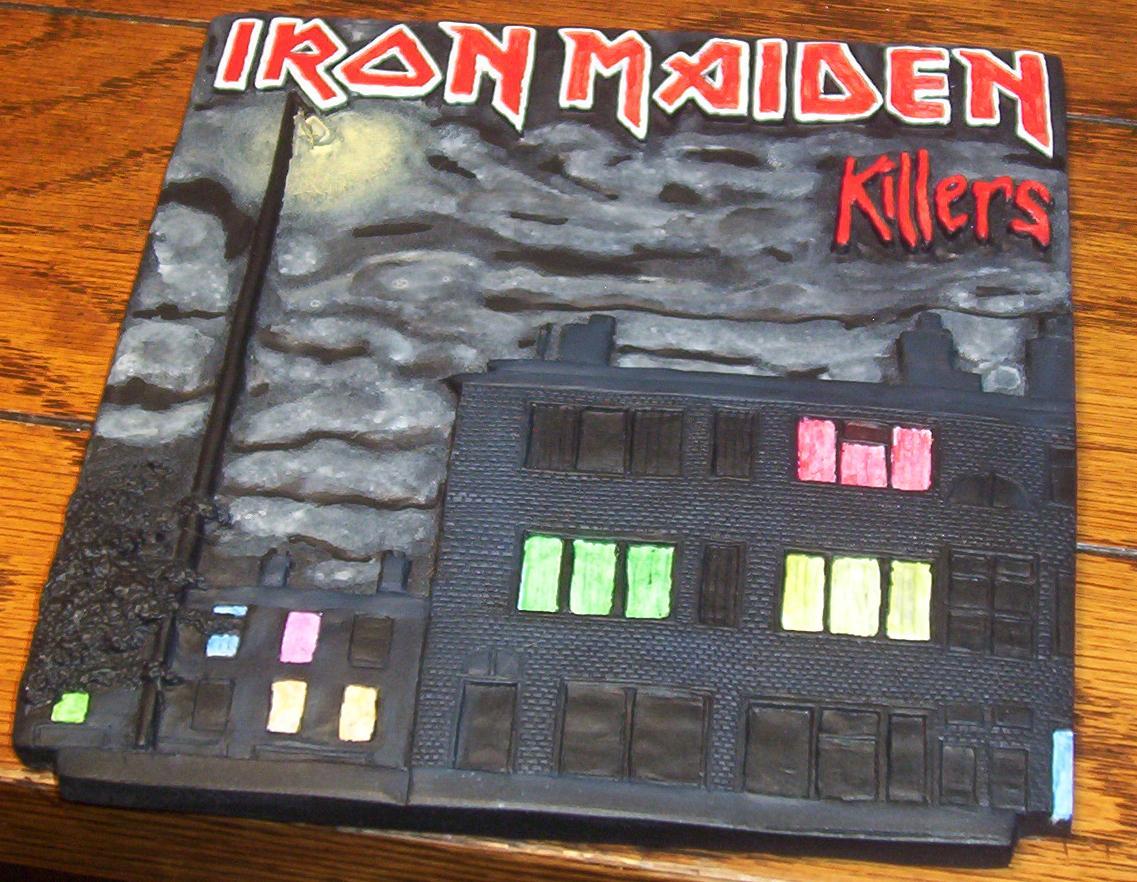
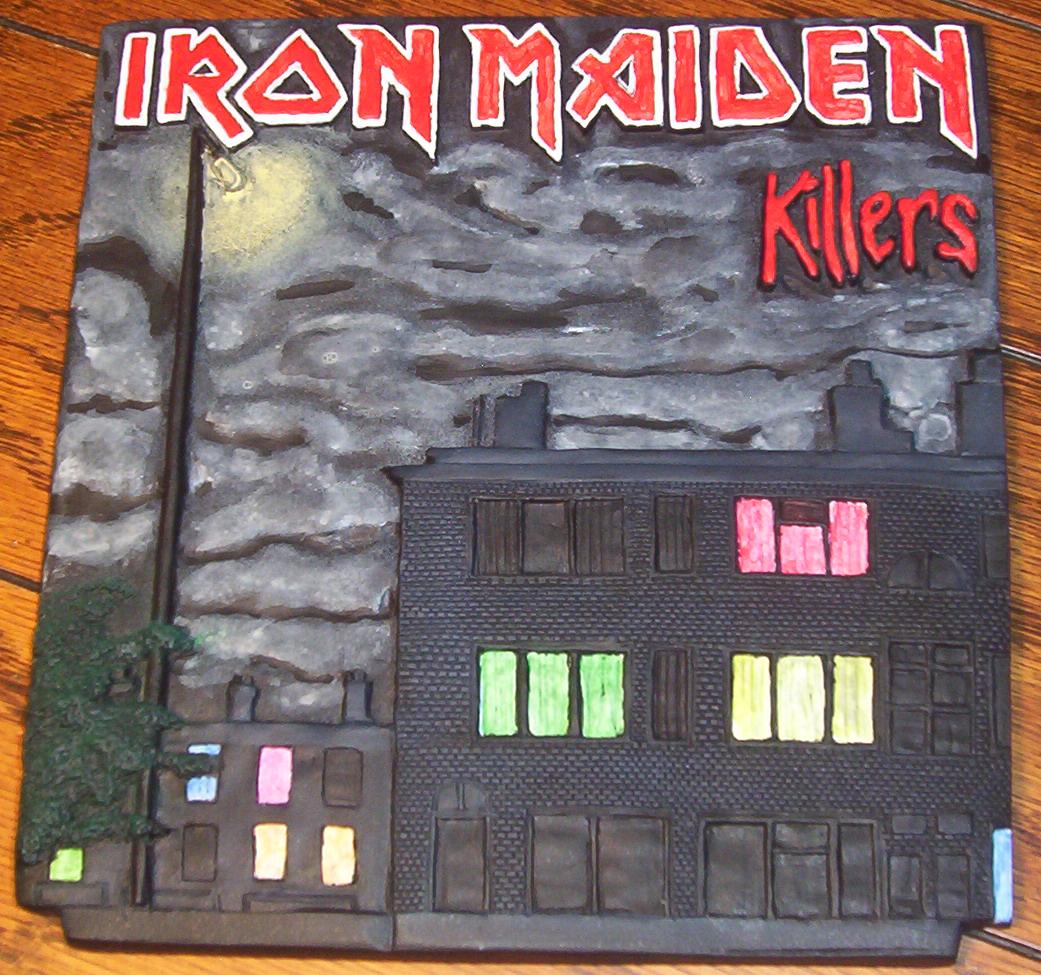
Finally. Some color!
The red on the lettering really pops.
And I used some watercolors on the lit windows for the
curtain colors.
And some dark green for the tree next to the light pole.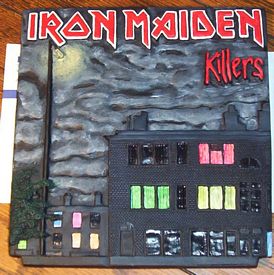
Final touches here.
I hit each window with some gloss, since they are glass
after all, and should reflect some light.
|
BACK
|
| |