Where I
Keep and Work on My Kits
|
Last Updated on: Friday, February 28, 2025
|
Kit Storage
  
If I am going to be working on the kits
down here, I need someplace to keep them until they get
to the bench.
There will be several
additions to this page as I add more storage to get more
kits unpacked.
|
01/13/24
I noticed I had some empty wall space behind my spray table.
So, I repurposed an old shelf that I have had sitting in a corner since we moved.
 
|
01/16/21
I got tired of trying to find little packages containing my replacement heads and other parts.
So, I grabbed a storage container to hold them all.
I have another one for whenever I find all the ones I have for the Monster Scenes

|
|
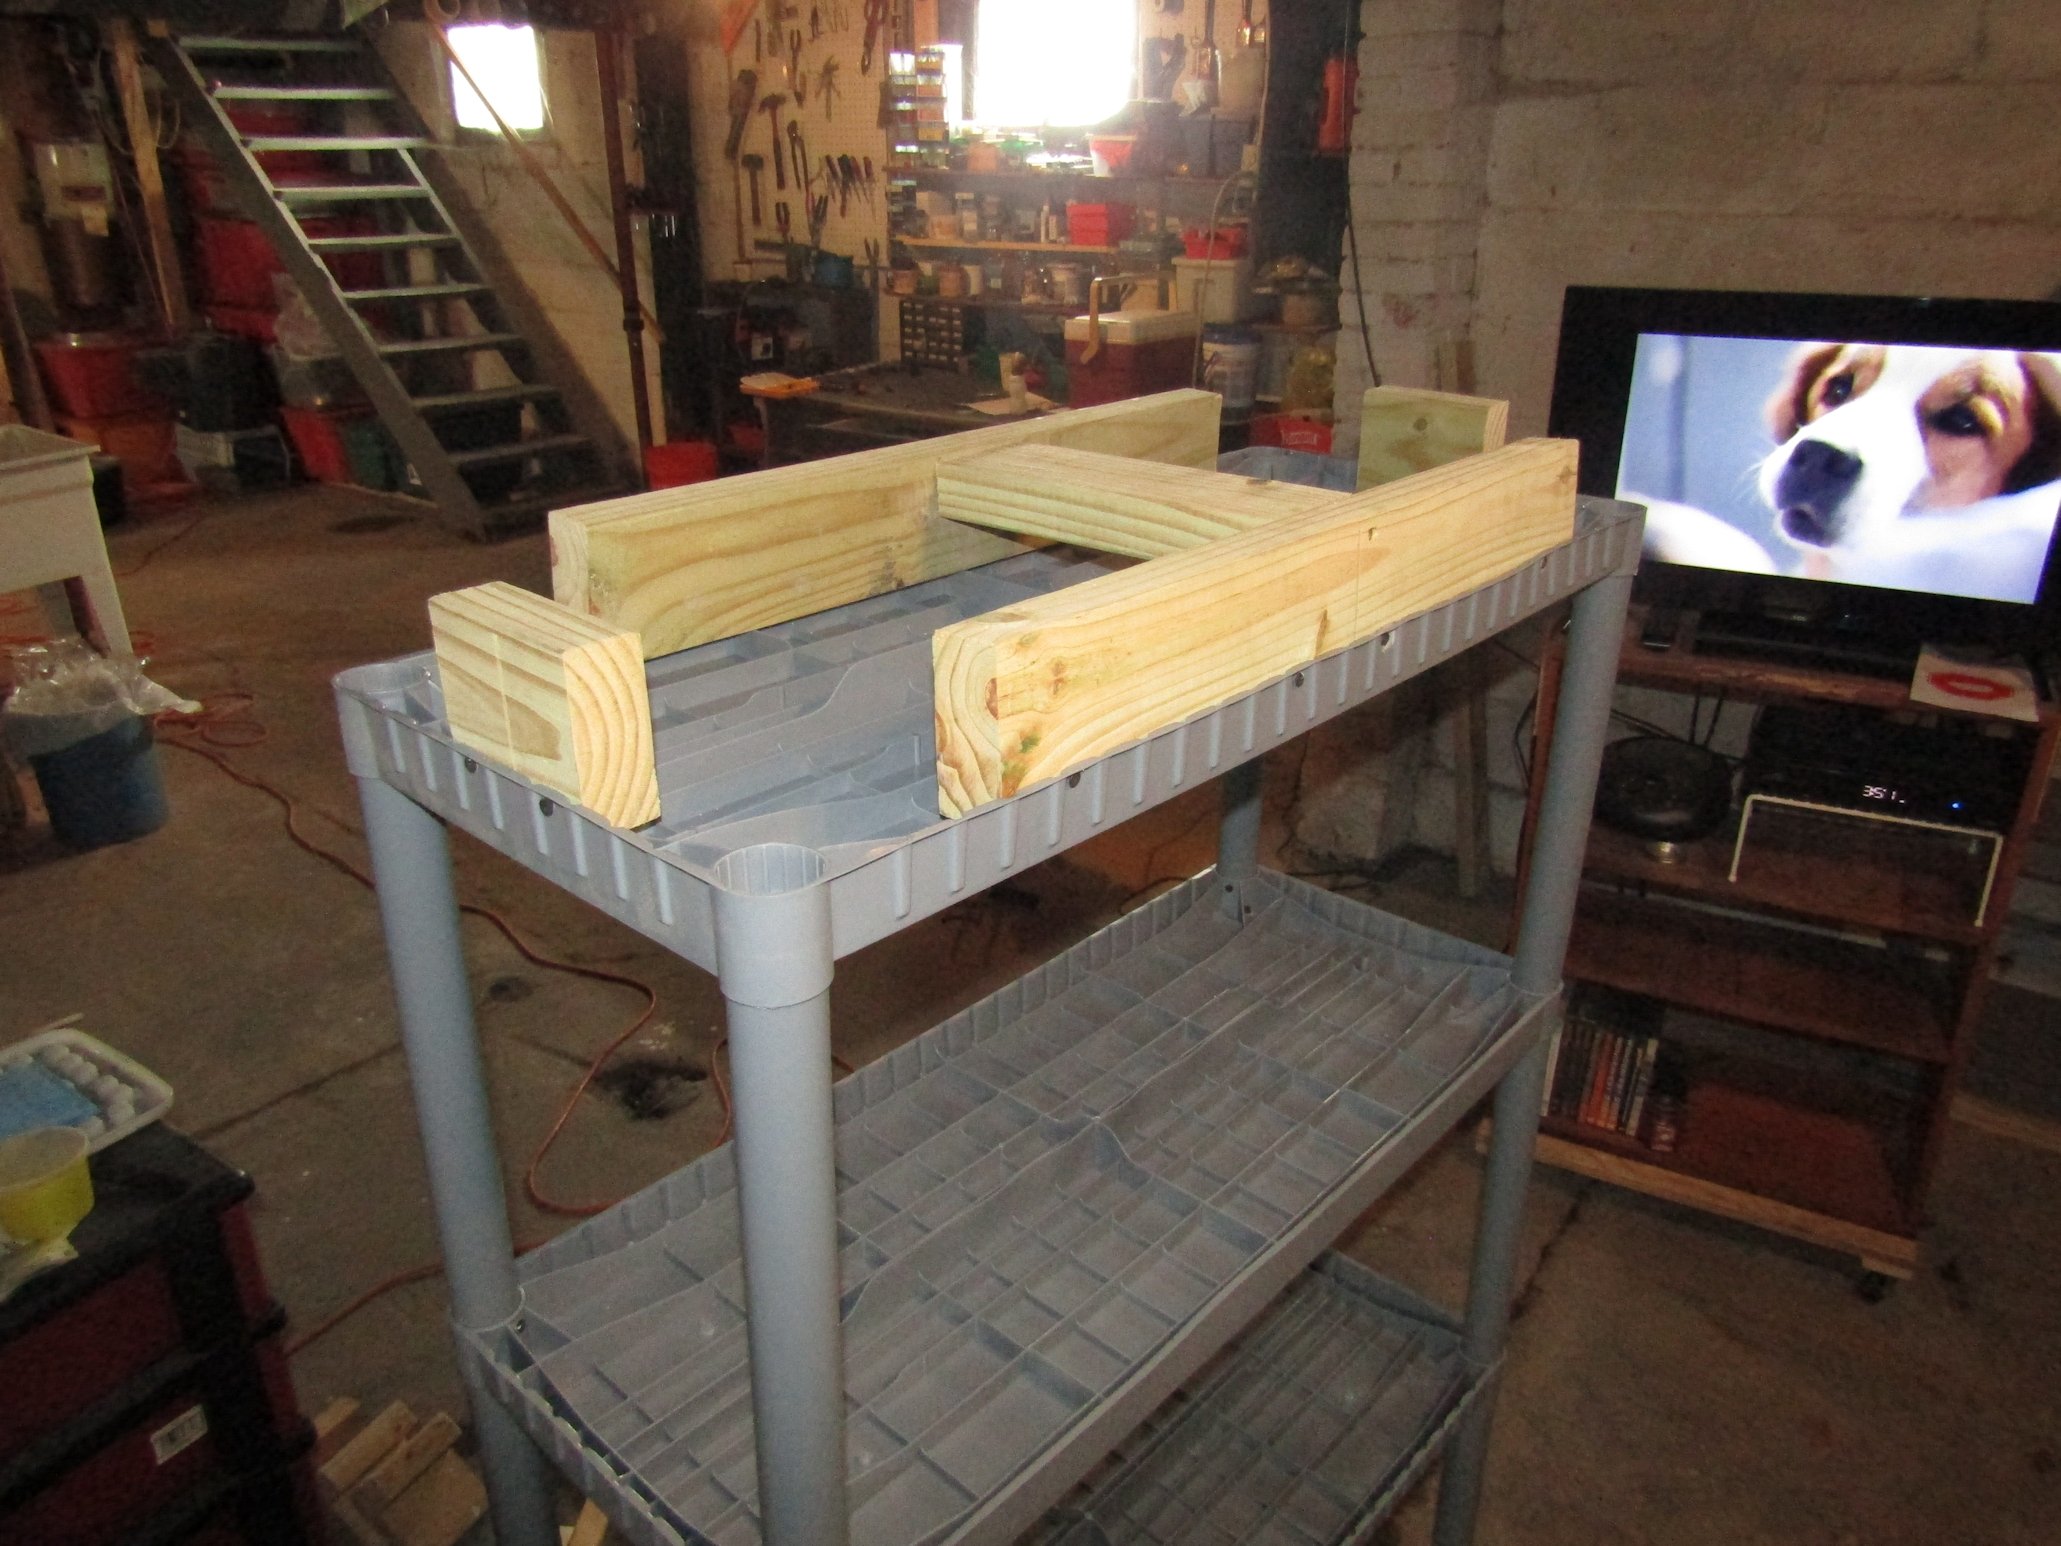
04/10/20
I had such good luck with the other
plastic shelves, I got myself some more. These
are shorter, but longer.
Good for under this window.
 As with the other ones, once I
assembled it, I threw some screws in it to keep
it from coming apart.
I also added treated lumber to the bottom to both
get it higher off the floor, and to weight the
bottom.

As you can see, I have quite a bit. Ended up
emptying out 7 boxes.
I emptied a lot of boxes out of
my display room. Still have some room left,
which is good, because I still haven't found all
my kits yet.

More or less I have styrene on the left and resin
on the right.
|
|
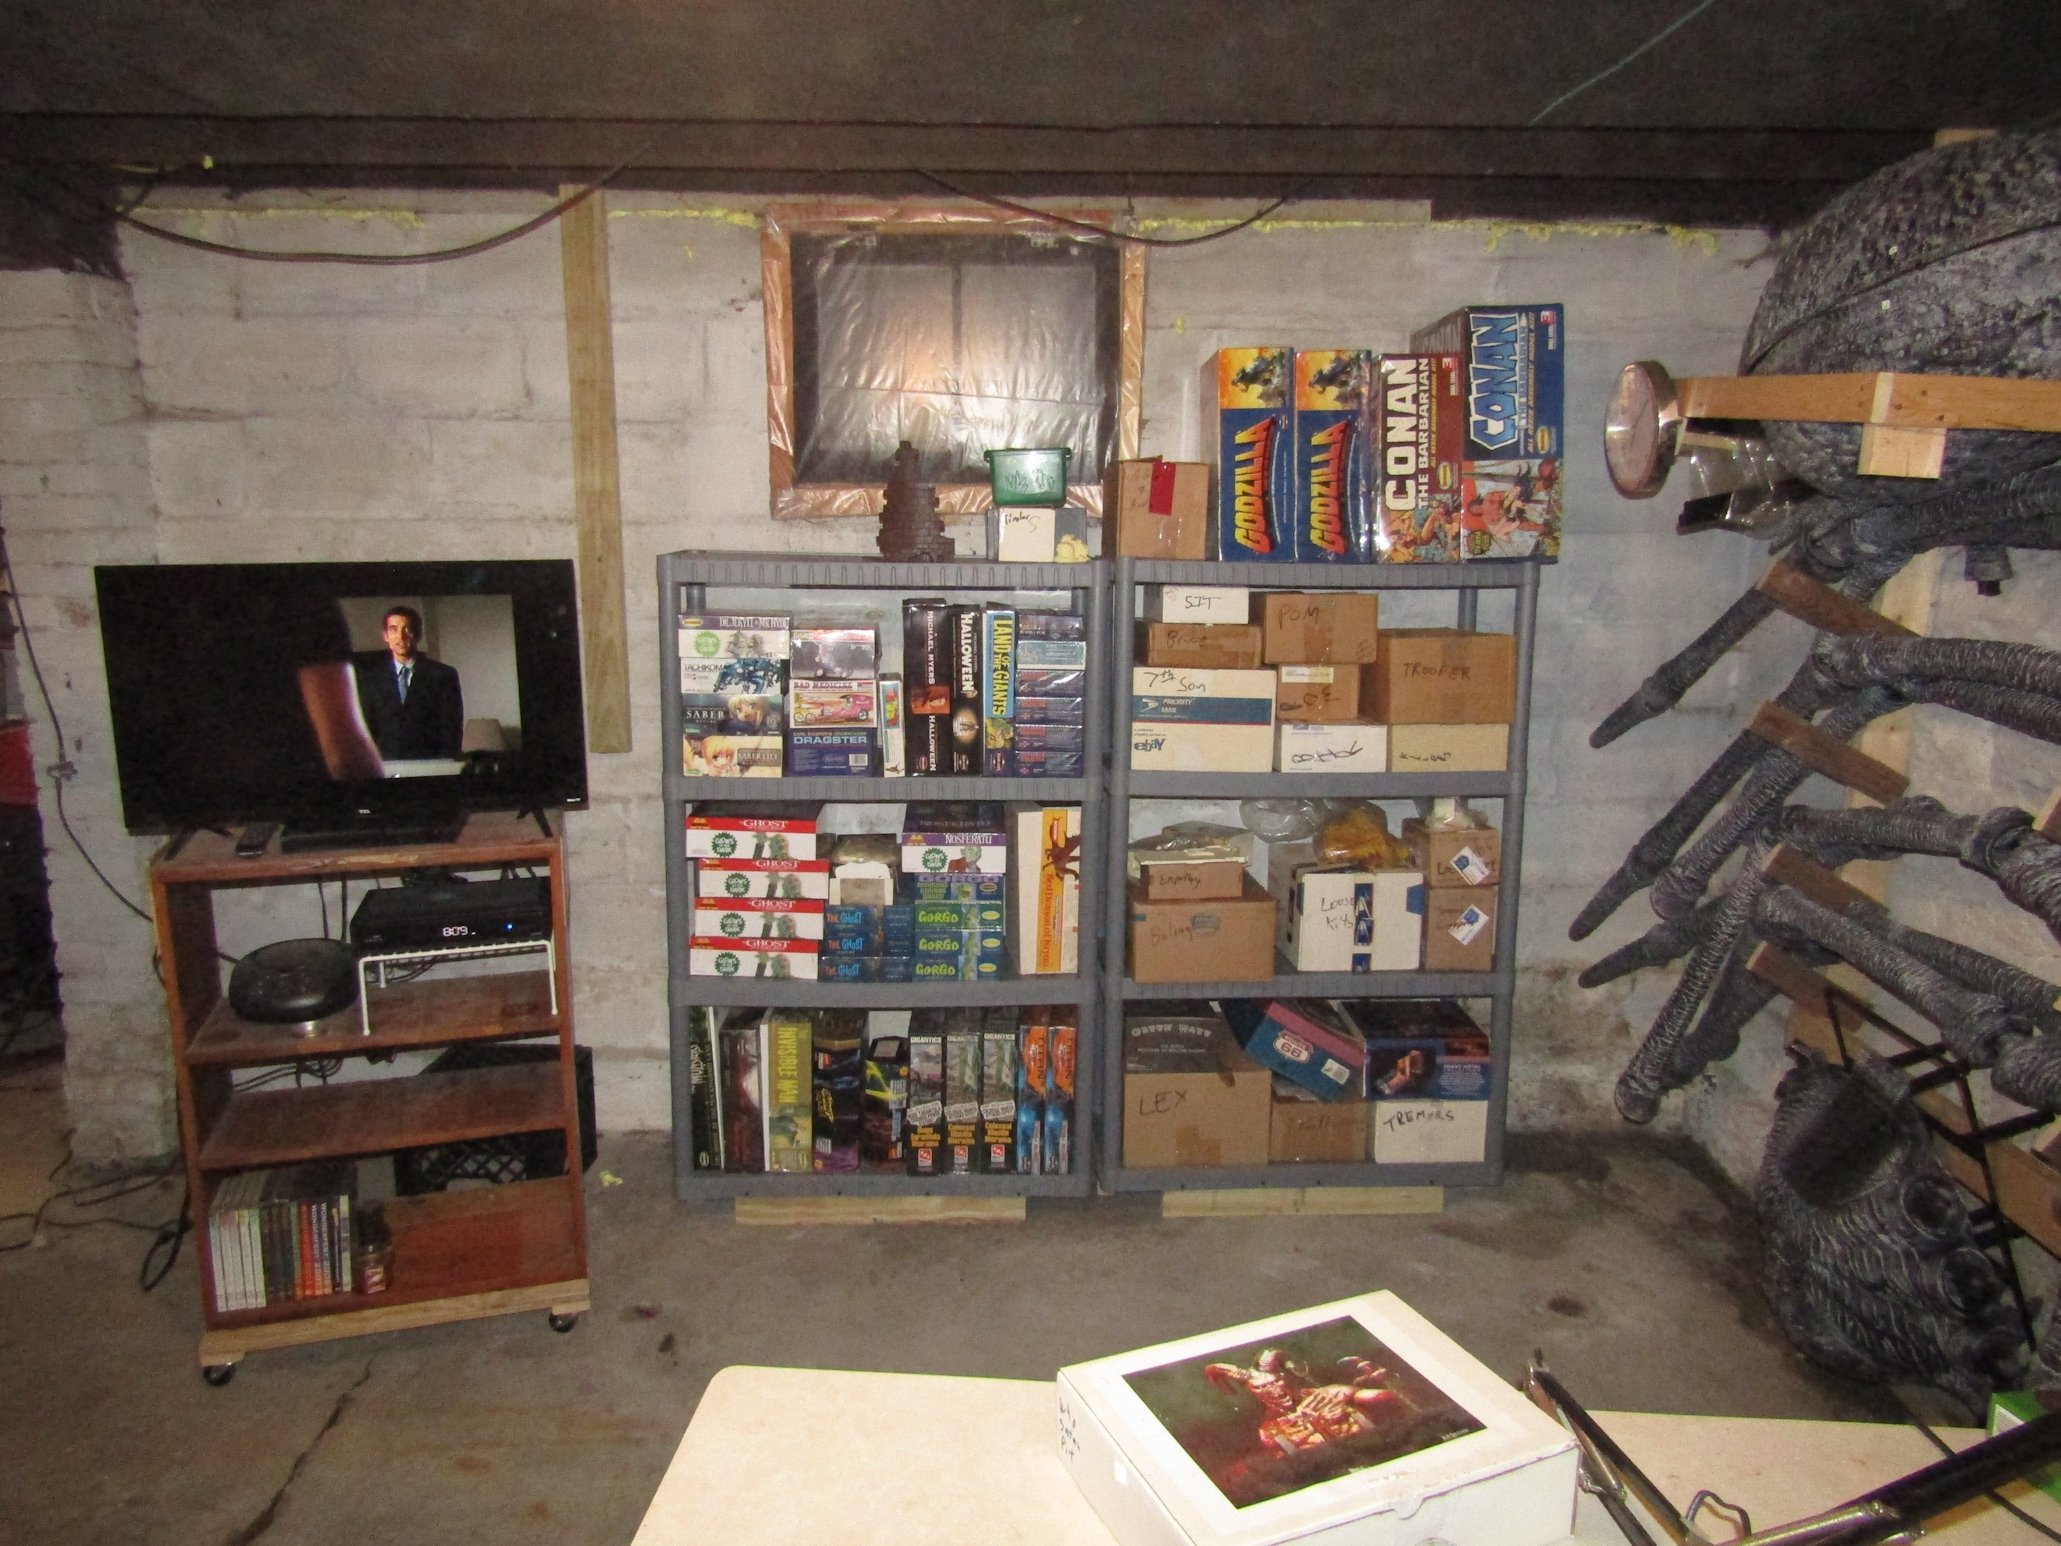
11/18/19
I need to make more room in my display
room, in order to work in there. So, I threw
together a quick shelf to hold
my MONSTER
SCENES kits.  
It isn't heavy duty or
anything, but sturdy enough to hold a bunch of
styrene.
1x3 uprights, with 1x8 shelving, screwed and
glued together.
4' wide and a little over 5' tall.
Then I threw some drywall on the back to keep
things from getting pushed through.
Added some treated lumber feet to the bottom, and
it was ready to go.
Added some uprights to the top to tie it into the
floor joists above to make sure it never tips.

As you can see, I have quite a bit. Ended up
emptying out 7 boxes.
While I was down there, I also
converted an old shelf into a TV stand by
adding a wider base to the bottom and adding
casters.

|
|
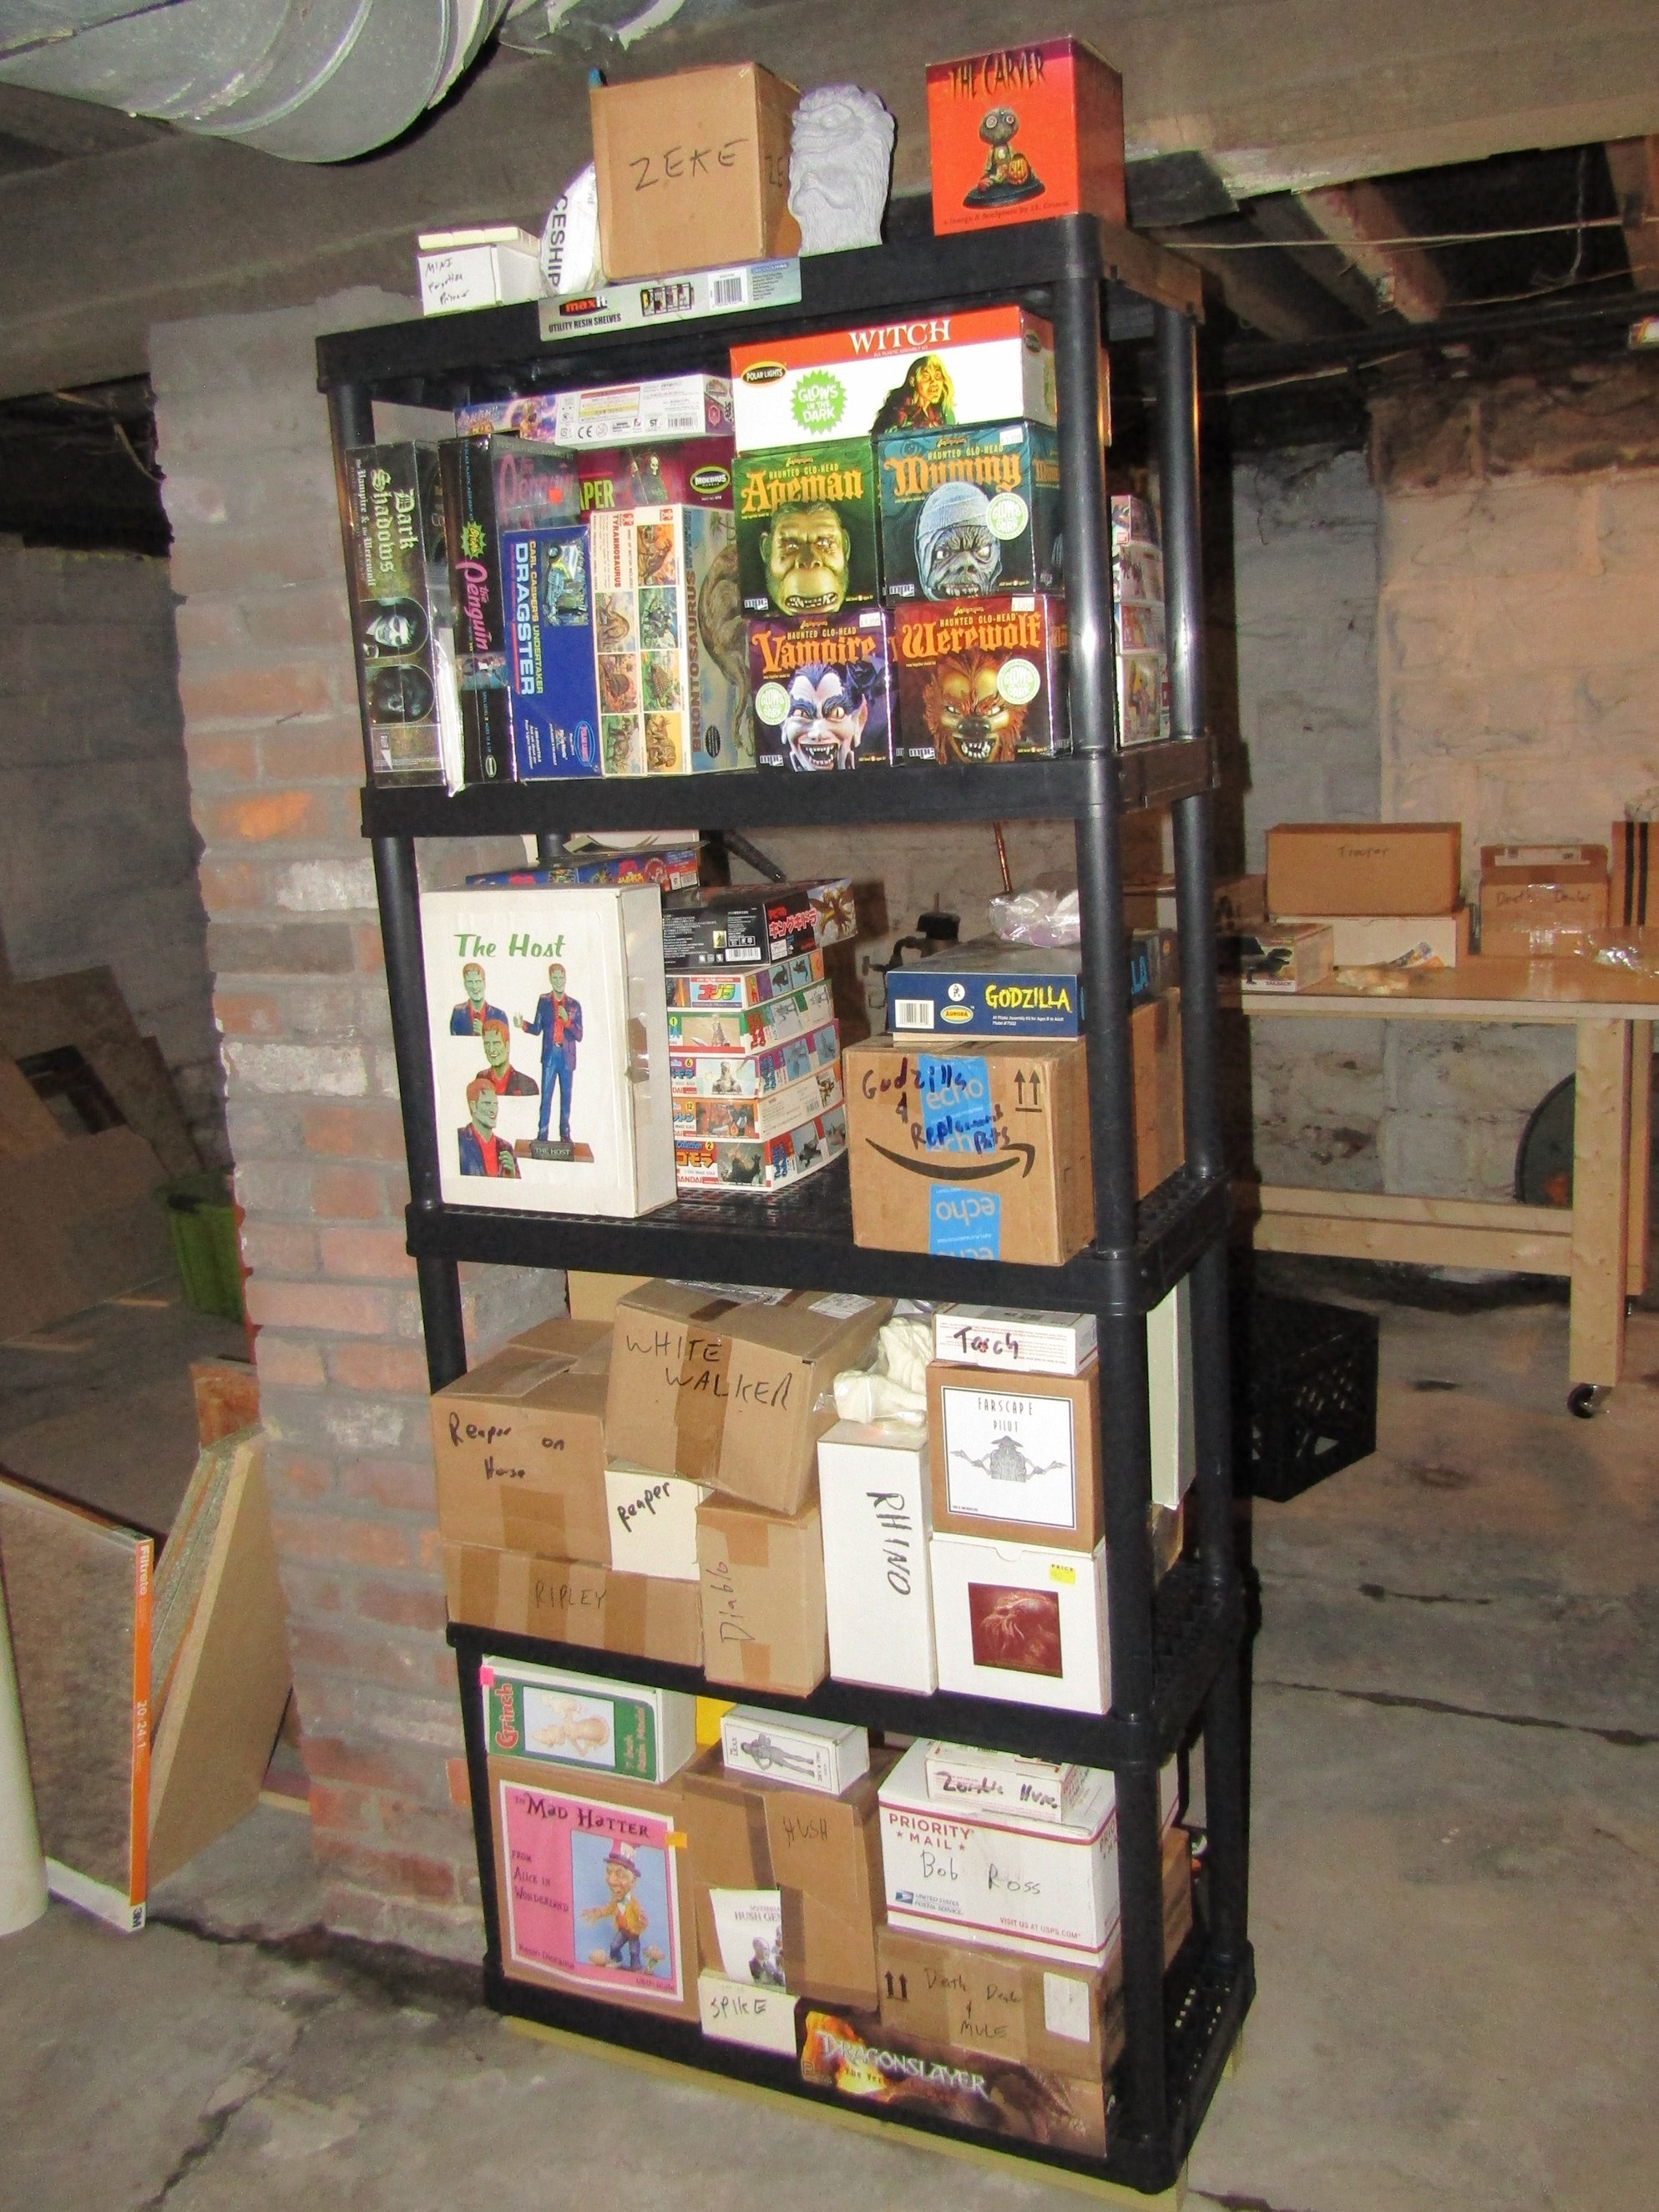
9/14/19
I might be jumping the gun as I don't
even have my work area anywhere near ready to go.
But, this plastic shelf was on sale and I need to
make some room in what will be my display room to
start working on that.I didn't
really want to go with plastic shelves. I had
plans on some nice metal shelving that is much
wider and longer.
But, right now, I don't have the money to buy
those, and I still need to work out exactly where
I want to put them.
I was at the store for something for another
project and saw this on sale for $21. Figured,
why not. I can incorporate this to compliment the
steel shelves to come. I should have taken a pic,
before I put kits on the shelf, but I think we
all have seen this style of shelving before.
Plastic shelves with plastic tubes that act as
uprights. 32 x 14 x 72
I did tweak them a bit to make them a little
better.
Might be able to make it out in the pics, but
these shelves are sitting on treated 2x4s, set on
edge. I actually attached them to the shelves.
Gives it more weight at the bottom, but the main
thinking was to keep things up off the foor more.
This is a basement, and there is always a risk of
flooding. So giving myself a few more inches off
the floor could make all the difference in the
world.
I also screwed each tube into place with drywall
screws. Eliminates the chances of the shelves
coming apart.
 
Even though there is a bracket
holding this shelf to the wall, I still tried to
keep the heavier kits on the bottom shelves.
Didn't want to chance things getting too top
heavy.
I've been surprised at just how much I have been
able to pack on these so far.
|
|
BACK
|
| |