Cave Dweller |
|
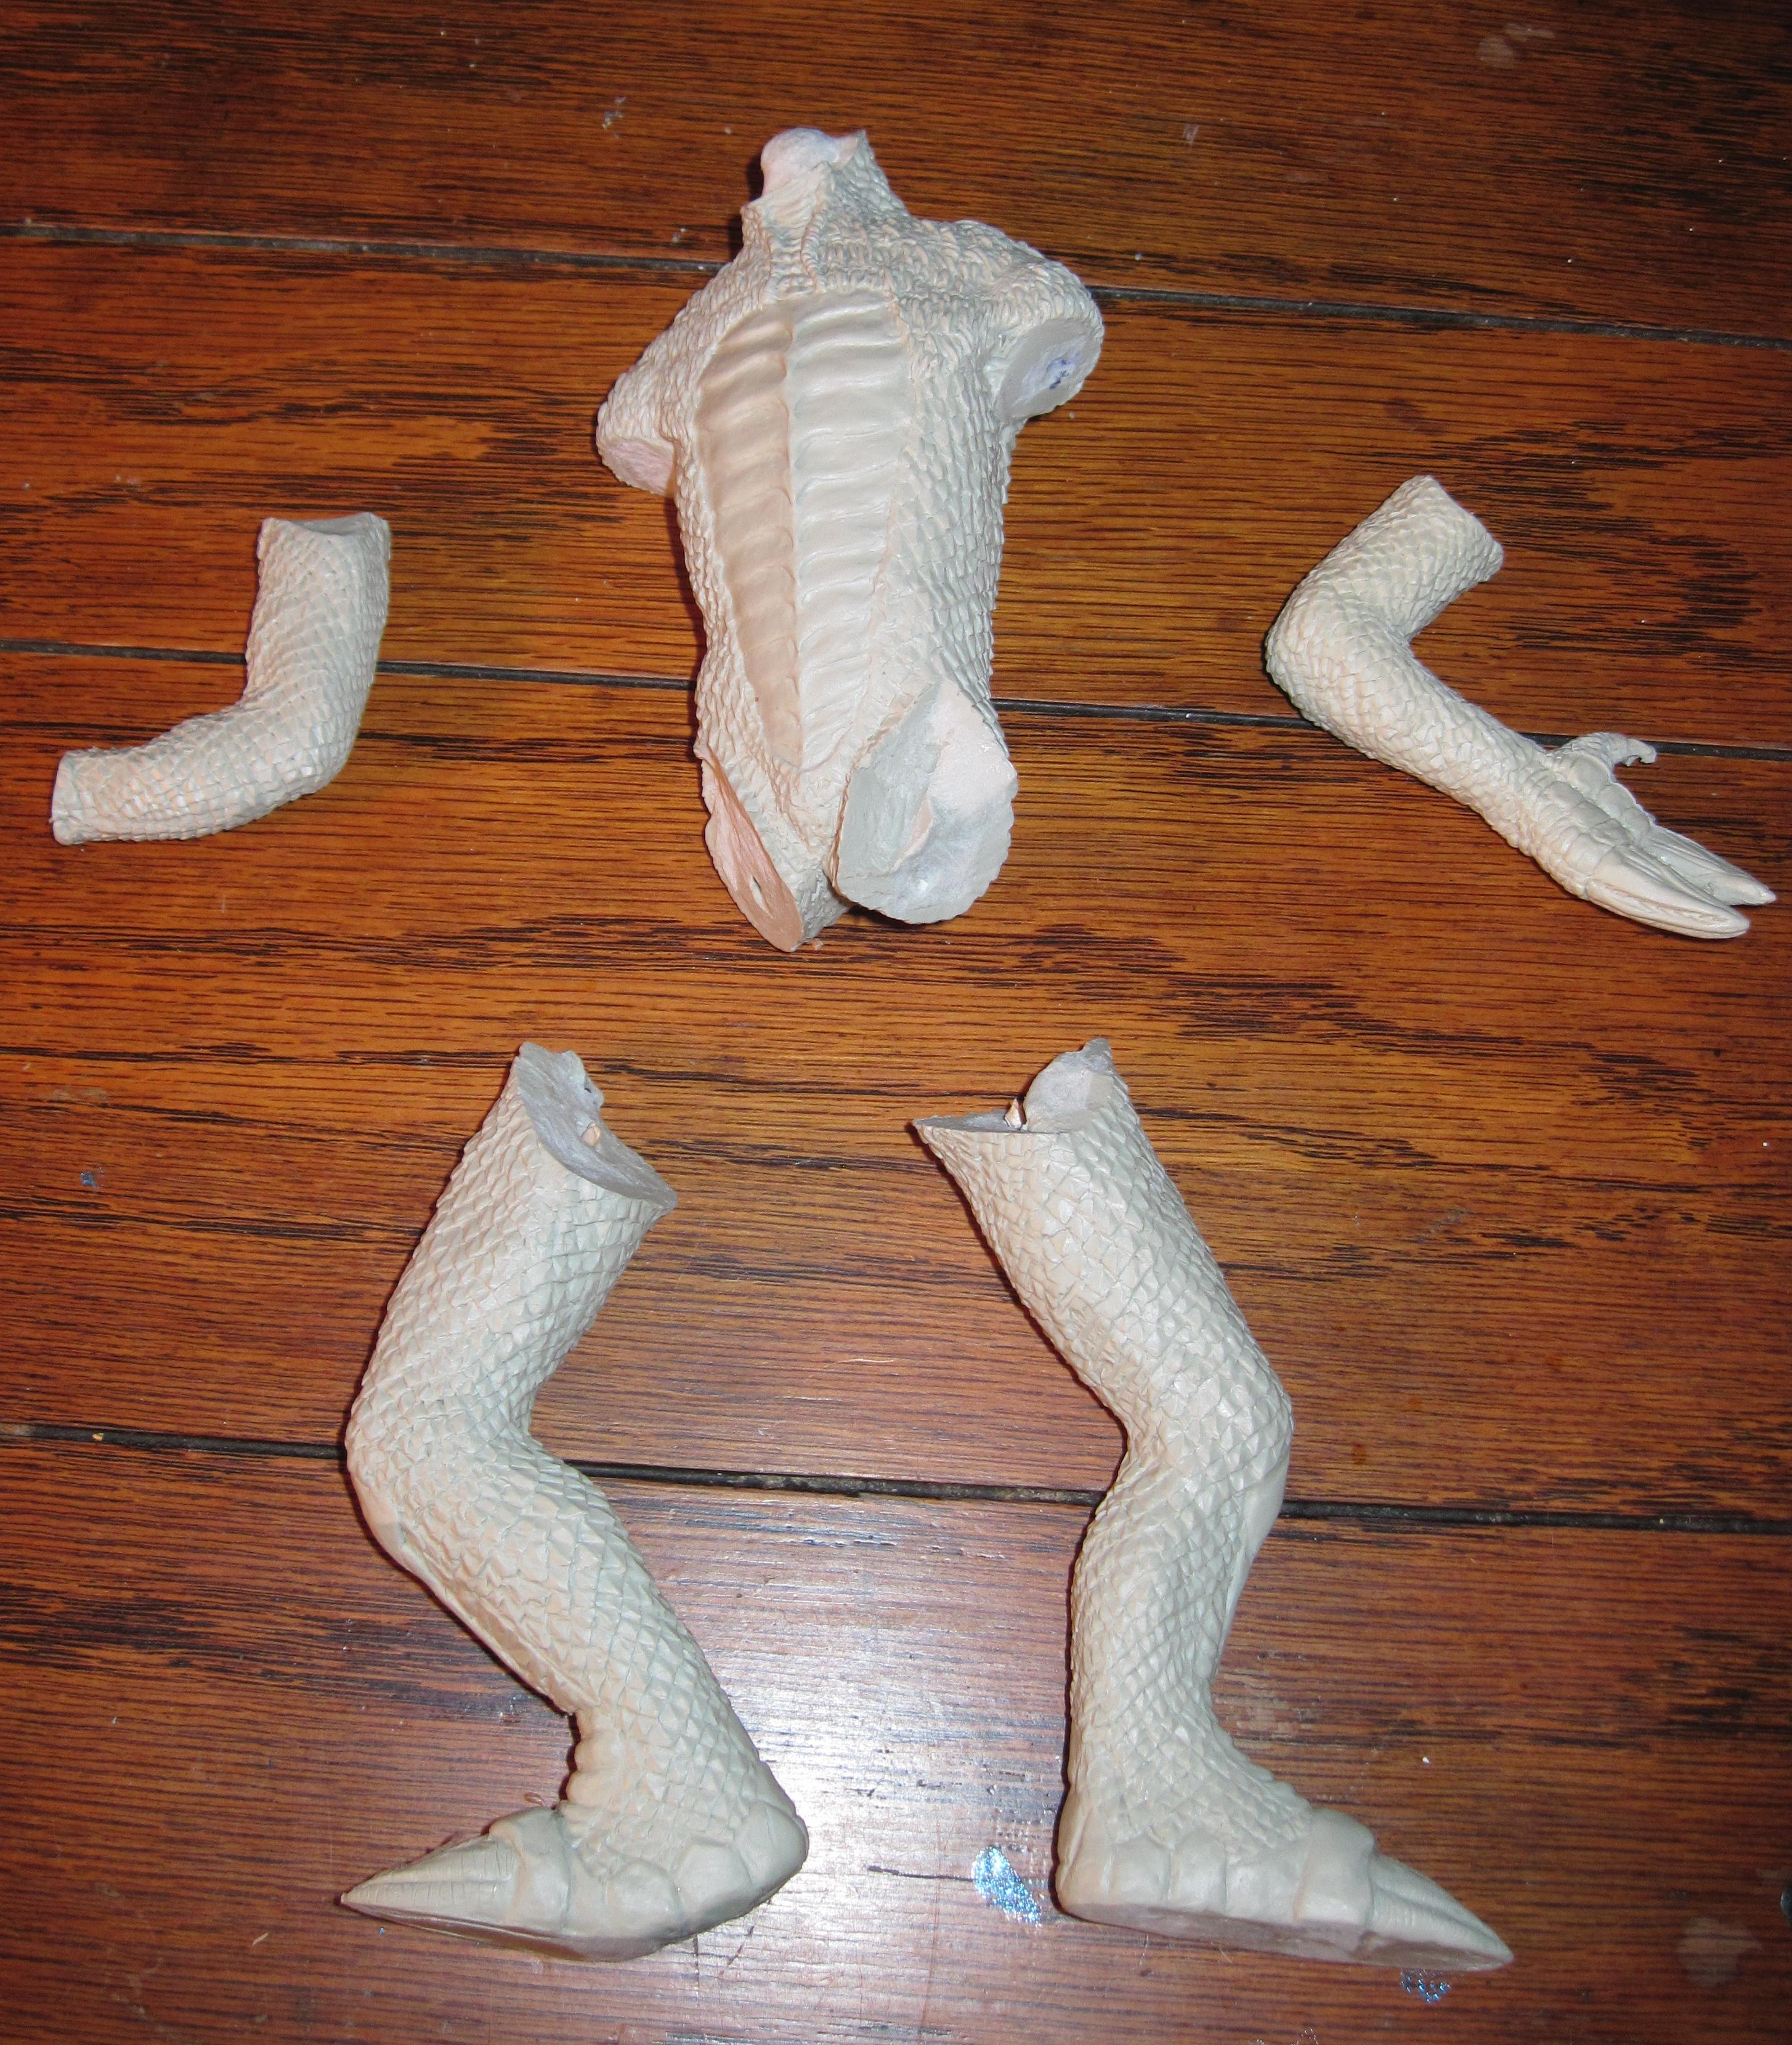
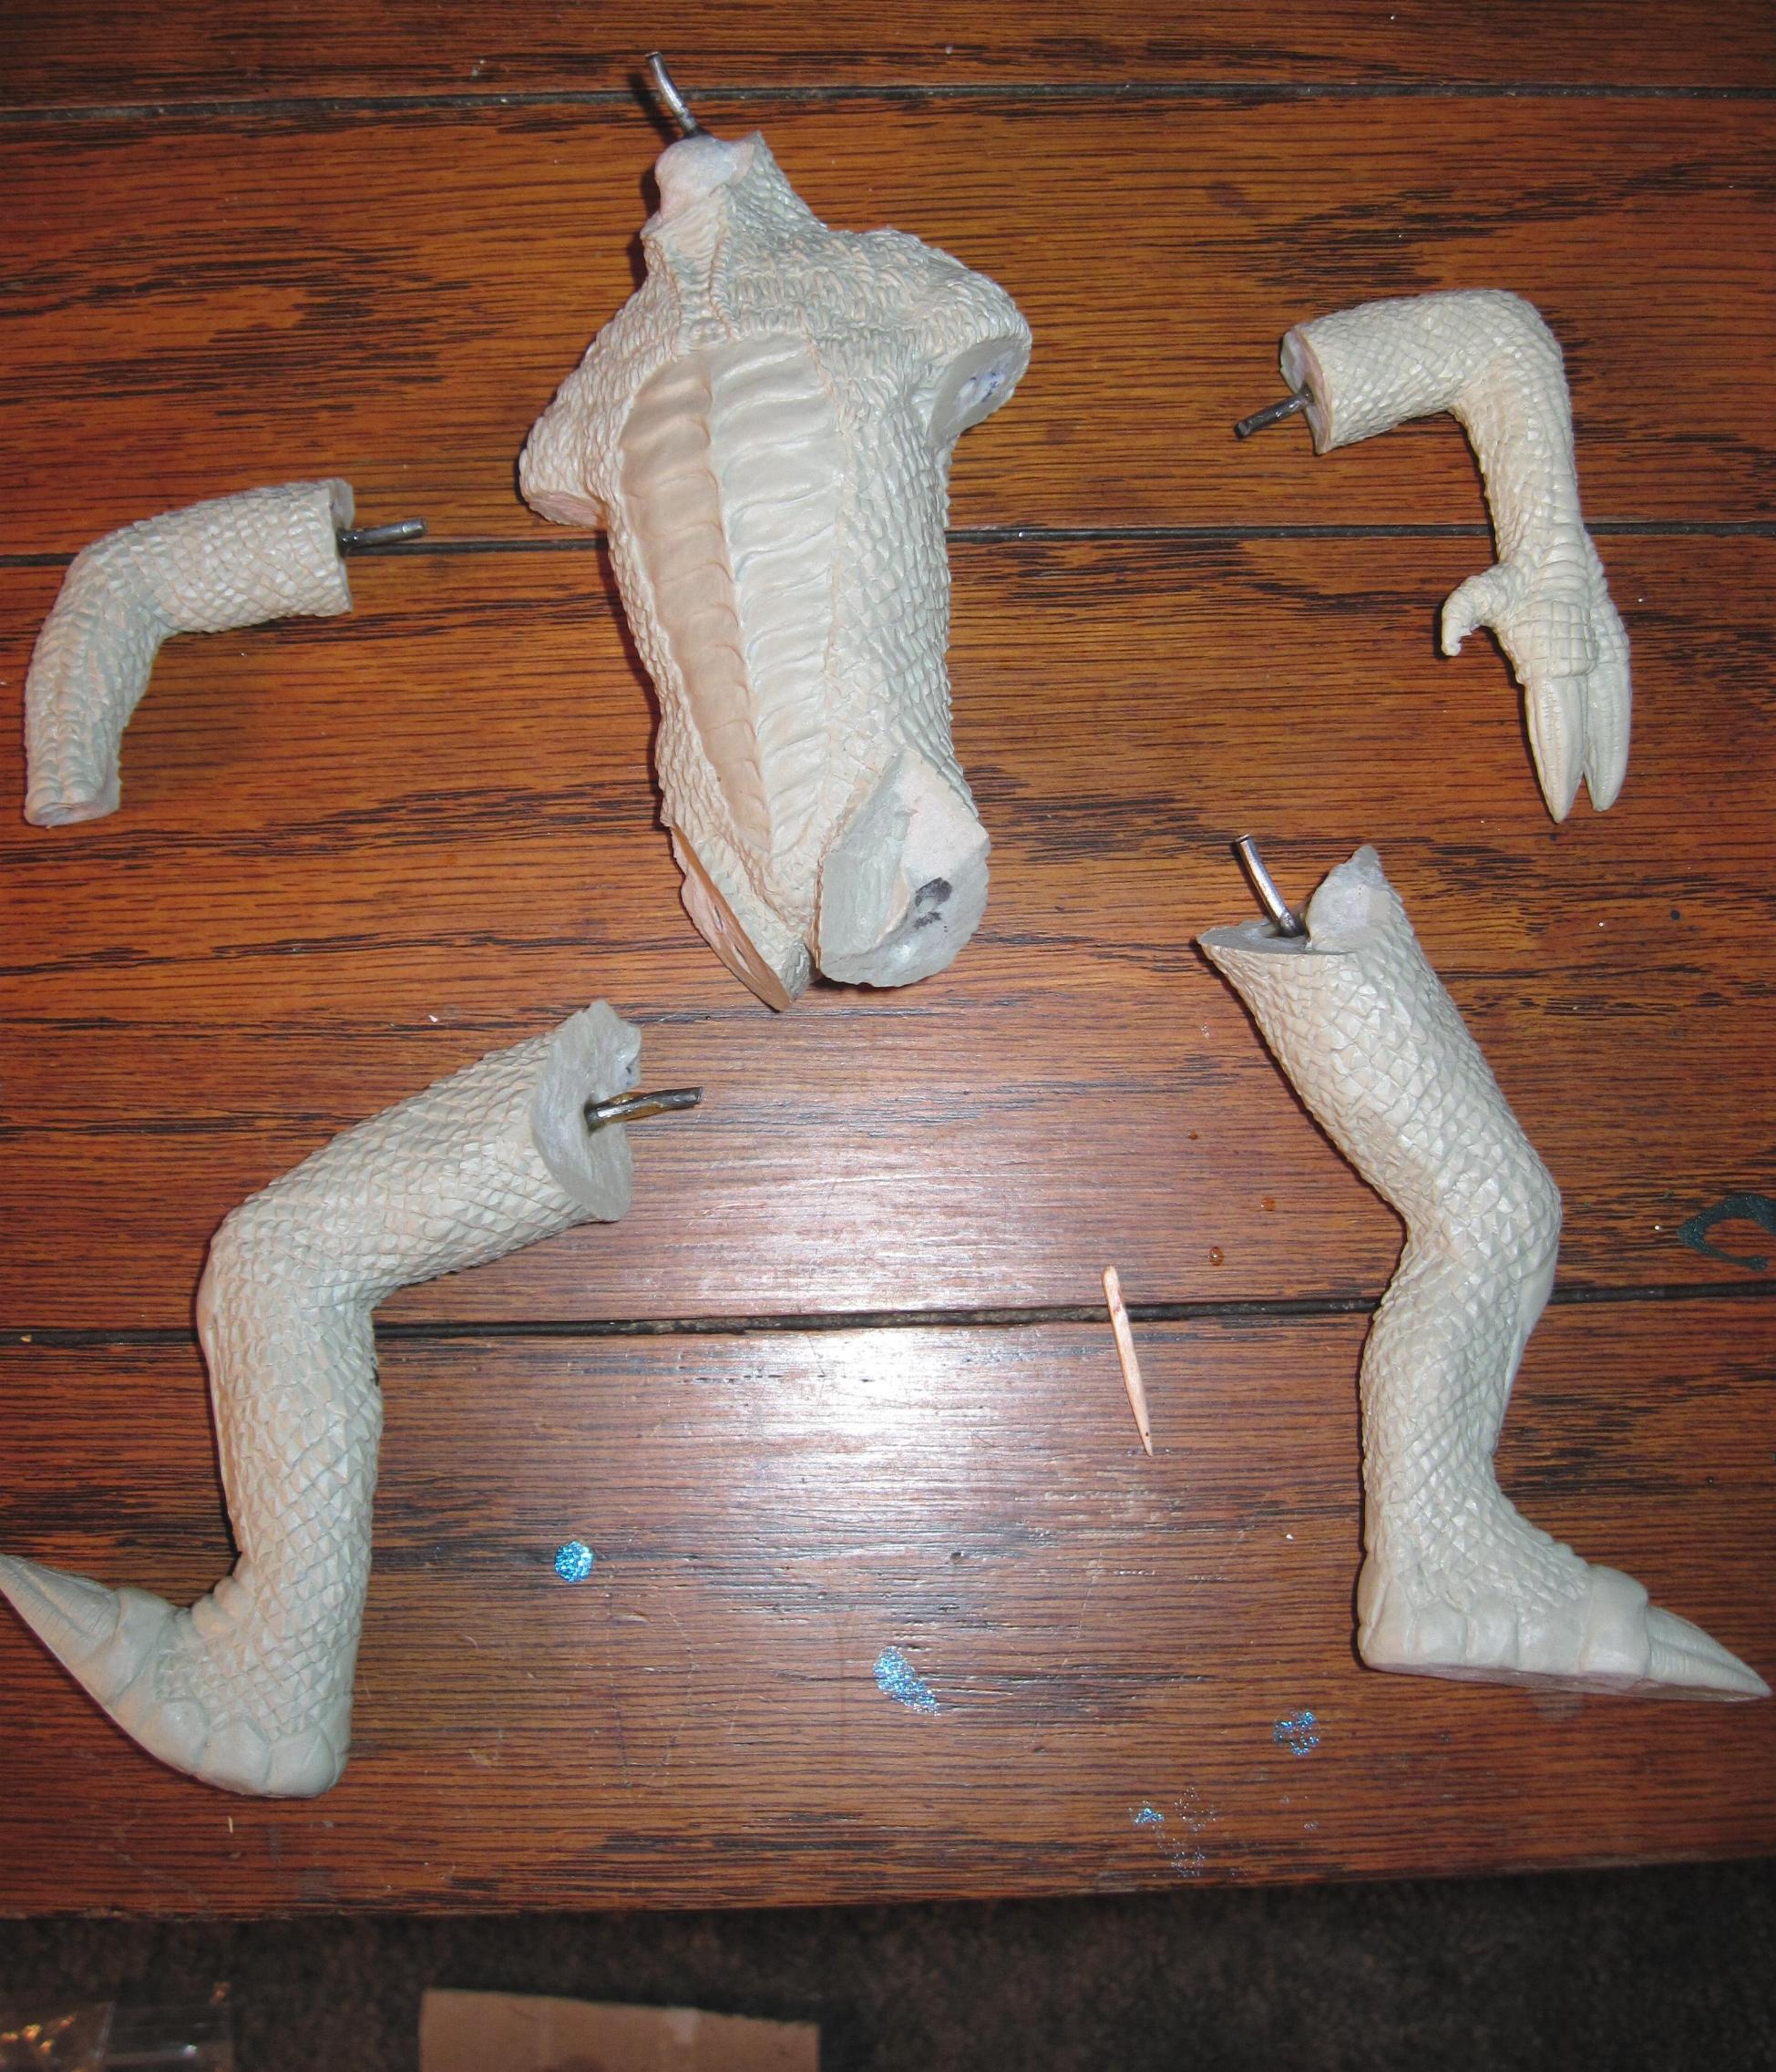
Found this at Wonderfest
in 10.
The casting is great. Just had some
dremeling to do at the joints to make sure they mated up
perfectly.
|
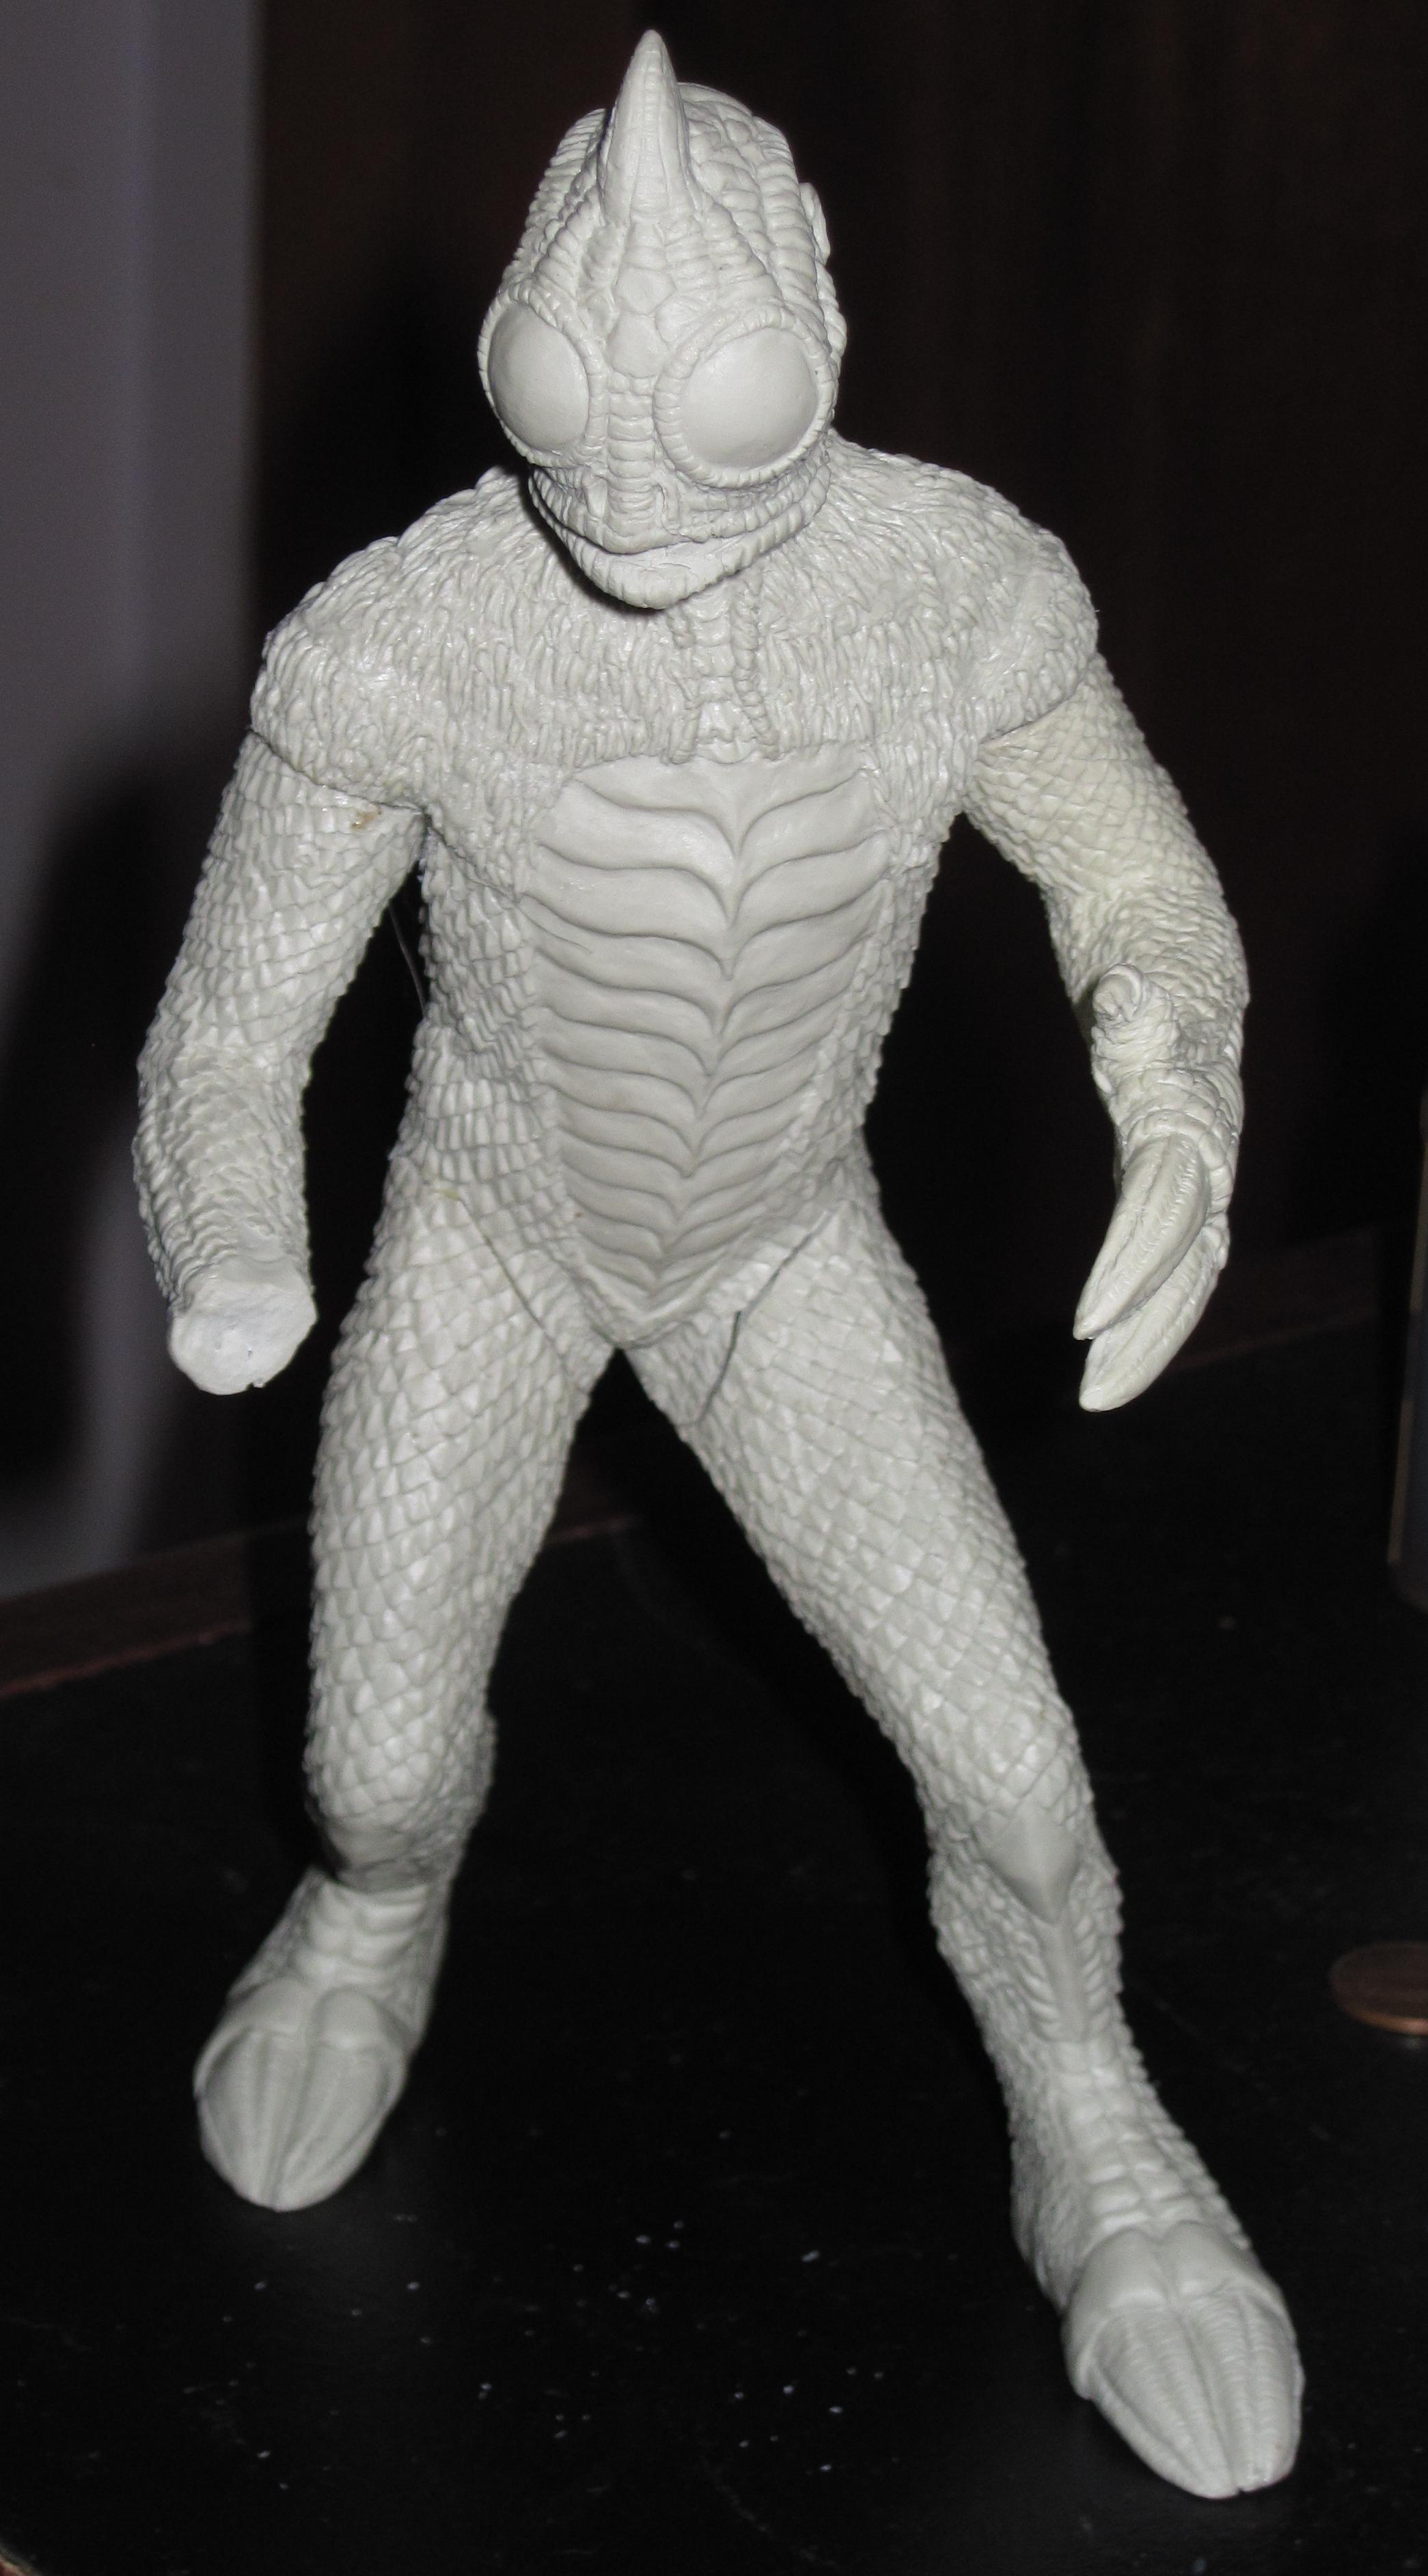  Well, I have the majority of it together 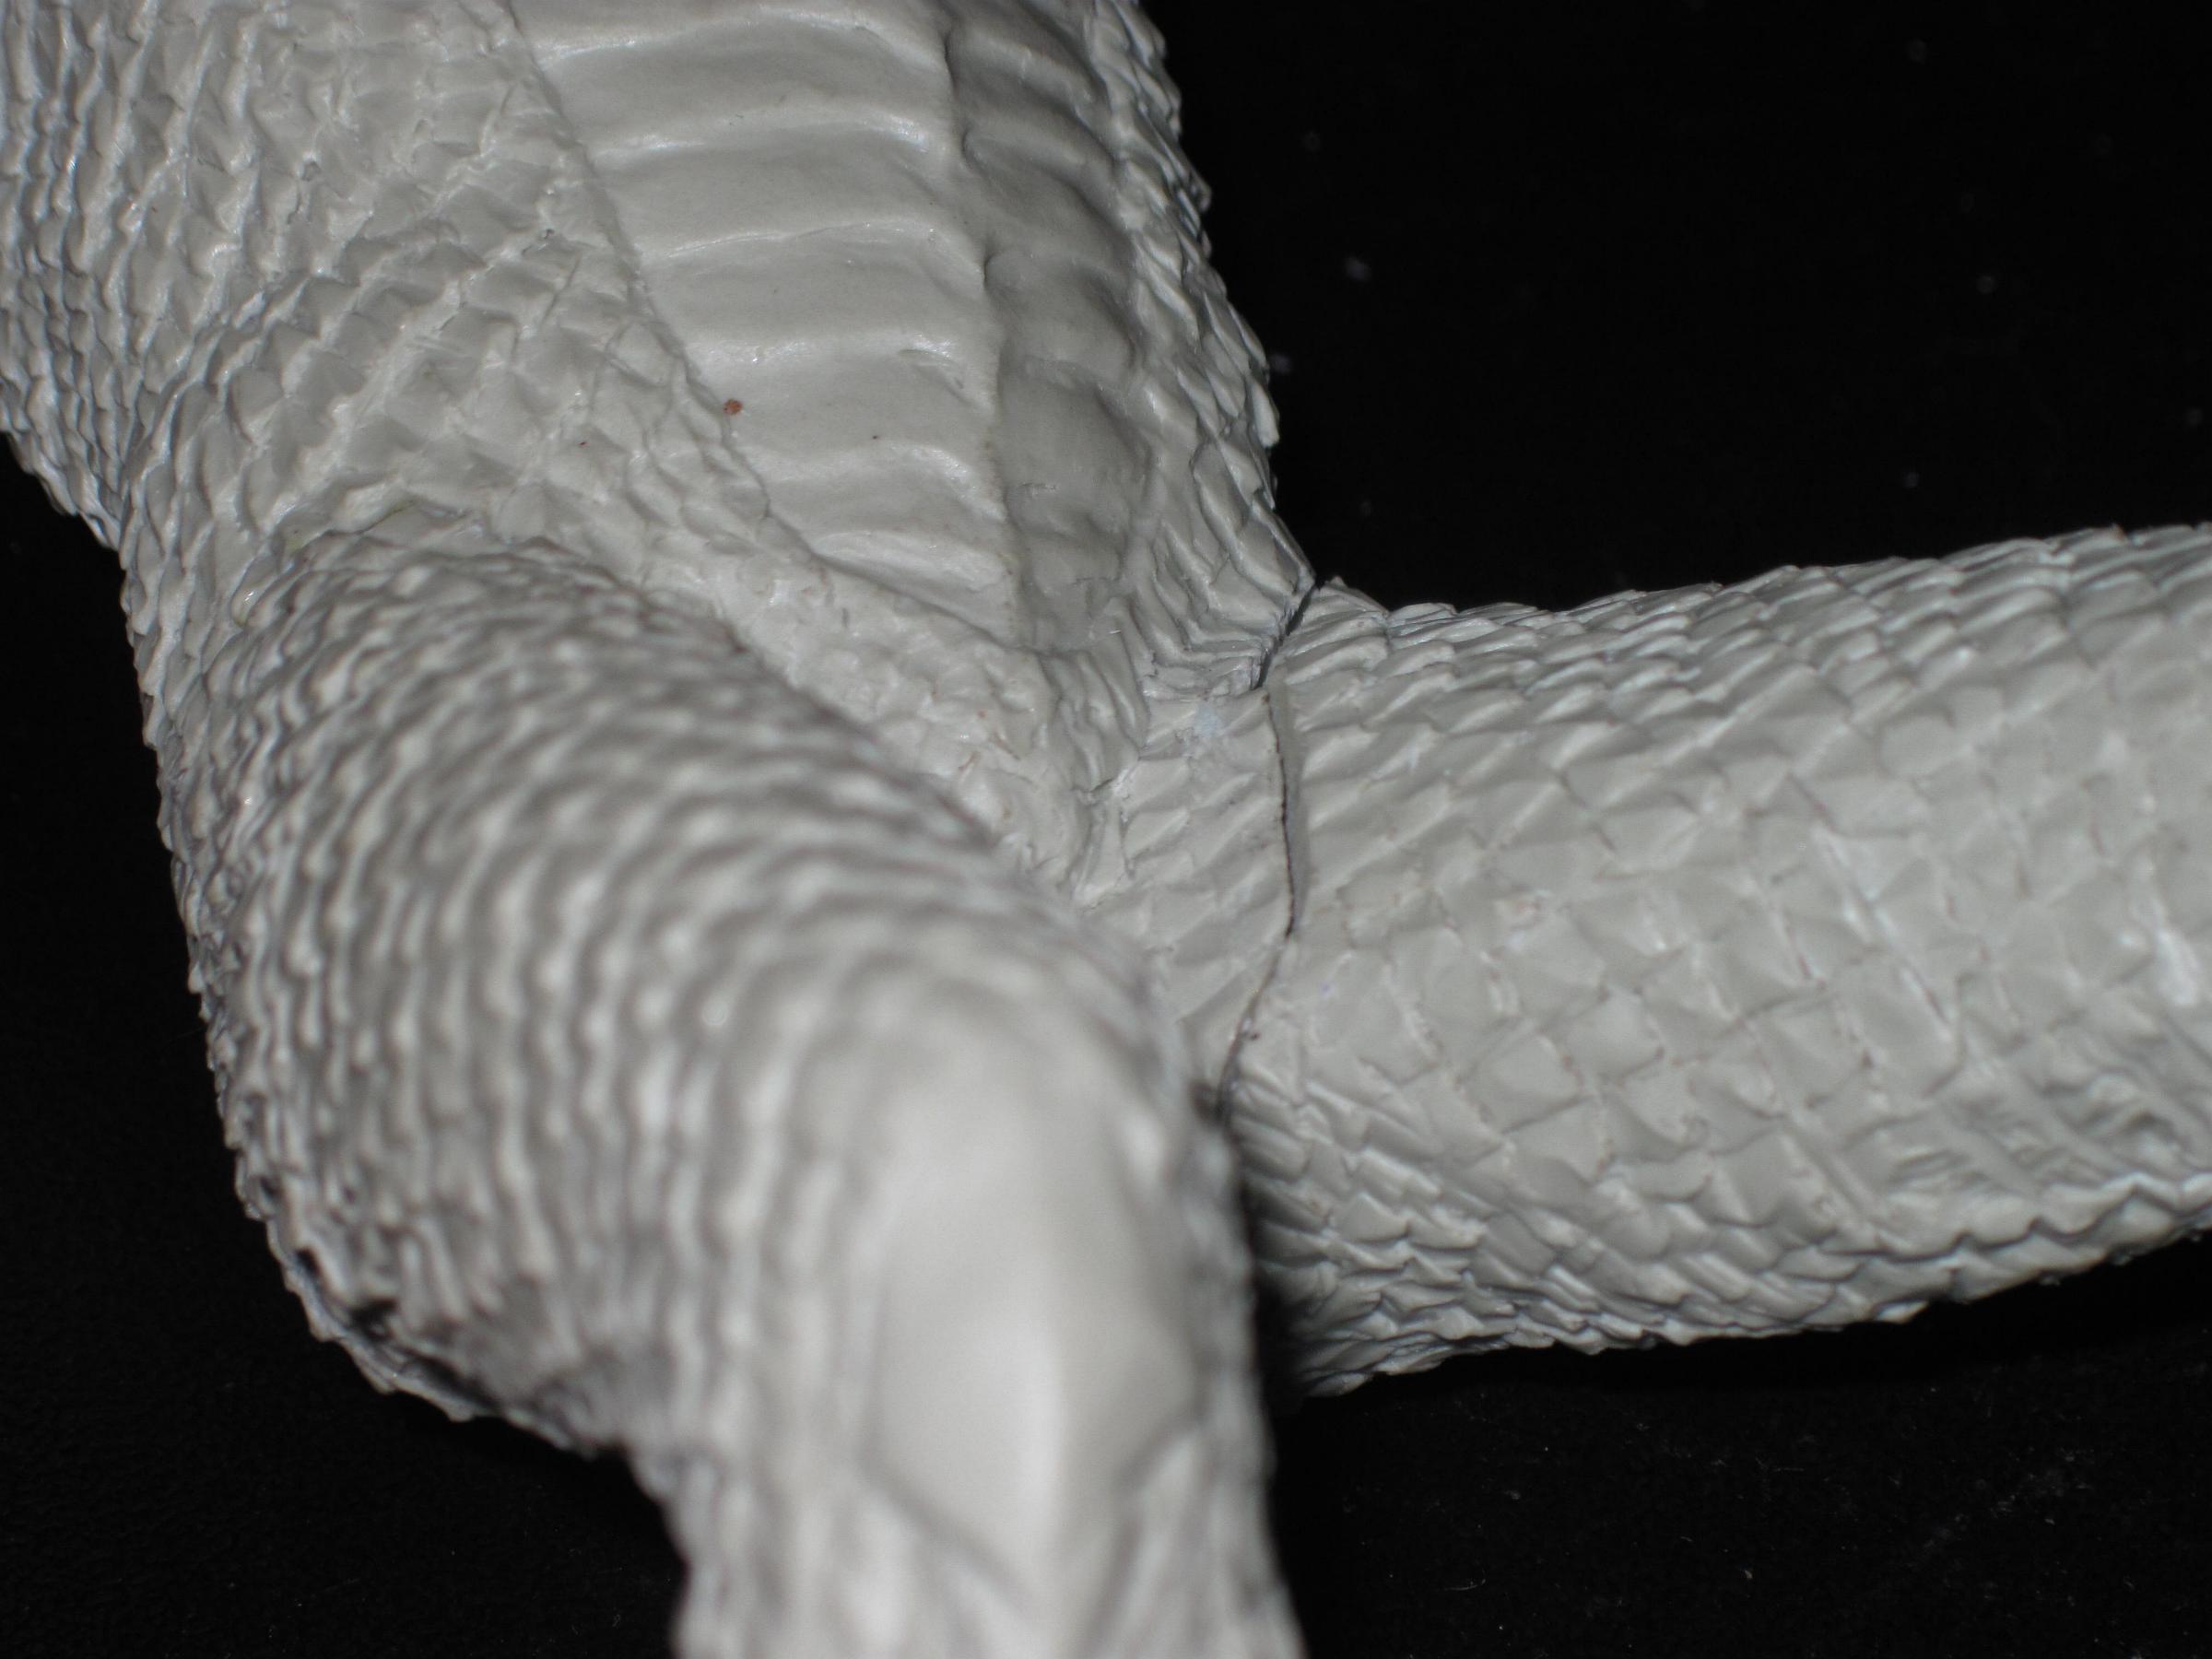  But, due to my poor pinning skills I have a little seam work to do. |
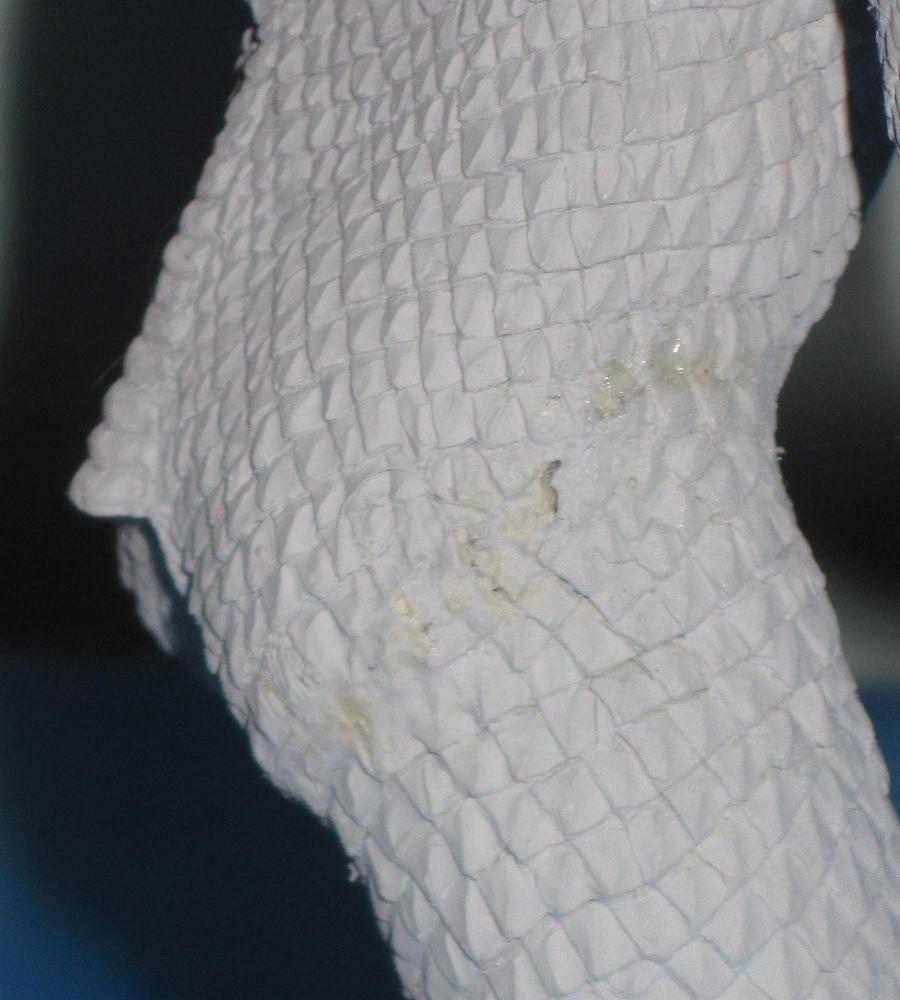 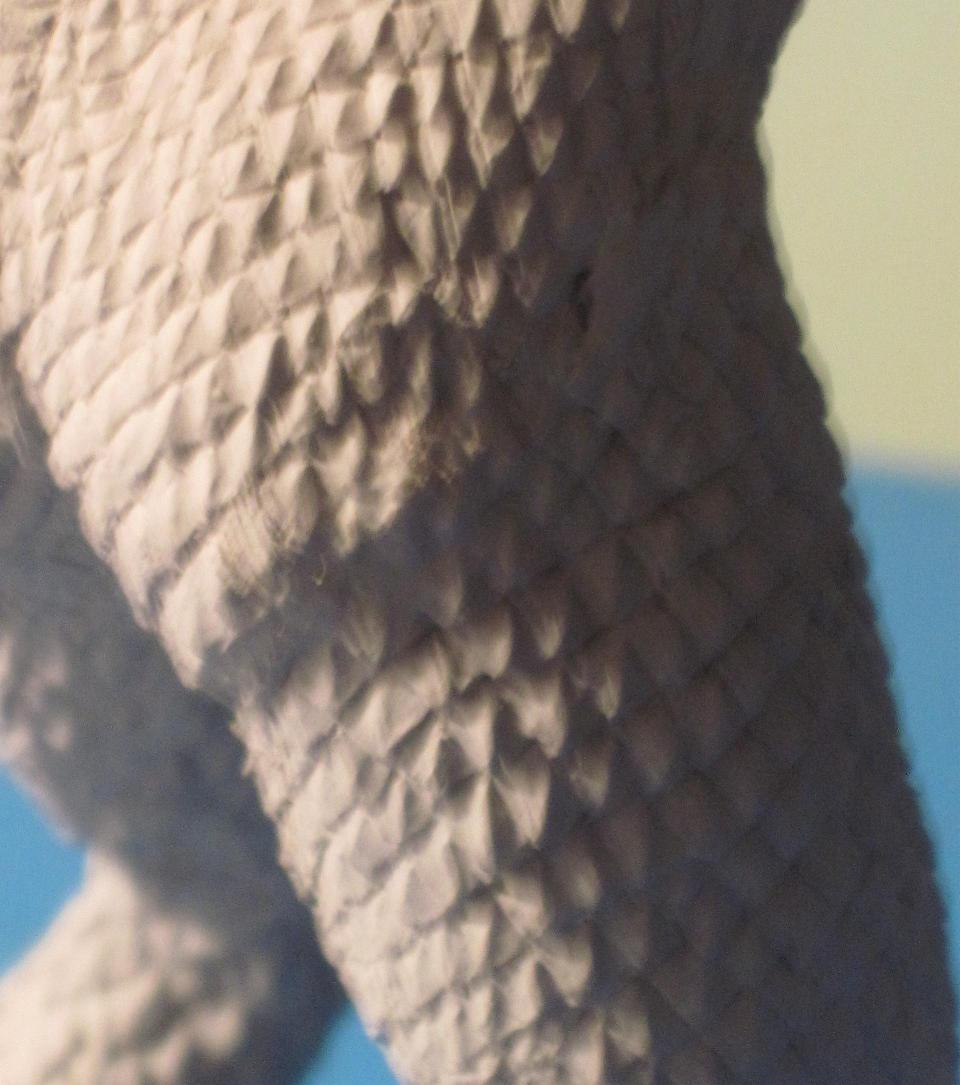 From the first angle, the putty work doesn't look too bad. But, from the second shot, you can see I still have my work cut out for me. 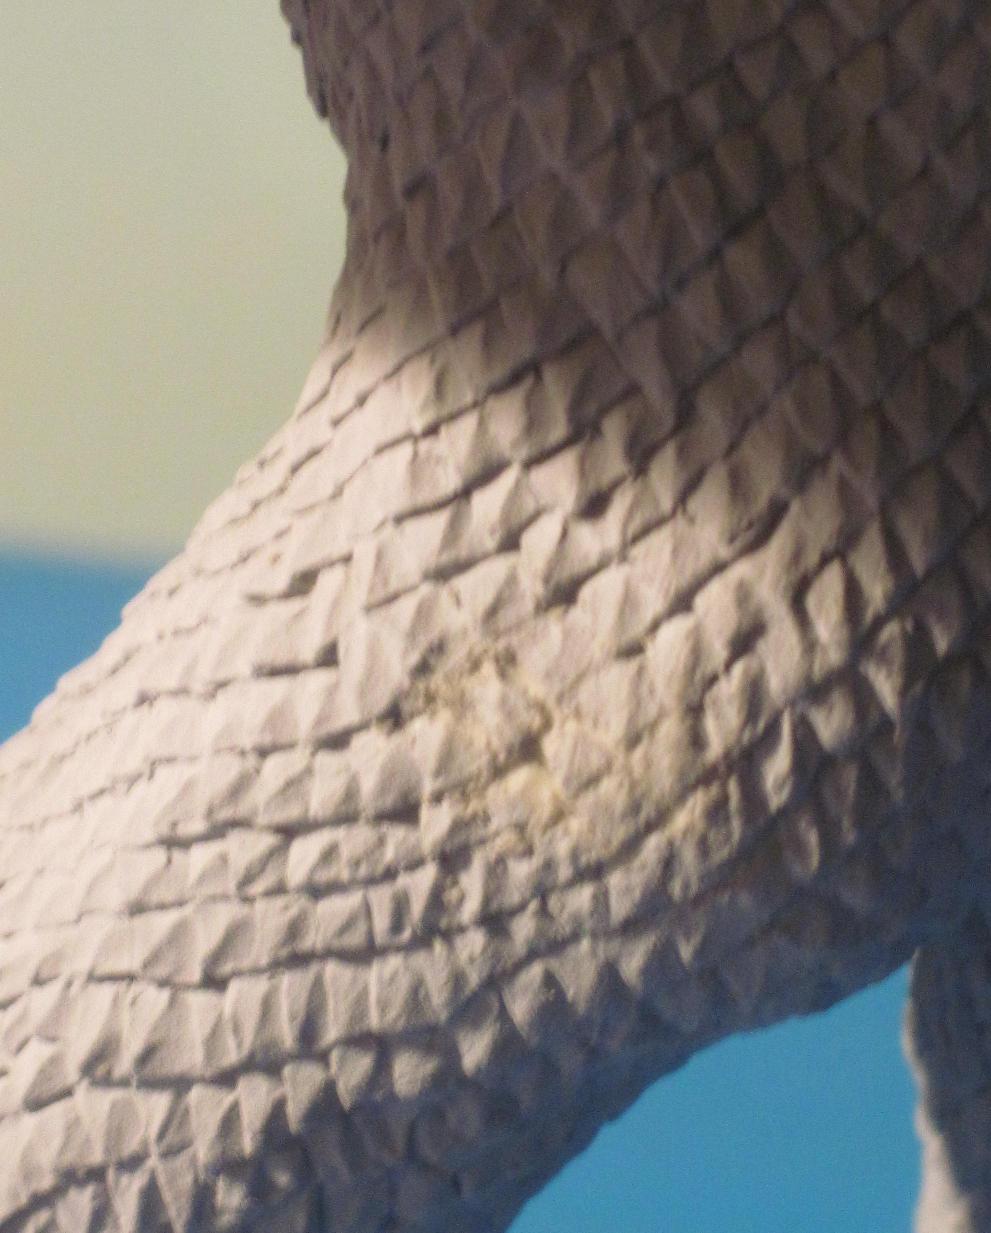   Still have some other smaller stuff to work on as well. 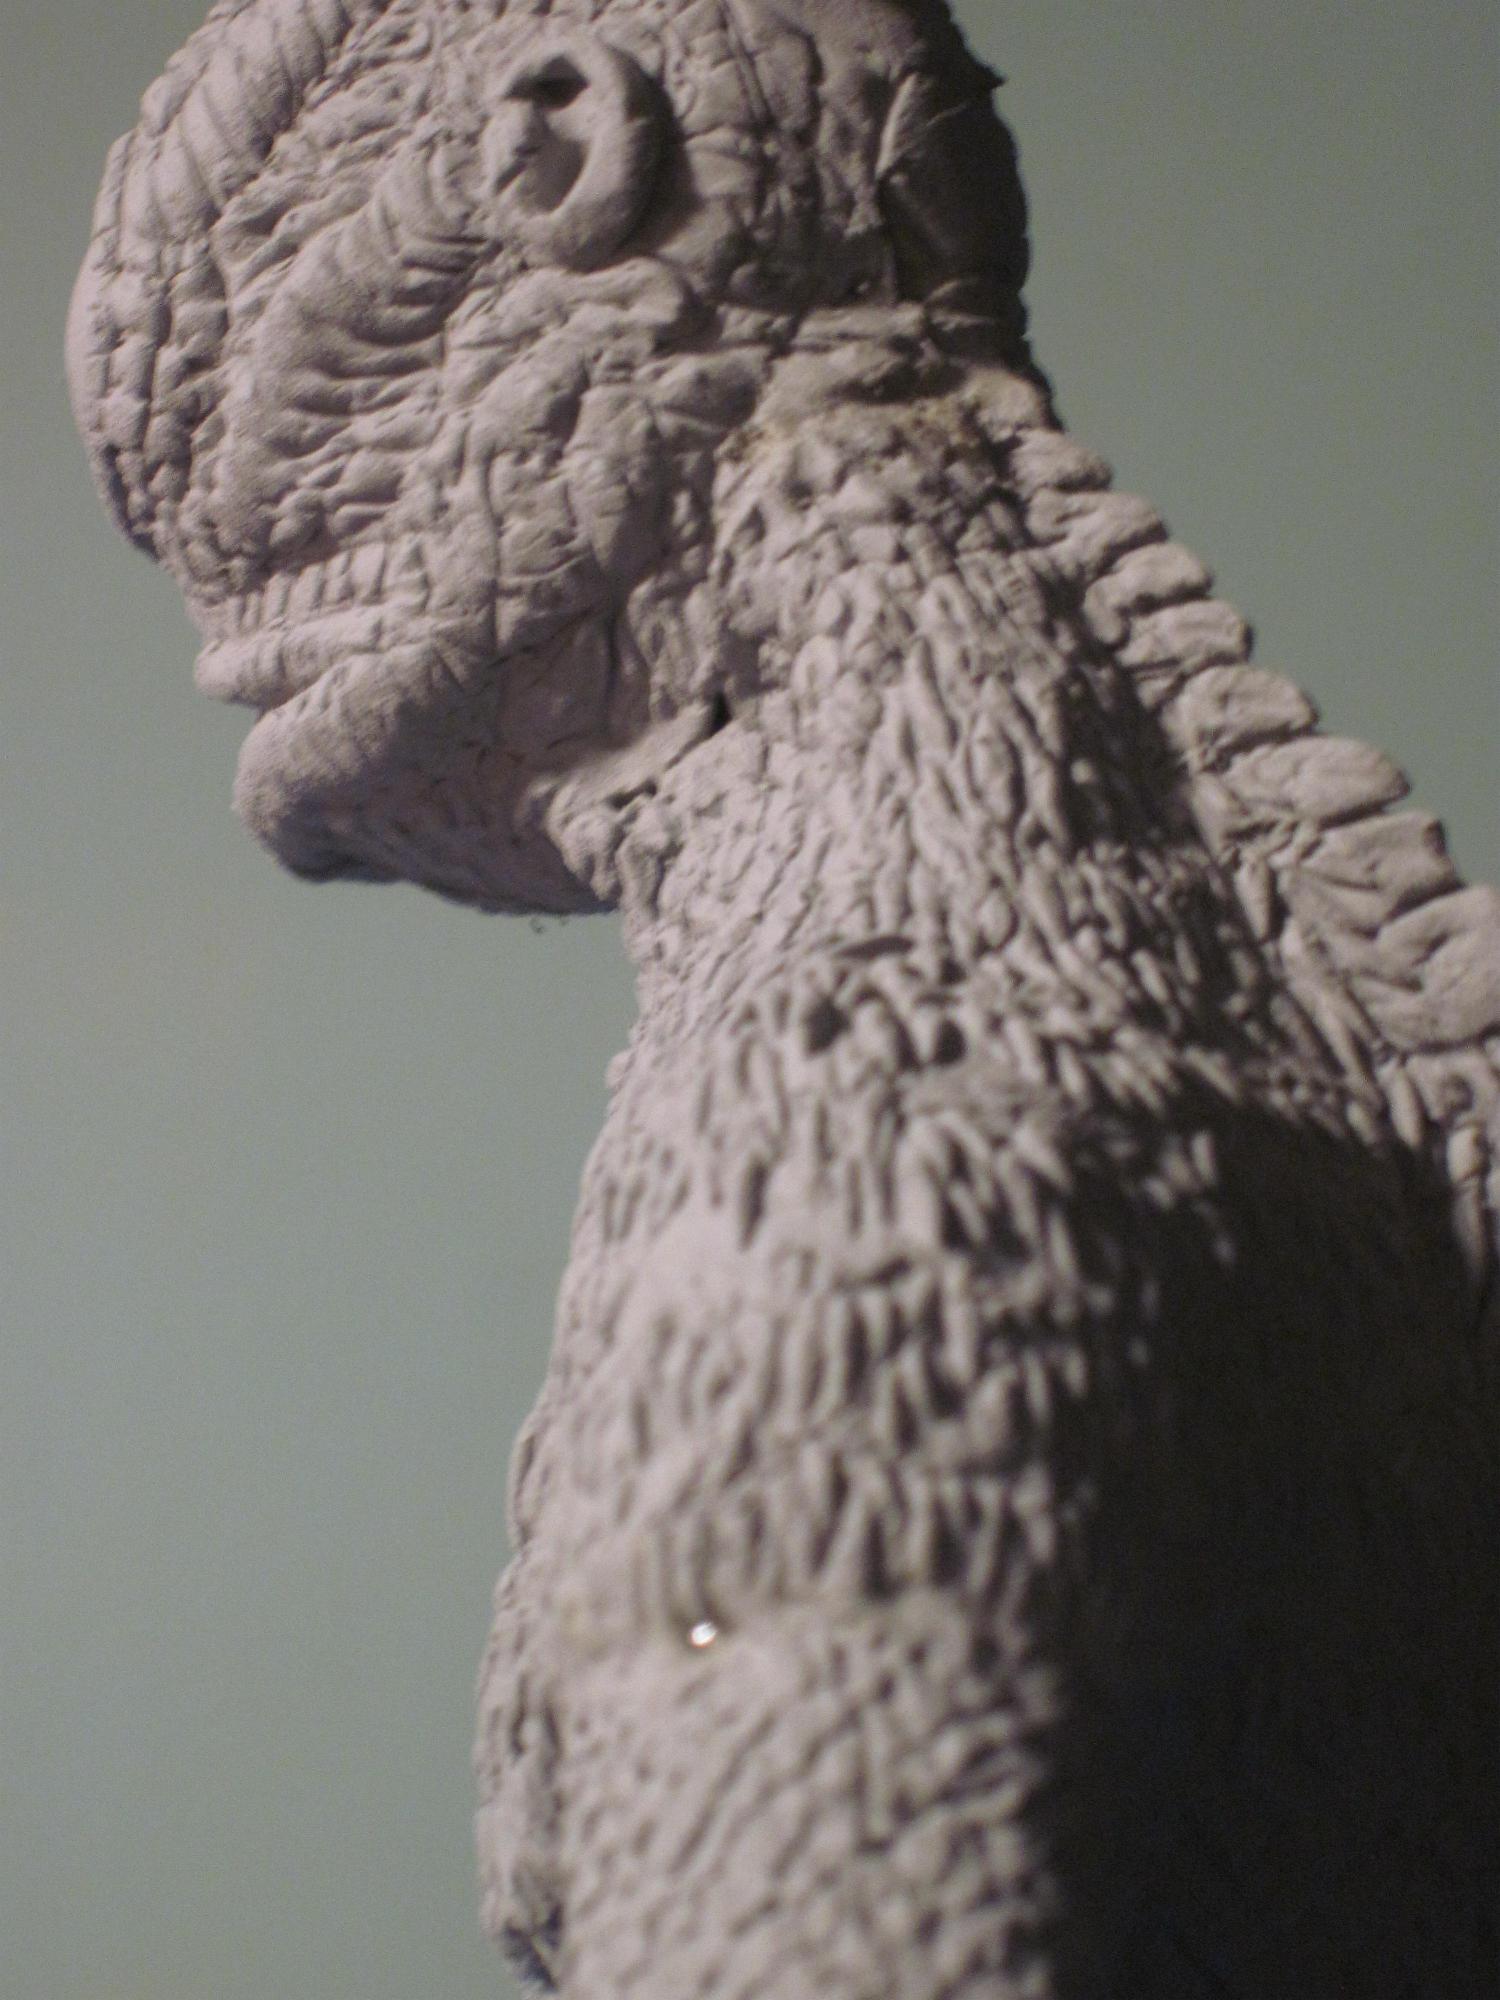 |
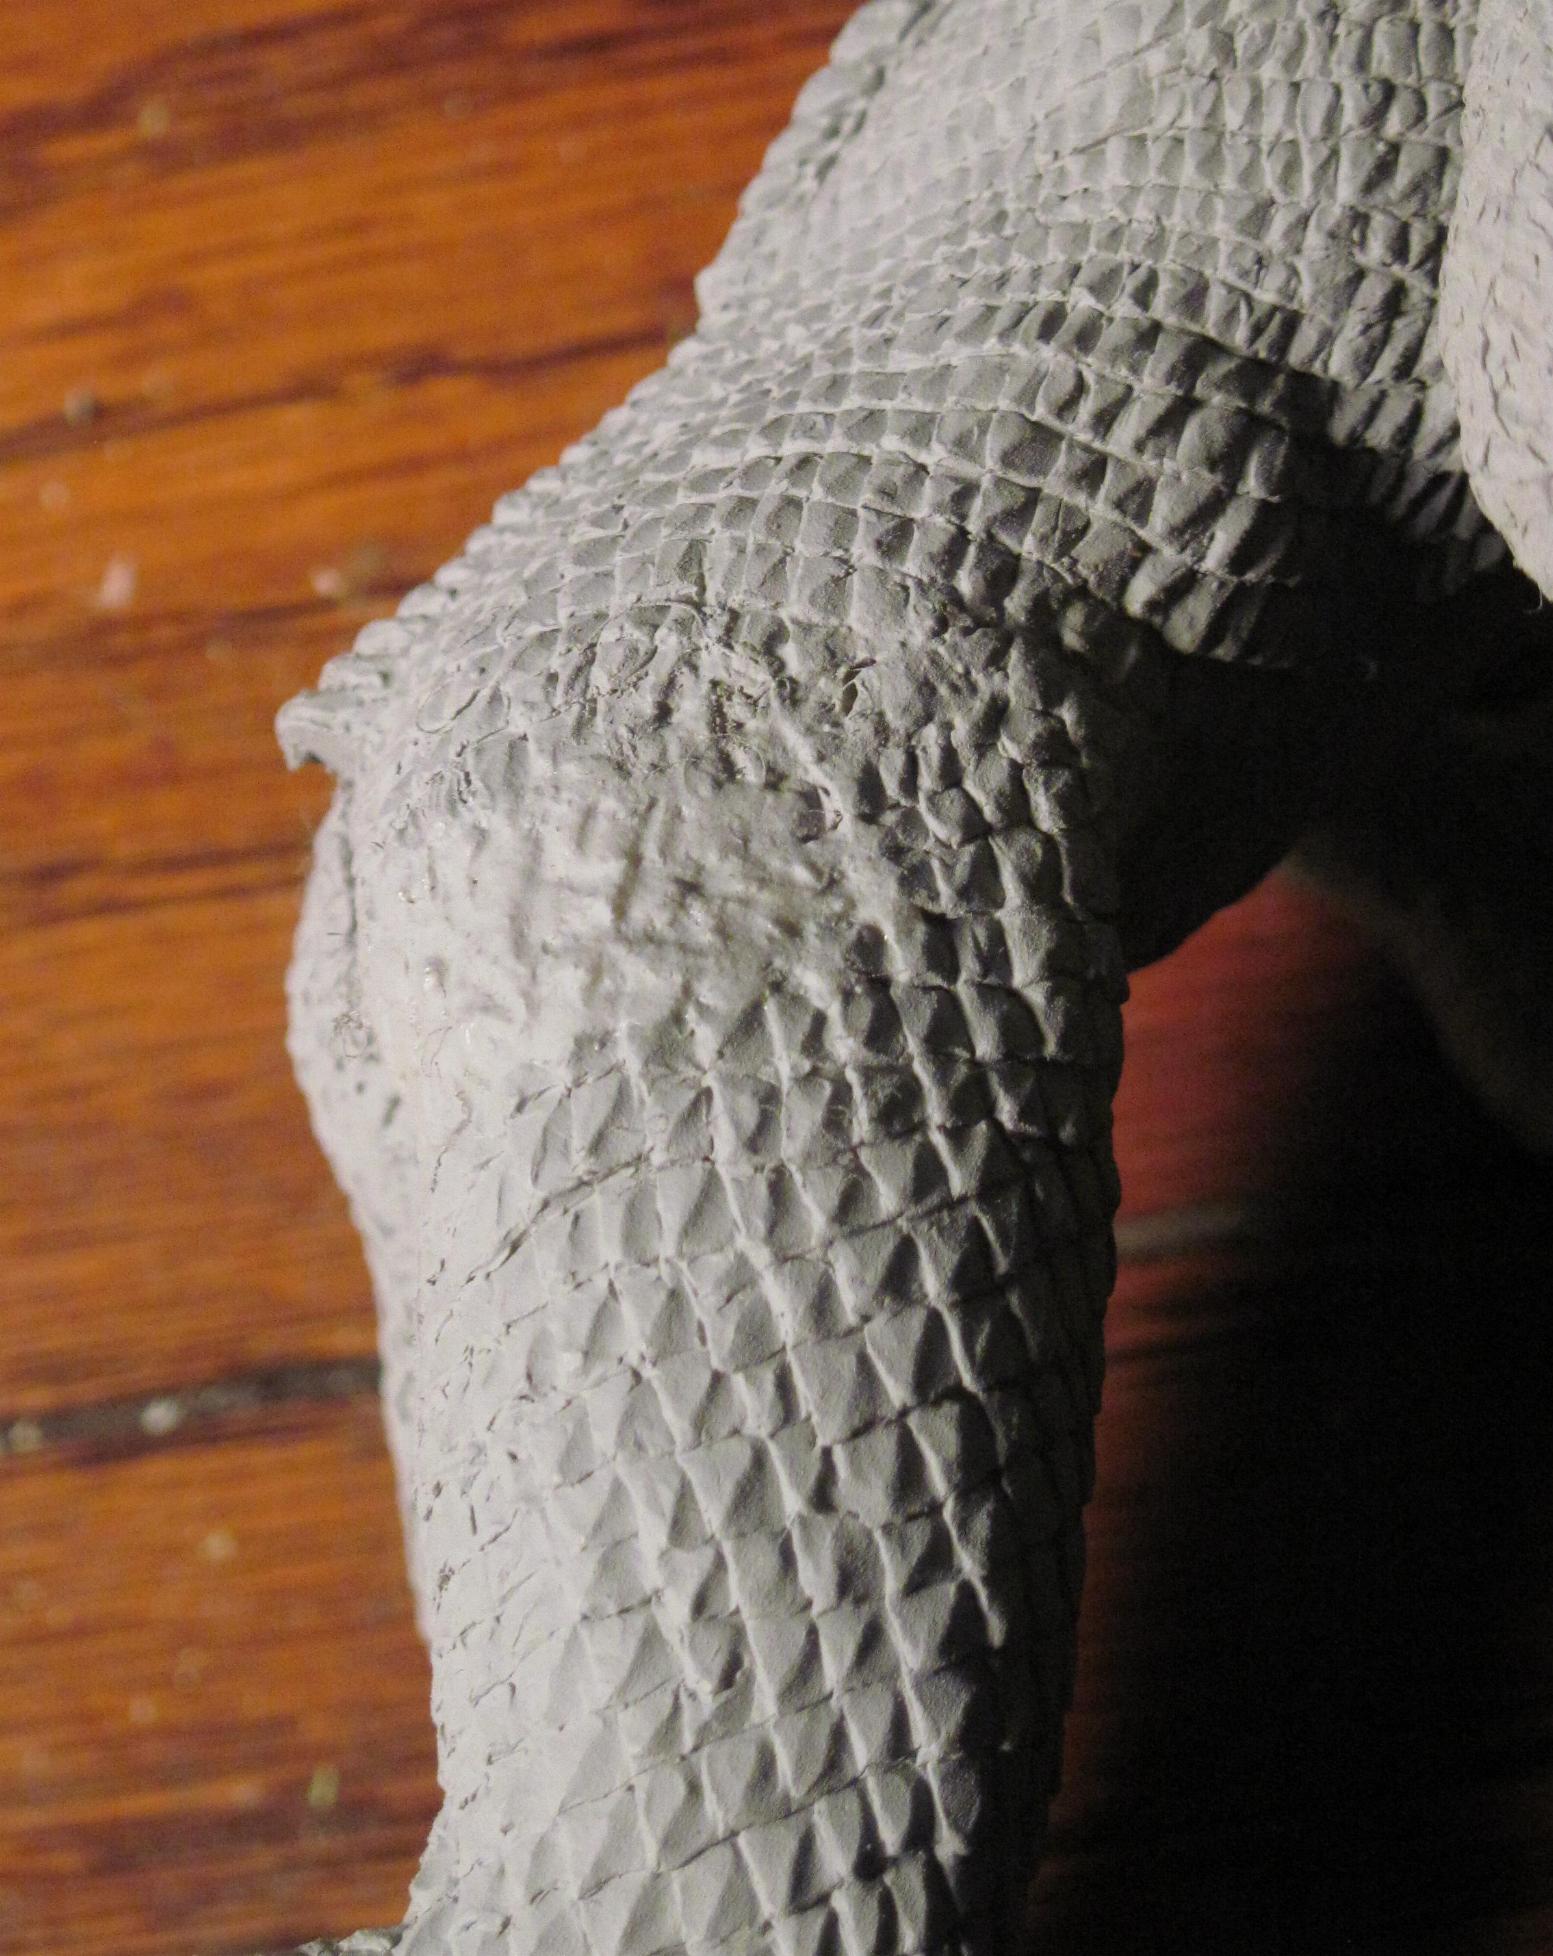 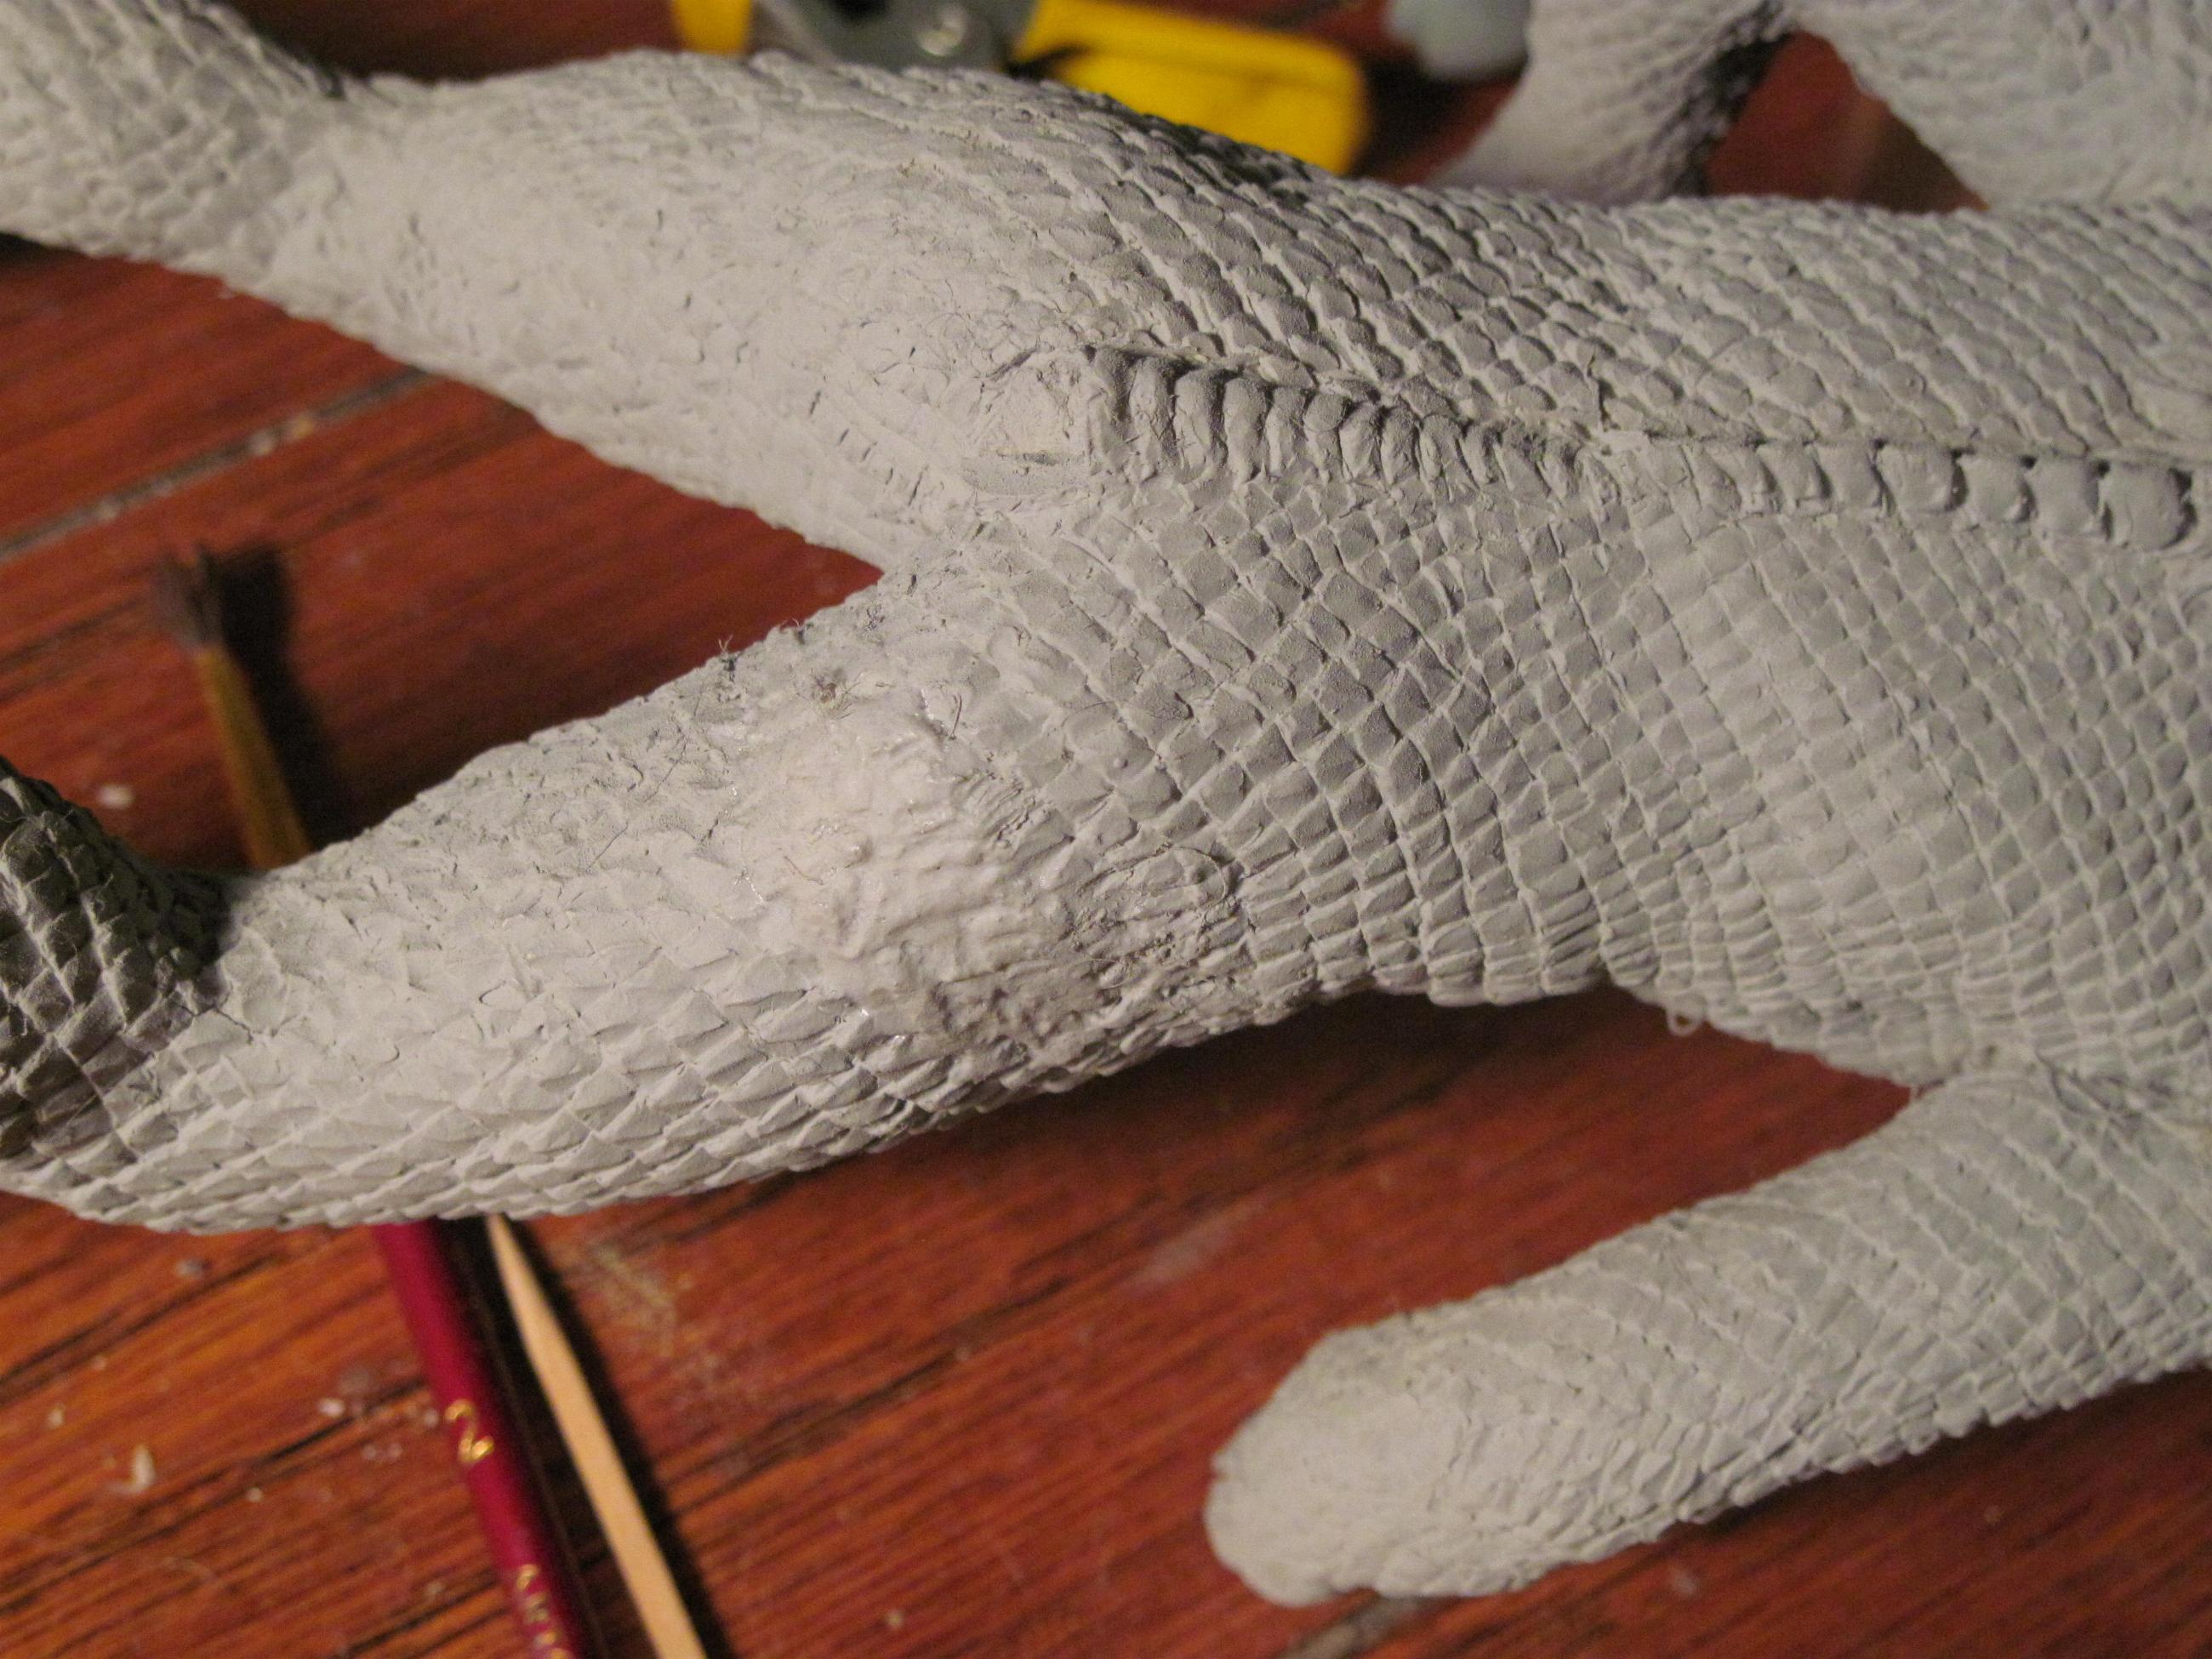 Well, I have the contour smoothed out now. Only problem is, the putty was a bit too soft, so my bit of sculpting details softened up before the putty hardened. |
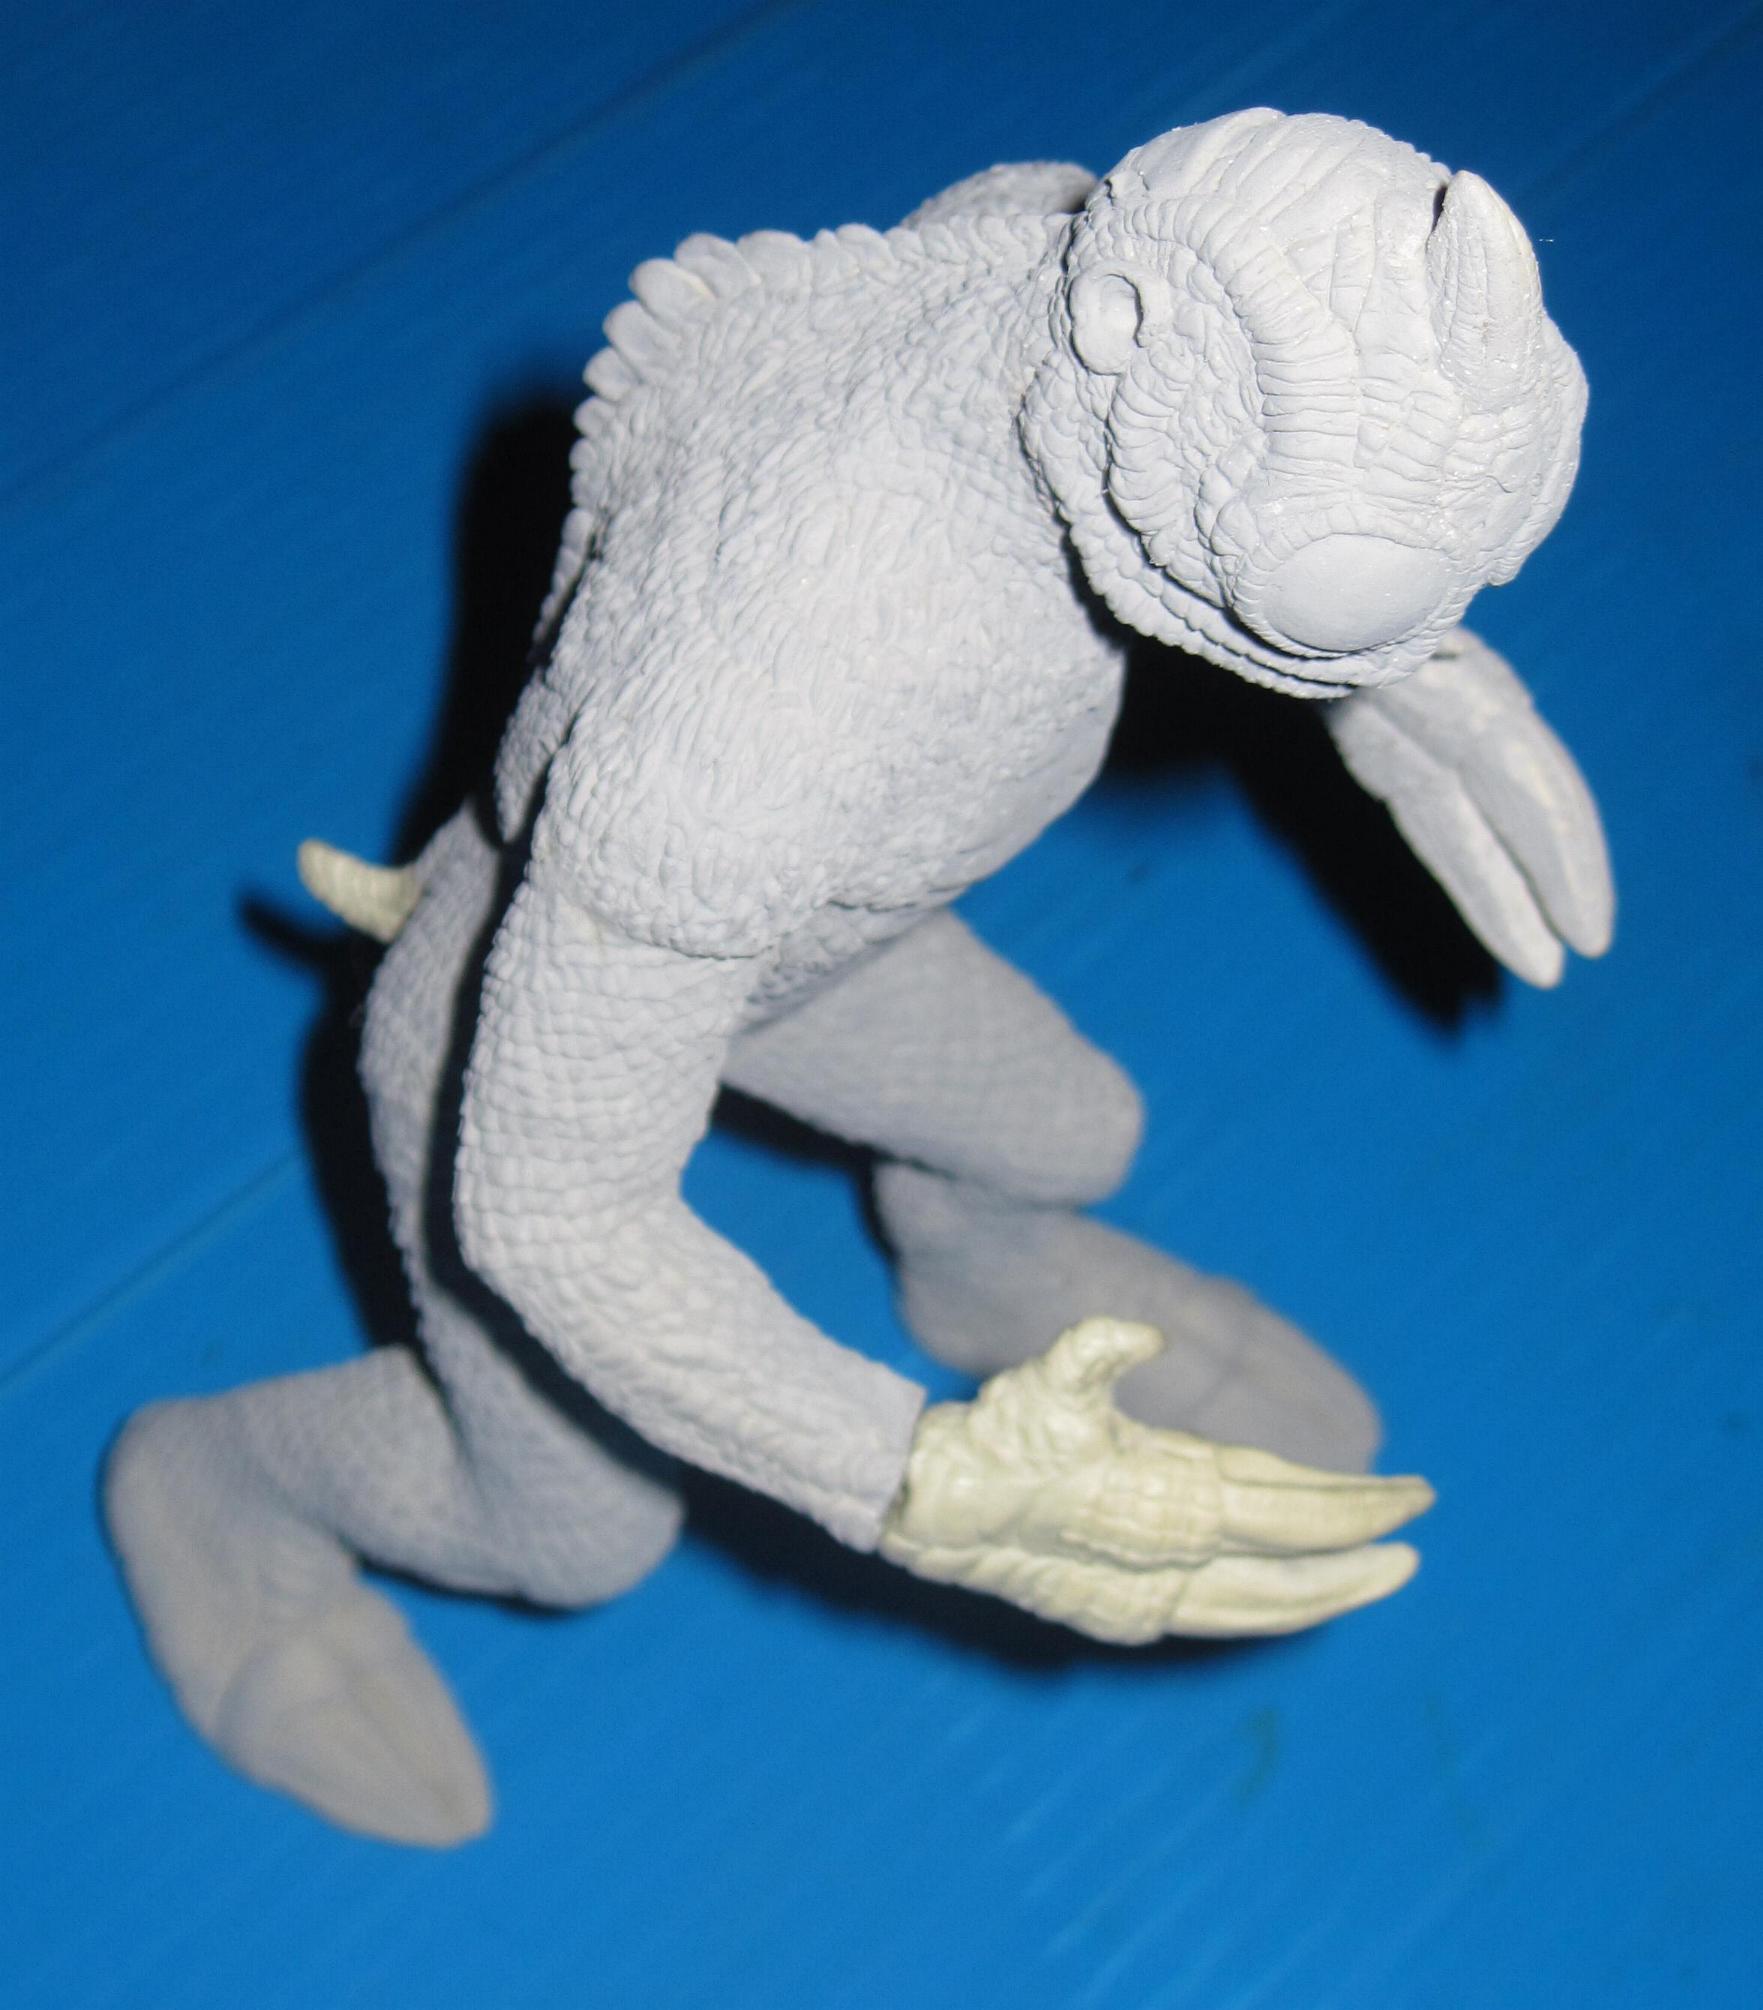 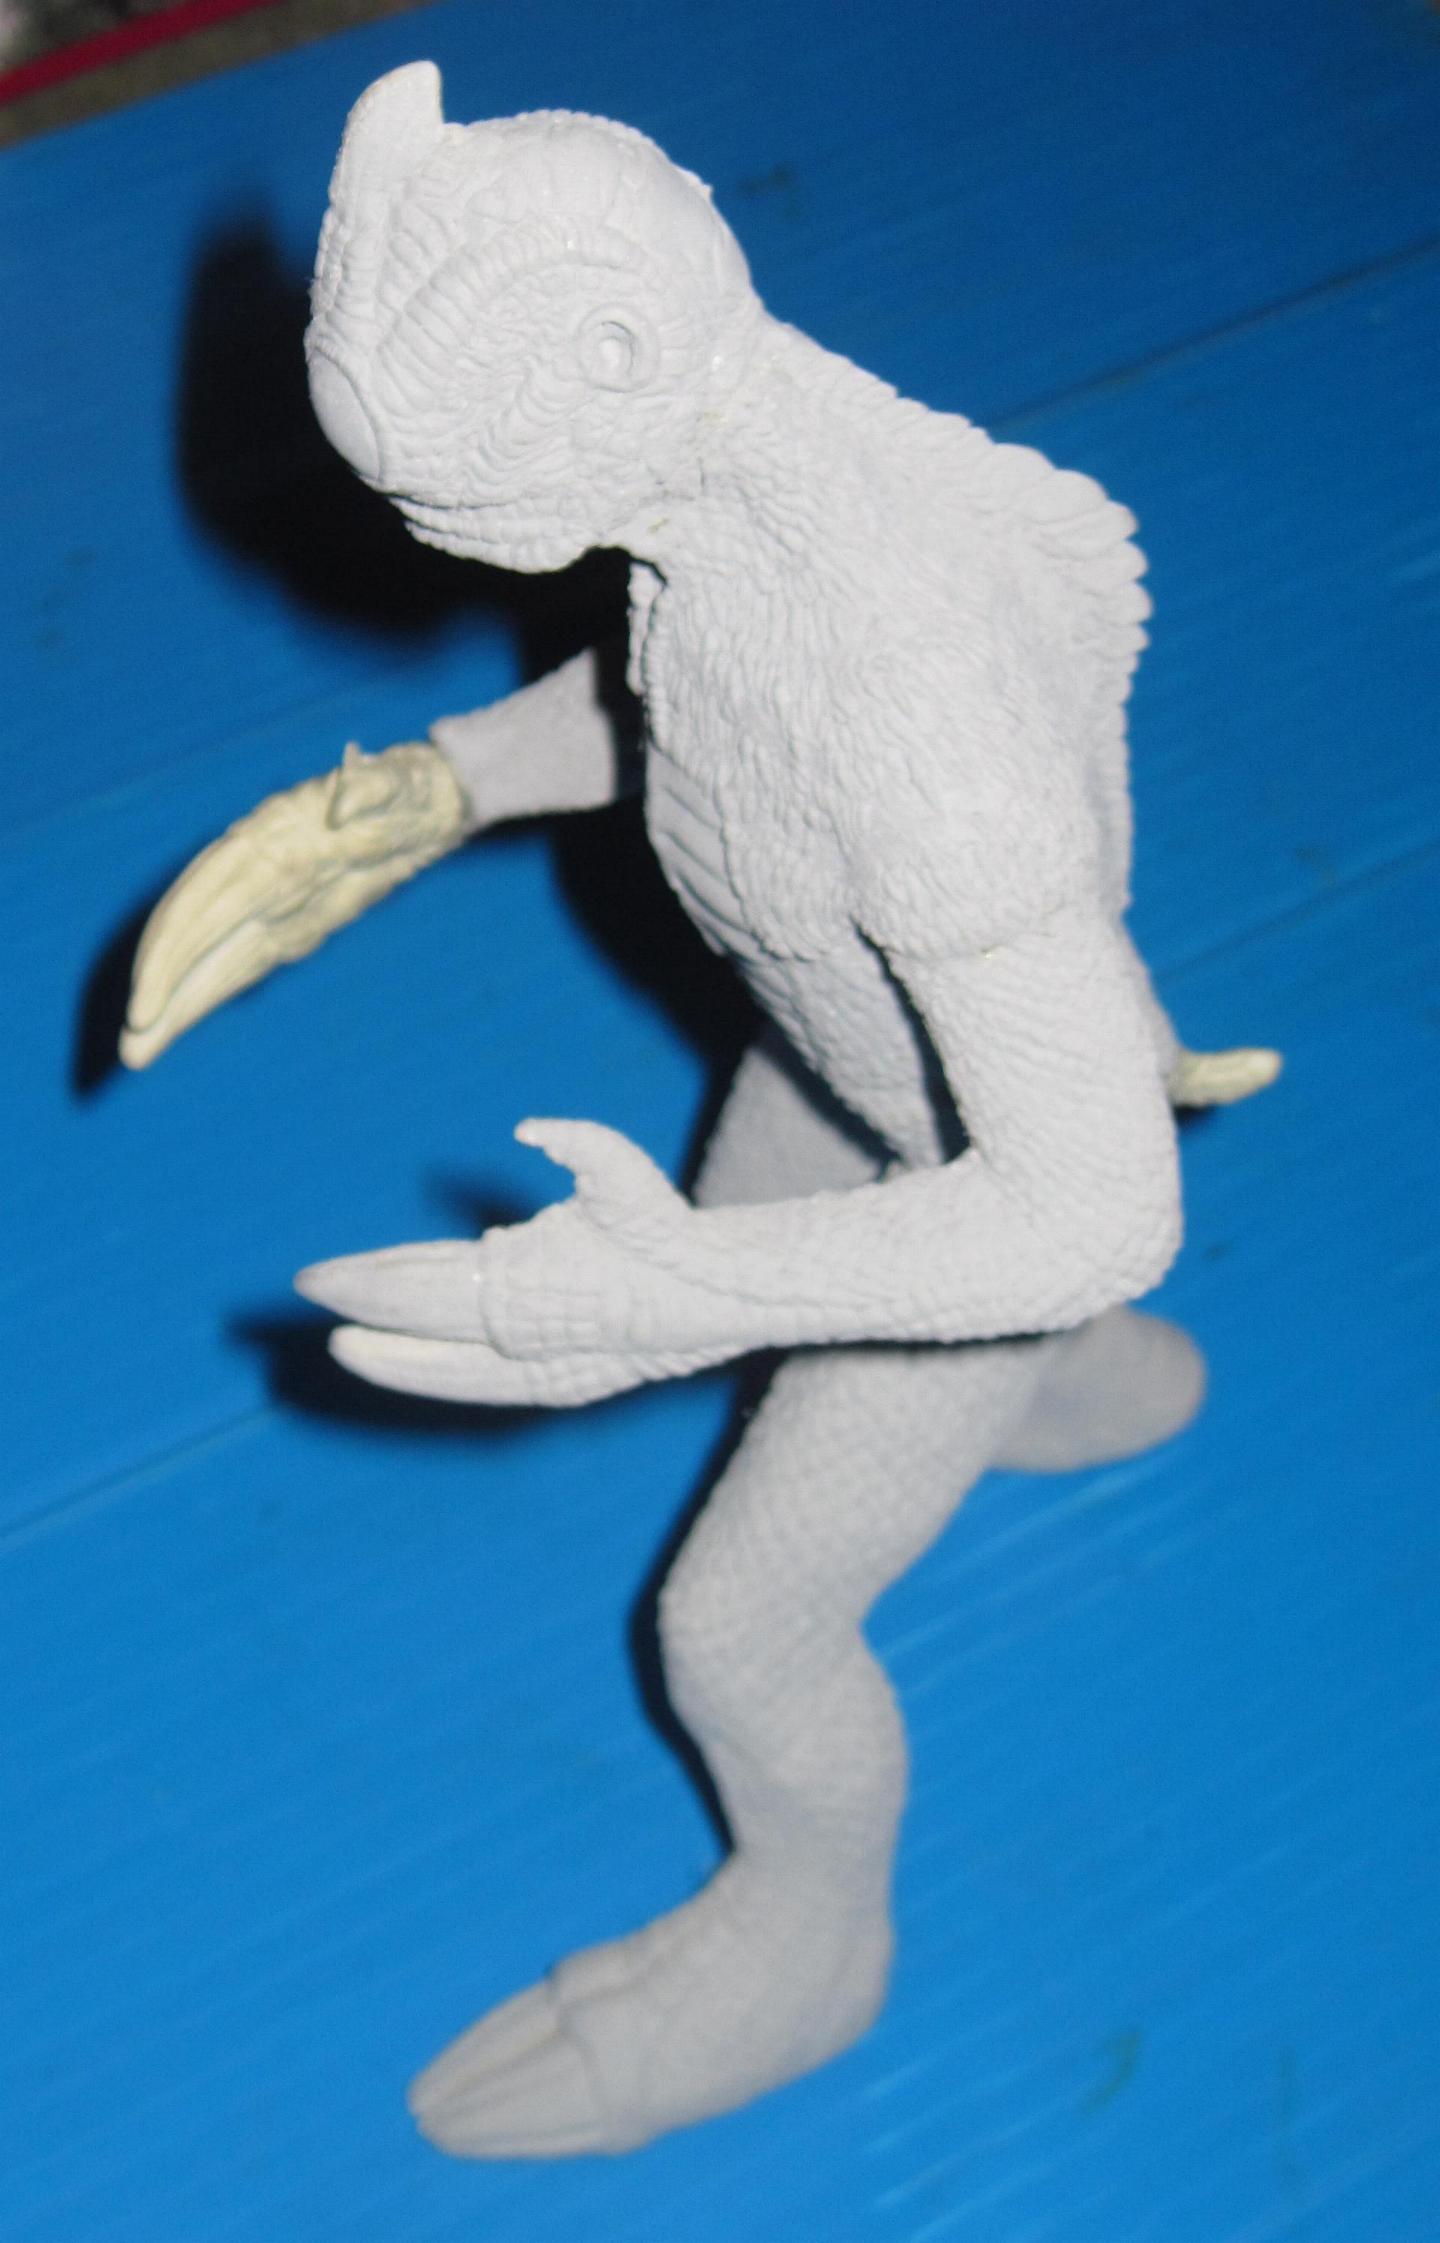 I think I have all the seams taken care of, so I attached the tail and the other hand. It's getting primed now, then I have to putty up the right wrist, and hopefully I will be ready for paint. |
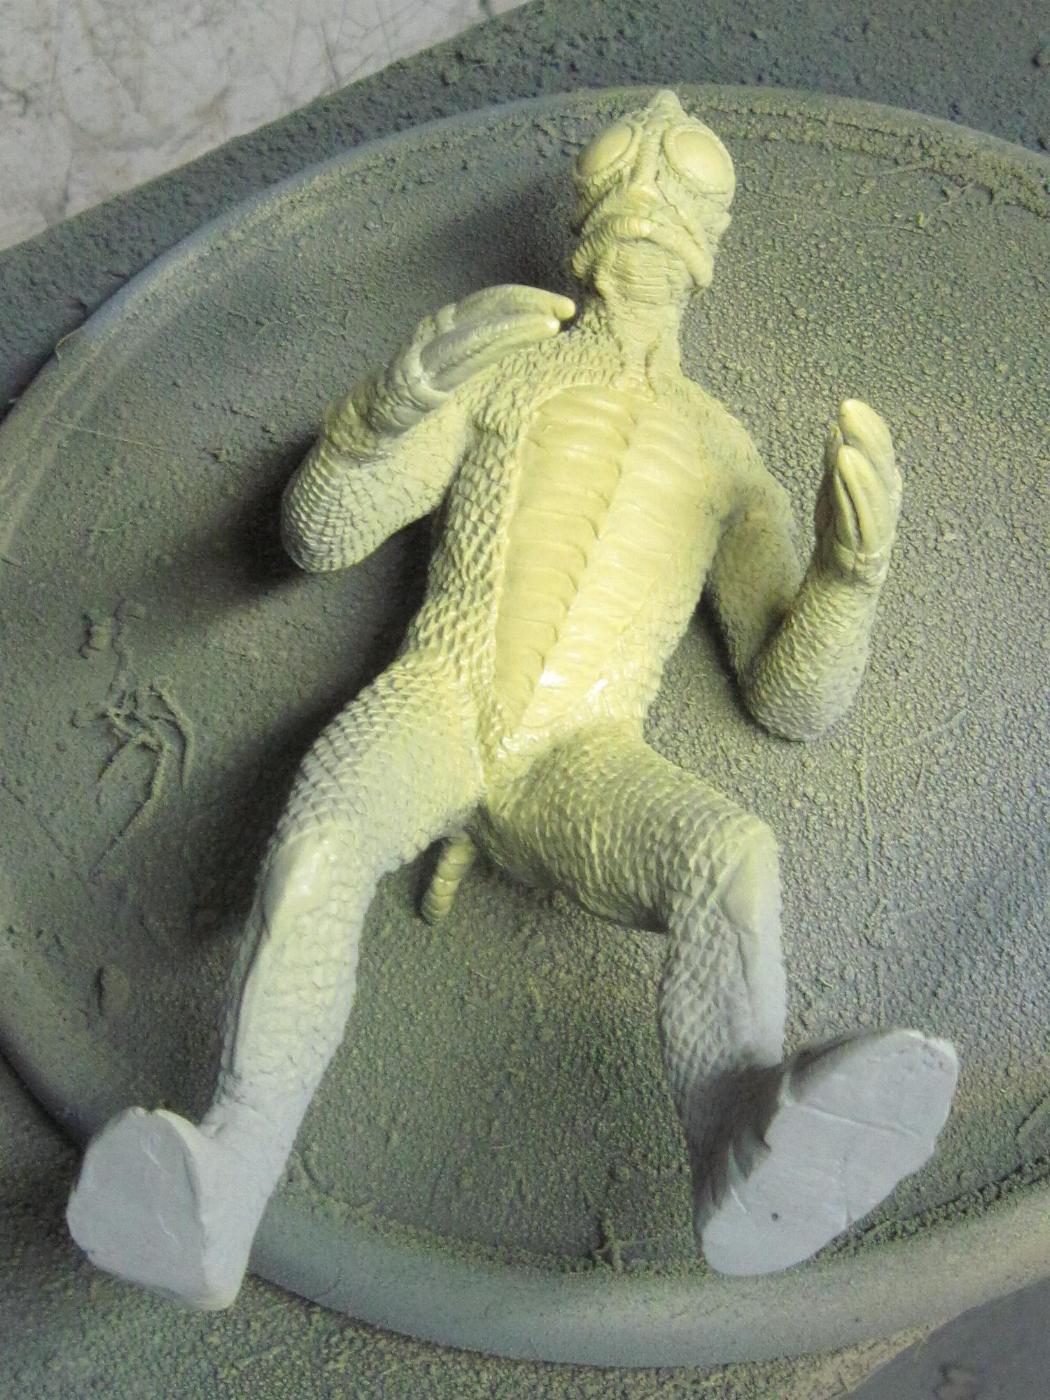 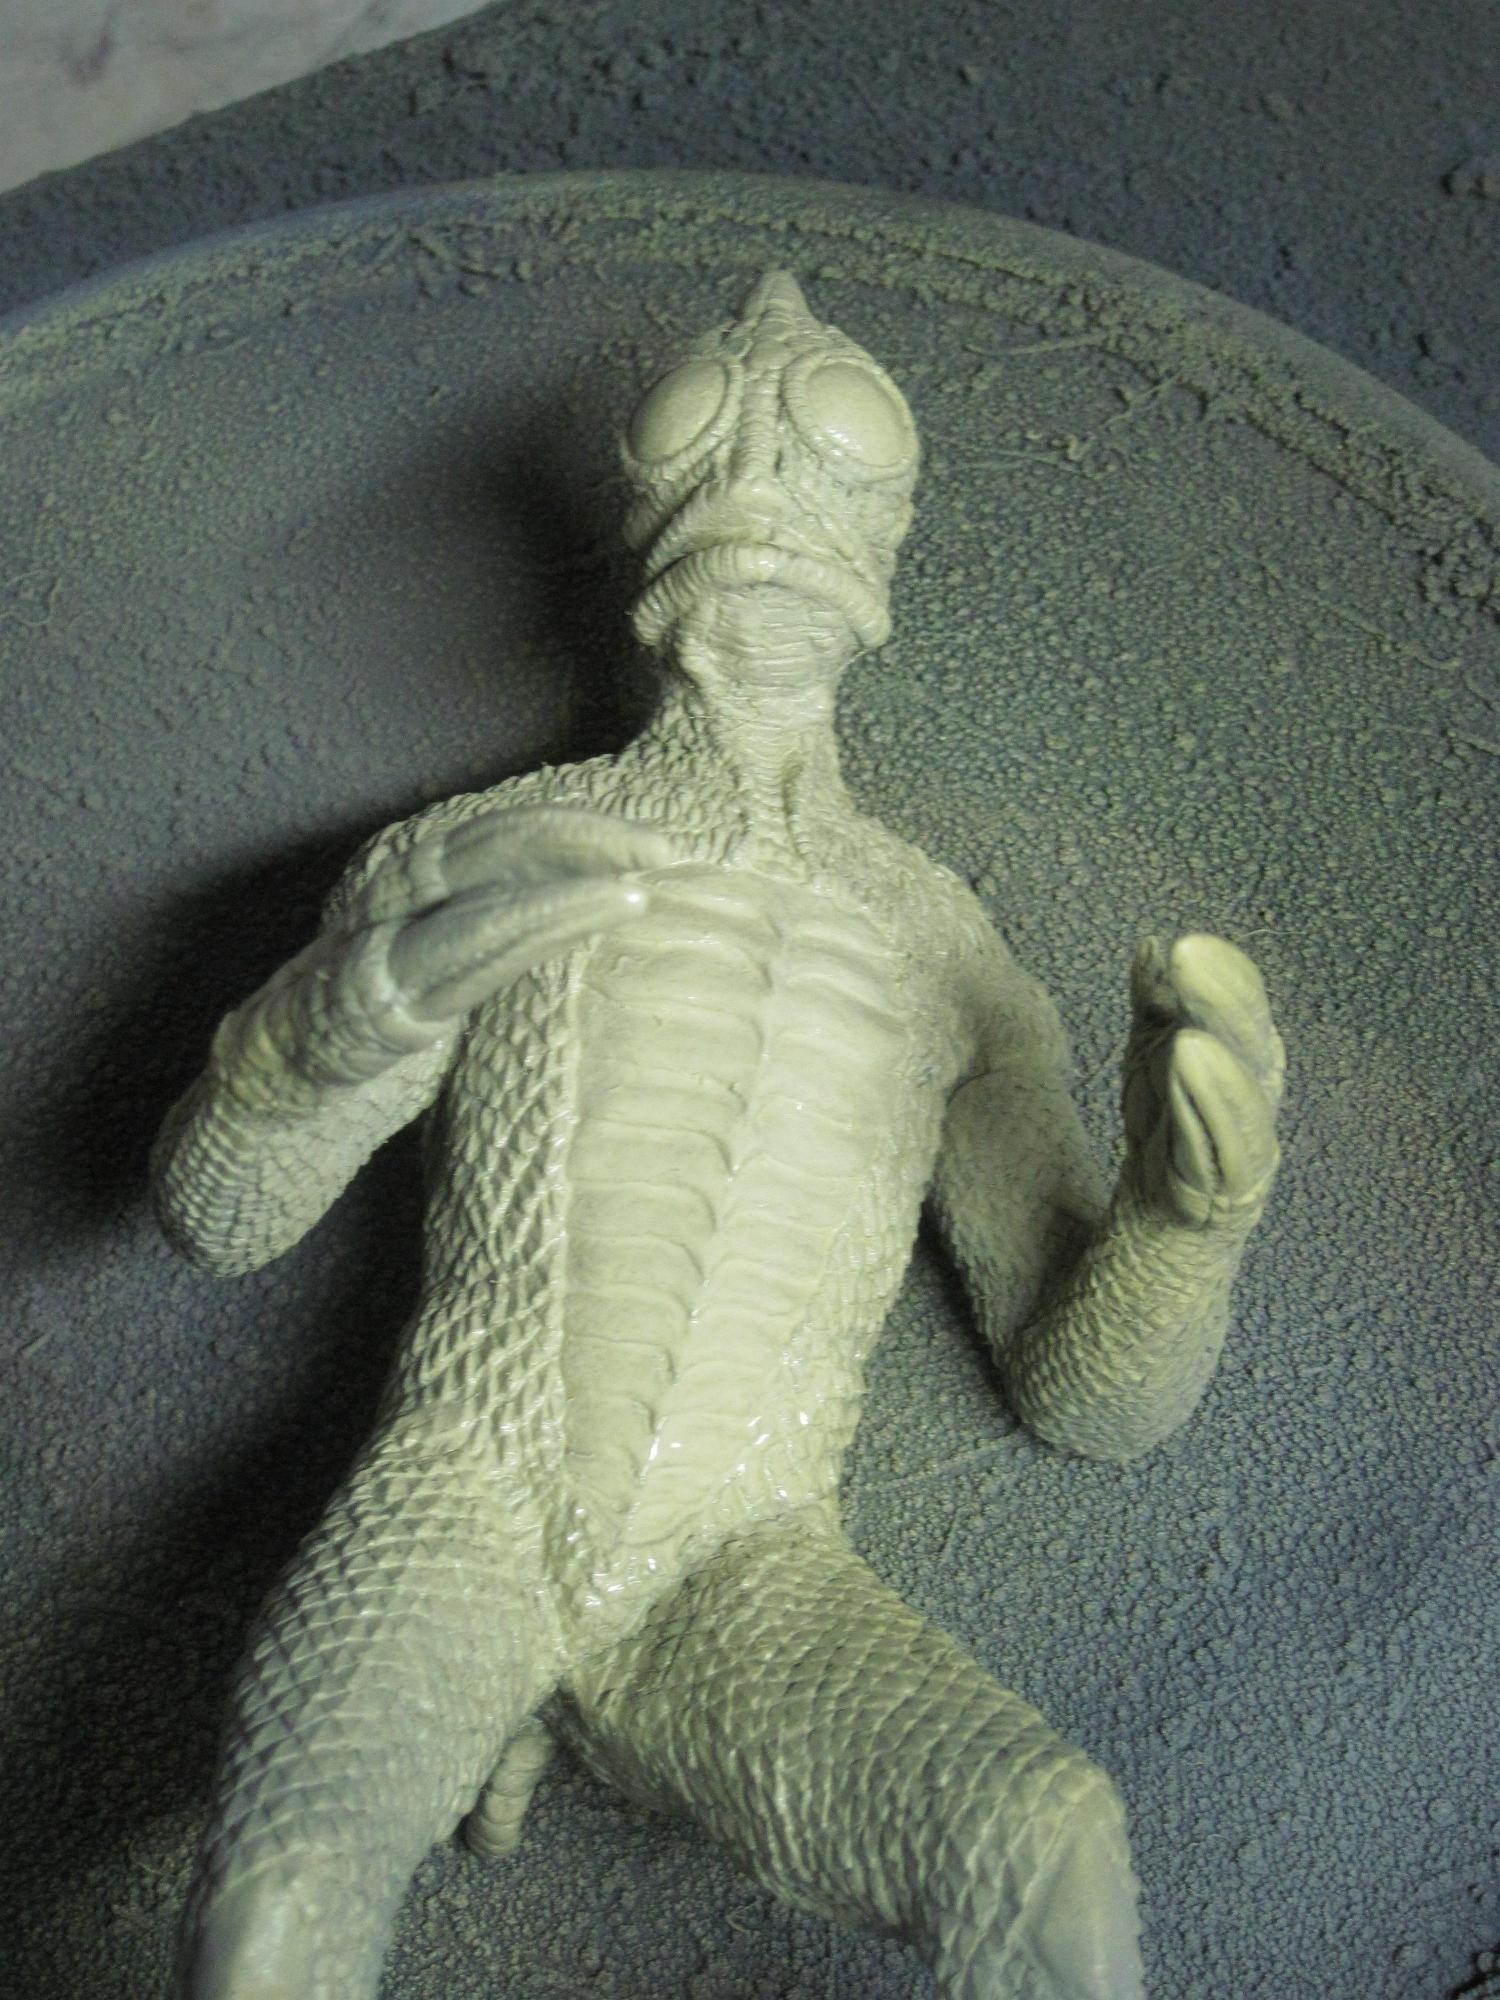 Yay! Finally on to putting a base coat on this baby. I started with a bright yellow for the belly then went over that with a lighter pastel yellow. Next will be masking off the belly and doing the green for the rest of the base coat. new |
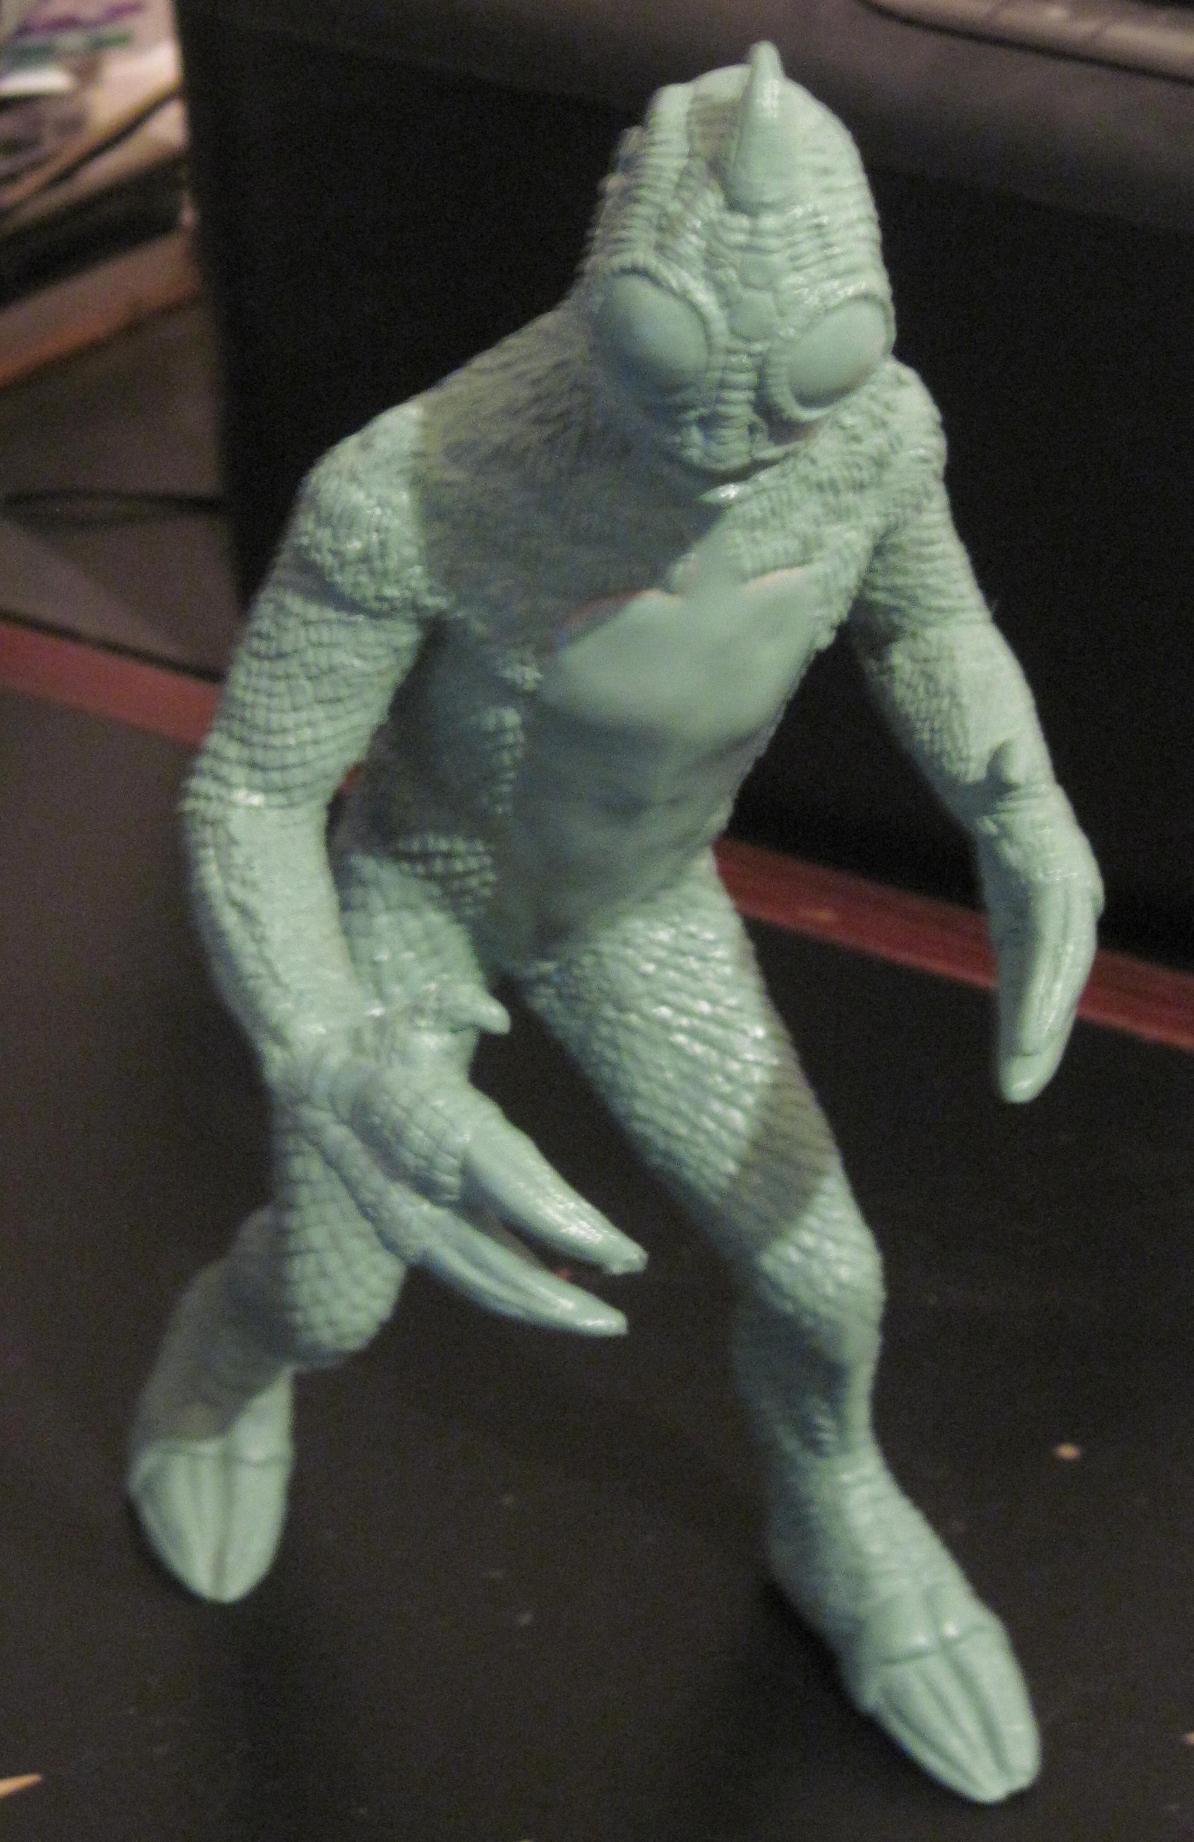   Ok. Building is done, and the basecoat is on. Pic on the left is with the belly masked and the first color sprayed on. The other two pics are after the second green was sprayed and the masking removed. Now to start the page for the painting. |