|
Dark Shadows |
||
|
|
||
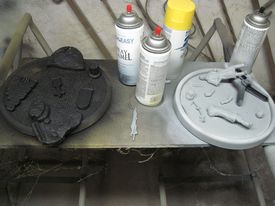
 Started priming everything, when I realized I needed to texture the back of a few parts. So I got out the fixit paste and went to work. |
||
 |
As you can see. Things are still in the primer
stage. Also, I had a little problem with the modeling paste. I forgot how long the working time was on that stuff. (like 3 hours) I kept trying to add the texture back in, but it still ended up smoothing out on me. |
 |
 |
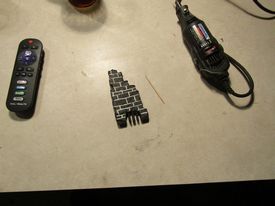
Ok, 3 years later, I finally added the detail
back in with a dremel. And got everything primed. |
 |
 |
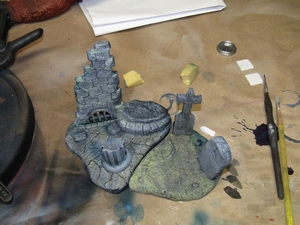
The bases are starting to come along. Just need to pick out some details and paint them. Still deciding if I want to add more moss to the wall section |
|
  |
Got things glued in place on the bases after adding a few more details. Then I went in with the airbrush and added some blue shadows. Using these models to start my journey into learning OSL. Object Source Lighting Basically it breaks down to you decide where the light source is coming from, then highlight what the light would hit. And shadow what it won't hit. Part of the fun of doing models, is growing and expanding your skills. That means going out on a limb every so often and give something a try. Hopefully it works out. But if for some reason it doesn't, it's only paint. It can be redone. And while I do like these kits, I am not really attached to them. So I am not stressing about getting them perfect. |
  |
  |
Time to
get to work on the figures. Primed them black. Highlighted with a gray overspray. Then some white ink from the direction I want the moonlight coming from. After that I hit the back side with the same bluish shadow color I used on the bases. |
  |
 |
After
that I sponged them a bit with light gray. Then added color with some contrast paints and highlighted a bit. Also started blocking in the flesh on the faces and hands. |
 |
 |
newFinished
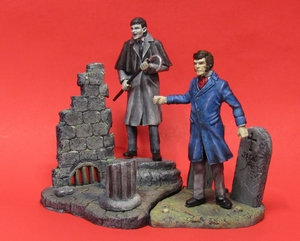
up a lot of small details and finished final assembly. The kits are now done. Click image below to see the pics.  |
 |
