Godzilla 2005 |
UPDATED 01/11/09
|
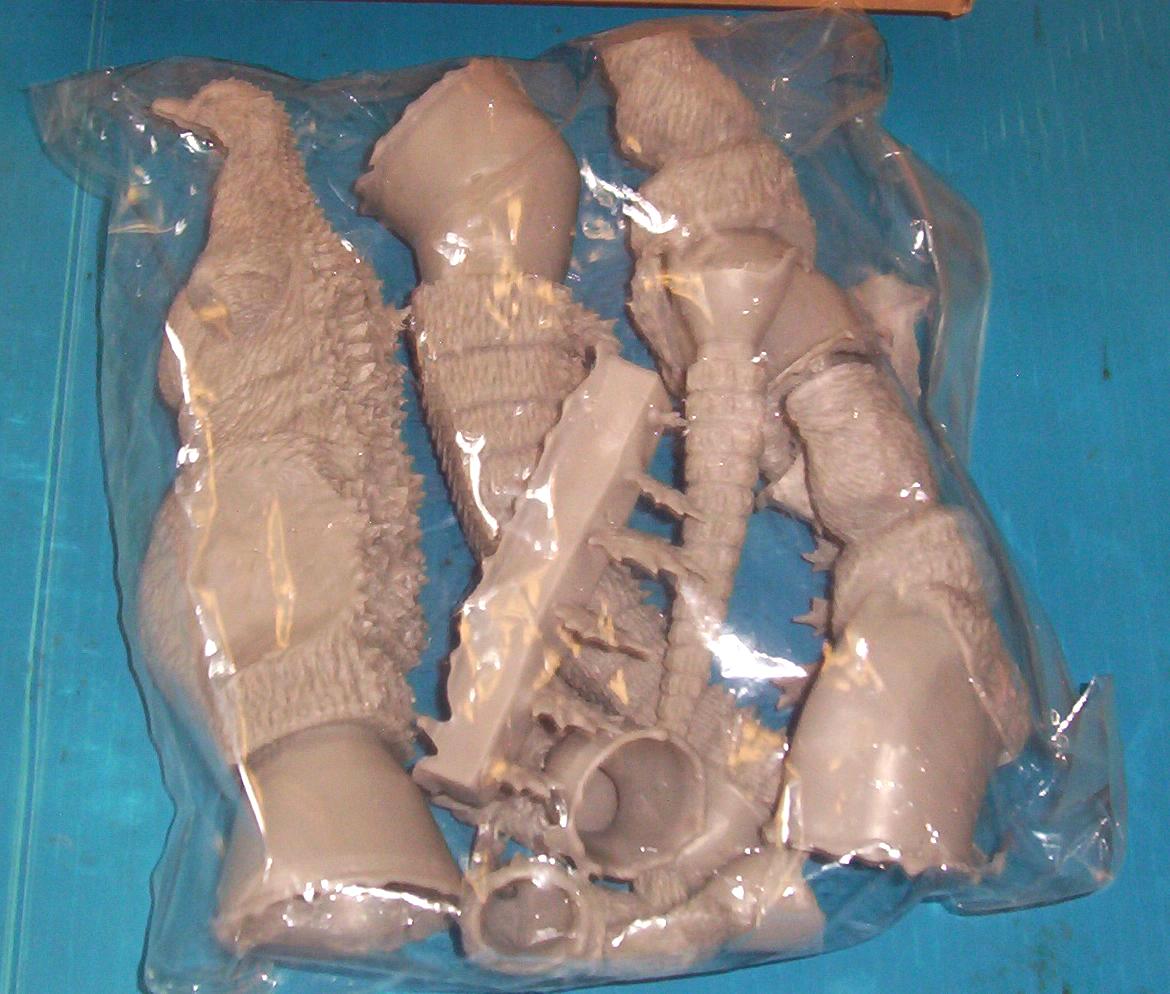
Grabbed
this sweet thing at WF2007.
|
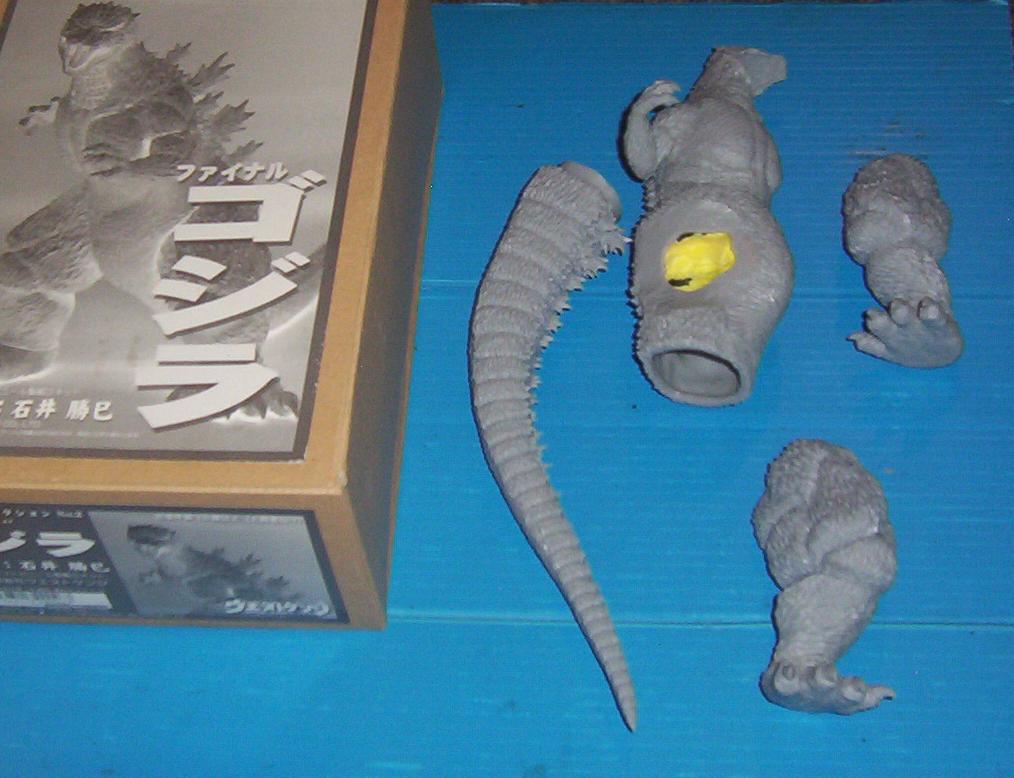 Finally some progress. The tail is assembled nice fit, no putty needed. The feet are on the legs, had to use a little putty there. 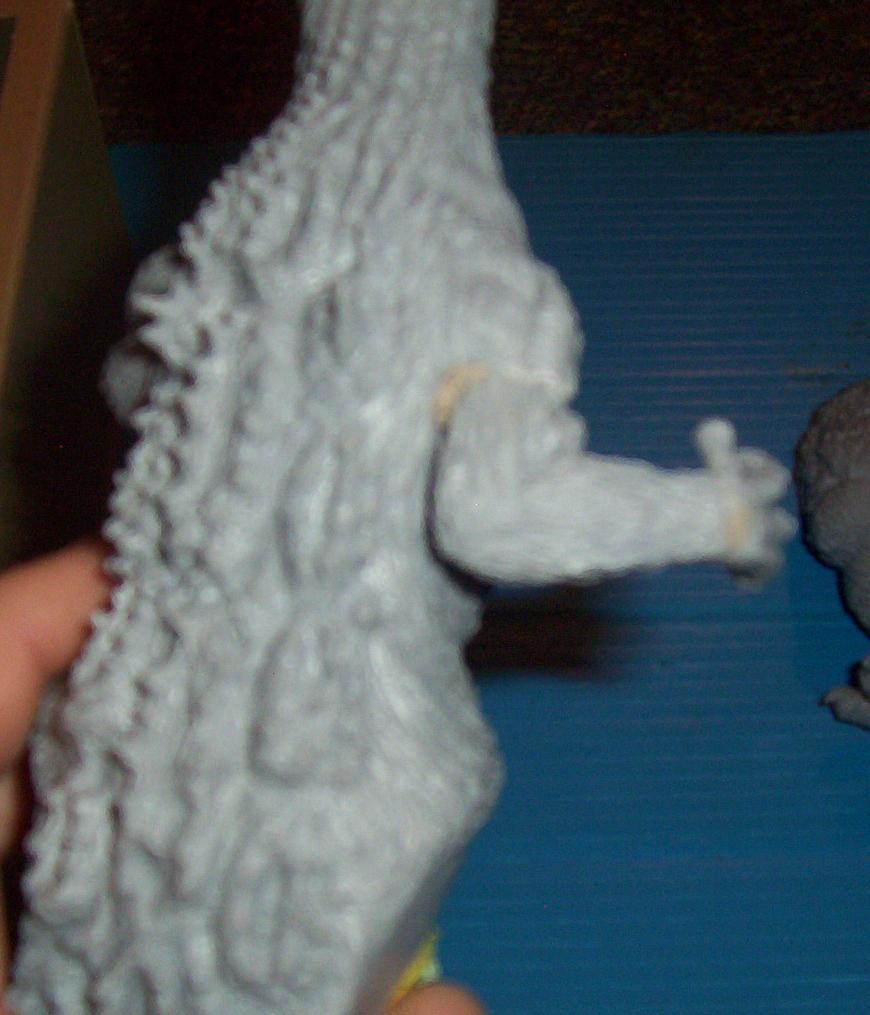 And the right arm and hand are attached. Which needed some putty also. Still have to put the left arm on, which is presenting some problems. It doesn't want to fit right. I can line it up in one are fine, then another area doesn't line up. I need to warm it up and see if I can flex it into place. Which will still be tough as it is so small.   |
| Well, I got that arm problem
figured out. Also have the legs attached now too, though they still need to be puttied. 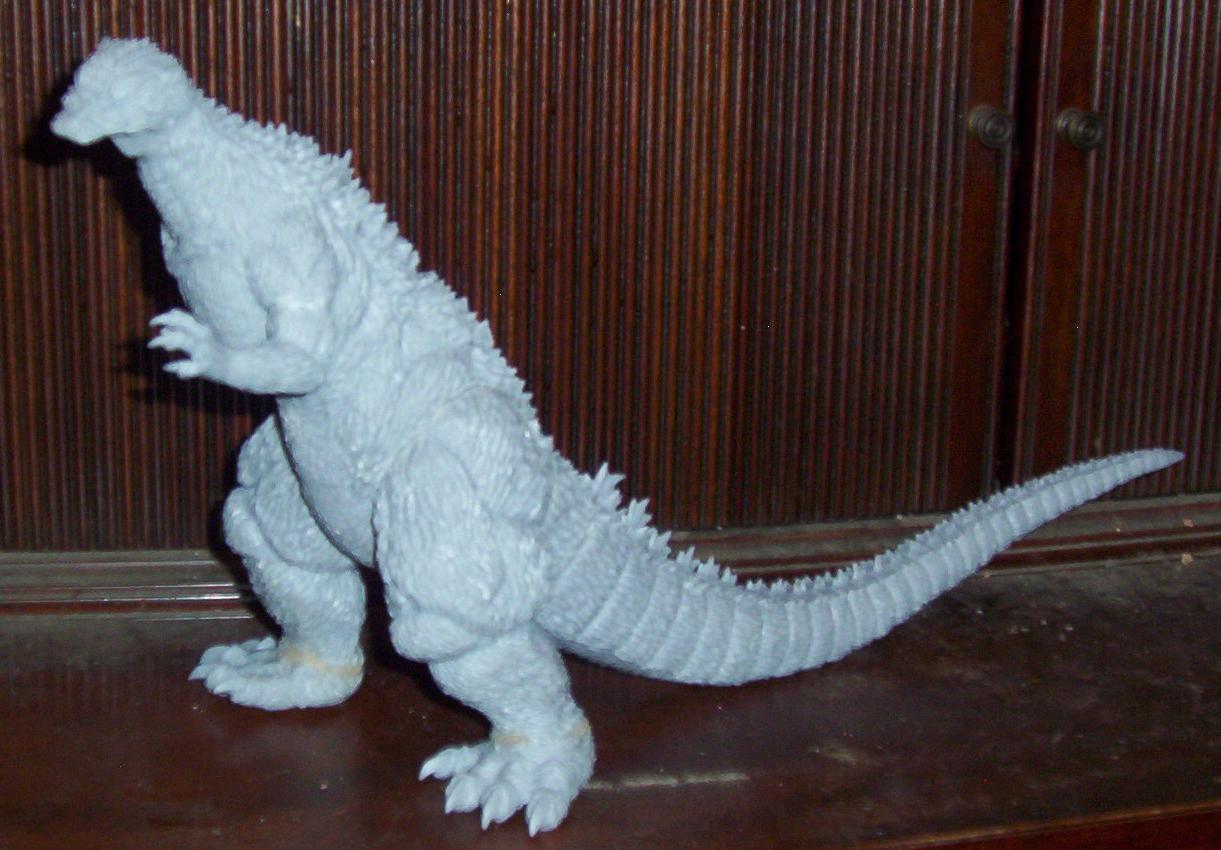 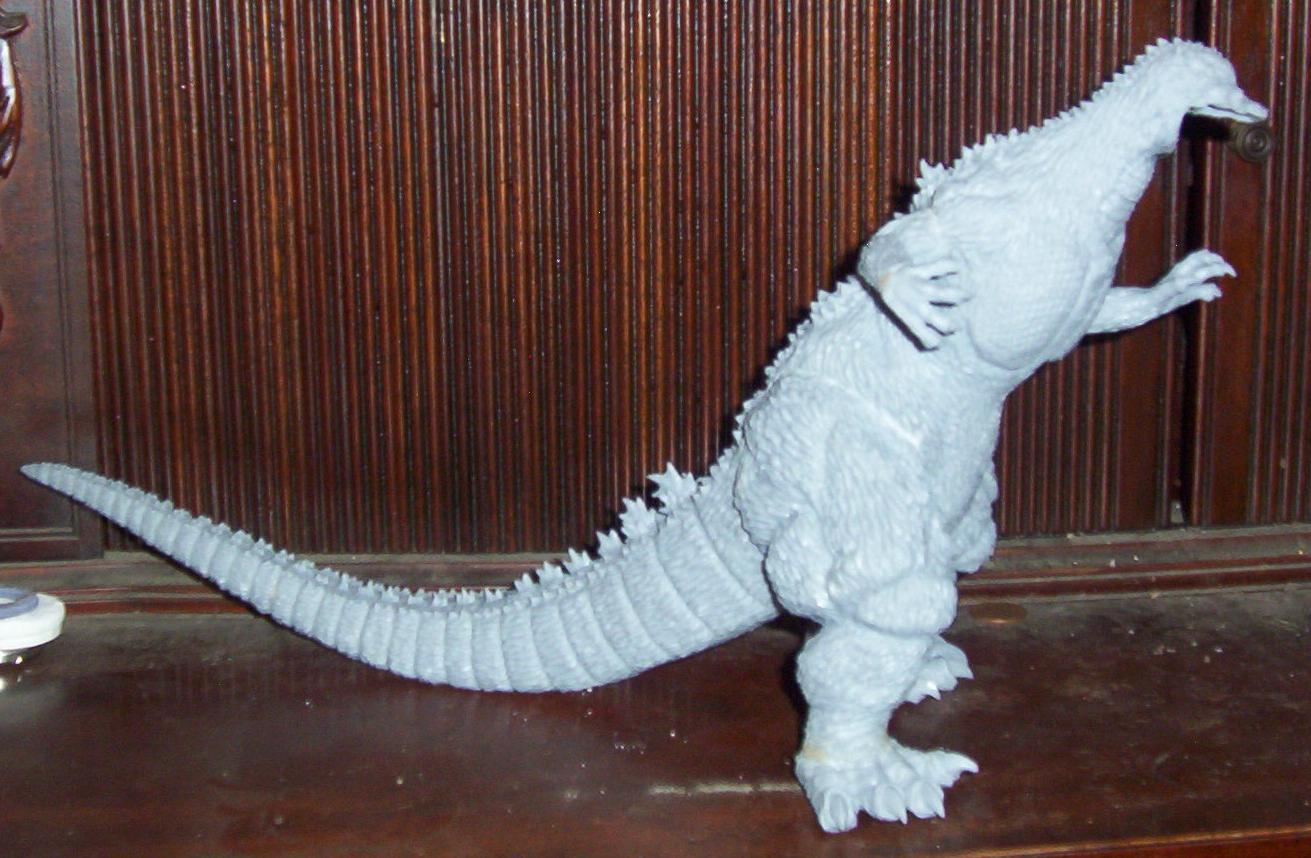 The tail isn't attached yet, just set in there for the pictures. I am waiting for the putty I filled the legs with to cure before I do that. |
 Finally getting some putty work done. 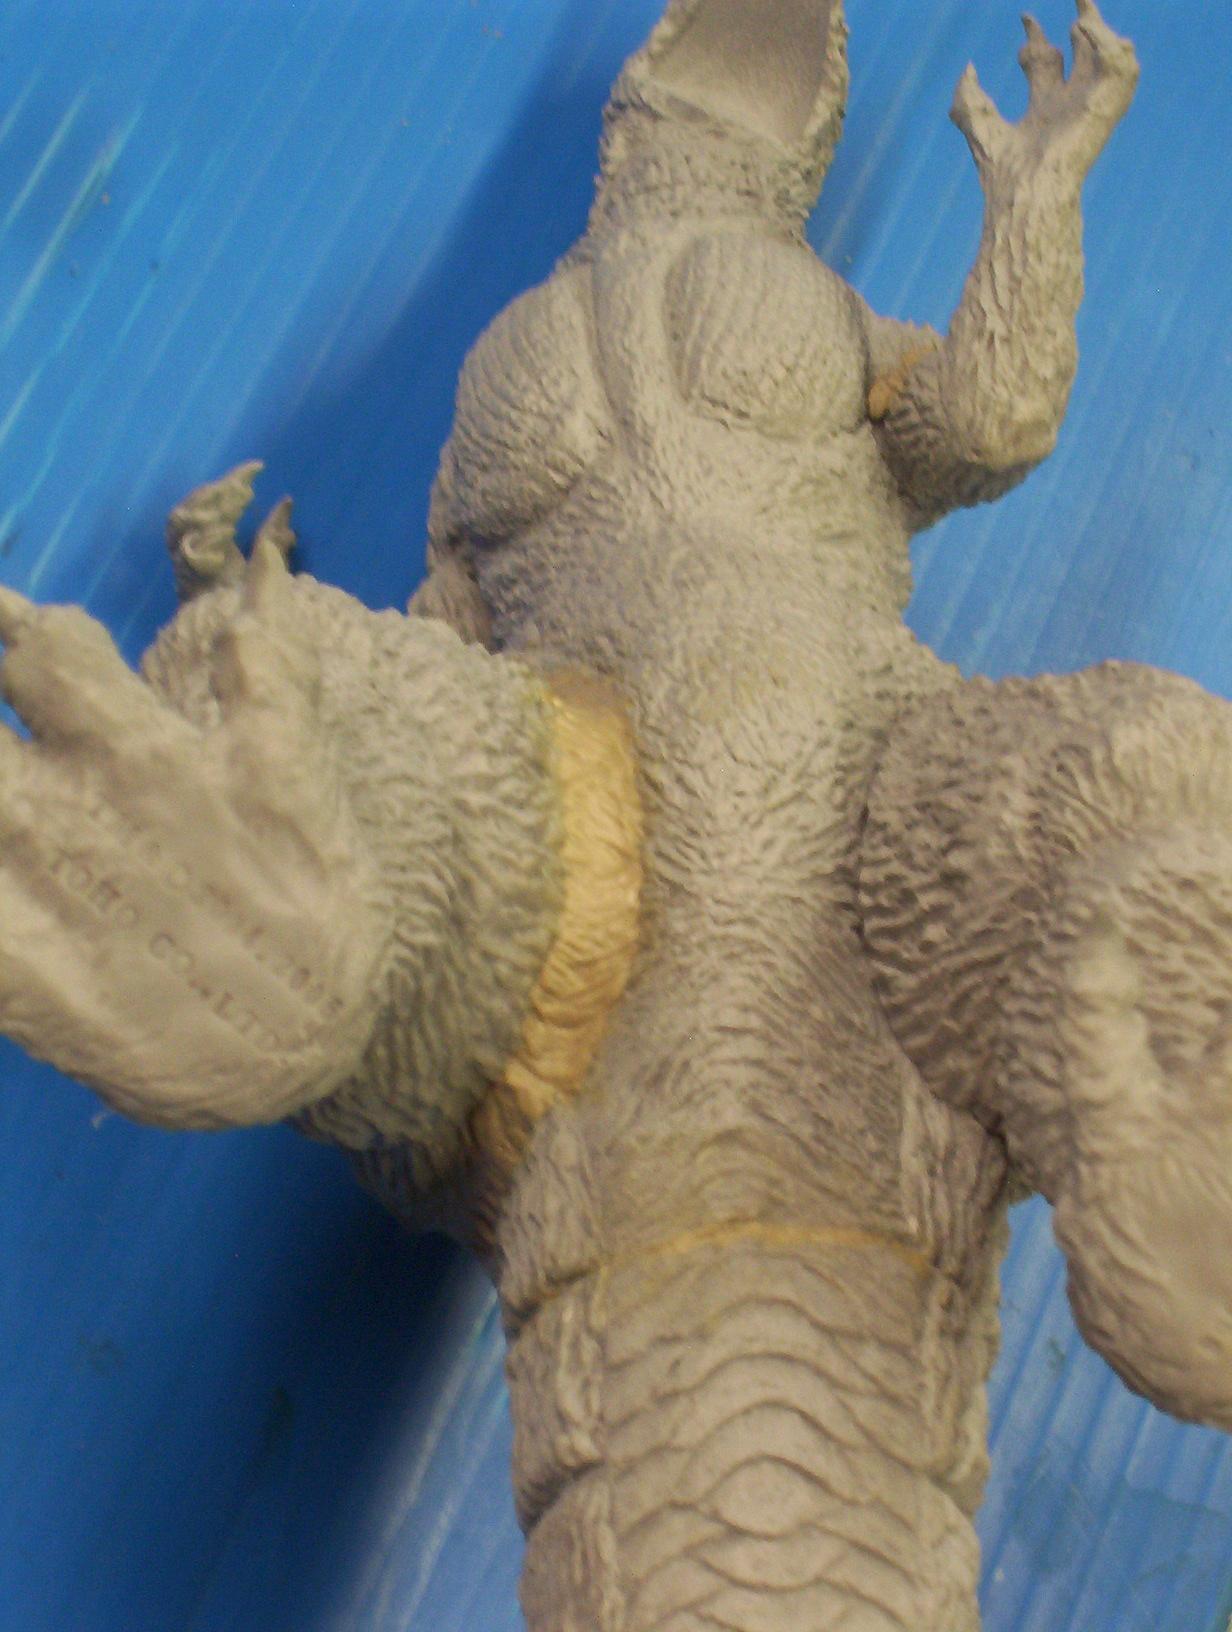 Thought it would be good to show the difference between the puttied side, and the unputtied side. While the kit has very good parts fit, the joints are still very apparent.  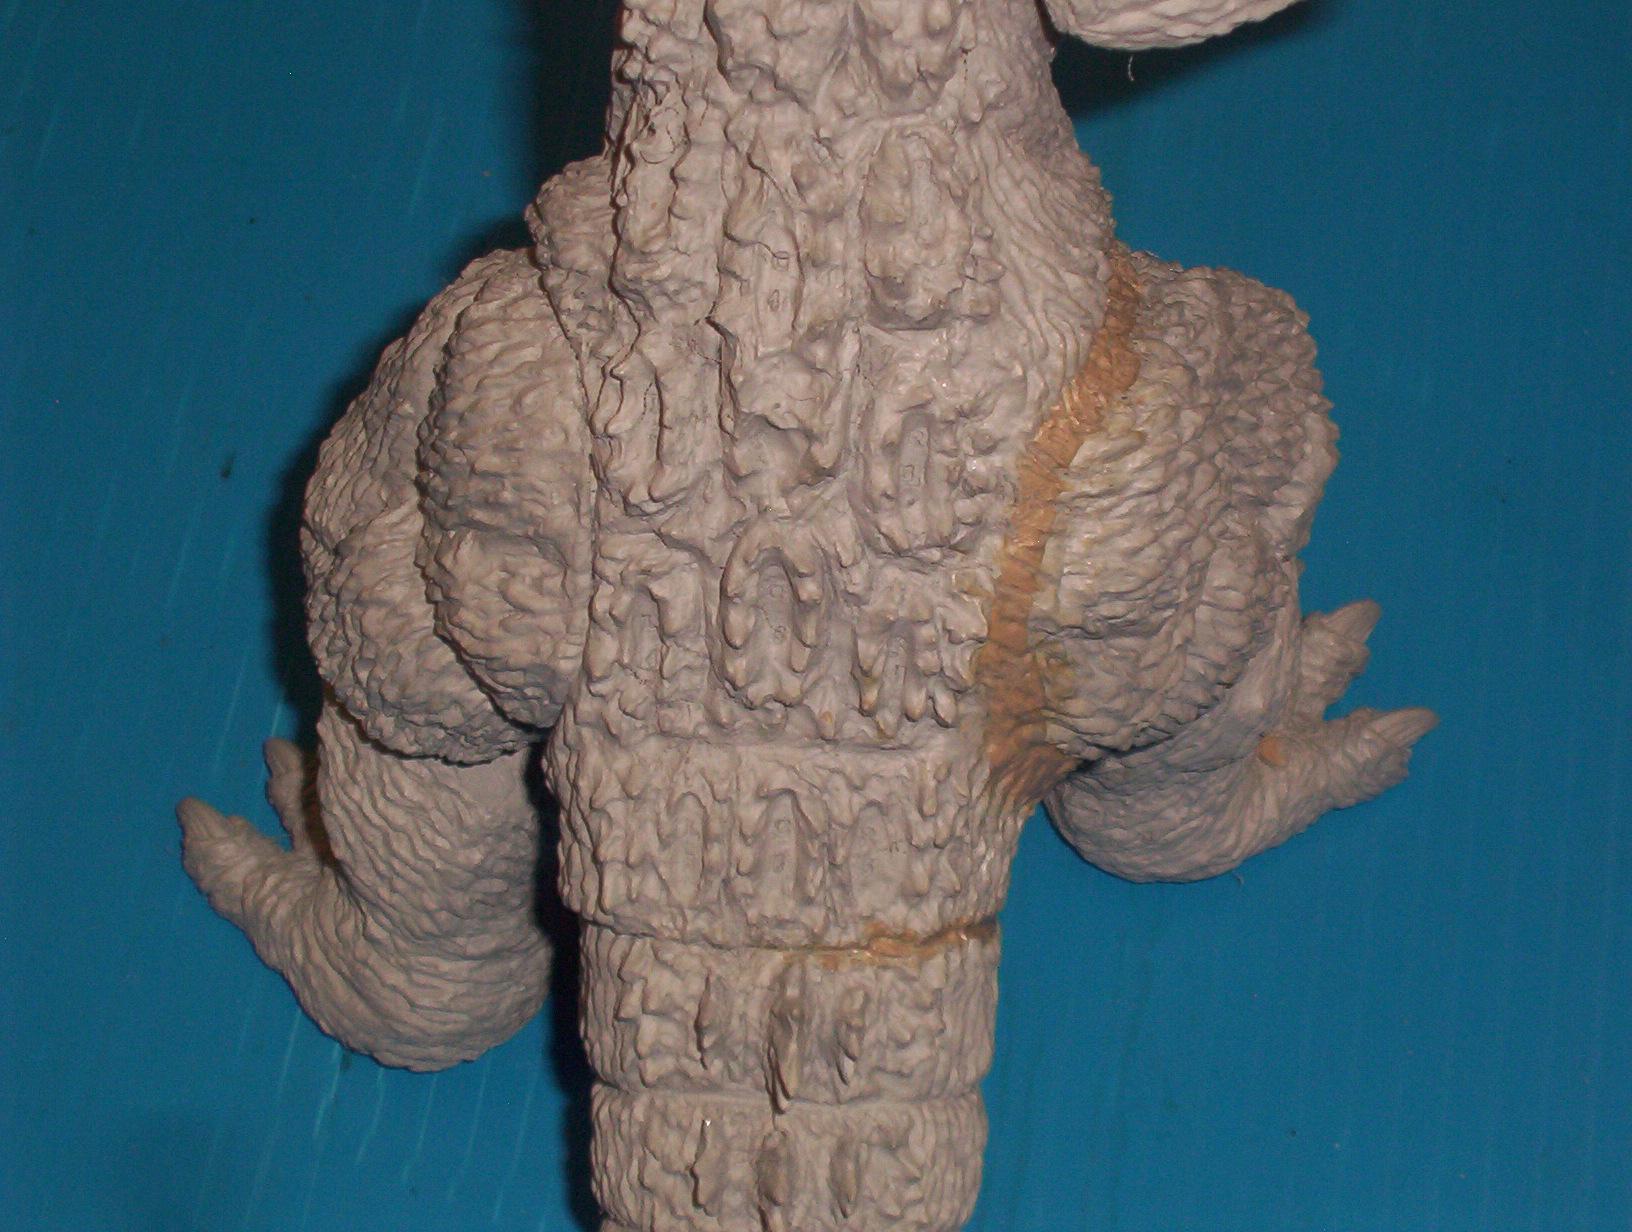 |
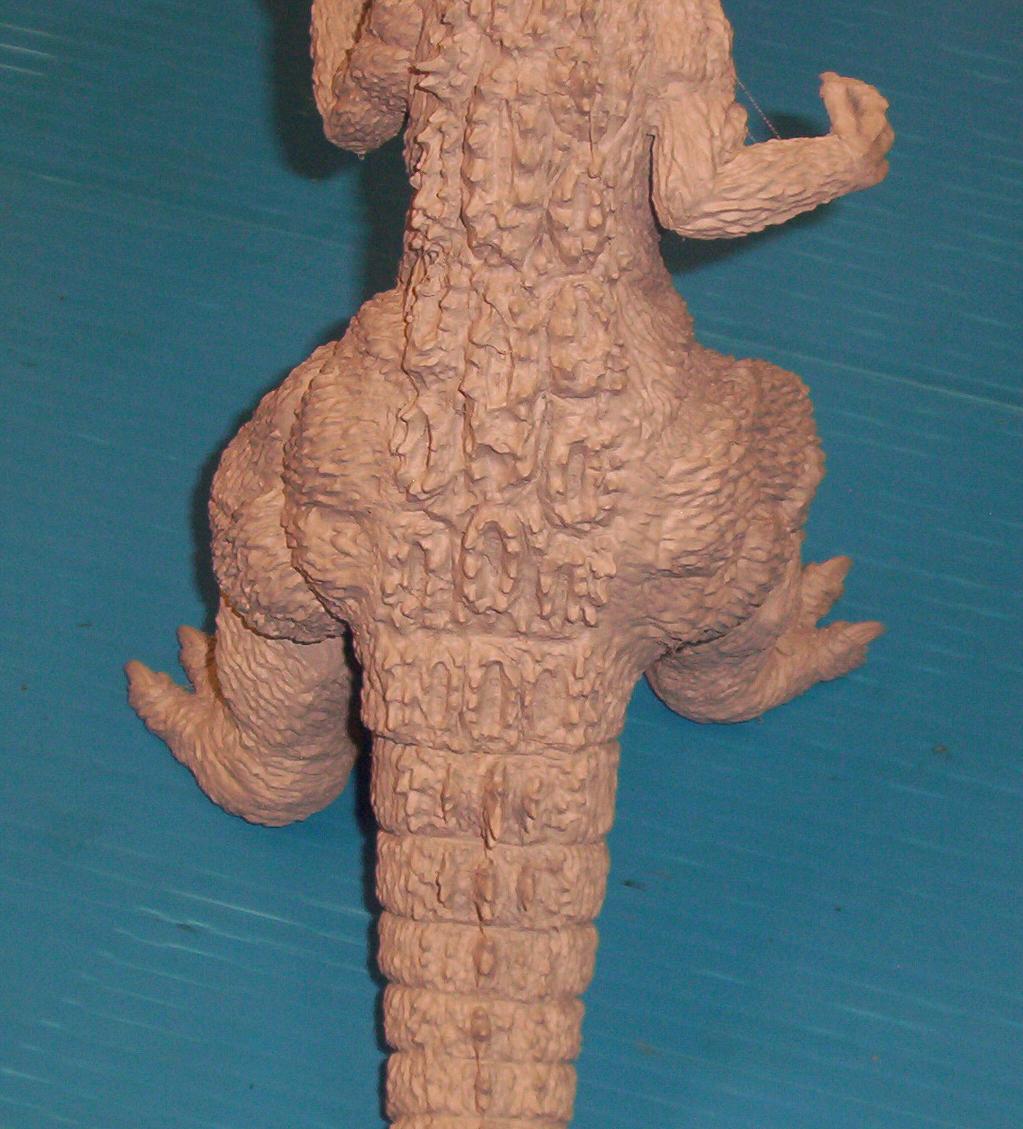 Well, both sides are puttied and primed now. Unfortunately, I am not happy with the first side that I did. 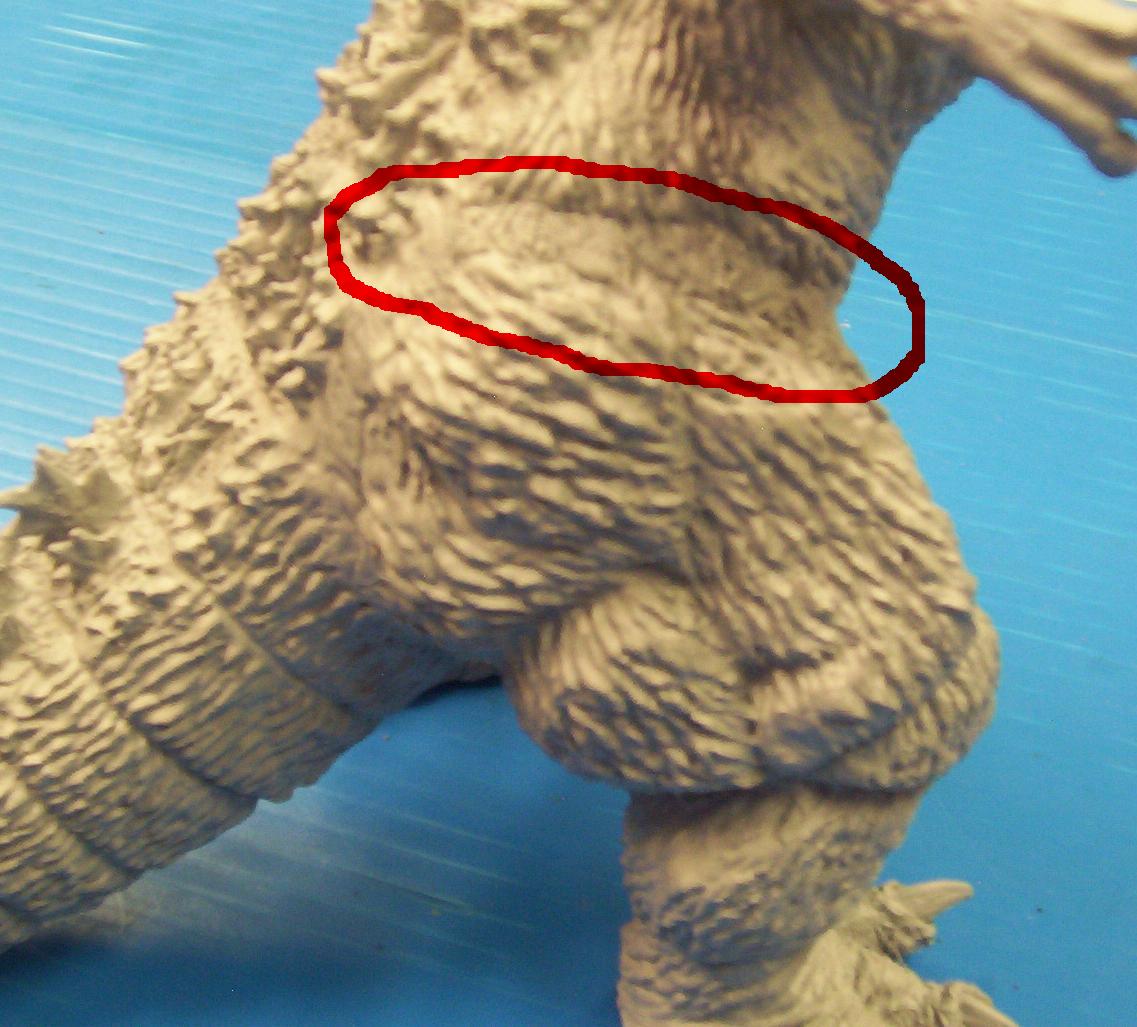  I didn't fill the joint with enough putty and now the transition is very obvious.  And I must have used too much safety solvent, as the detail here really softened up on me. Sometimes if you get the putty too soft and workable, it with kind of settle out and smooth down on you as it sets to cure.  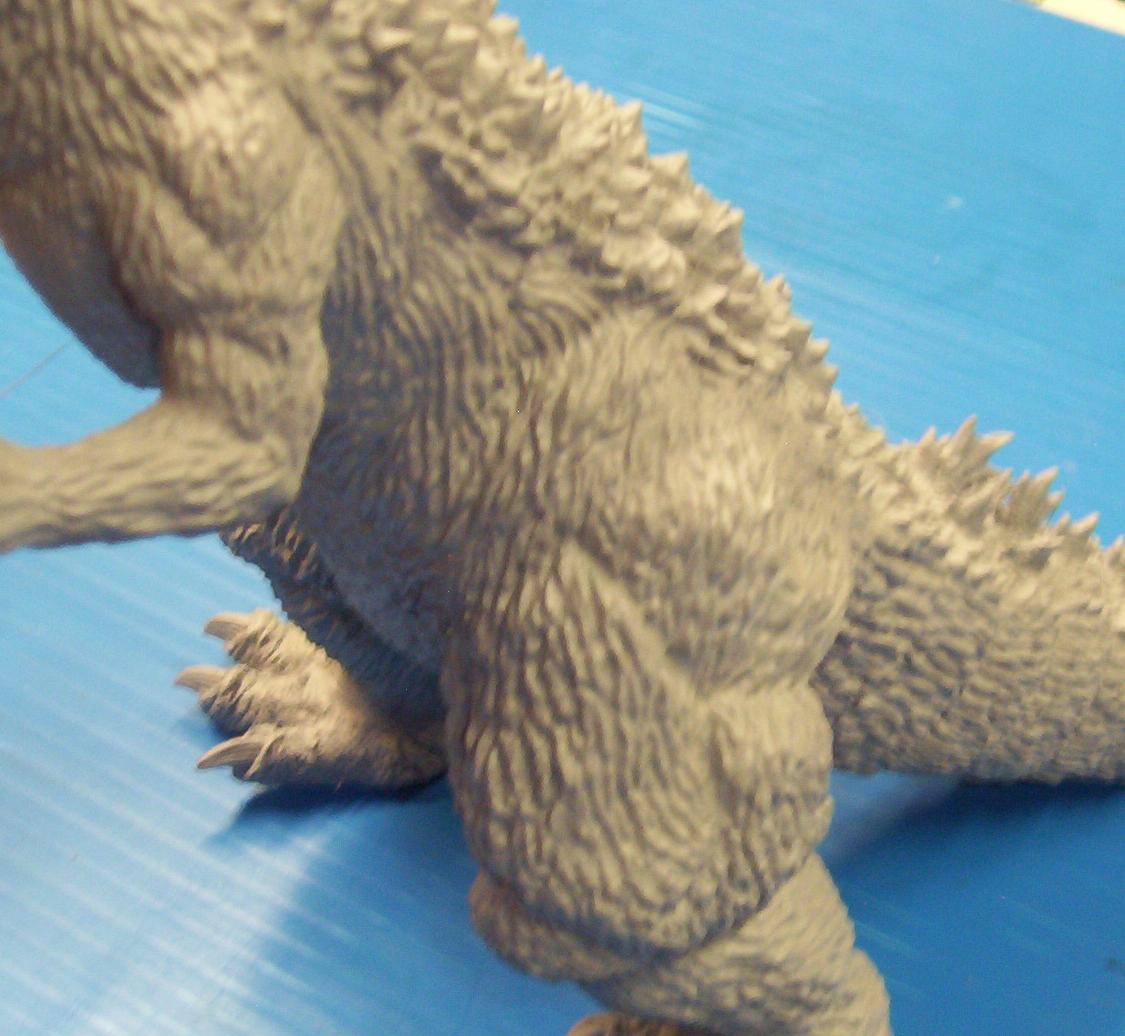 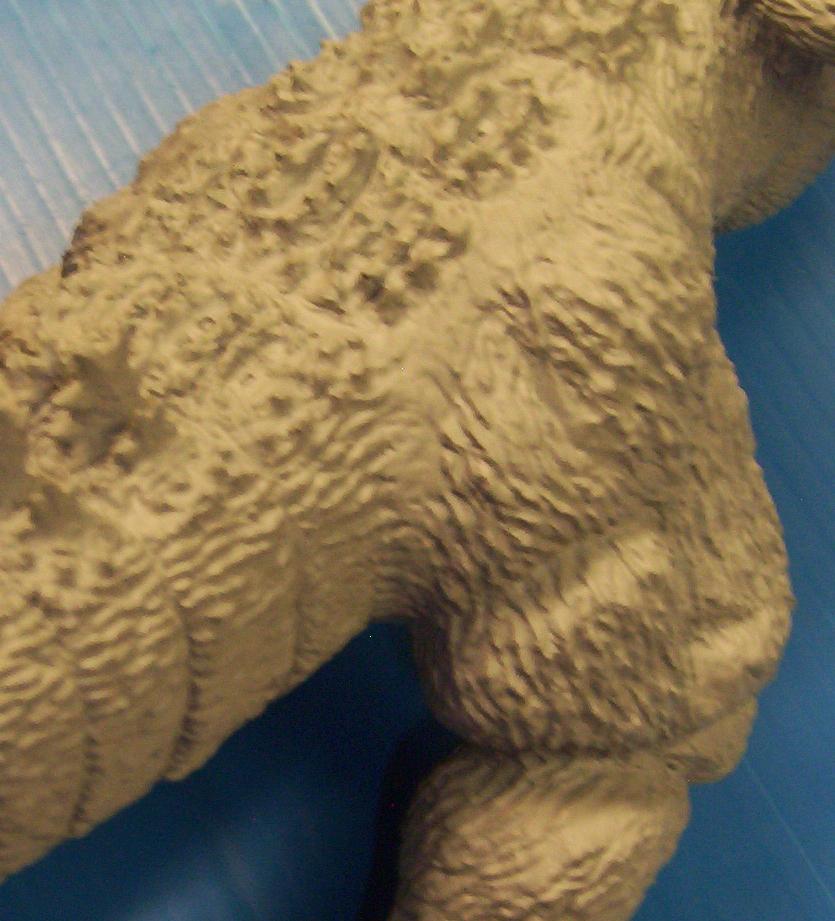 The other side, on the other hand, came out quite well. I just have a few minor touch-ups to make with the dremel. 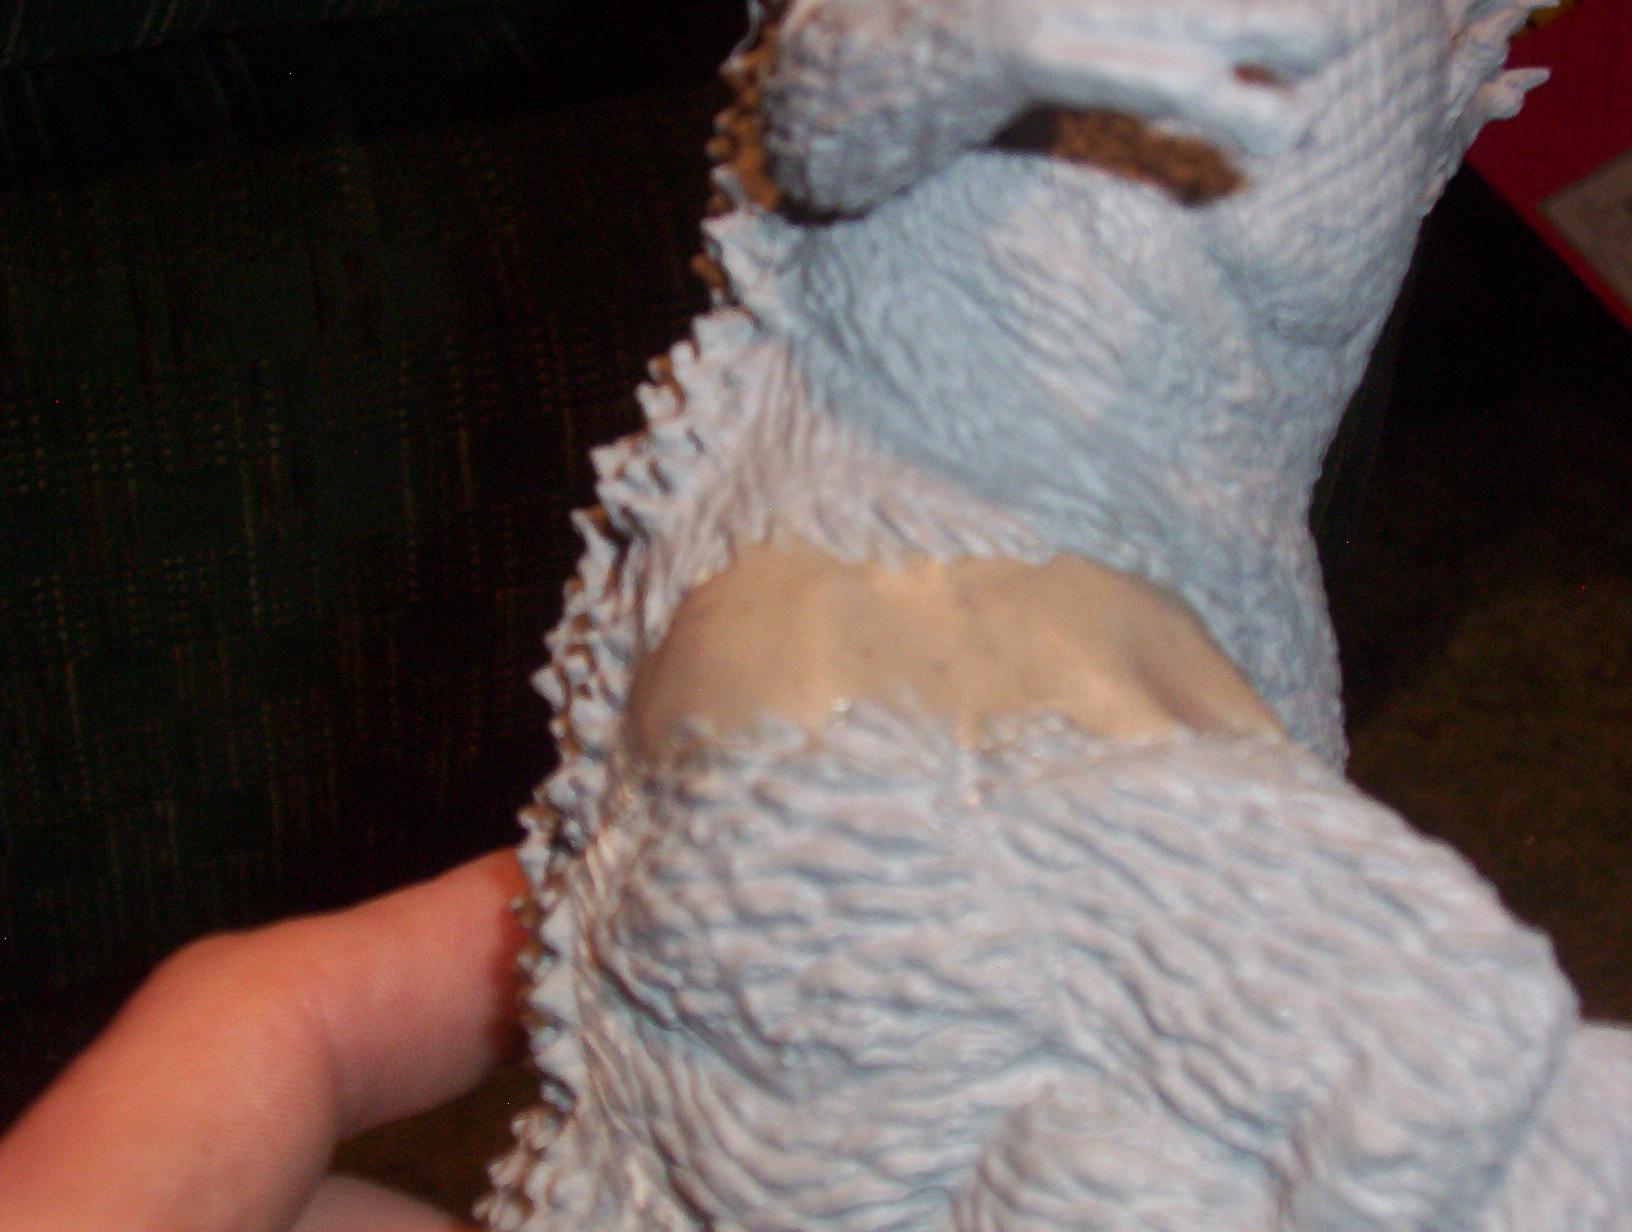 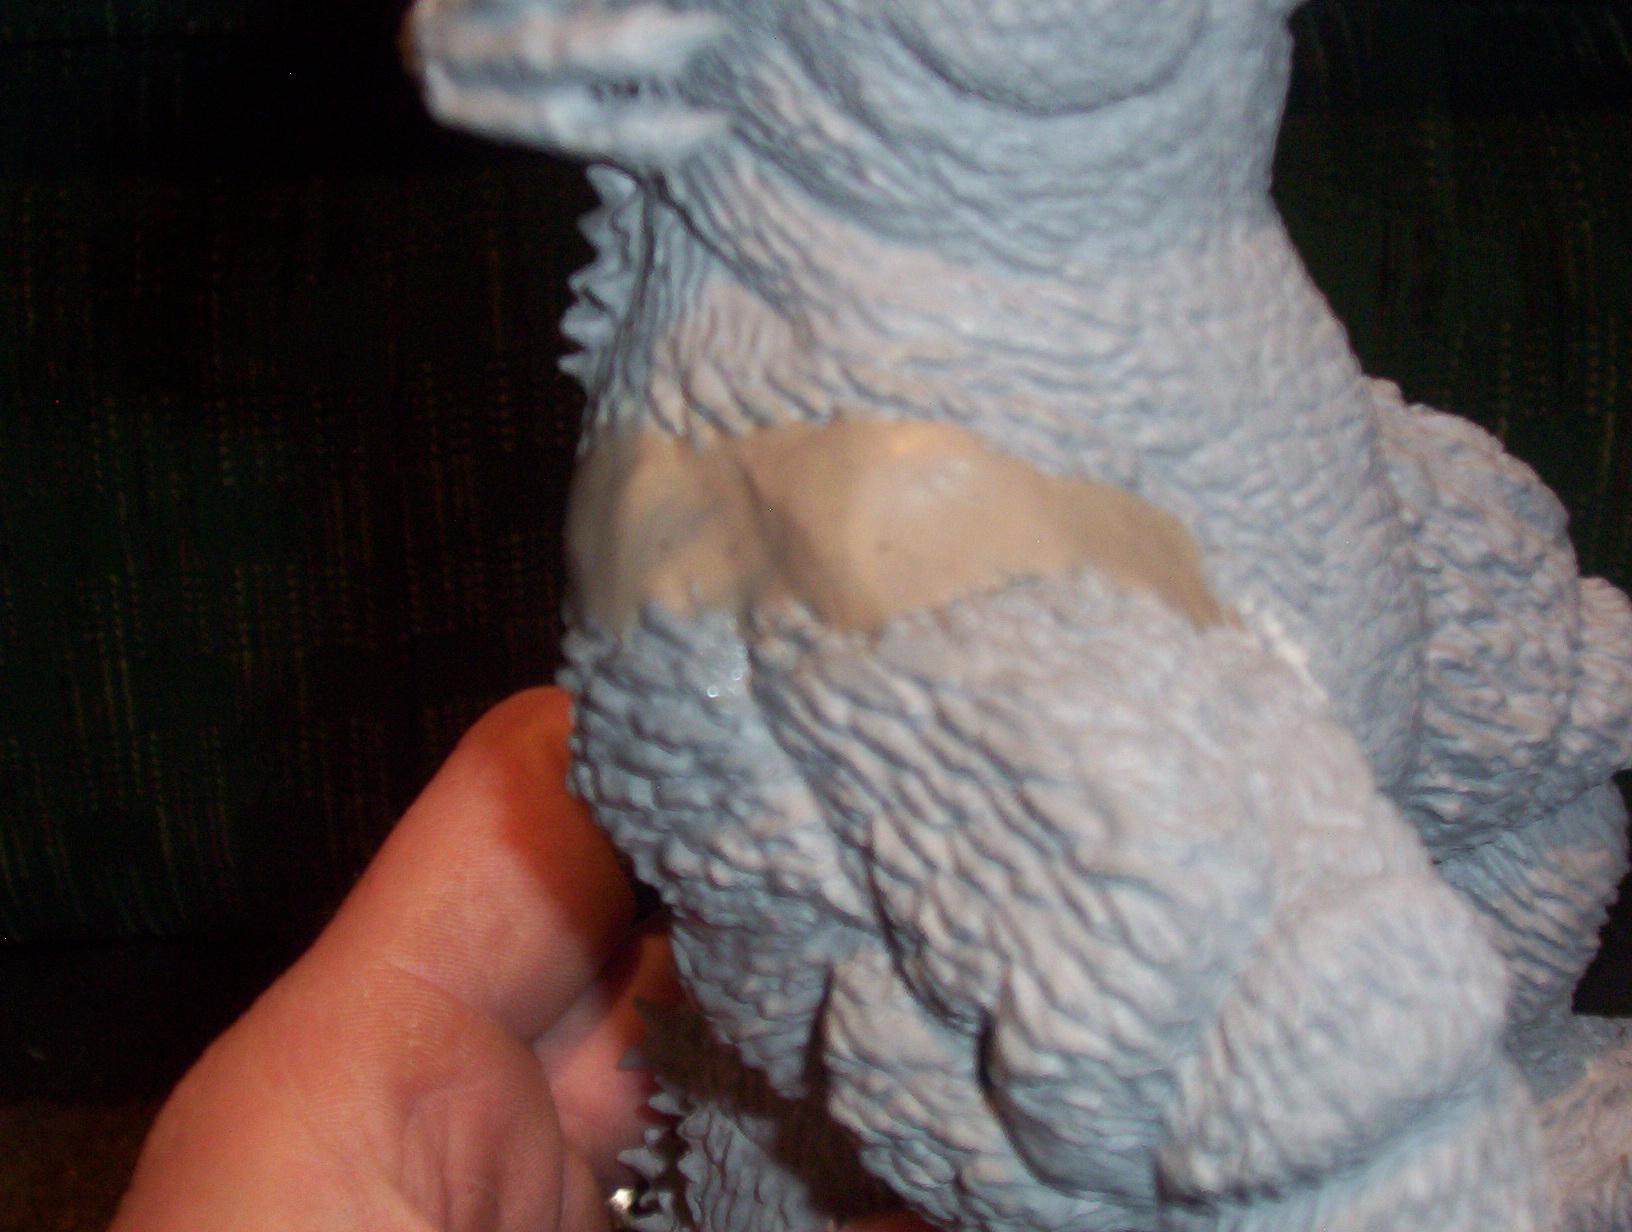 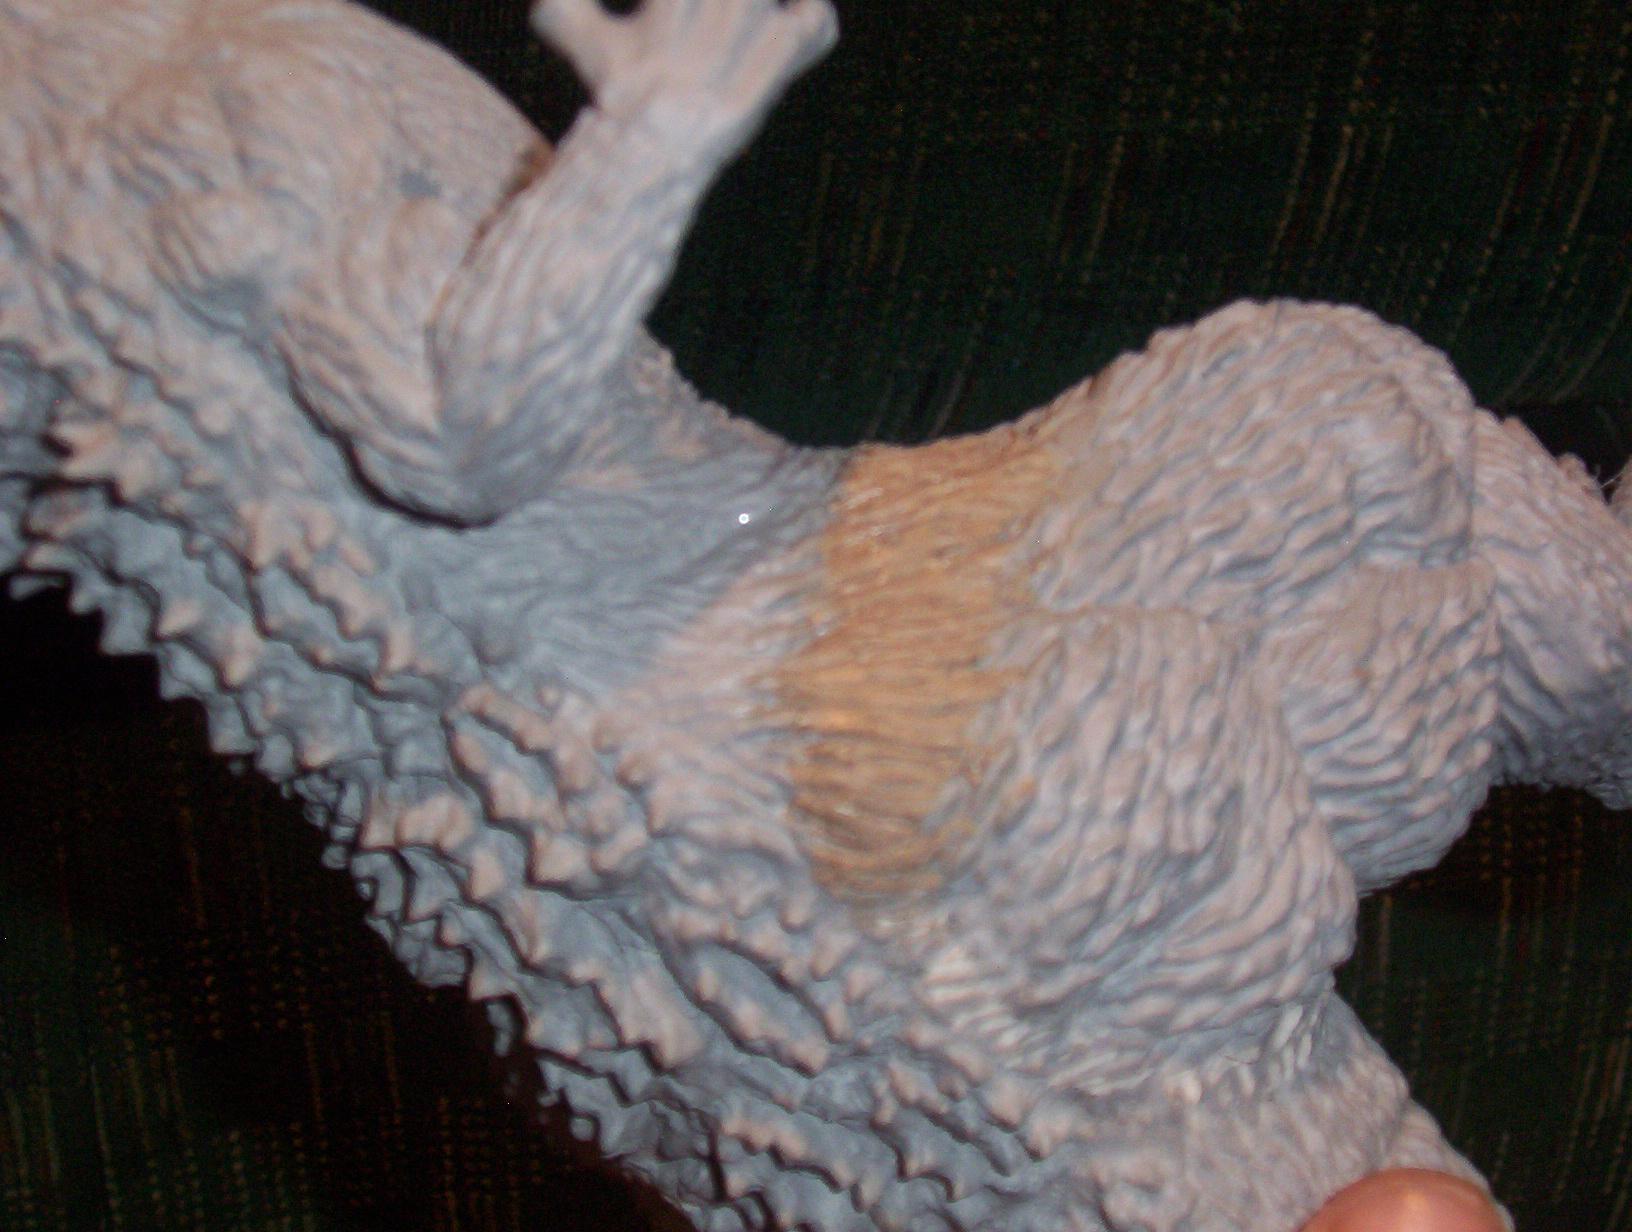 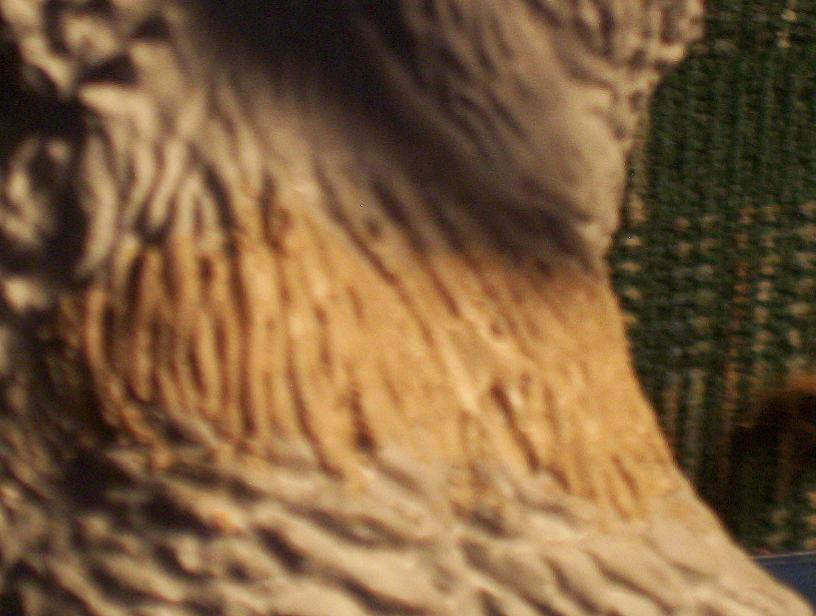  Well, back to primering it tonight. |
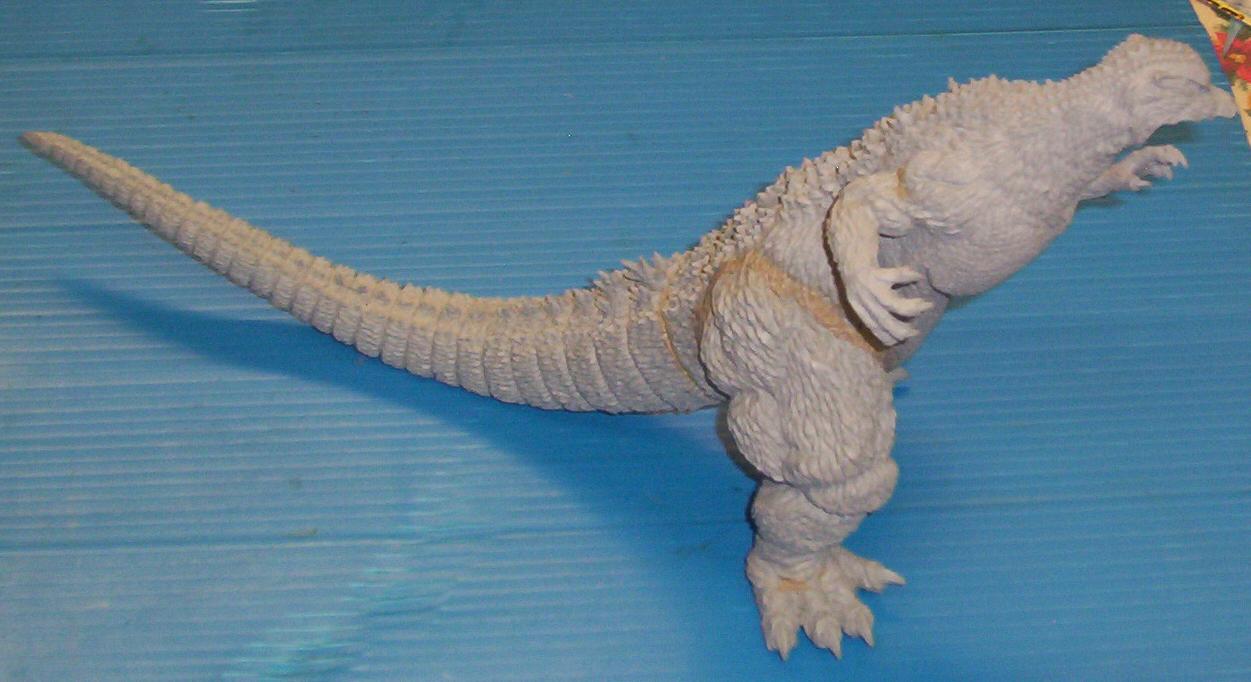
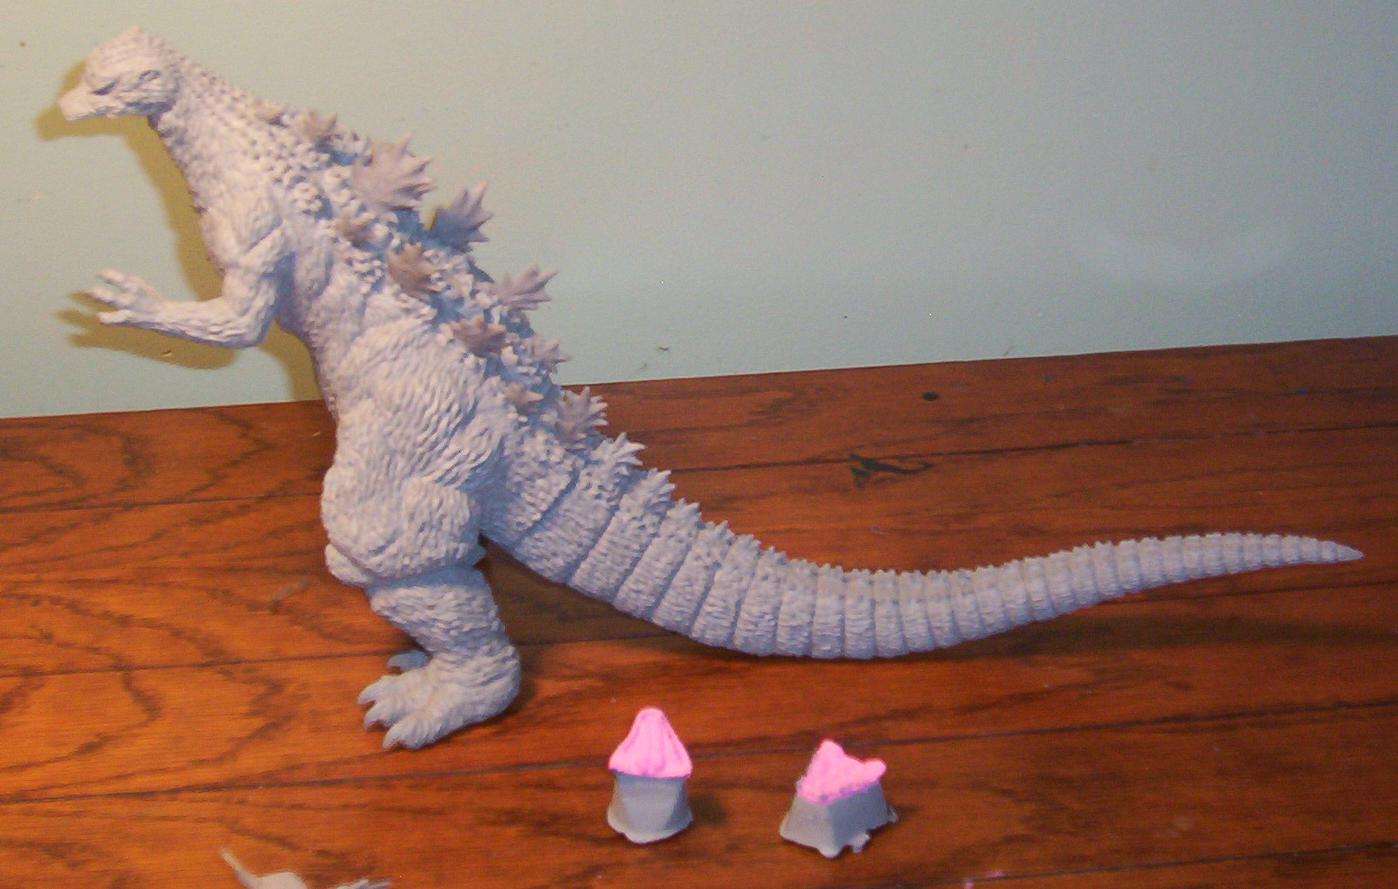  Well, for the most part, the putty work is done. There are still a fwe things I am fine tuning. Little patches here and there that I am not absolutely 100% happy with. But for the most part I am done enough to move on. I have most of the back-fins installed now. Just left out the 2 biggest ones in the middle row. This is to make it easier to paint them. I will primer and paint those 2 fins just like the rest of the kit, then install them when I am happy with the results of both..  I also started painting the interior mouth pieces. I need to get these done so I can put the lower jaw in place and get that putty done before I can actually start painting the kit. I am starting with a base-coat of pink. Which I will then wash with a red/brown mix to highlight the details. Then I plan on misting it with just a touch of white to tone it down. Then I will paint the teeth. |