My
Prehistoric Scenes |
|
| Cave Bear | |
| Go BACK to the map page | |
 |
 |
| Ok,
here it is. My best work to date. (2006) And since I am so proud of it, there are going to be a ton of pics here of it. |
|
 |
 |
 |
 |
 |
 |
 |
 |
 |
 |
 |
 |
 |
 |
 |
 |
 |
 |
 |
 |
 |
 |
 |
 |
 |
 |
 |
 |
 |
 |
 |
 |
| Here is the original section about just
the bear. (2005) Some nice shots of that by itself, and some talk about how it was built. |
|
 |
 |
 |
 |
 |
 |
| Ok, finally
finished my cave bear. Sort of at least. There is still more being done with it, but I wanted to get this up. This is the bear complete, and how it was entered in the WF contest. |
|
 |
 |
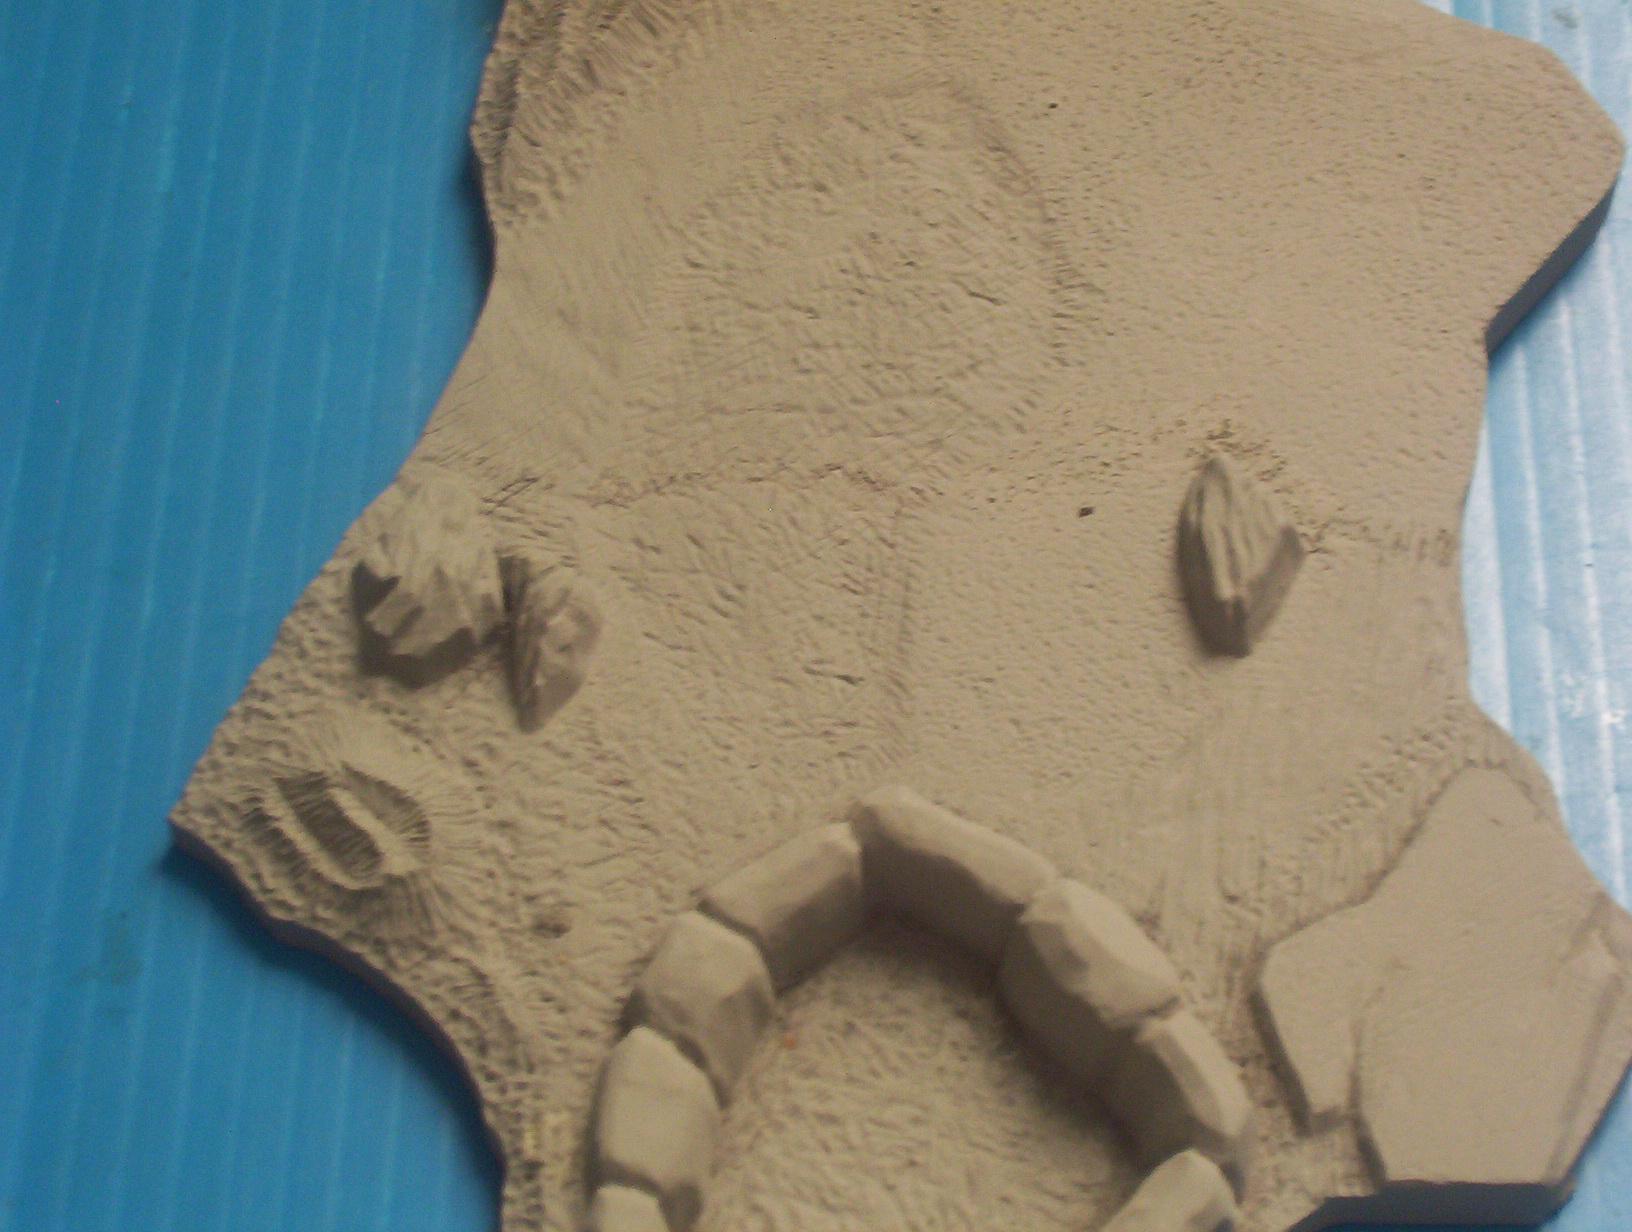
| This is what I
started with. A partialy painted complete kit. Think I will start with talking about the base work. If you don't know already, the base is 2 pieces. You can see the joint in the pictures above. First thing I had to do was take care of the seem at the joint. Remove the peg that the bear stands on. And fill the hole where the wall piece is supposed to go. |
|
 The seem wasn't as easy to take care of as some might think. After puttying with Magic Sculp and a little sanding and texturing with an engraving tool, it doesn't look too bad. |
 Until you look at it from a different angle! After a lot of work, I got it looking pretty good from all angles. |
|
I left it
primer gray. Then painted the green sections green. The
sandy area was done with a light tan, and a little brown
for the pit. Then I drybrushed a very light, almost
florescent green over the grass. |
 |
|
| Now onto the bear. I started by doing the arms and legs. Assembled them, and took care of the seem work, and added the texture back in with a knife and an engraver. Then I painted the inside of the mouth pieces, installed them and assembled the head. Again doing the seems, and the ears. I also masked off the mouth. Now I could assemble the body. Since the head had to be in place when the body was assembled. Worked the seems on the belly and back. The neck went well in the front, but in the back, I ended up having to gouge out a section then backfill it with putty and detail |
|
 |
 |
 |
 |
| Then it was on to
the legs. After gluing them in place, you can see there is quite the gap. I filled the area with Magic Sculp. Smoothing and blending as I went. I had to do several layers since the first couple didn't look like enough. I didn't realize just how much I had to fill to look natural. While it was still workable, I added some detail in with a toothpick, but most was added with an engraver after it had cured. It took several passes to get the fur looking right. I would add some, then primer. Go back and add more, then primer. And so on until I got what I wanted. (the same can be said for all the seems on this kit) |
|
 |
 |
| Next is the arms. Again, as you can see, more major work ahead. (BTW - that black mark you see is from a marker. When I was test fitting, I got the arm where I wanted it, and where the fur kind of lined up, then I marked it. So when I glued it in place I could get it right where I wanted it. Did the same with the legs too). The arms were a little trickier than the legs. It was a lot harder to get into them to work the putty since the area was so small. |
|
 |
 |
| Here it is almost ready. Still detailing to do on the arm putty, but you can see how it is all starting to work out. | |
 |
 |
| Here it is after a
coat of brown/rust colored primer. A coat of chocolate
brown, and at this point, a still wet coat of black
antiquing gel to bring out the texture. |
|
 |
|
| Next, after I
sealed it, was another drybrushing of chocolate brown.
Then I drybrushed some yellows on the back and high areas
of the legs and arms. A little gray drybrushing around
the snout, the top of the back, the ends of the hands and
feet. After that was done, I did something I had never
tried before. I drybrushed some watercolor brown. Since watercolors tend to bead up on a sealed surface, but stick to paint pretty good, it only covered where I had painted after the sealing. The watercolors are good at going over something but still letting the colors underneath show through (especially the cheap ones you get in the trays for kids to use) The effect this had was awesome! It partially covered all the yellow and gray and sort of sunk it into the fur. Making it look very realistic. For
all this, I received a merit award at the Wonderfest
model contest. Not too worried about it. Also, this kit isn't really done yet. For those that might be curious what else needs to be done, below is a brief glimpse of an early in-progress shot of the rest of my plan. |
|
| Here is the tiger all by itself | |
 |
 |
 |
 |
 |
 |
 |
 |
| One of the first
things I decided to do when I started this project is to
build the tiger the best that I could. That meant doing something about the mouth. As you can see in the first pic, there is no inside to the mouth. It's just a big open area into the hollow body cavity. I
took some putty and formed the inside of the mouth so it
would fit and look good. |
|
 |
 |
| Next I had to deal
with mounting the beast to the rock the way I wanted to. The only way to do it would be to pin it. First I tried drilling a hole in an already assembled leg, but that didn't work, as I broke it trying to feed the wire up through it (one of my many setbacks on this project). So next I took another leg and laid the wire in place before assembing it. The first pic shows what it looked like with the wire sticking out of both ends of the leg. Next
I attached the leg to the body. |
|
 |
 |
| Then it was just a
matter of attaching the other legs, and doing the seam
work. Lots of blending, and putting the detail back in. |
|
 |
 |
| What I don't have
pictures of, is the painting process. After the seam work was pretty much too my liking, then I basecoated the whole thing an off-white / cream color. Then
I gave a light coat of a dark green to just the back of
the kit. To darken the tone for further layers of paint. |
|
| Overall, this
was an interesting kit. A lot more challenging than I had
originally thought. But I am extremely happy with the results. Regardless of the fact that I didn't even get a merit for it at WF in 06. I am really proud of it, and glad I went the extra lengths with it. |
|