|
Kong: Skull
Island |
||
|
Produced by Resin Realities, sculpted by Wayne
the Dane
|
||
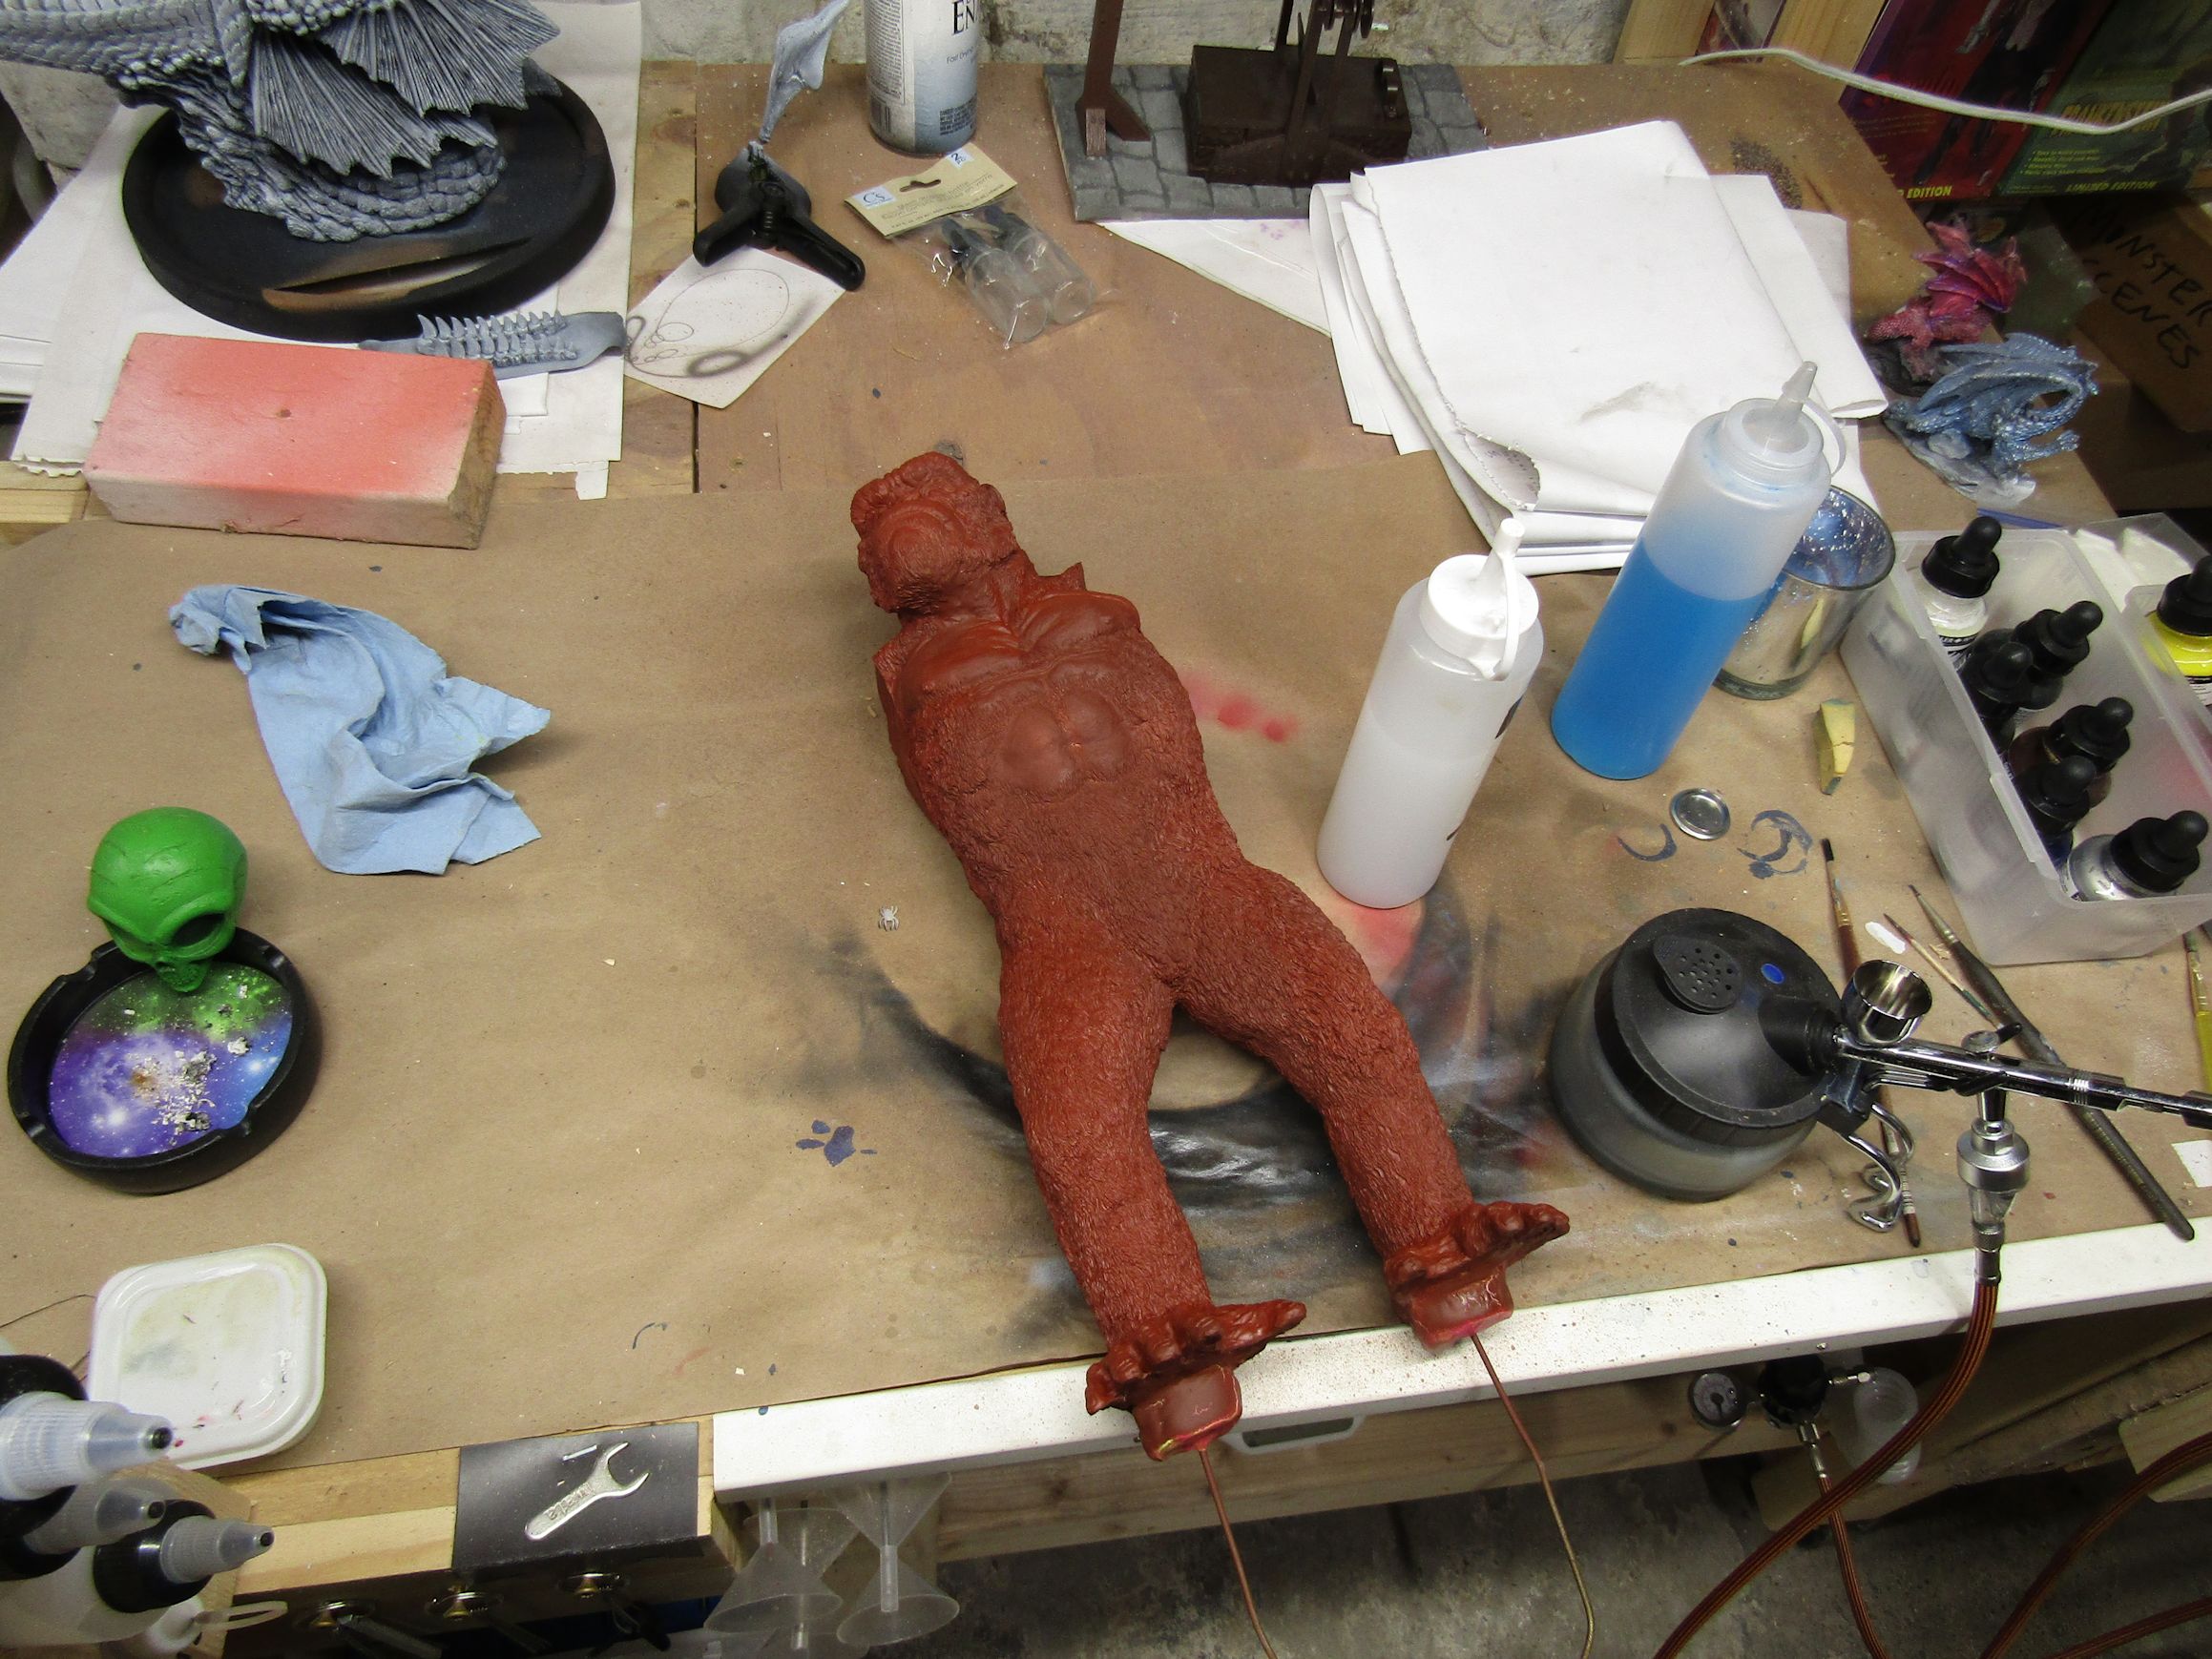
 Put some wire in the parts to hold them for spray painting and drying. Also put some silly putty on the connection points so I can get a good gluing surface when the time comes. |
 Parts primed in red/brown so they have a base coat also. |
|
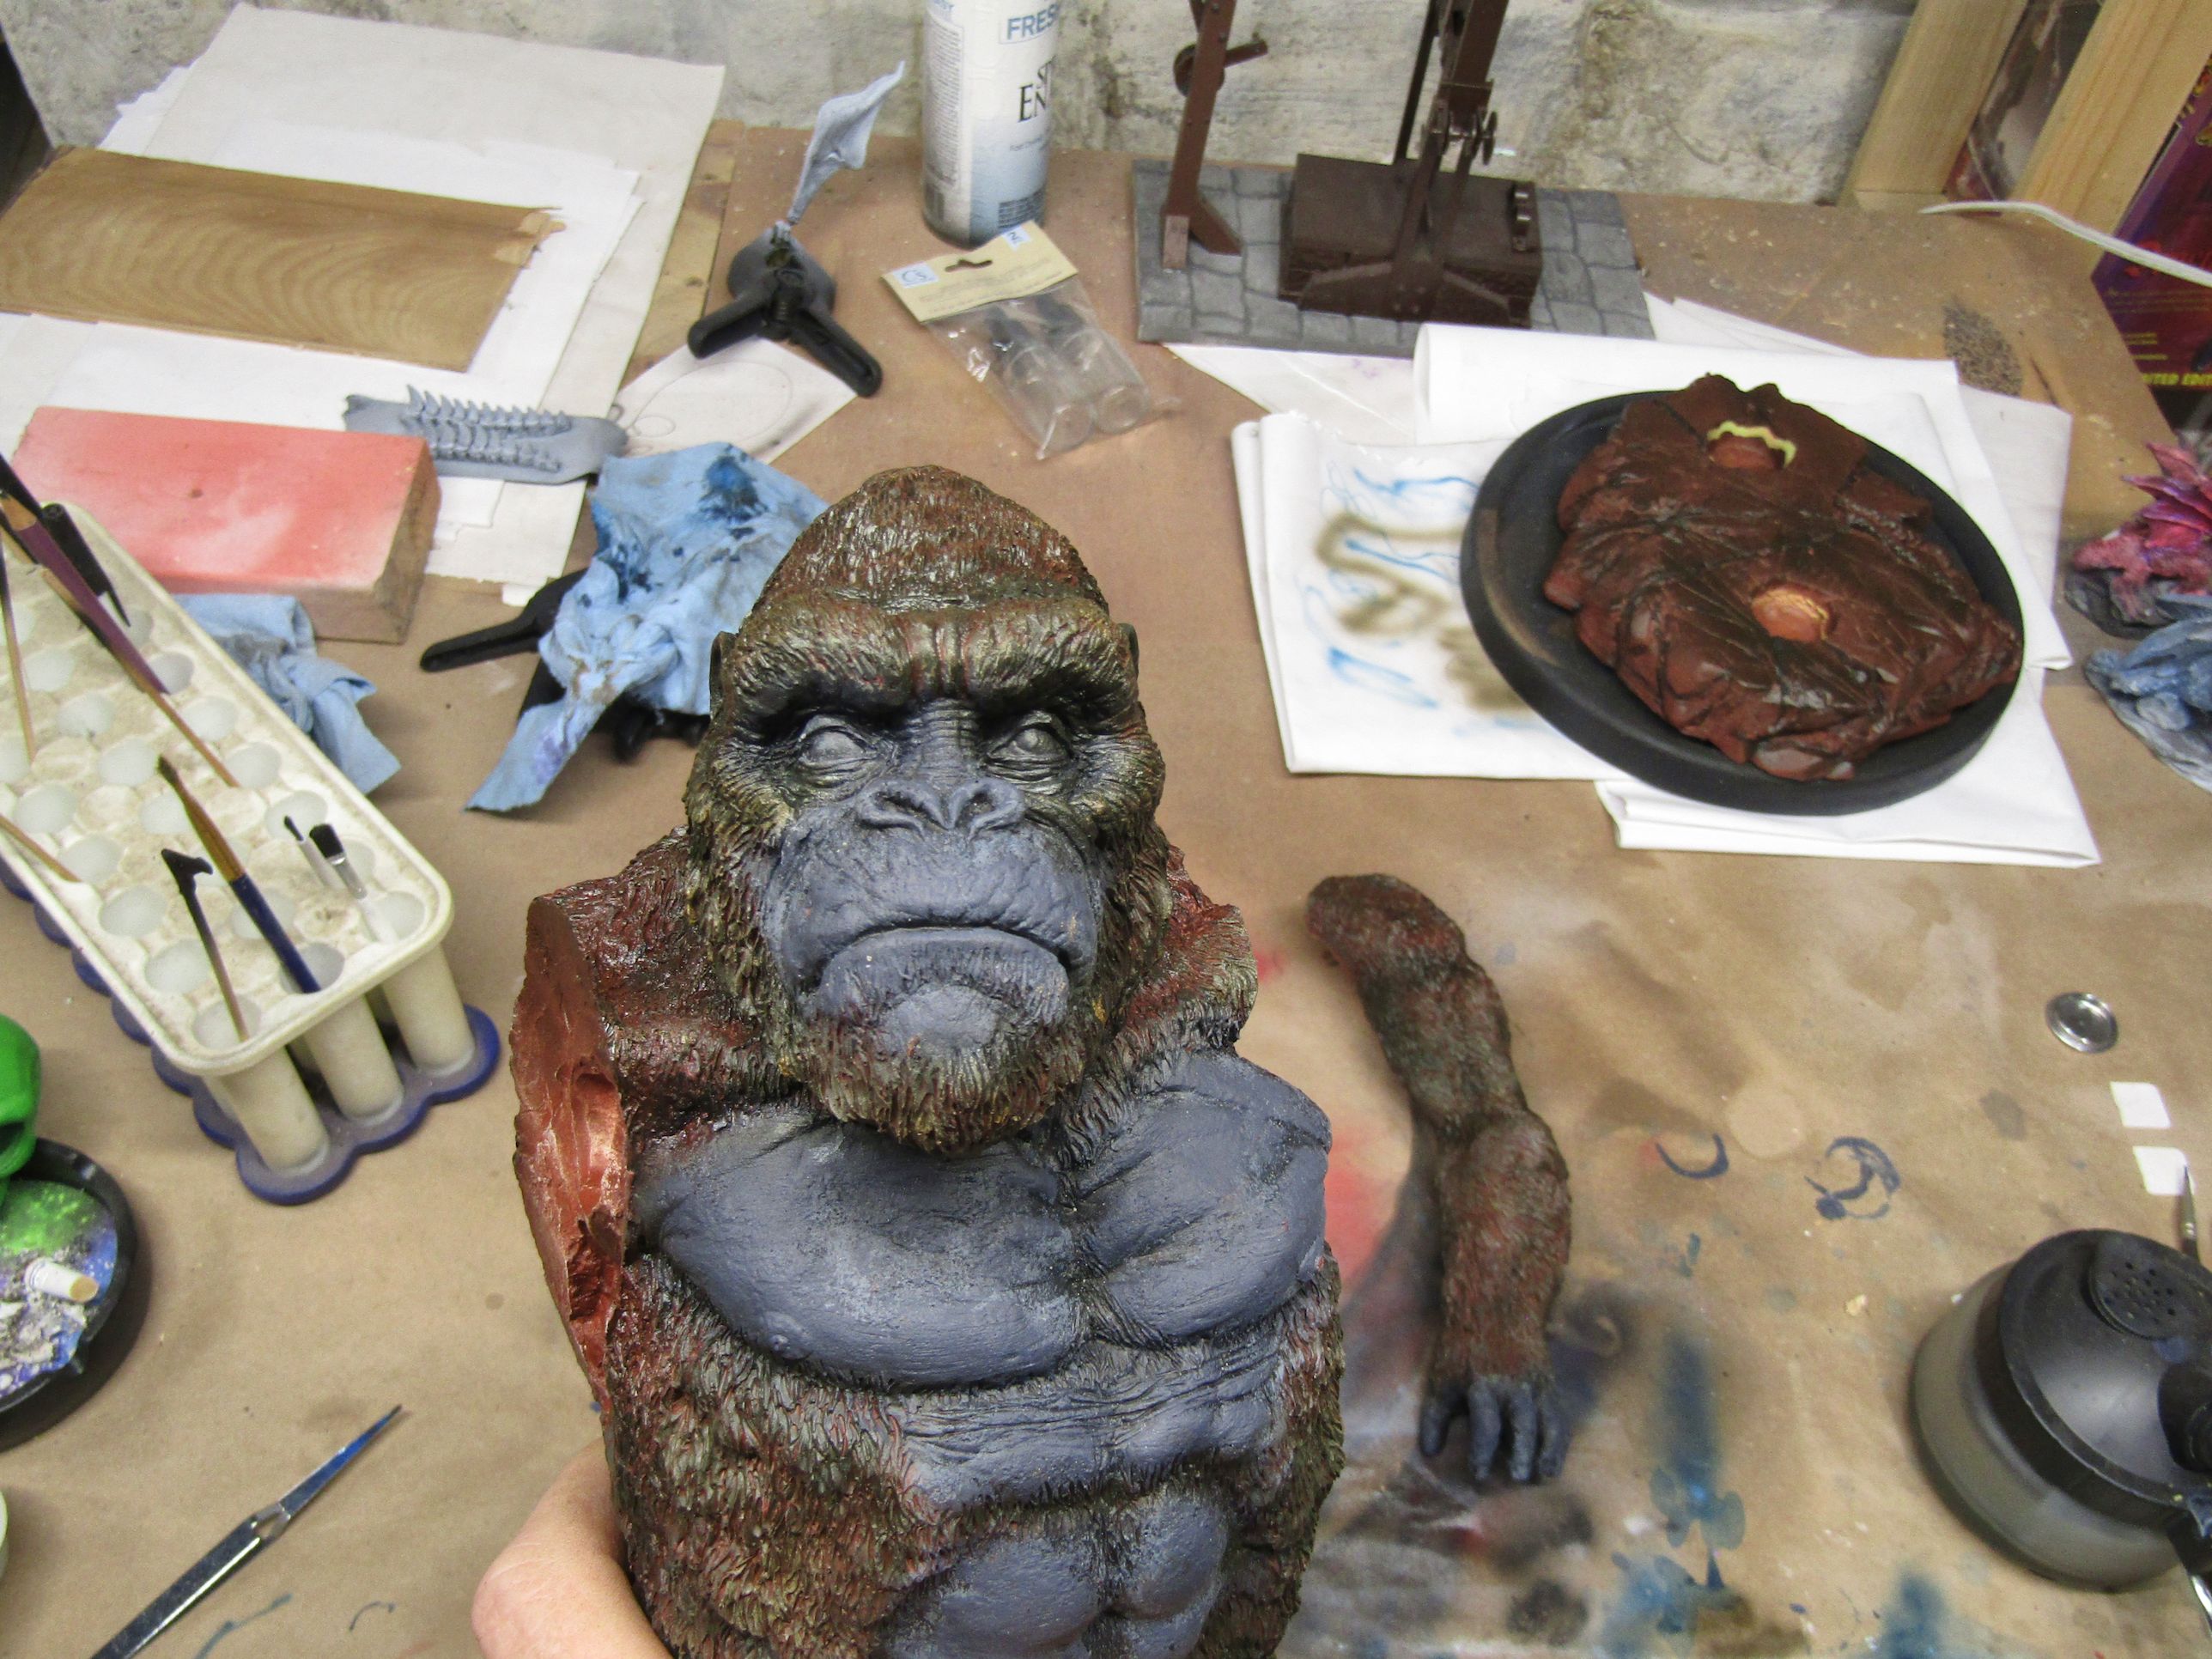
   Blocking in the face, chest, hands, and feet. As well as working on the putty for the arm joints. |
||
 |
 The seems look good now. Time to get some painting going. |
 |
 |
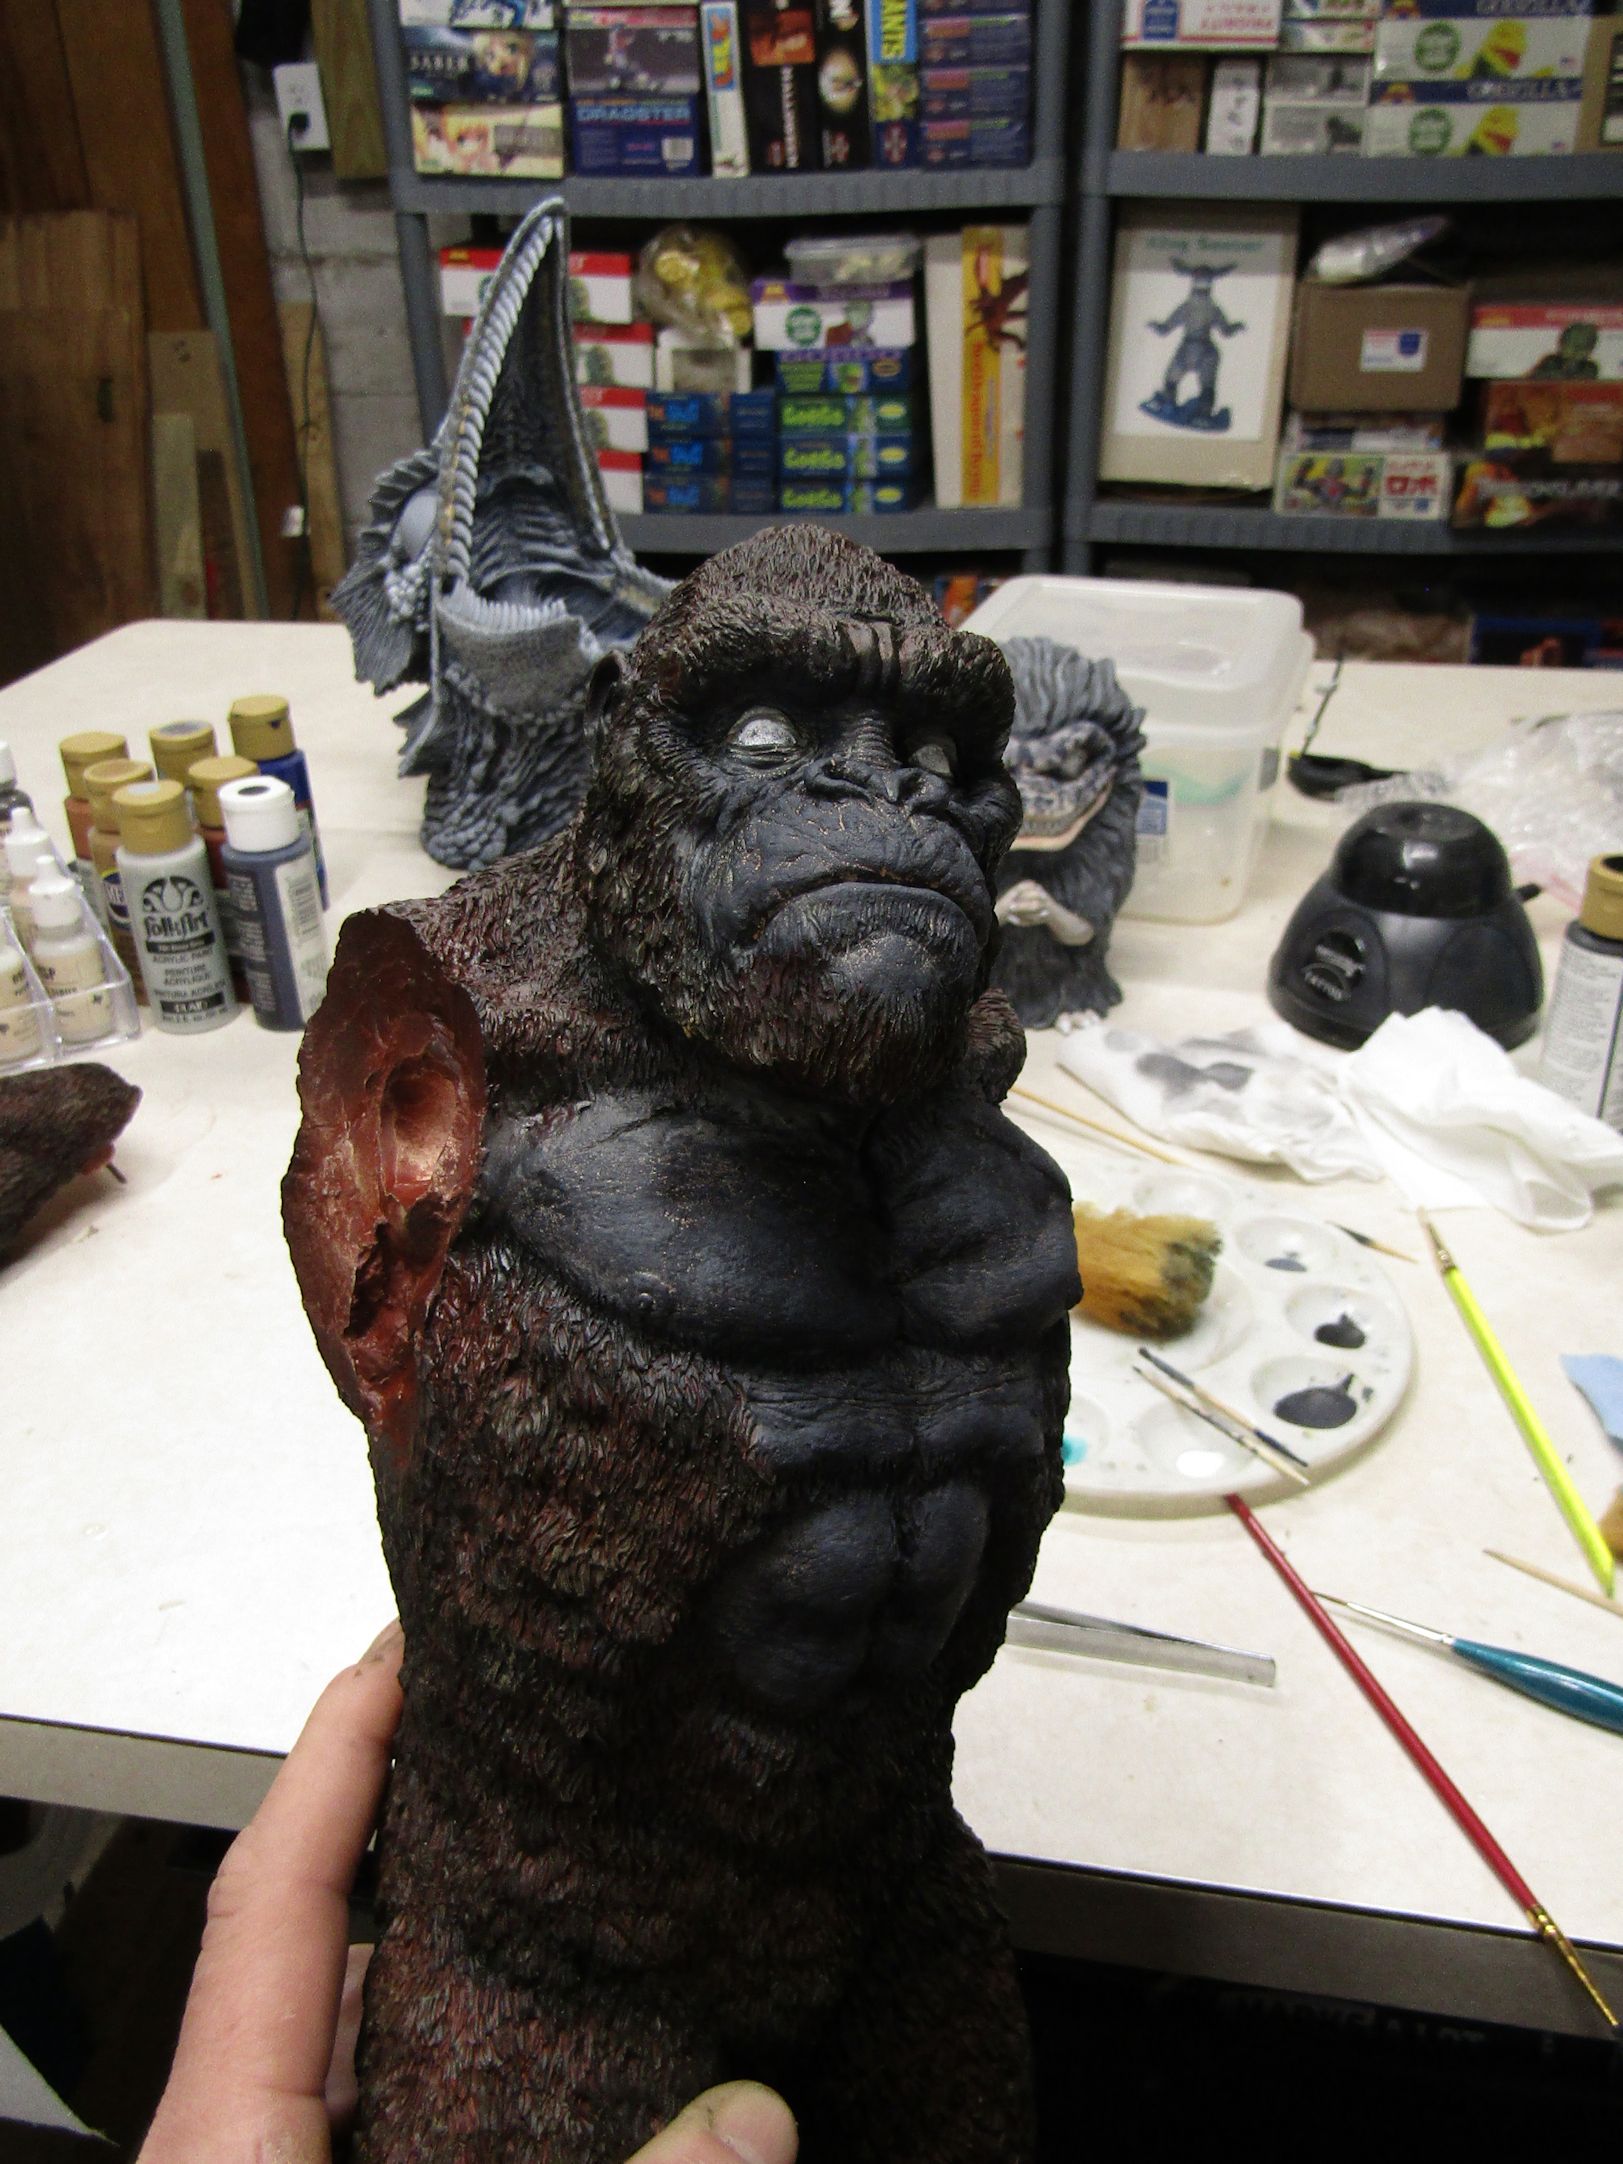
Spent a
good part of Sunday working on this big guy. First were several passes of sponging. Dark gray, light gray, then an even darker gray. After these photos I also did some browns and tans. |
 |
 |
 |
 |
 |
 |
 |
| Then it went over to
the airbrush table for more work. Gave the whole thing a nice coat of sepia ink, which is already semi-transparent, then I thinned it down by about half. Really tied everything together, and turned all that garish sponging into nice subtle color patches and highlights. |
||
 |
 |
 |
| I was
really loving how everything was looking, except for one thing. After
looking at my reference material, I noticed there was a lot of pinkish
flesh color showing in all that gray-black skin. So, I went in with some peach ink and covered all that sponge work I already did. Not seen in the photo, I also did the hands and feet. Then I went back over all that with more sponging of grays and blacks until I got to a point I was happy again. I think it was well worth all the extra work. |
||
 |
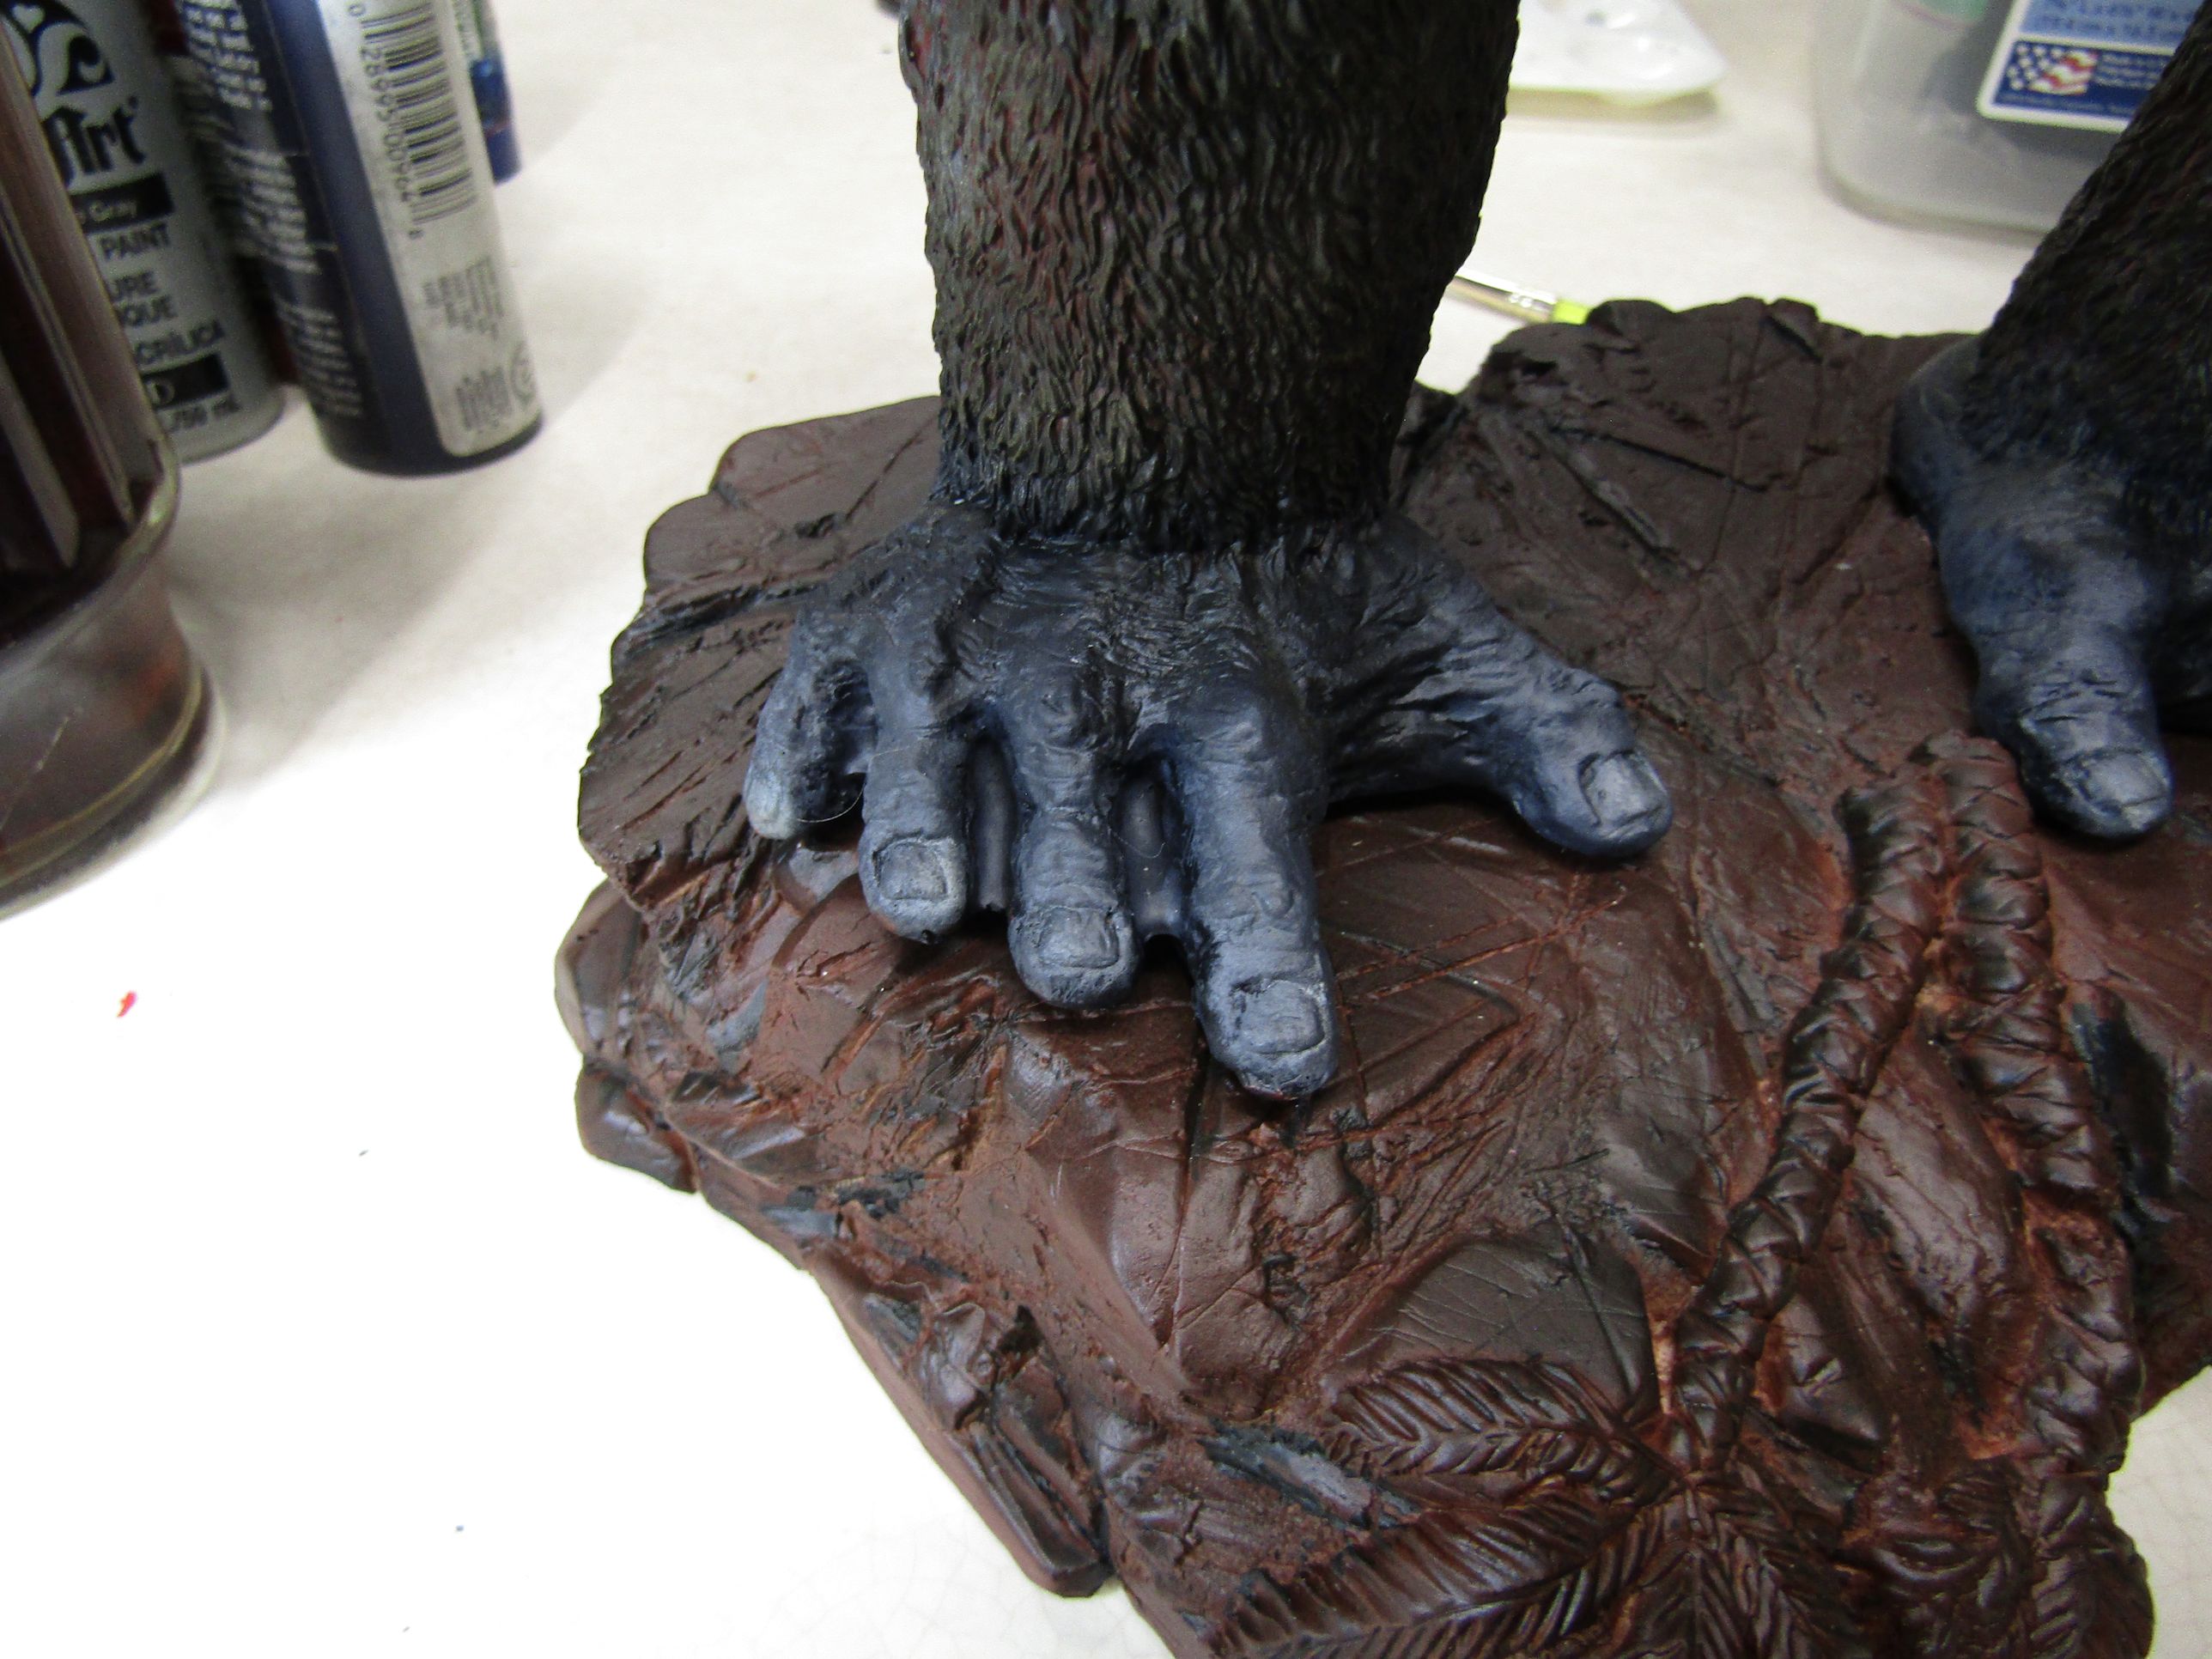
Then it
was time to attach the arms. That went well, though even with my previous putty work, I still had some work to do to blend things even more. After that I gave it another shot of the sepia ink to blend it all. And, it was about this time I noticed something I had missed. If you look at the pic on the right, you will see the resin between the toes. I could just let it slide, but that's not how I roll. So, out came the dremel then some touching up after that. |
 |
 A little more work on the base. It's getting there. |
 |
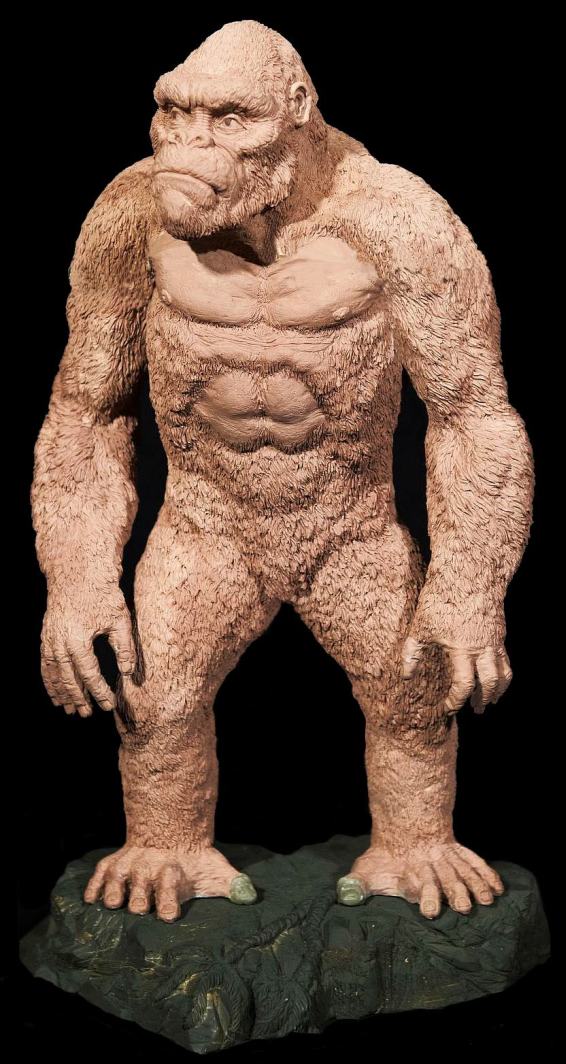
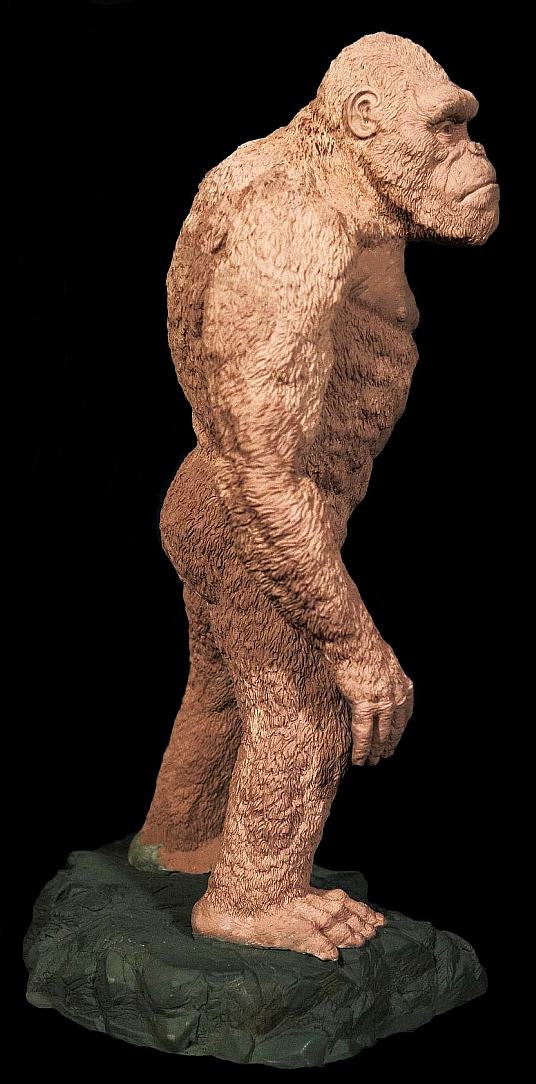
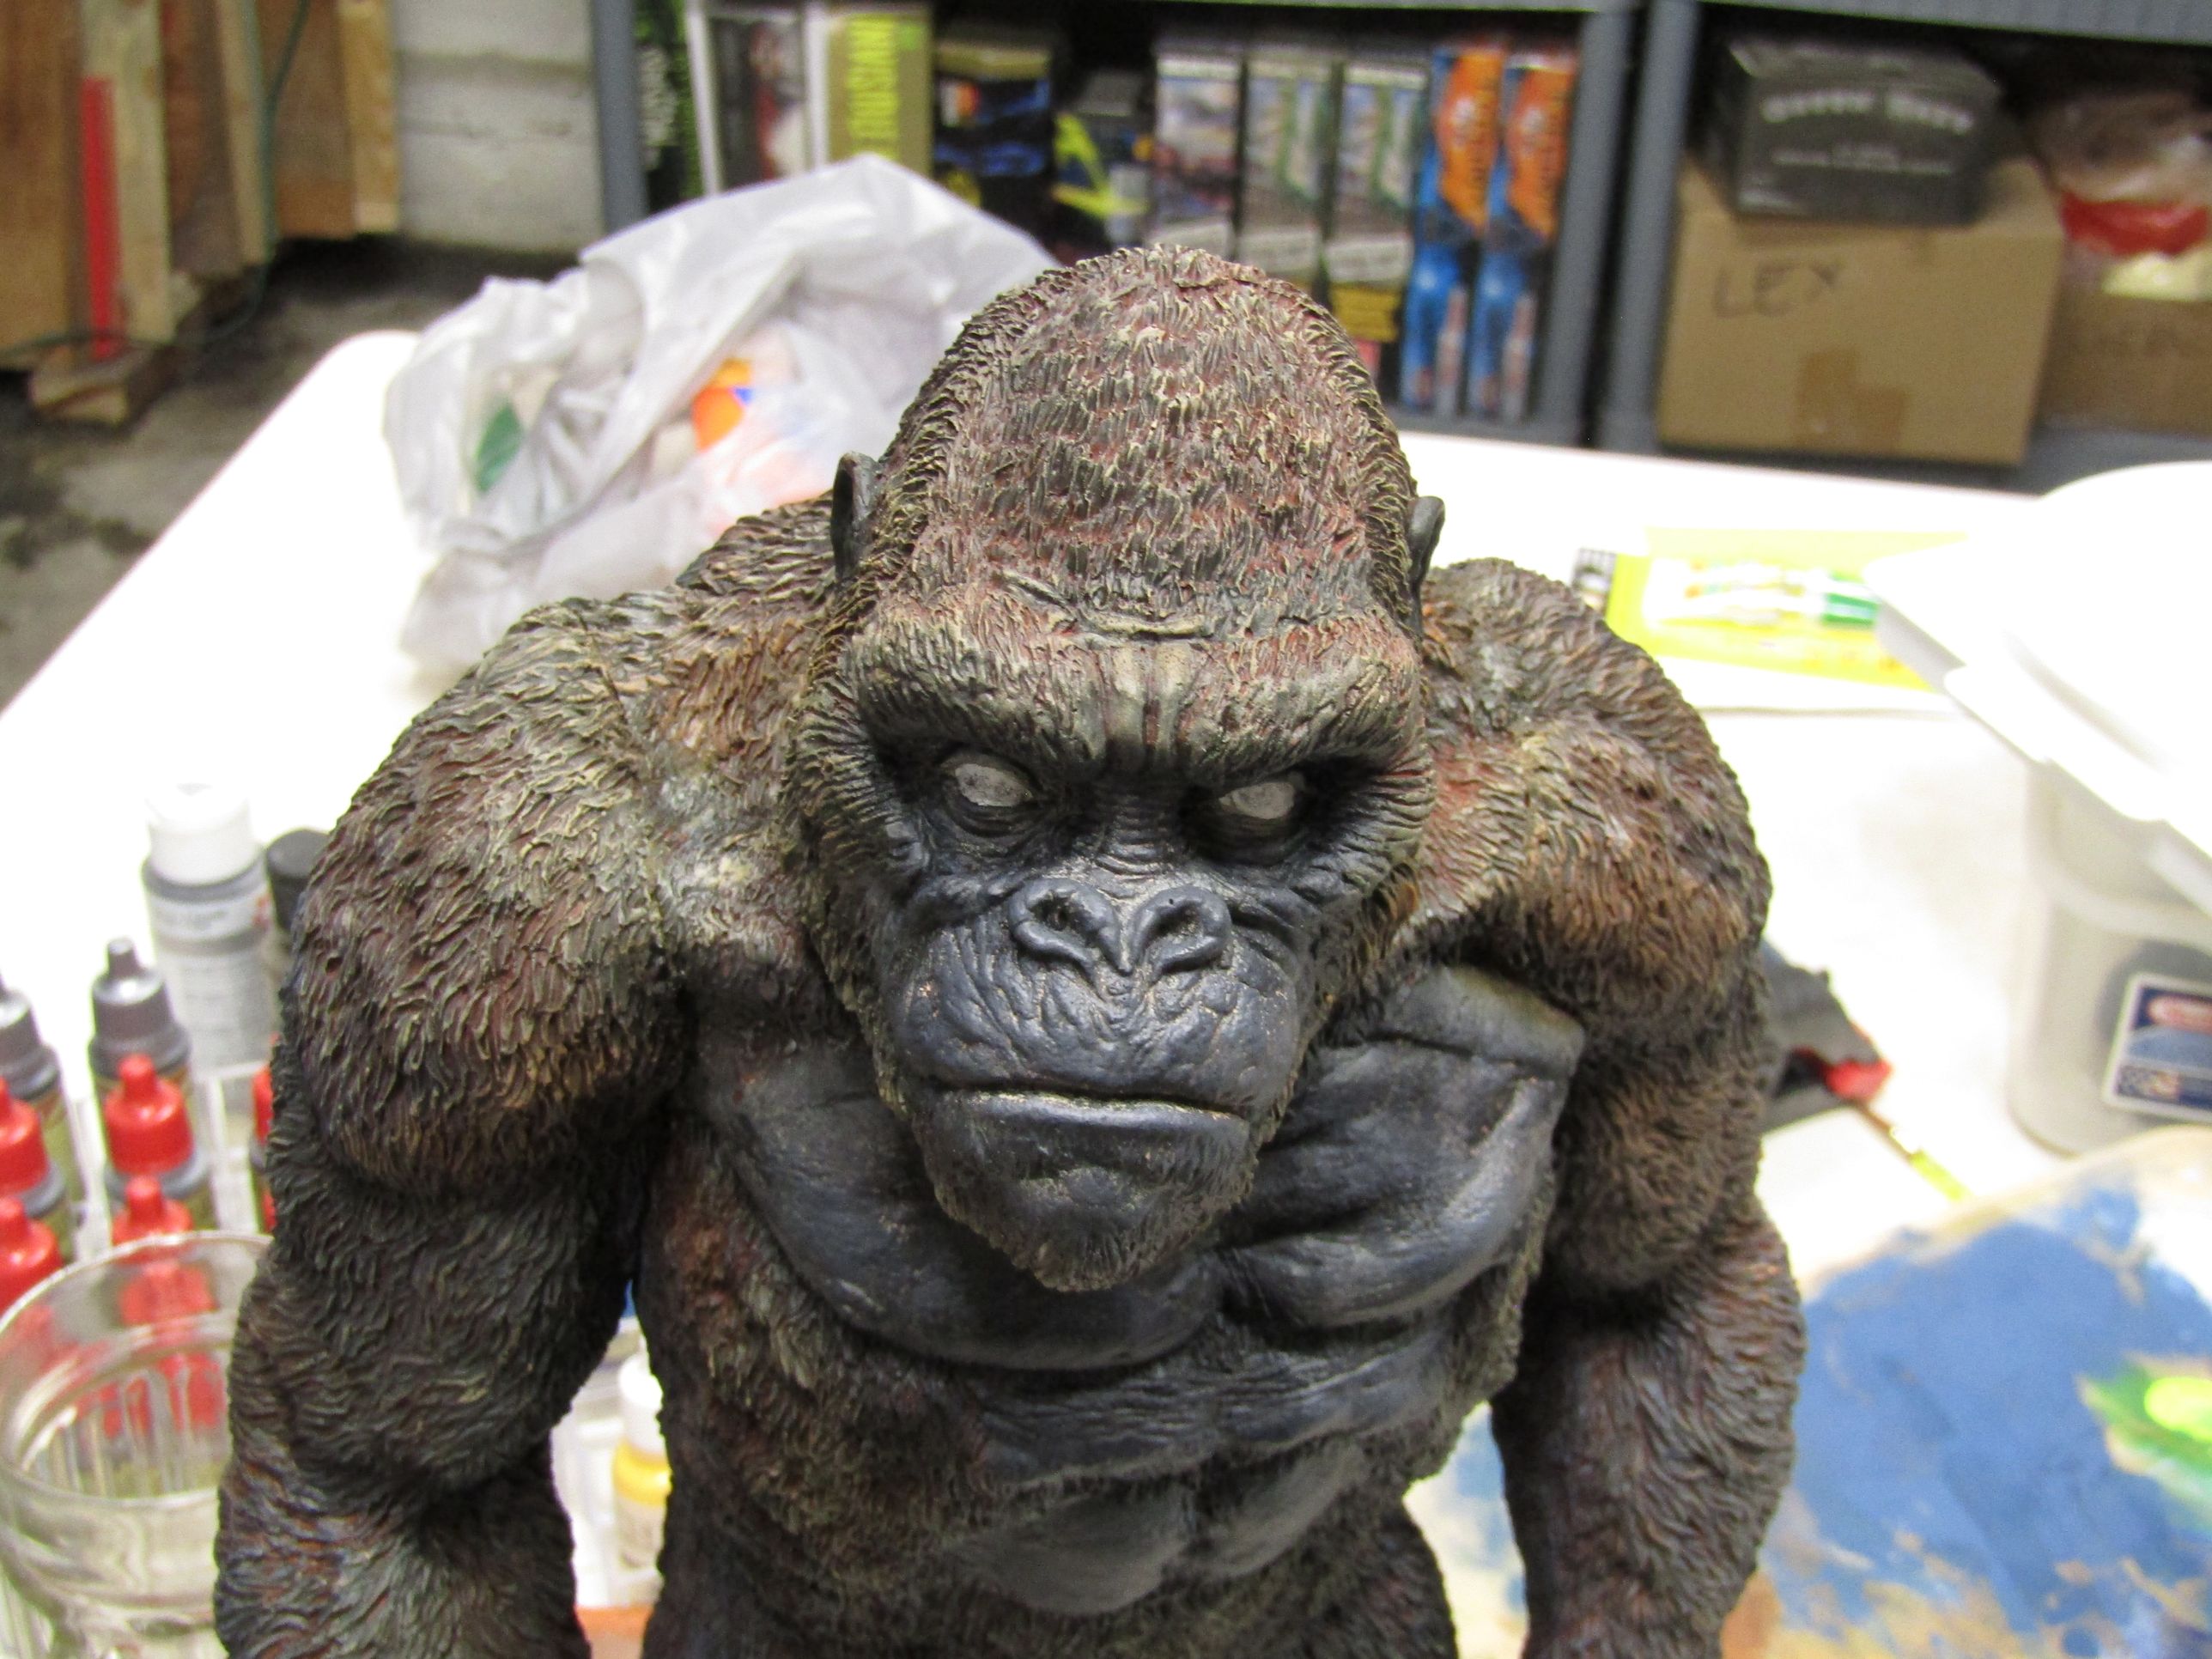 Starting to look pretty good. |
 Still haven't done the eyes yet, and still need to fuss with the base a bit more. |
 Finally working on the eyes. Here are the irises blocked in with black. |
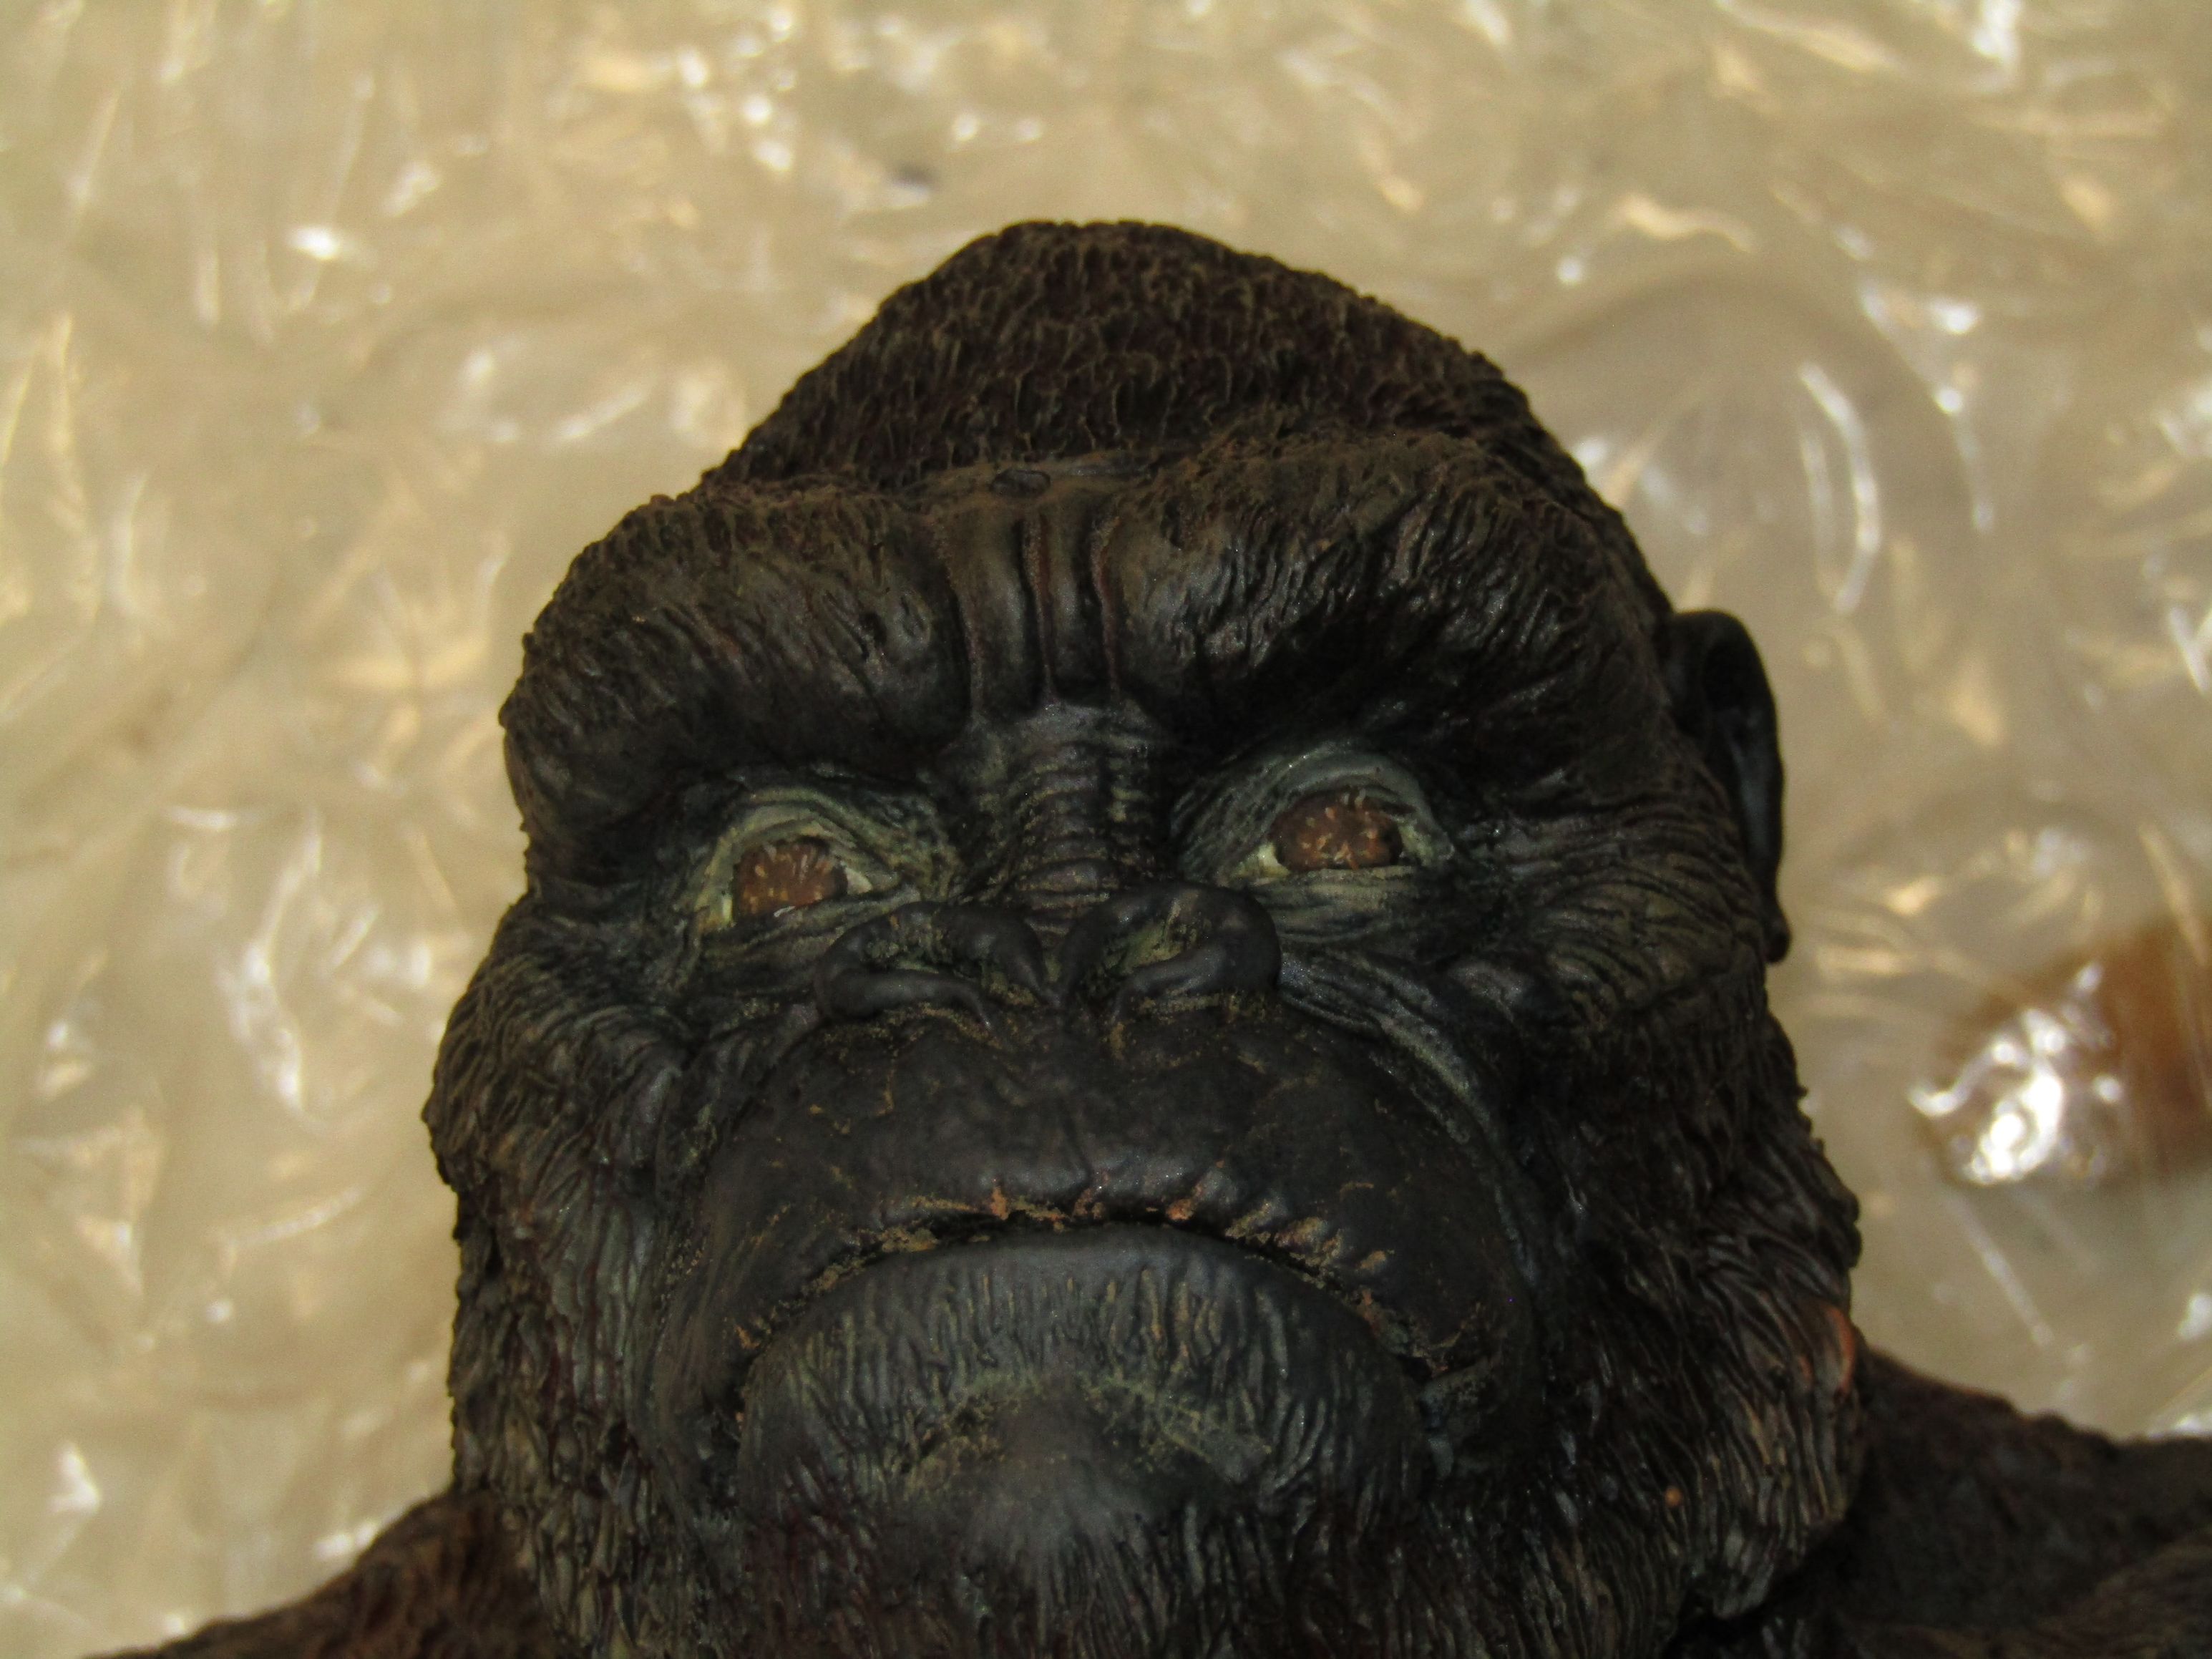 Now with some color. I base coated with a dark brown, then added highlihgts of light brown, khaki, and orange. |
 While I like the colors, I thought they needed a glaze to bring them all together and sink them in a bit. Wasn't sure exactly what color I wanted so I did a quick test. Put down the colors on my texture pad and went over it with a few different glazes. |
 Here is what I settle on. I think I made the right choice. |
 And finally, the pupils. |
 |
To give
you an idea how small these eyes are I balanced a ruler on his face. On the other side, we have a look at the base close to done. |
 |
new He is done! Click image to go to page of finished pics. |
||
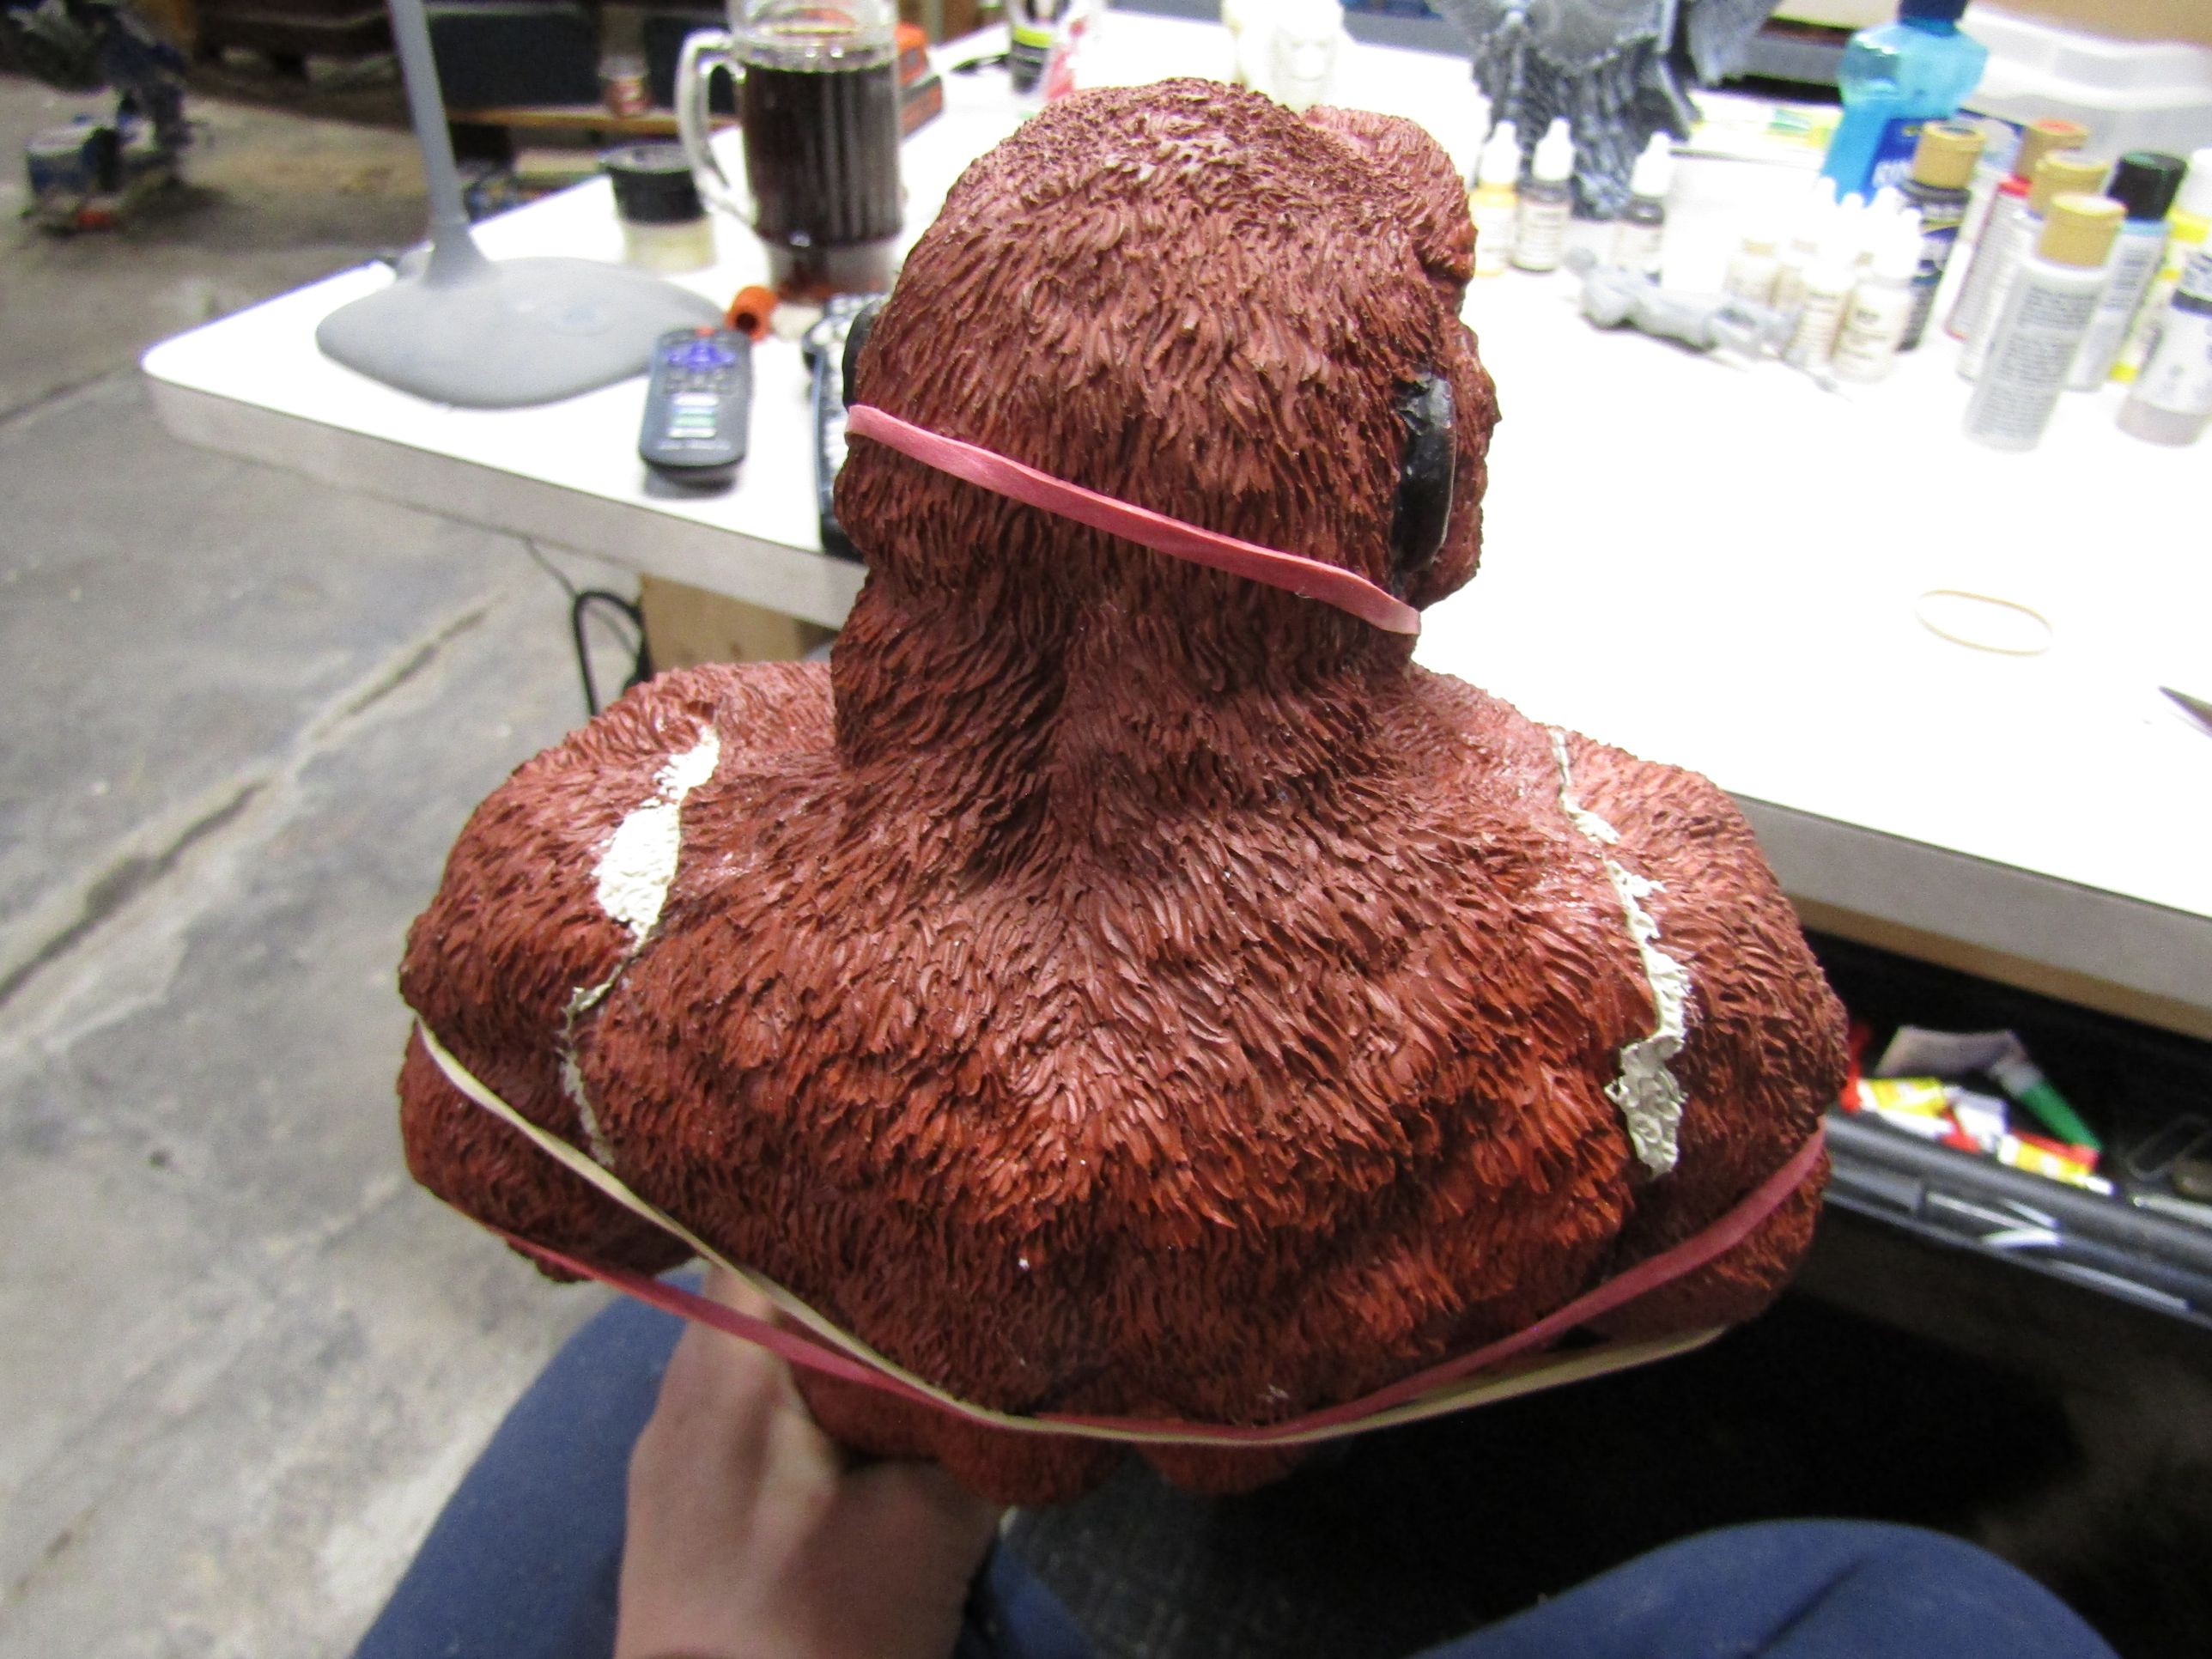
| BLACKHEART KONG BUST Putting the WIP photos here as there won't be enough to justify a whole page. But once I started working on this full figure kit, I figured it would make sense to work on the bust at the same time, as I would have the same paints out. |
||
 |
 |
 |
| |
 Finished this 5/6/23. Click the image for a page of pics of the finished piece. |
|