My
Prehistoric Scenes |
||
| Allosaurus - painting phase | ||
| Go BACK to the map page | ||
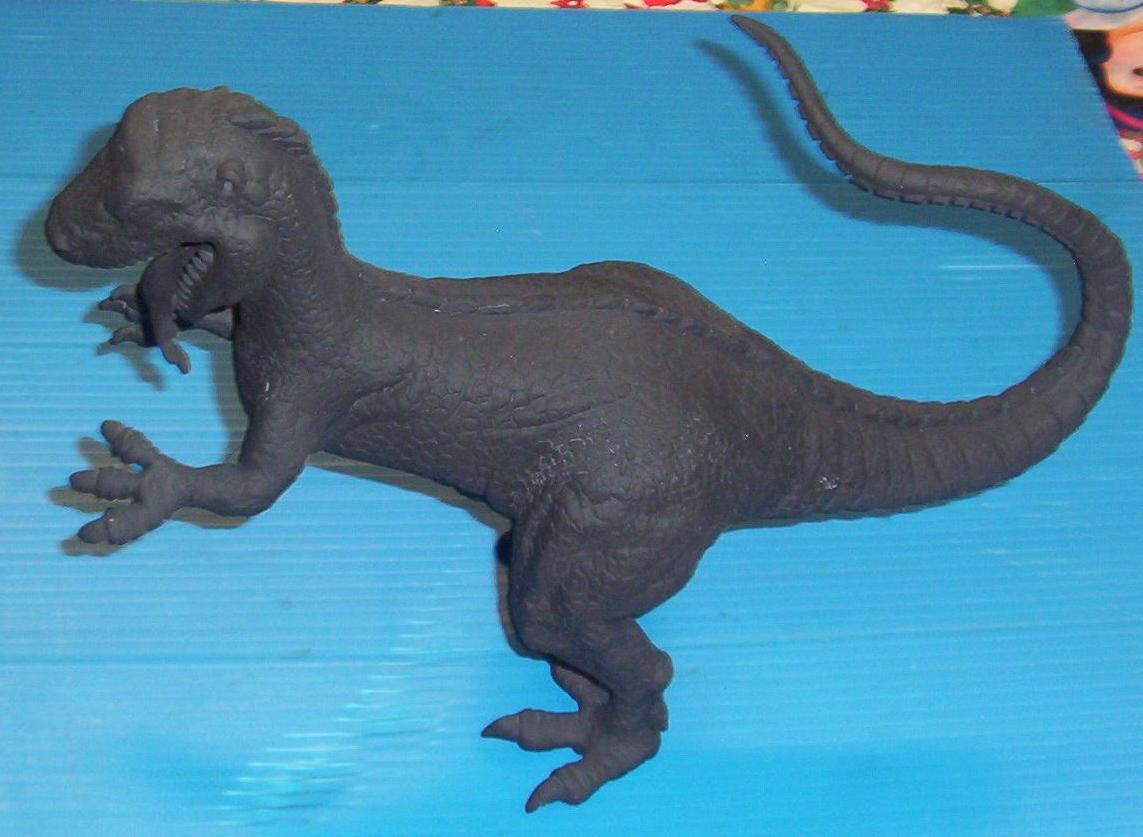
| Woo Hoo! Finally slapping some paint on this sucker. If you want to see the BUILDING PHASE then use the link. This page will now deal with the in-progress of the painting of this model. |
||
 |
 |
|
 |
 |
|
 |
 |
|
| Just the
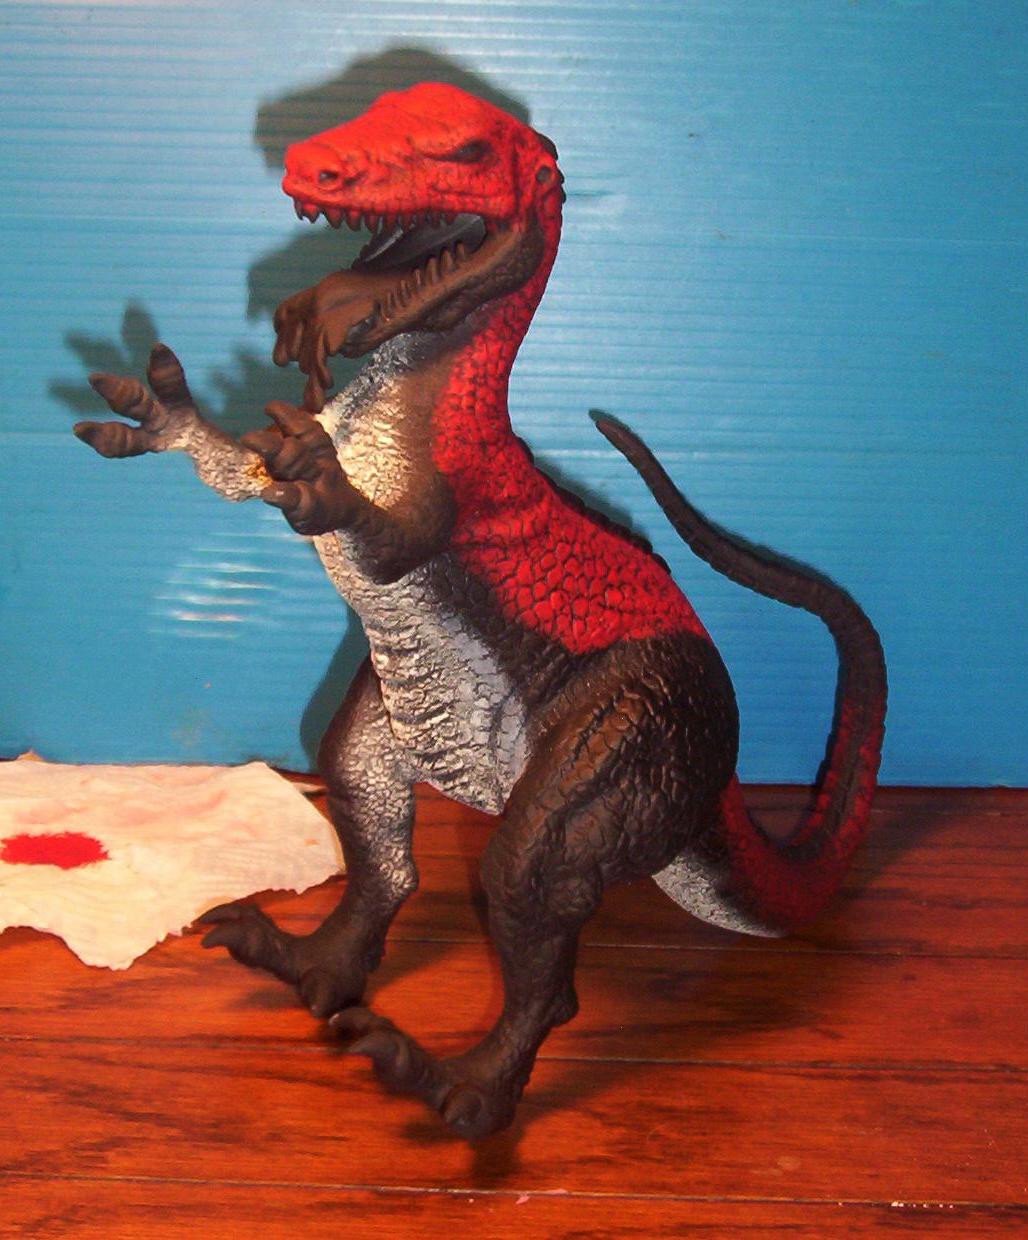
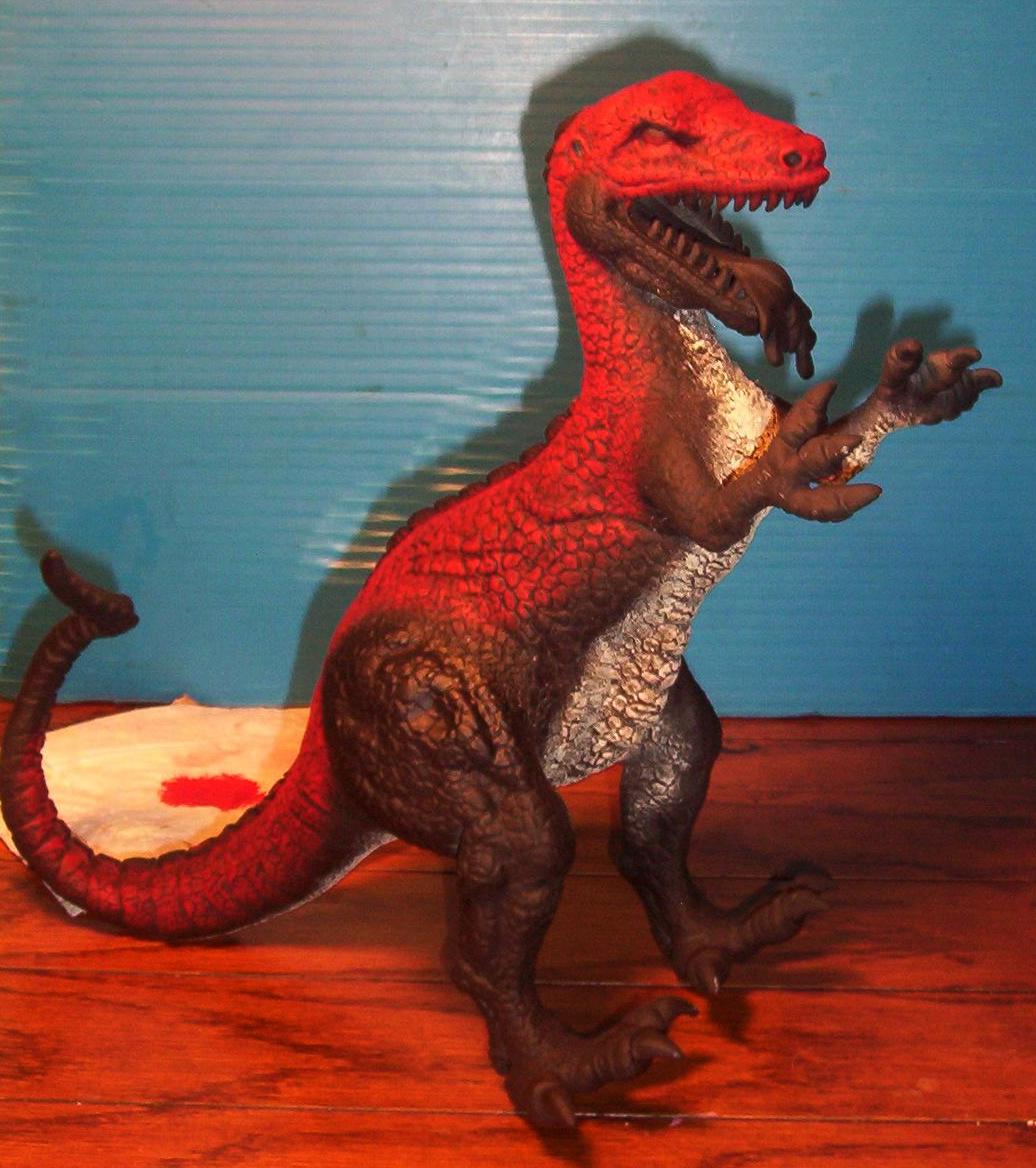
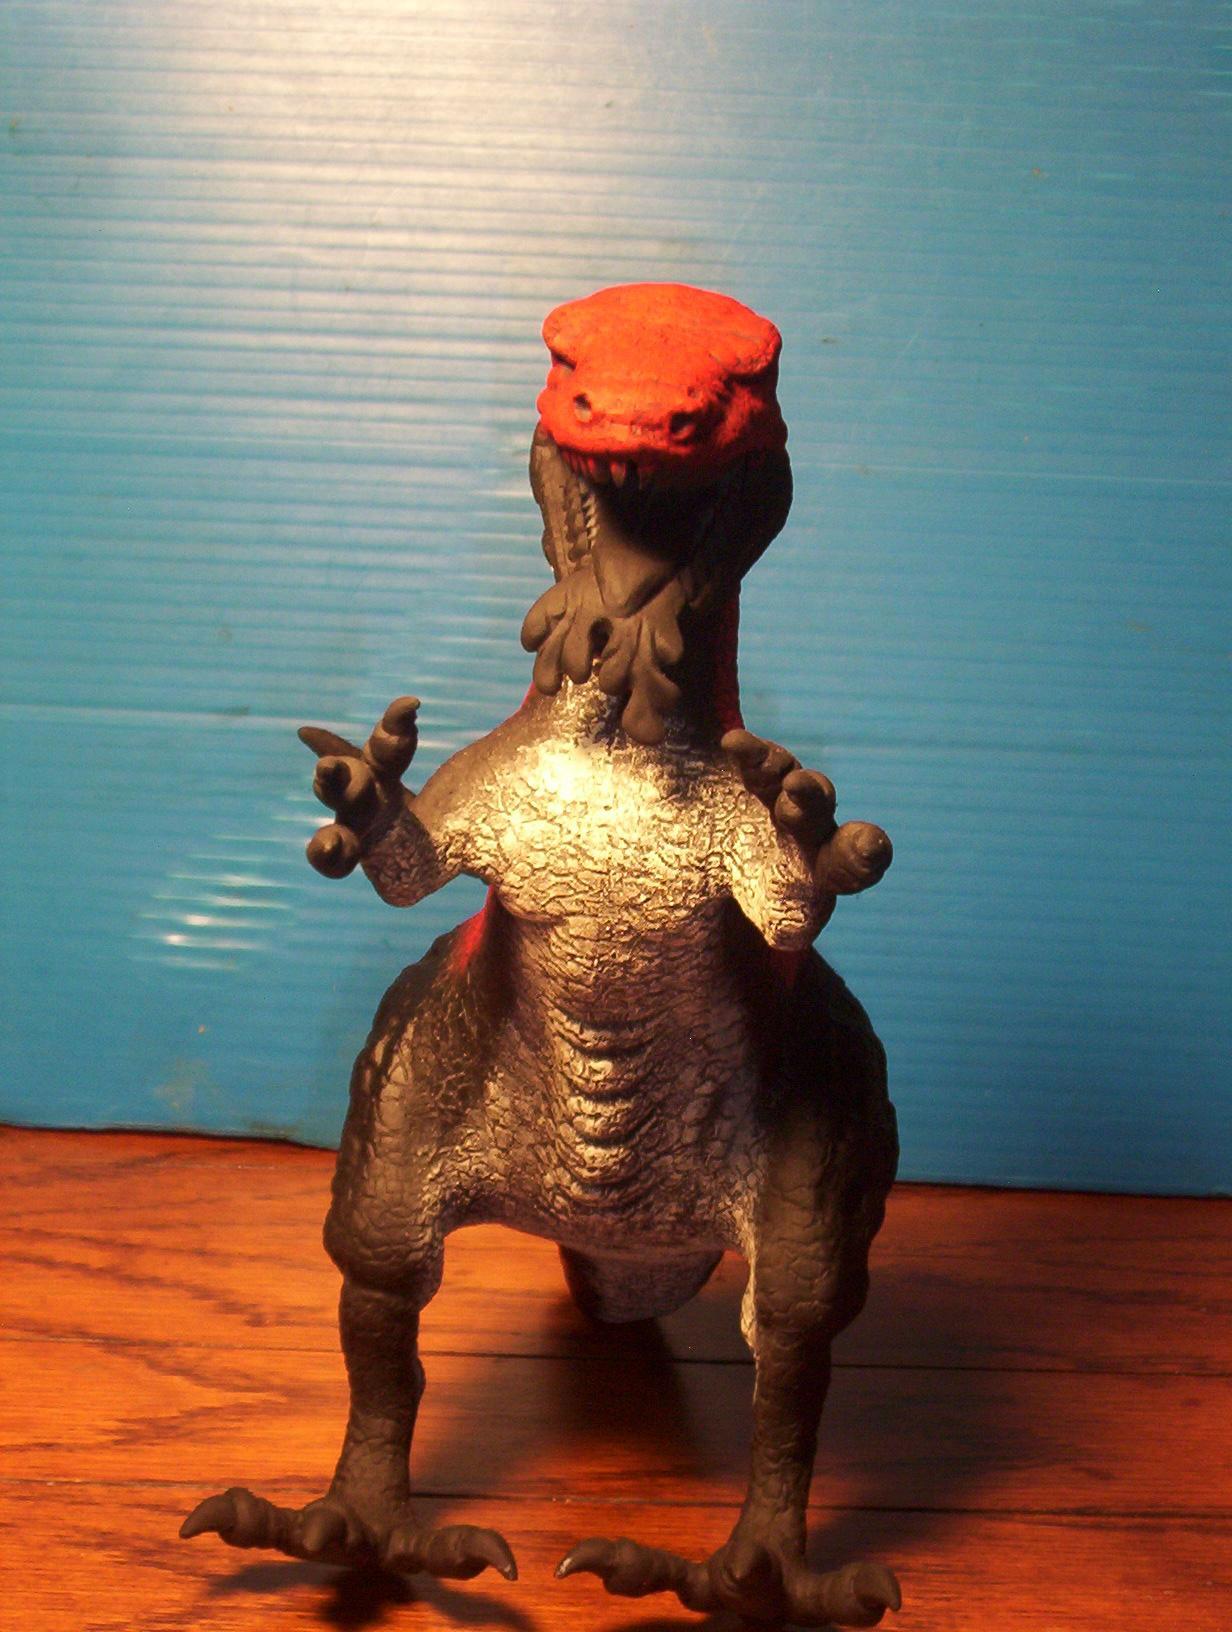
preliminary stages of blocking in the color scheme. It
actually looks brighter than it really is. Due to the flash. It's going to take a couple more coats to really set the color without the black subduing it too much. |
||
 |
 |
|
| Well, with
thins coming together I decided to experiment a little
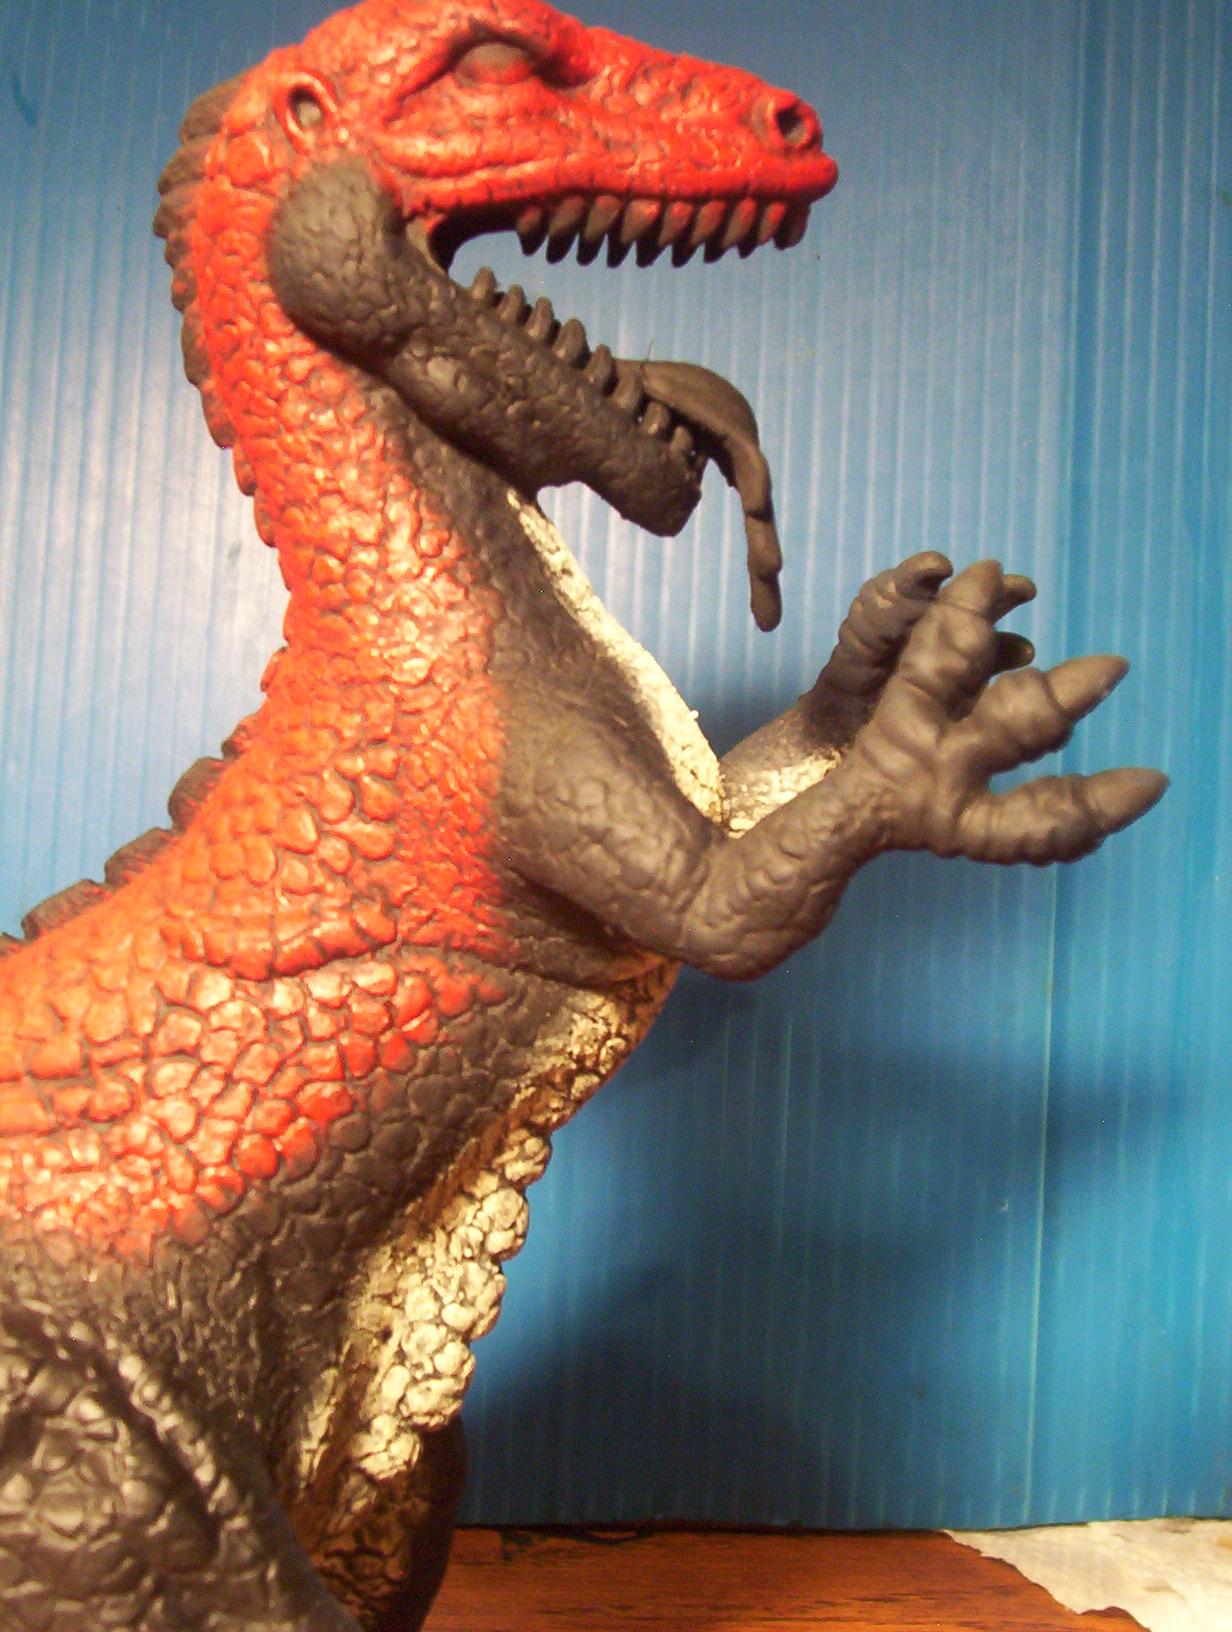
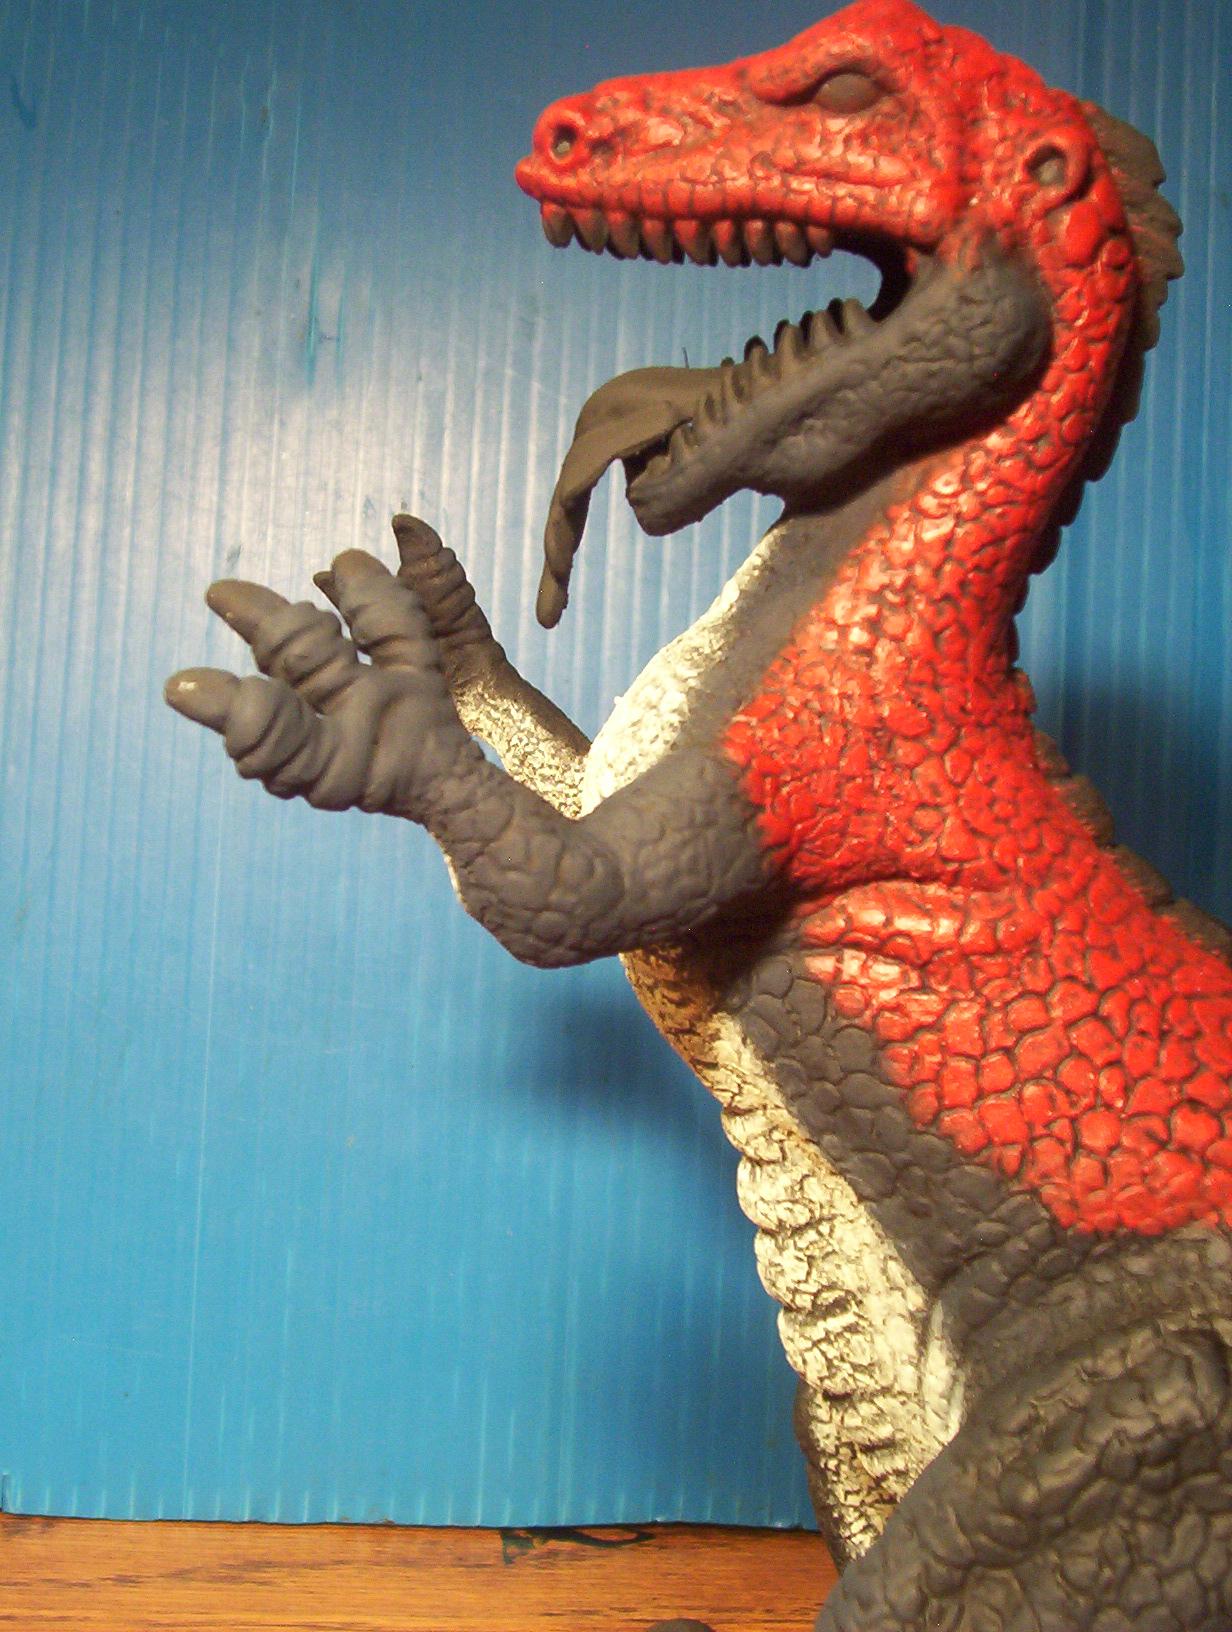
bit. Leave it to me to push my luck and ruin a good thing. Above left - shows the red/black/white color scheme. While the black looks really good, I wnated to give it sort of a blue-ish hue. Above right - shows the results of drybrushing on some dark midnight blue that I had. (might be easier to see in the lower right pic.) The problem. It's a little too much blue/purple and not enough black. I really like he sharpness of the black on the kit, but I want something that will also allow me to go darker in the texture. |
||
 |
  |
|
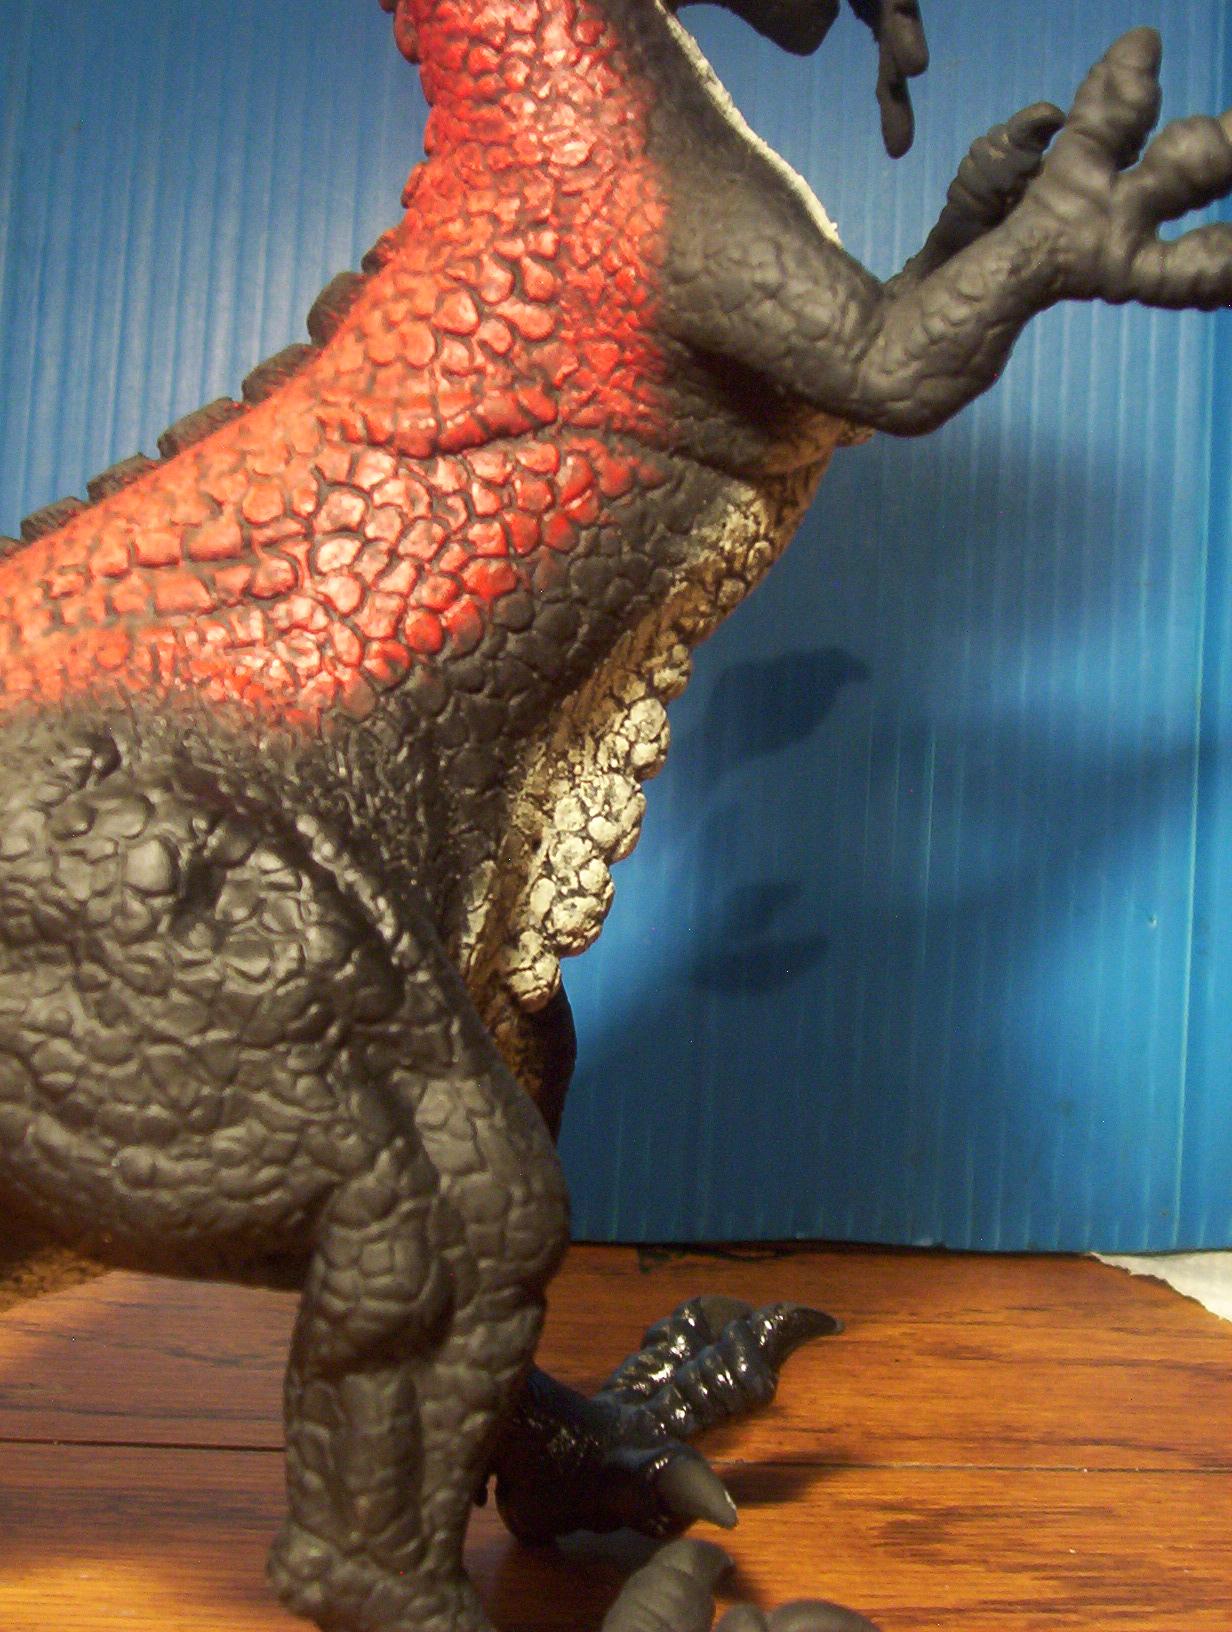
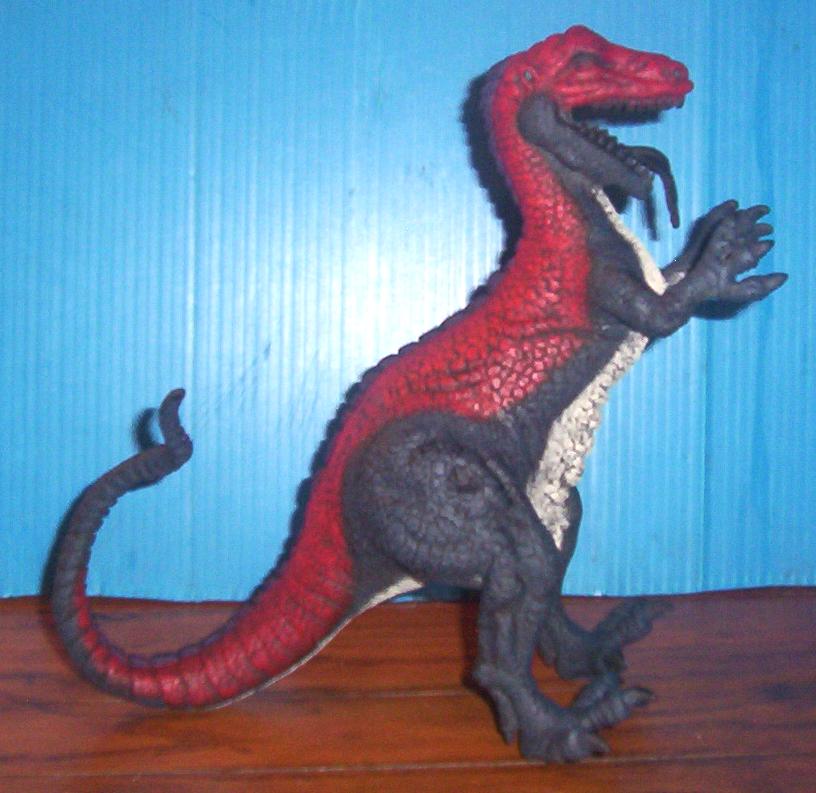
| This side still has the
straight black on the leg and part of the side. And the
midnight blue on the arm, the neck, and the jaw. I tried to go over it with a black-tinted gel. To blacken it up more and give it something darker in the texture. I don't think it worked. And the thickness of the gel seems to have filled in some of the texture as well. So I will be washing that off. I am
working on another area but need to let it dry and see
what the results are. |
 |
|
 |
 |
|
 |
 |
|
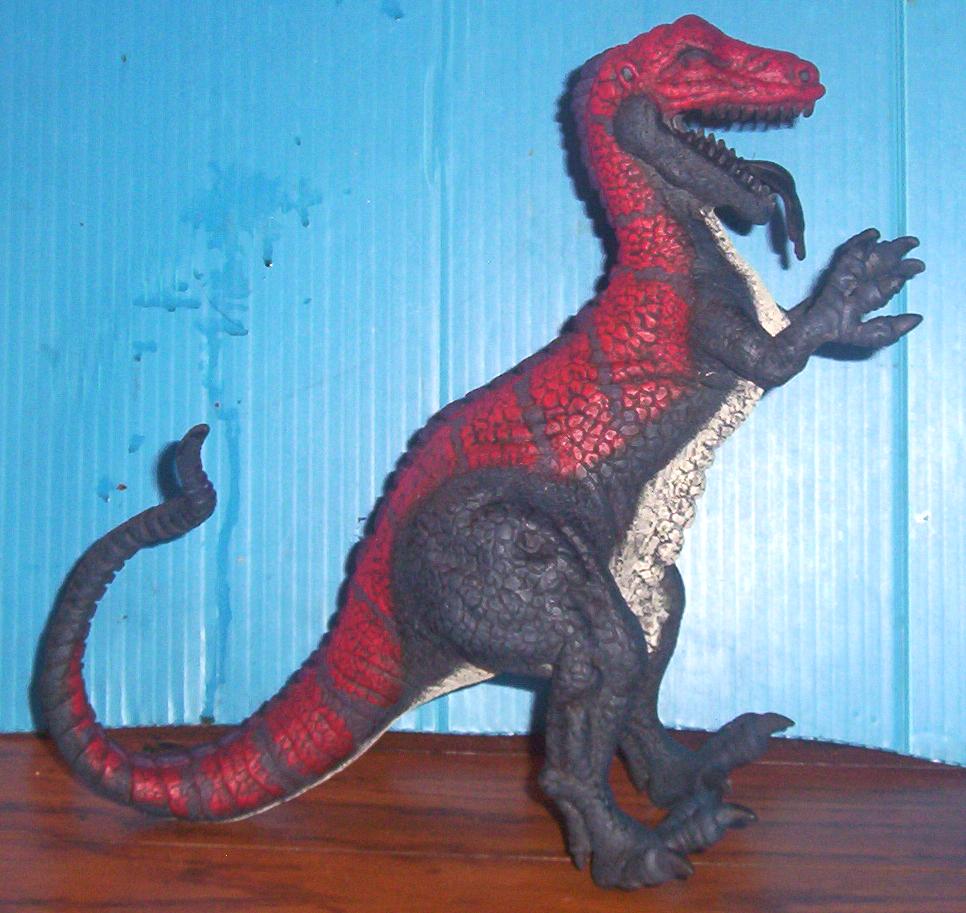
| More progress.
I got all the dark areas done with the midnight blue,
which I decided I did like after looking at it for a
while. Then I added some purple to the frills down the
back. Then I added some striping to the body. Next will be starting to paint the mouth and claws. |
||
 |
 |
|
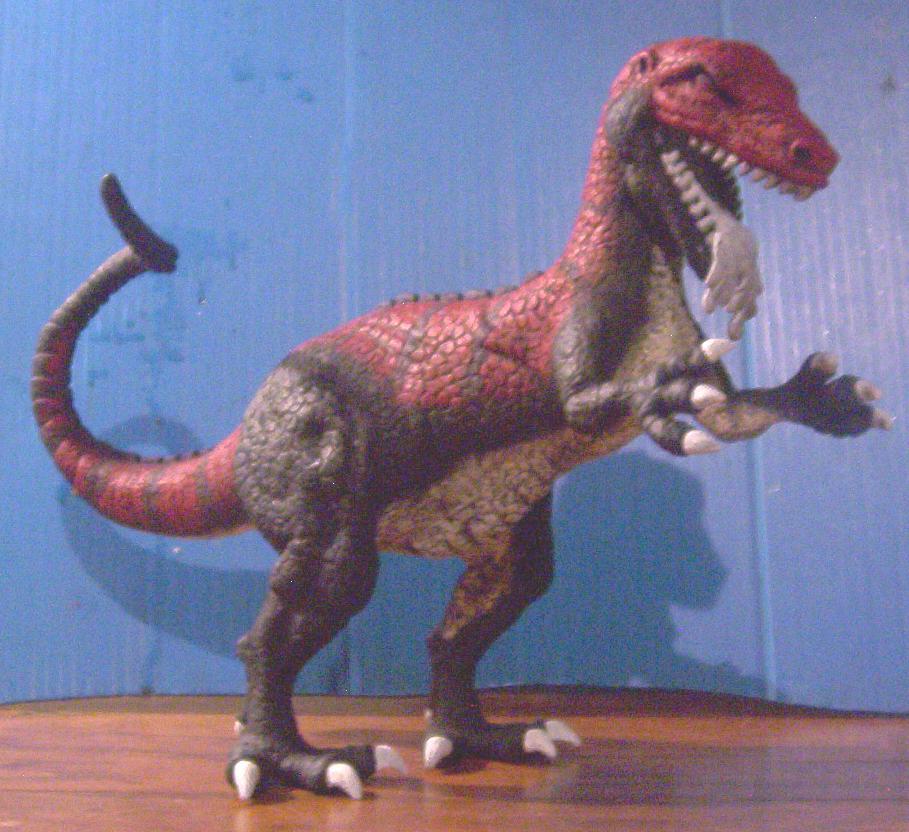
| Basecoated the
mouth and claws white in preparation to start work on
those. This caused a little setback though, as I discovered there is still a bit of flash on the teeth that needs taking care of. |
||
 |
 |
|
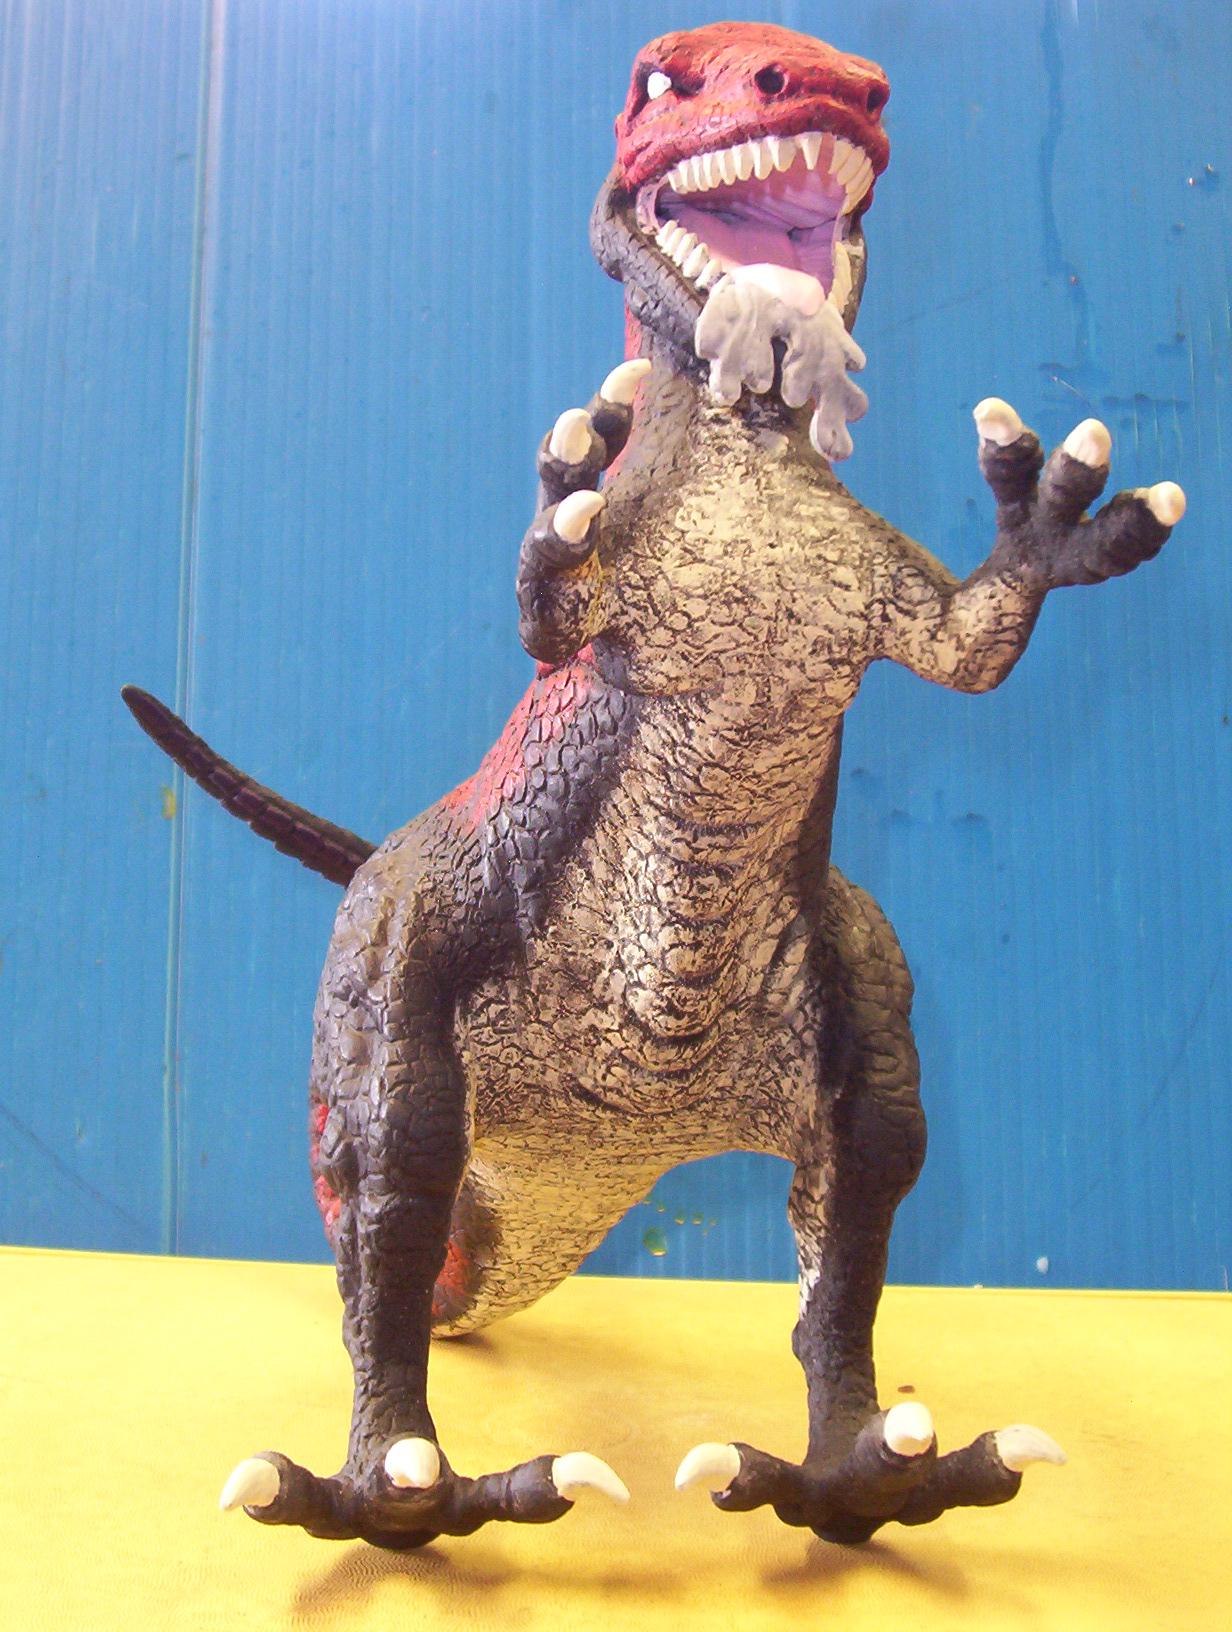
| A little dremel
work and a lot of file work around the slobber, the teeth
and the claws. Then another touch of white. Now I am ready to start painting the mouth. |
||
 |
 |
|
 |
 |
|
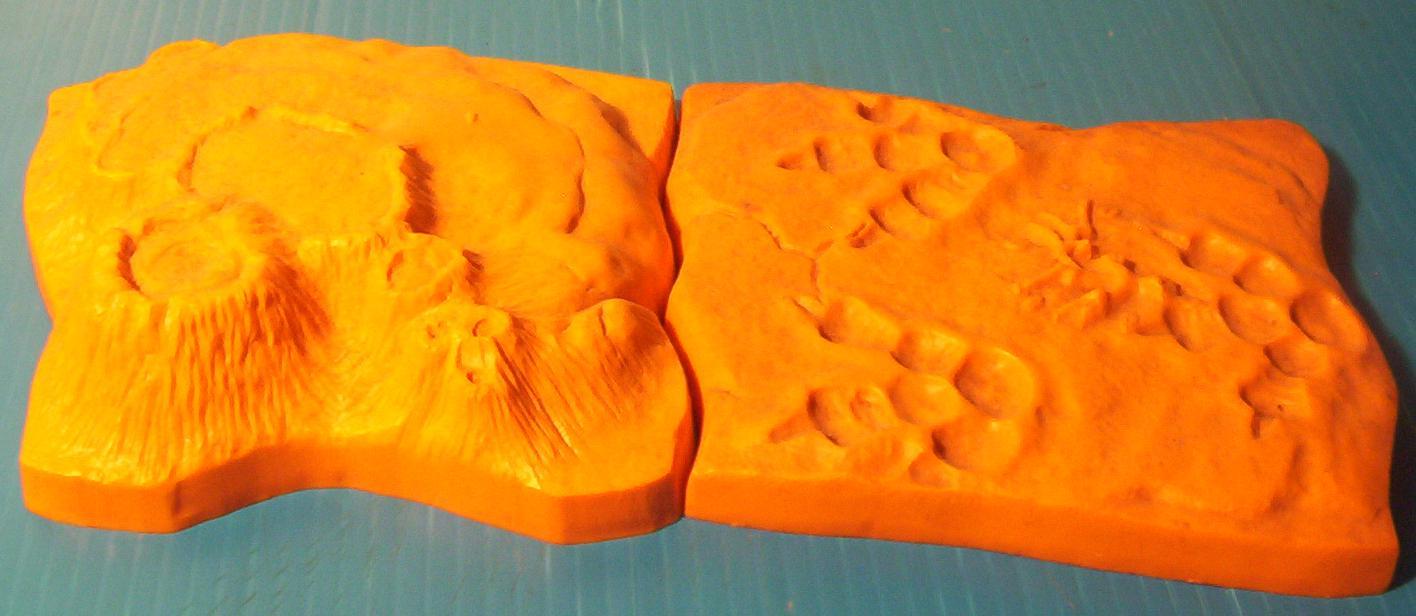
| Some darkening
of the tips of the claws with a little purple. And a little work inside the mouth with some orange-ish brown. |
||
 |
 |
|
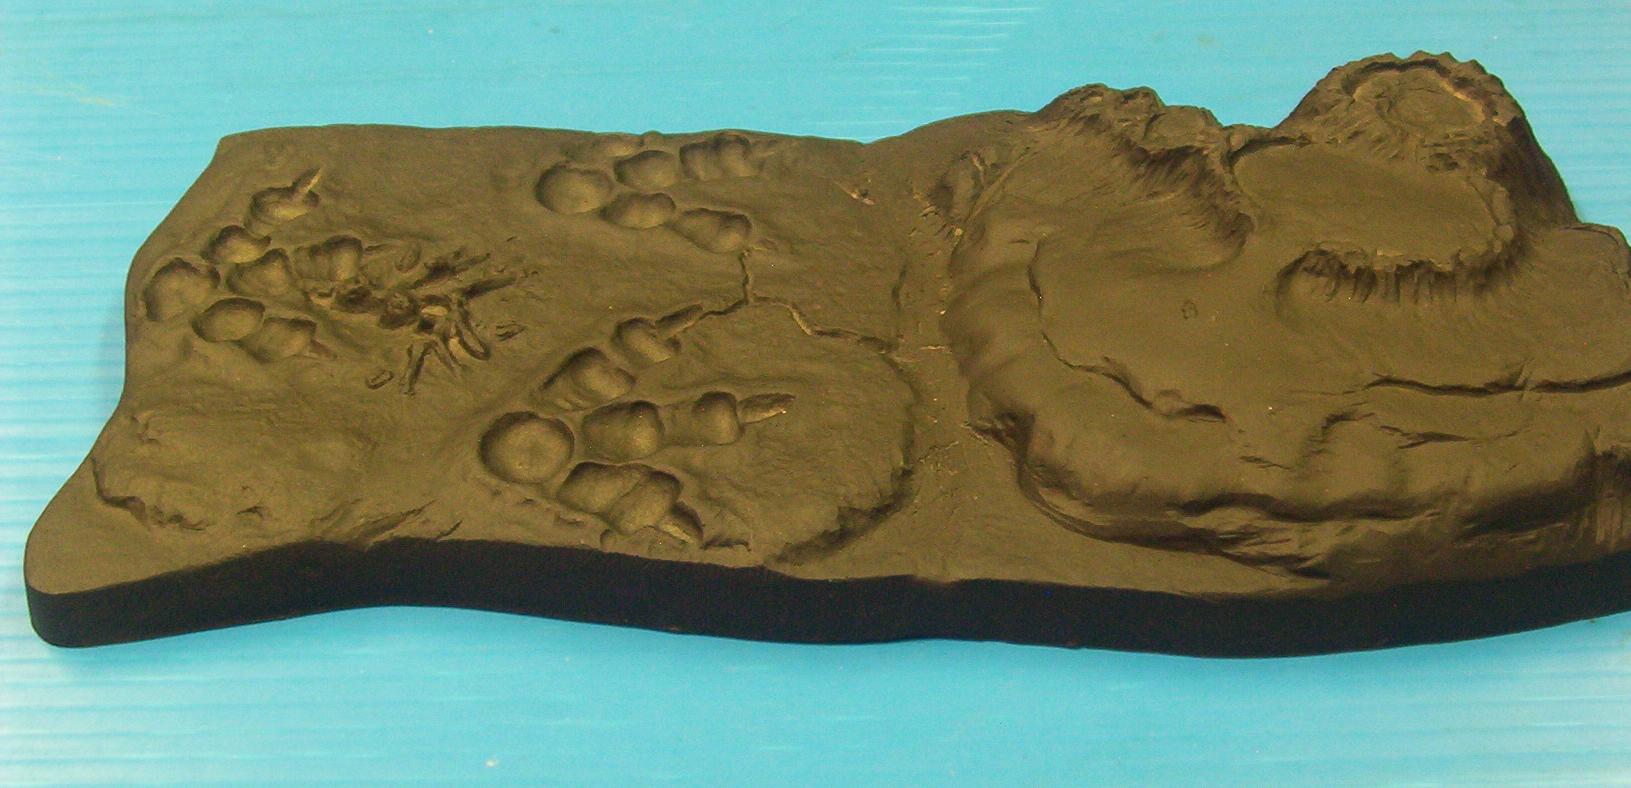
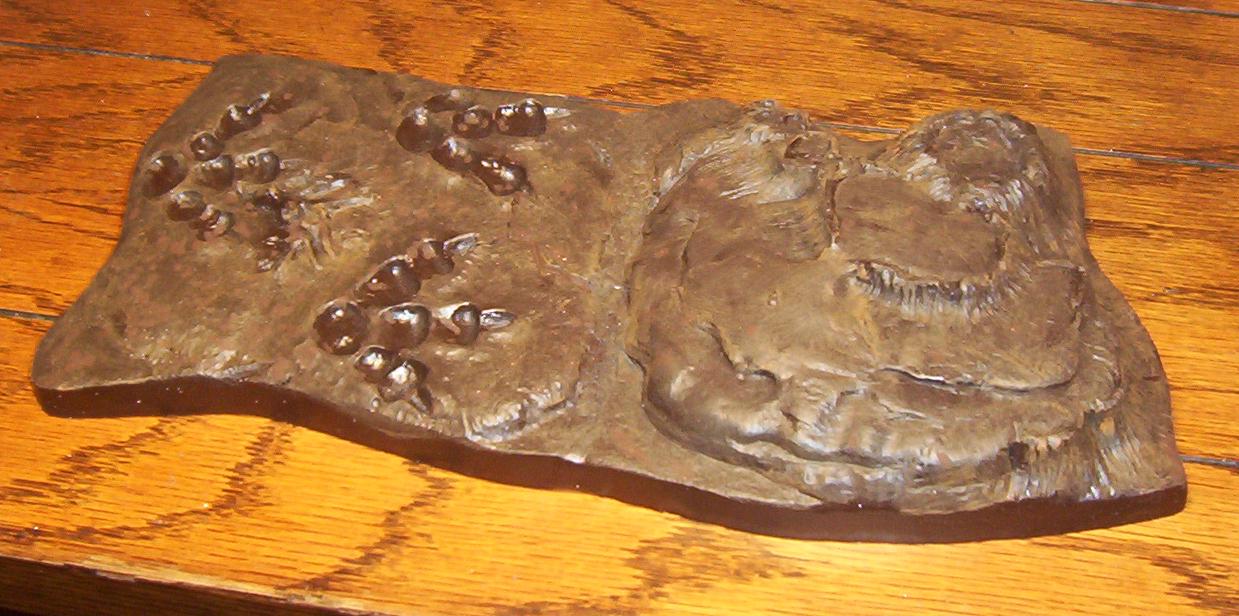
| Well. With
progress on the kit moving right alongm I figured I had
better get busy on the base. Got the 2 halves glued together and just started the putty work on the joint. |
||
  |
  |
|
| After the putty work, I
primed the base black. Then basecoated it with a dark brown. |
Then it was on to drybrushing it with a coouple lighter shades of brown. | |
 |
  |
|
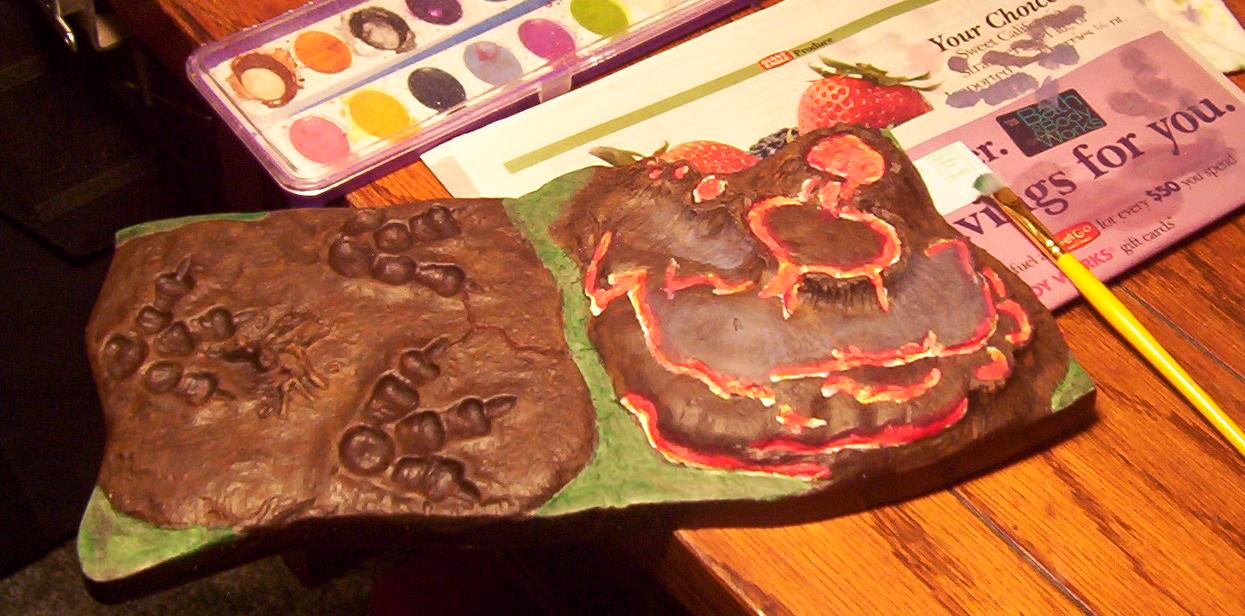
| Then I blocked in some areas I wanted to paint with white, and some drybrushed white watercolors. | Drybrushed some green. And a little yellow watercolor in the lava area. |
|
  |
 |
|
| After sealing the kit, then I went over the yellow and white lave areas with some red. Letting some of the yellow and white show through.. | ||
 |
I was trying to
go for some cooling lava on the one end of the base. With
most of it hardened, with some hot edges still showing
through. I kind of got what I was looking for. Though it wasn't executed nearly as well as what I pictured in my mind. Guess I will have to do better on my next attempt. Keep an eye out for the finished kit pics in the near future. |
|
 |
|
|