Where I
Keep and Work on My Kits |
|
Workbench
|
|
 |
Nov 2019 First step is finding all my crap and getting it unpacked. |
 |
early December 2019 Well, that didn't work out so well. Not even half my stuff out and I have no where left to work, on my work bench. |
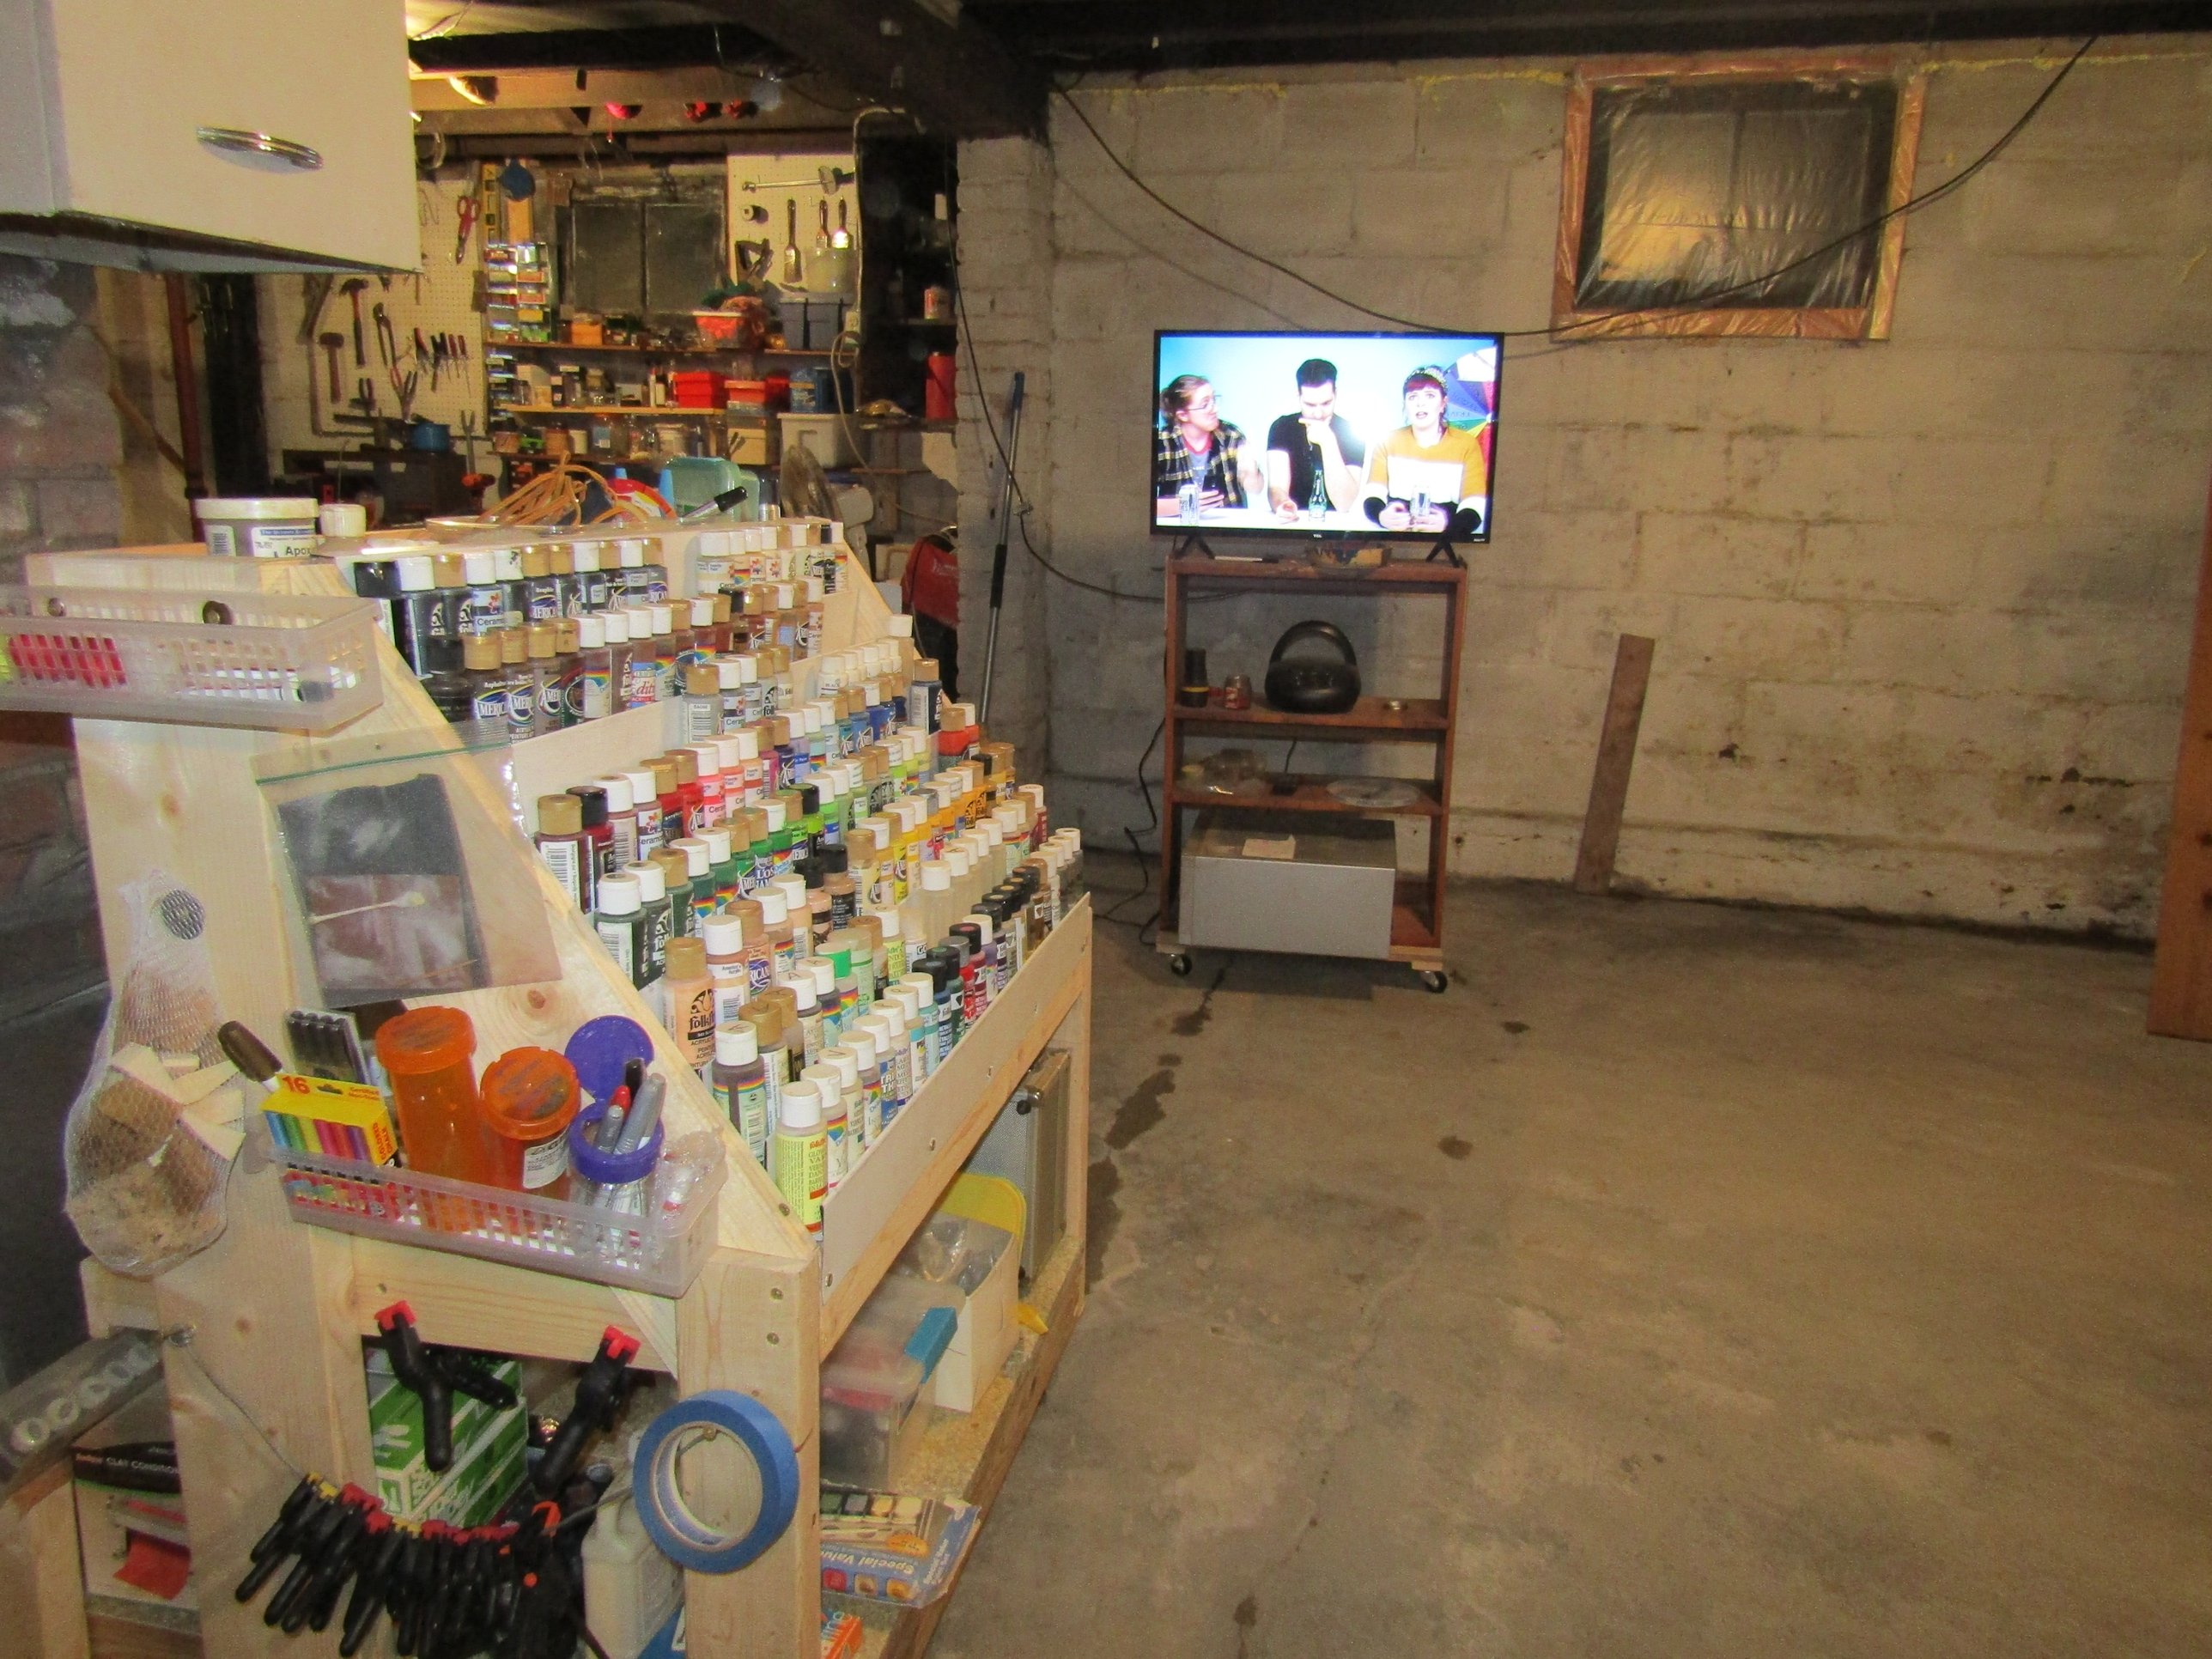 |
late December 2019 So, I built a cart to hold most of my modeling tools and supplies. If you want to see more pictures of it, check this page. And if you want to see how I built it, that is all on this page. |
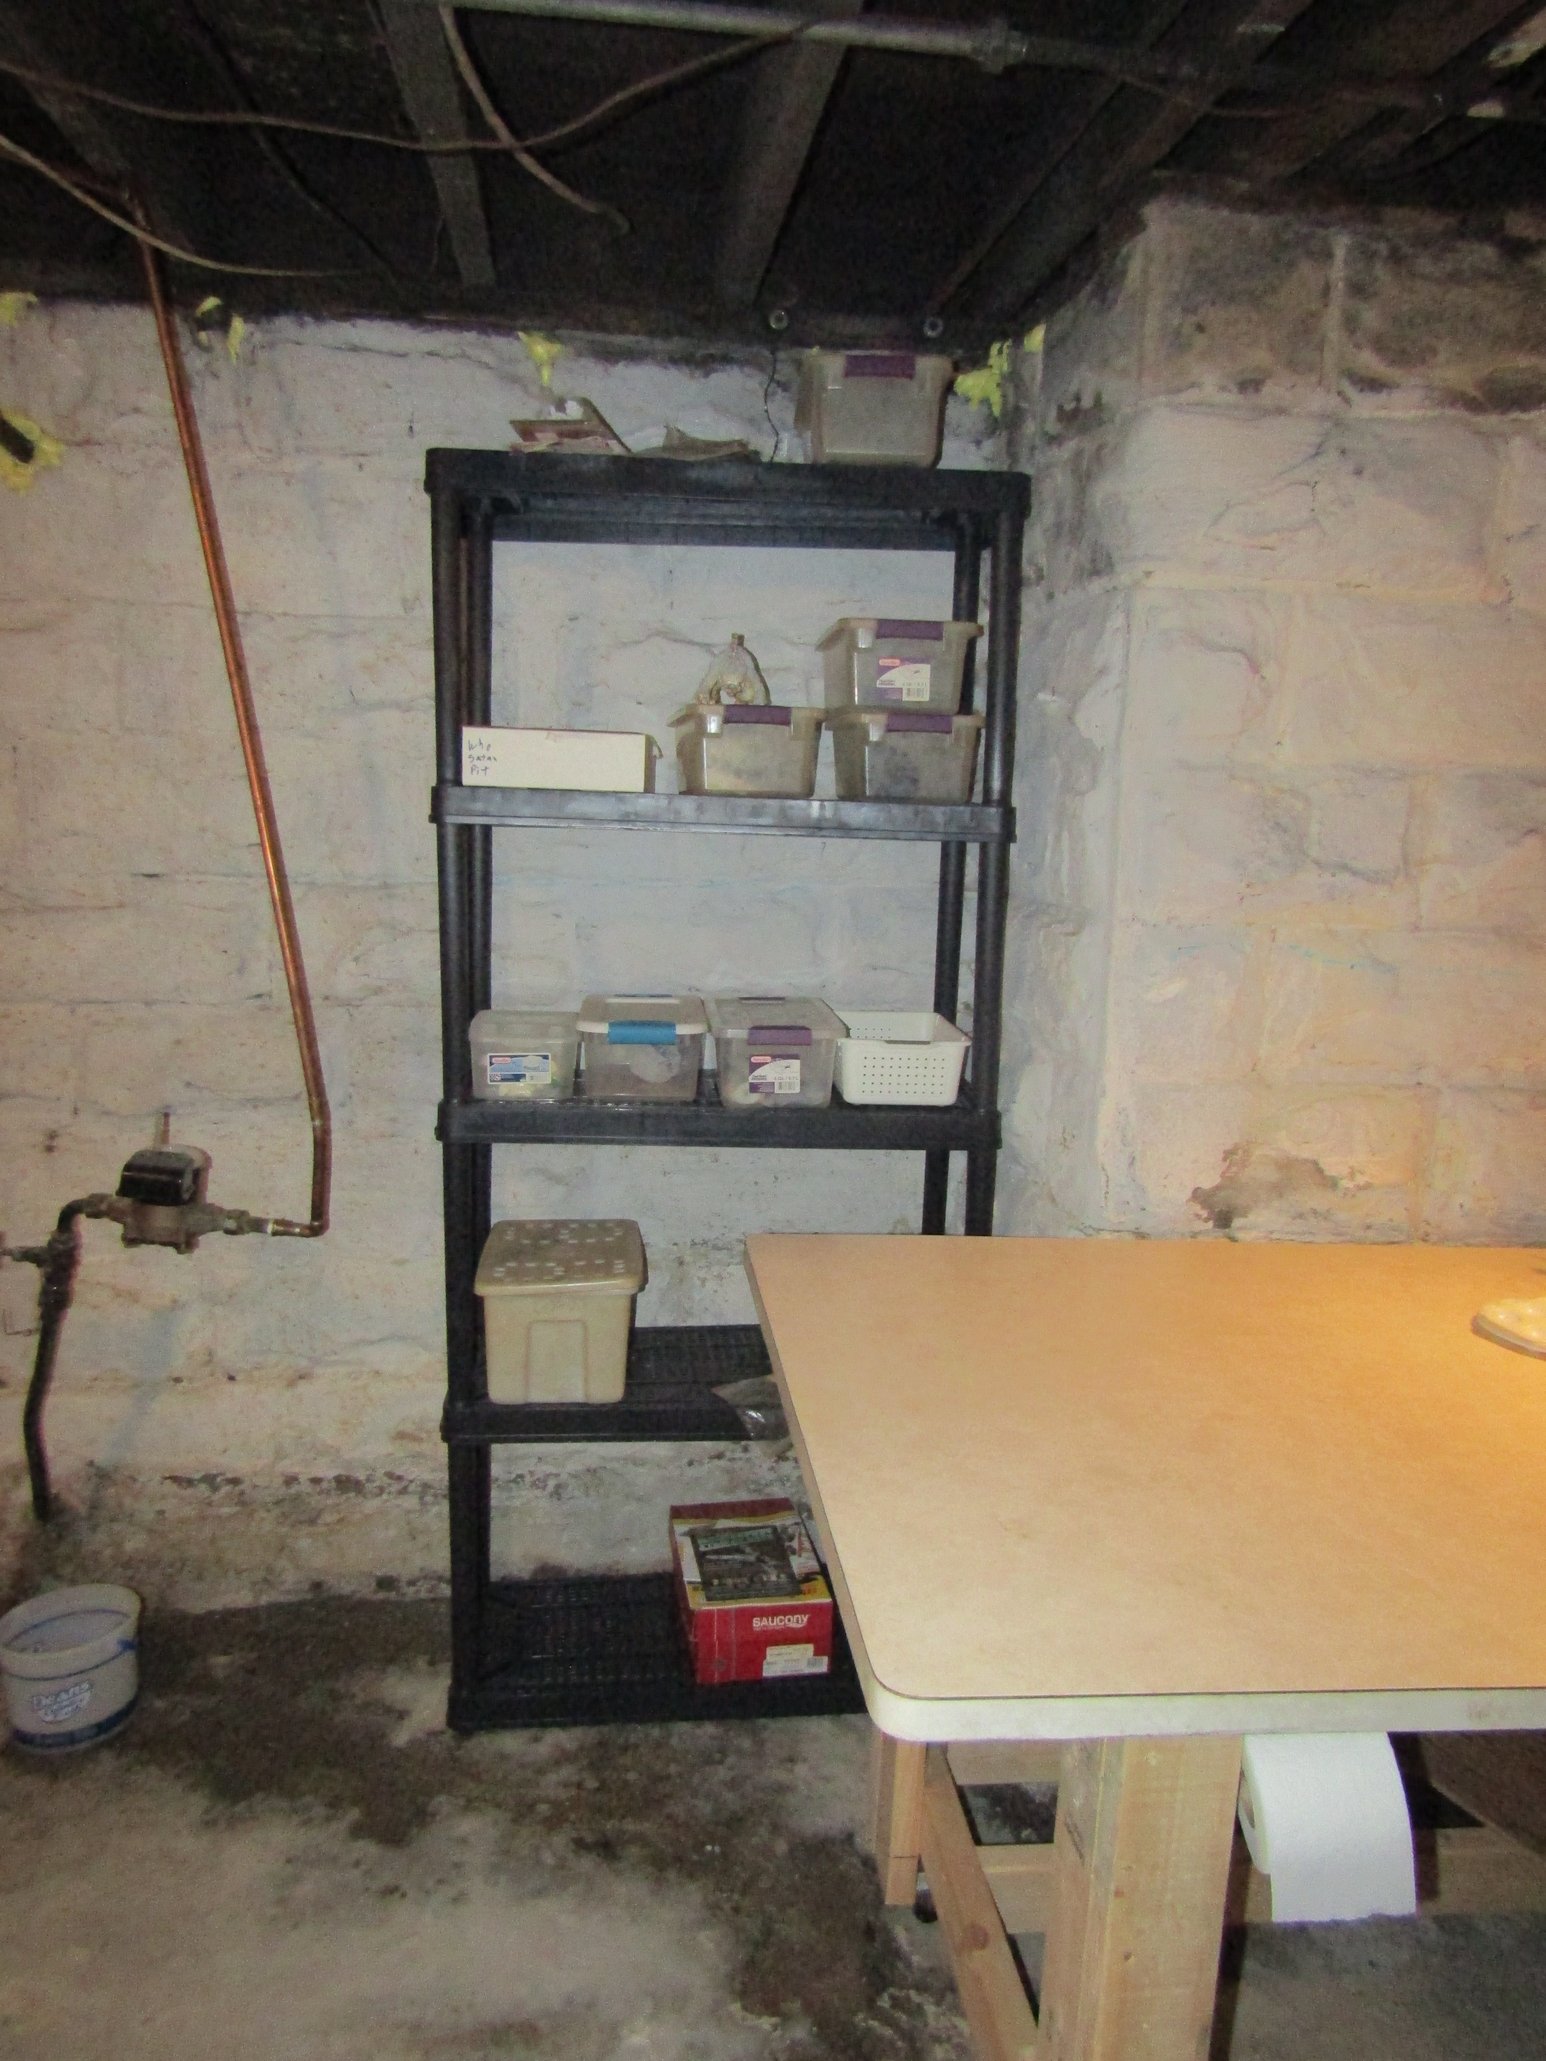 |
late December 2019 Finally, to free up even more room, I added this set of shelves. It holds all the kits that are "on
the bench" so to speak. |
 |
late December 2019 I also added a bit of storage to the bench itself. If you look at the right front leg, you can see where I added pockets for my file sets and hobby knife sets. On the inside of the left leg (not seen in this photo) is a place for a small screwdriver set. As well as a peg for some tissue paper for wiping off brushes etc. |
 | February 2021 Added a drawer to the workbench. See this page for a few quick pics of that process, and the thinking behind it. |
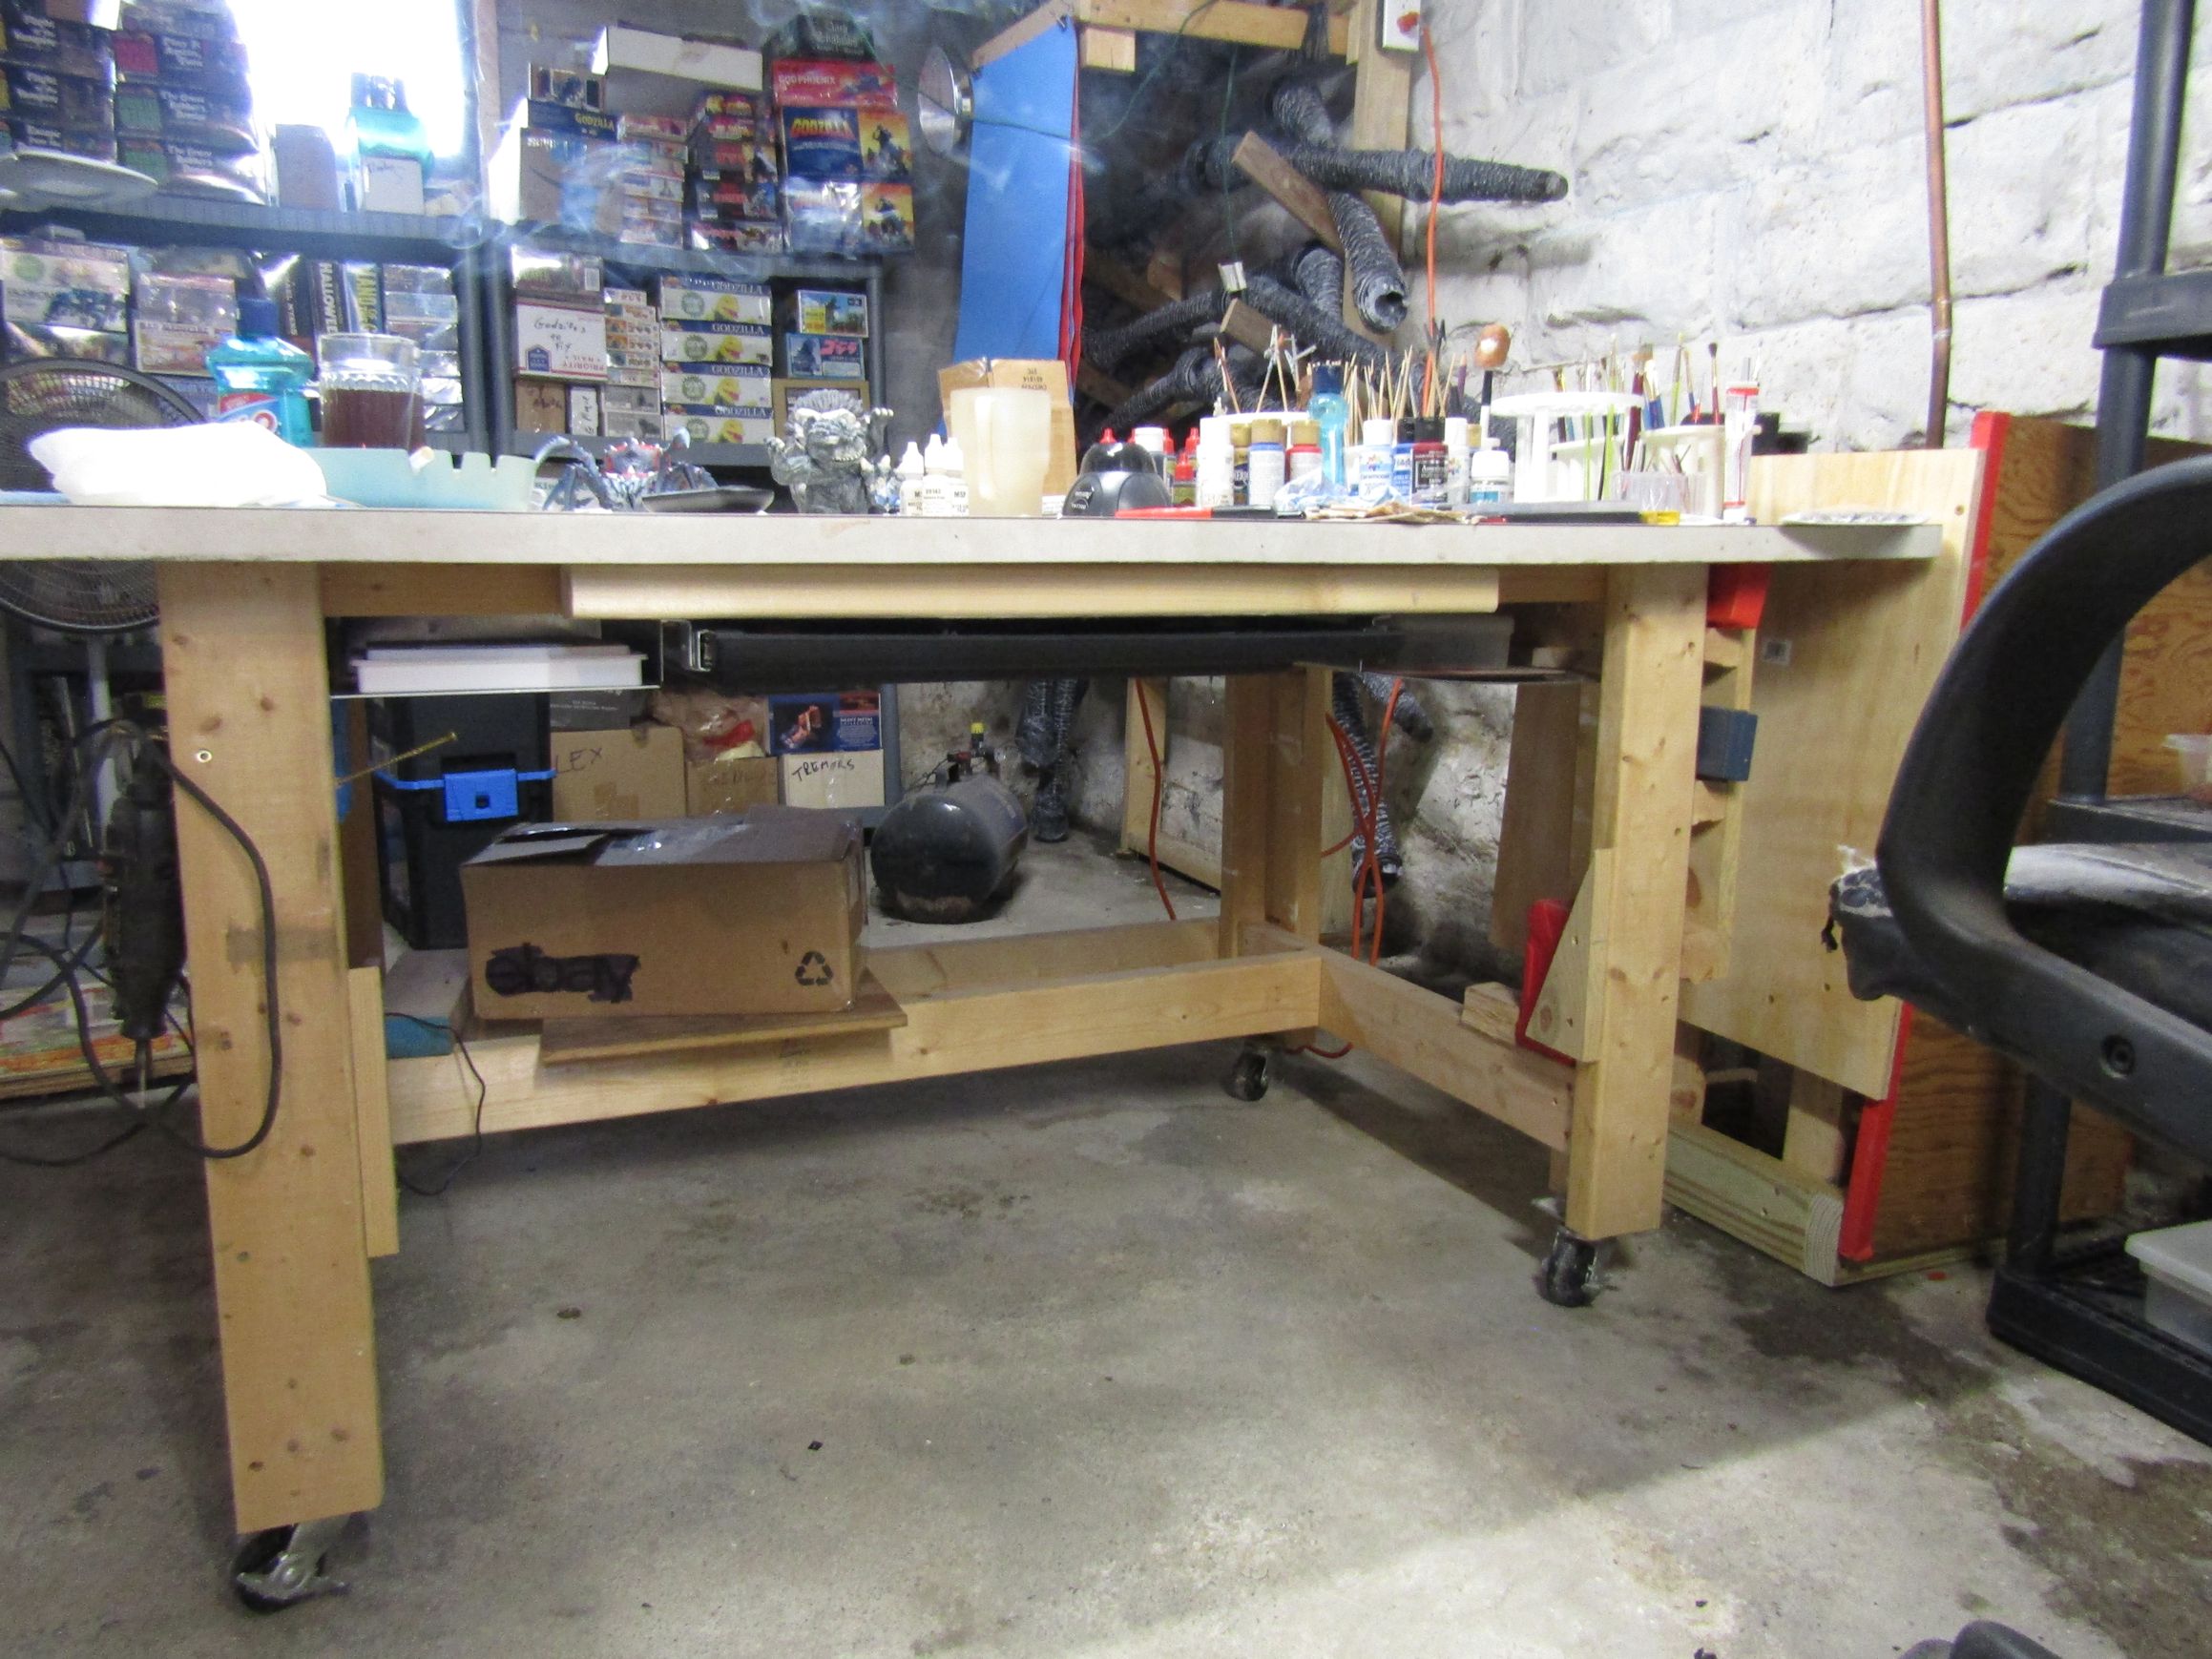 | March 2022 Added shelves on either side of the drawer.  . . Left shelf for my wet pallet - Right shelf for my drybrushes and texture pad. |
 | February 2023 built a little holder for my new oil paints and a few other things.. .  |
